Fab Academy 2015
Fab Academy
How to Make Almost Anything...
How to Make Almost Anything...
The electronic system that uses the aquarium is like most systems today, has a control unit, a part for power control and signal adapters for entries.
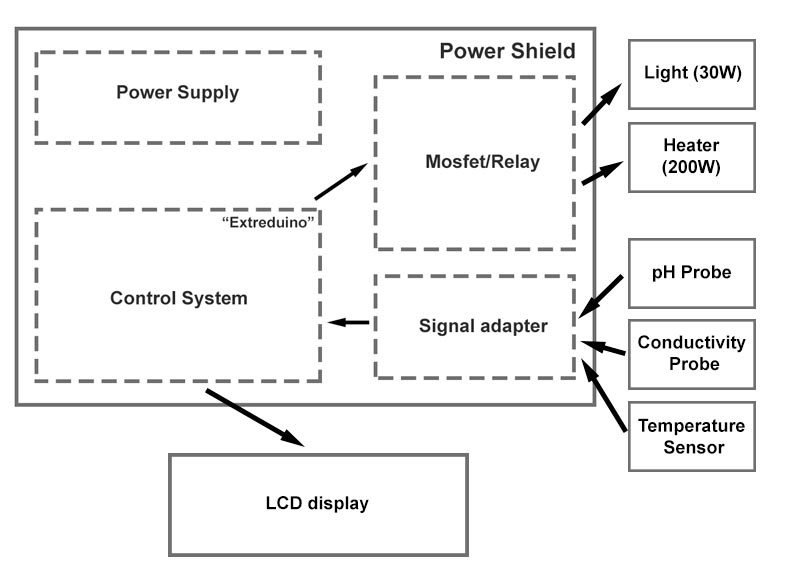
The control board has an ATMEGA168 ATMEGA328 who will be responsible for control lighting, data management coming from the sensors and the control interface. I designed this control board from scratch and I decided to call it "Extreduino" in honor of my homeland.
Extreduino has all the components that could have a normal Arduino except the USB/Serial converter, for programming the chip, I have made access to ISP and the FTDI connector. In the diagram it can be seen that features a voltage regulator and several filter capacitors, since I is designed for use with not stable external power. I chose to mount the oscillator using a "Pierce Oscillator" configuration.


Note: I changed the ATMEGA168-AU for ATMEGA328-AU. I've done this because I've found some compatibility problems when trying to load the original Arduino bootloader with 16Mhz crystal.
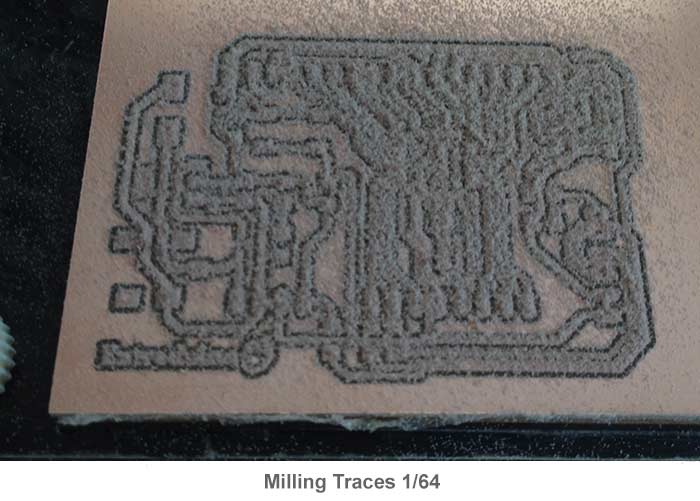
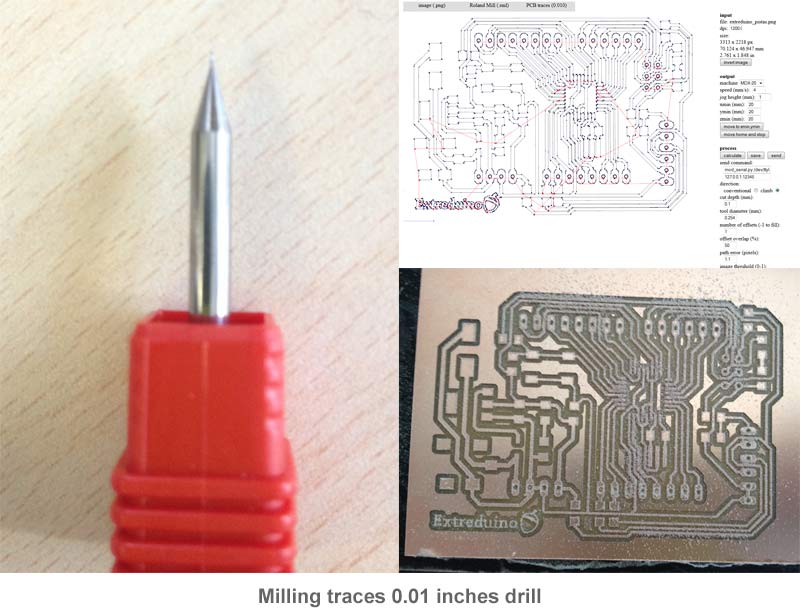
Milling this board was not easy, I had to use 4 different cutting strategies to the board, I first had to milling the traces using a 1/64 (inches) milling cutter, but with this drill, I can not do the smallest traces, so I repeated the work using 0.01 (inches) drill. I have not done all the work with small milling cutter from the beginning because it is very easy to break or wear this milling cutter, the best is roughing at first with the biggest milling cutter and finish the job with the smallest milling cutter.
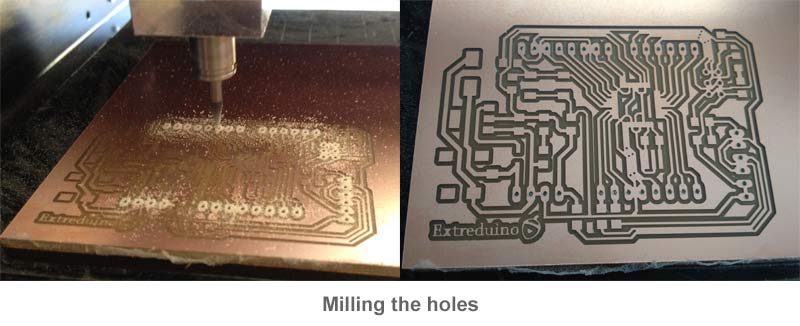
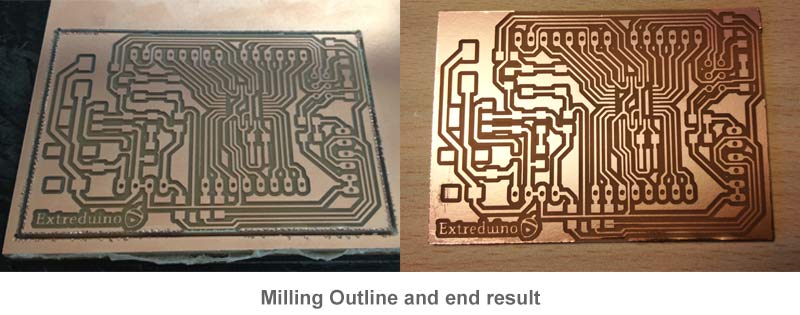
The third milling strategy, I've done for holes. For holes I used a cutting strategy, but I a 1/64 used milling cutter. Finally I cut the board using a strategy of cutting and a 1/32 (inches) milling cutter.
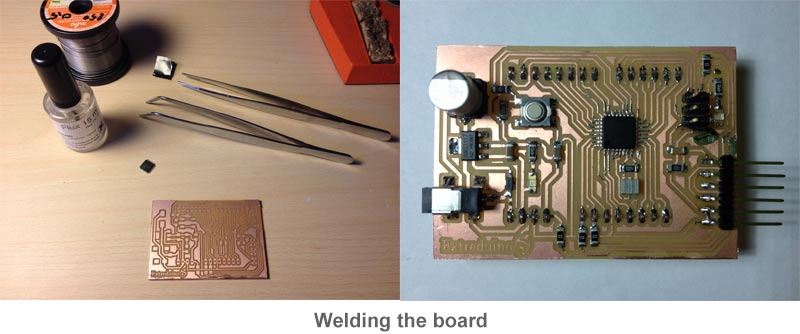
To solder the components to the board is only necessary patience, pulse, a good welder and lots FLUX... This is not a simple welding board due to ATMEGA 168 ATMEGA328, pins on this chip have very little separation, for welding this board well, we must take very little tin and help with FLUX.