
2 - Computer-Aided Design
Intro
The assignment of the second week was to go inside the world of Computer Assisted Design. It is a broad field and is not easy to choose a starting point. However, as i already know how to use Gimp, Photoshop and Illustrator for 2D drawings and graphics I choose to focus on one of my weaknesses: 3D modelling.
Modelling a Duck in 3D
For this assignment I wanted to try to make a 3D model of my final project proposal. The challenge is that I have no prior experience in 3D modeling and the thing I want to represent is complex: a rubber duck. I downloaded both SketchUp and Rhino for Mac (both are free to use). I started exploring the two software. I appreciated the model warehouse of Google Sketch Up as it can provide a good base to start to evaluate the tools of the software. Then I tried Rhinoceros for Mac. The problem with this is that is very different from the Windows version (more widespreaded and documented) so in the tutorials commands are in a different places and sometimes behave in a different way (and there are some bugs). I was lucky enough to find a tutorial to create a duck (it seems to be a famous tutorial as there are several versions and also a video). I started with this tutorial but then i found more useful the video https://www.youtube.com/watch?v=J0Fy-V0GfmY however (as explained before) the interface and some commands are different. The result was this
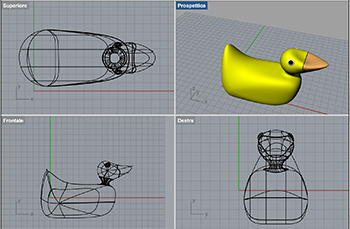
You can download it from papera.3dm
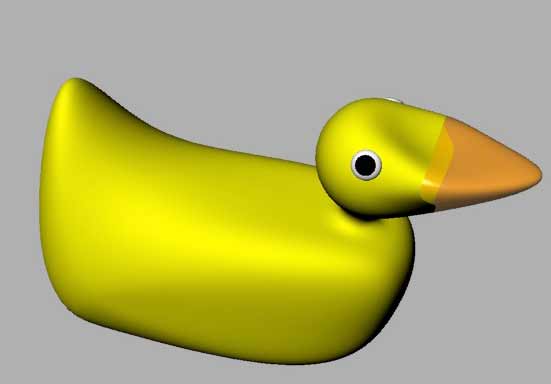
I found very useful the search box to find the right commands as, sometimes, icons and menus are not very intuitive is you are not familiar with 3D modelling.I also tried Autodesk Fusion 360. They have a student license that allows the free use of the program. I started reading the official documentation to understand the different commands. I found very intuitive the “sculpture” mode even if it crashed sometimes (maybe is Yosemite?). Designing the duck in this way was quite easy. I started from a rectangular parallelepiped. I applyed simmetry and started to stretch and compress a side of the shape using the control points to obtain the body of the duck (with the simmetry the changes are made also on the other side). Then I used a sphere to model the head. Here is the result:
You can download the fusion file from here duck model .
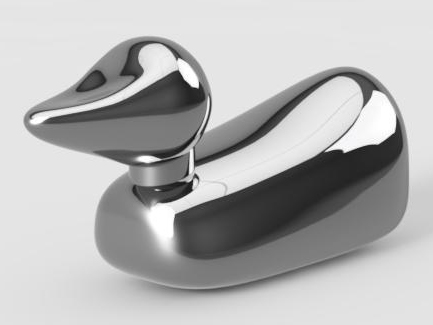
Using the two softwares (and the two modalities) I discovered that for sure sculpting is better for organic shapes even if it's not very precise if you want something with exact measures (for the latter you have to start from a geometric drawing or using a parametric software). The next step will be to design the interior of the duck placing the technology needed to make it work.
Creating a logo and a sticker
I wanted to make a logo and a sticker for the project. For this reason I want to make a vectorial file that I can scale as I want. As I'm not very good in hand drawing I started froma .png image fon on the web 
So I opened the image with Adobe Illustrator and, using the pencil tool I started to follow the outline using Bezieres curves. There is also a command to make the trace of the image but I wasn't satisfied as the outline wasn't smooth. I also changed a little bit the image using control points.

Then I exported it as a monochrome BMP to cut a sticker. The process is described in the computer controlled cutting assignment.
 Attribution, non-commercial, share alike.