Molding & Casting
PneuNets Soft Bending Actuator
In this tutorial you will find the steps that I faced to design, mold and cast a soft robot, a PneuNets Bending actuator. I started to study this topic with the 3D printing module and now I am ready to prototype a more complex actuator. I collected almost the whole know-how for this assignment through:
- Design phase: I used the Harvard Soft Robotics toolkit
- Casting phase: I have been supported by some researchers of Institute of Bio-Robotics o
f Pisa (Italy)
- Further development phase (coming soon): I participated to the Soft Robotics Week in Livorno (Italya)
The design and fabrication phases have been accomplished at the Wemake makerspace, where I attend Fab Academy.
After the whole process, I set up a video tutorial that shortly describes every phase of the PneuNetz actuator, from its design, to fabrication and molding, to casting and testing.
Design
To understand and design my actuator, I followed the thorough tutorial I found on Soft Robotics Toolkit and I designed my actuator taking ispiration by the one of Pneumatic Pavilion.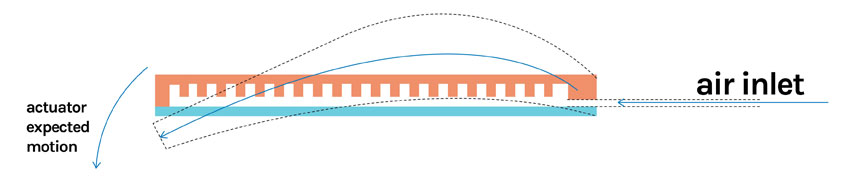
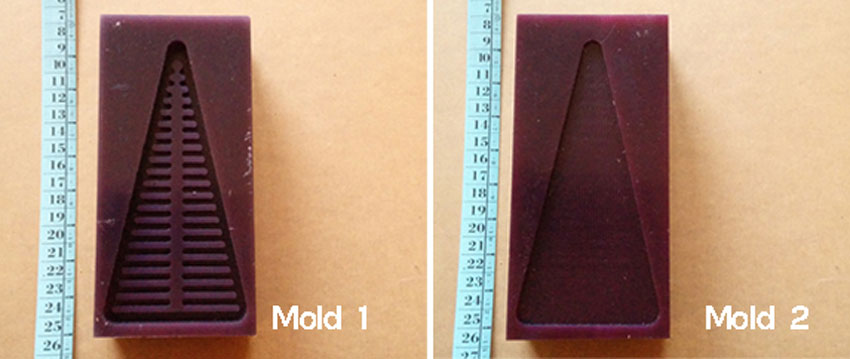
Two parts are necessary to cast a silycon bening PenuNets actuator, which in total are made by three molds. You can understand the elements here, especially looking at the section. The dimensions reported are those I used for my model.
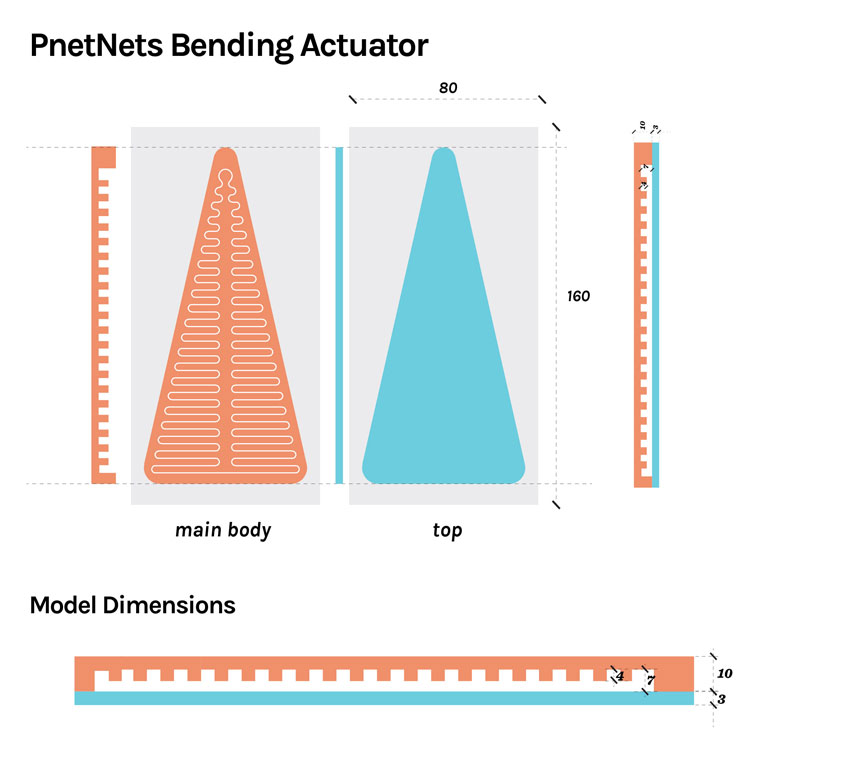
I designed first in 2D the 3 actuatuors components and then I exported in rhino the dwg file to extrude them, taking into consideration the machinable wax carving block dimensions.
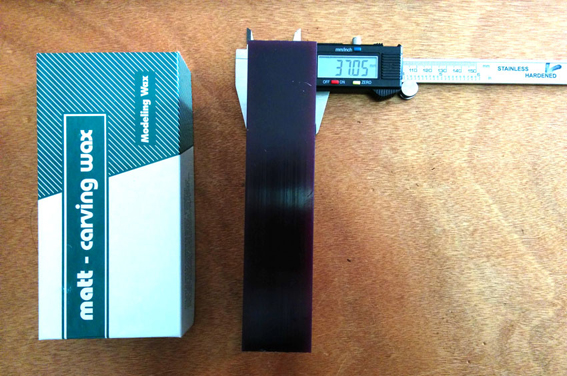

Fabrication
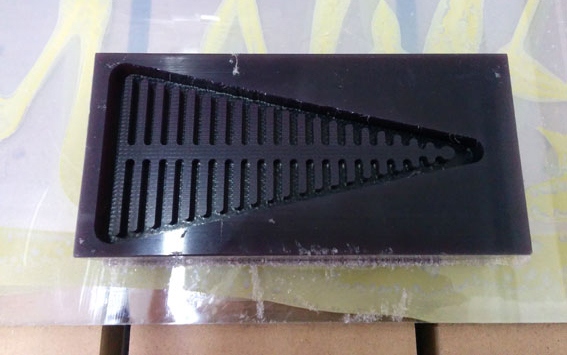
Once the stl models were ready, I created the toolpaths for the Shopbot Alpha model milling machine. I used VCarve as postprocessor for this purpose. Below the settings I used for the three models (I used purple machinable wax):
- diameter: 2 mm
- pass depht: 1 mm
- Stepover: 40 %
- Spindle speed: 18000 rpm (to be lowered and fine tuned manually)
- feed rate: 6000 mm/min (since the machine works with in minutes units)
- plunge: 1500 mm/min (same reason)
Casting and demolding
The type of silycon used is crucial: indeed, we need a specific bi-components silycon with a low level of viscosity and high level of flexibility. On Smooth-On we can find DragonSkin (several types) and Ecoflex. For this first attempt, I used the Ecoflex, which apparently is better than Dragon Skin. Both types of silycon need about 4/6 hours of curing. You can make this process faster by placing the molds and the silycon into a hoven at 65°. The only issue is that this option would force you not to mill with machinable wax the molds. In my case I couldn't faster the process since I used wax for the molds.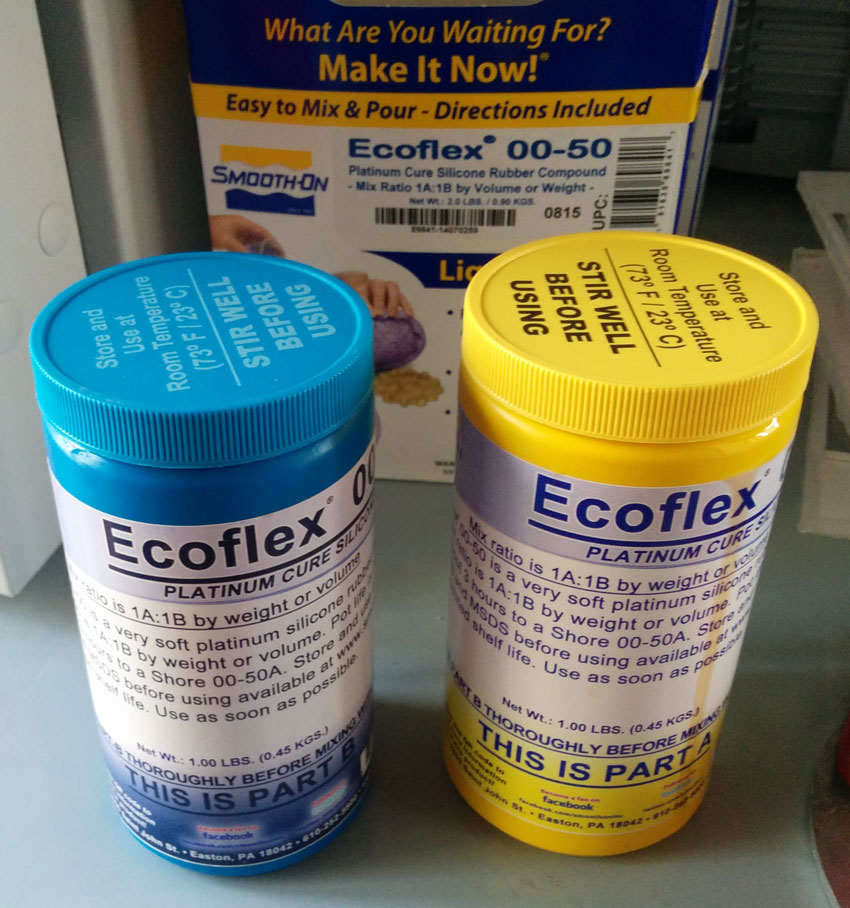
Bill of Materials
   ELASTOMERS & MOLDING
- Dragon Skin® 30 or 20		Smooth-On	http://www.smooth-on.com/Silicone-Rubber-an/c2_1115_1129/index.html
Or
- Ecoflex silycon (smooth-on website)


- Pneumatic Tubing (OD 1/8 ")	5790K15	McMaster	http://www.mcmaster.com/#5790k15/=t1audv
- Office Paper (White)
- Thin rod (2-3 mm diameter)	1681T21	McMaster	http://www.mcmaster.com/#1681t21/=t1bdoj
- silycon glue (smooth-on website)

LAB SUPPLIES
- Latex gloves	6072T94	McMaster	http://www.mcmaster.com/#6072t94/=t1c9vh

- plastic glass + a manual mixer

- Syringe for pressurizing actuator	7510A802	McMaster	http://www.mcmaster.com/#7510a802/=t1bj3v

- Vacuum chamber + pump	70.01032.AA	A-Vac	http://www.avac.com/economy-vacuum-chamber-systems-vacuum-p-39.html


	<>
Casting a soft actuator
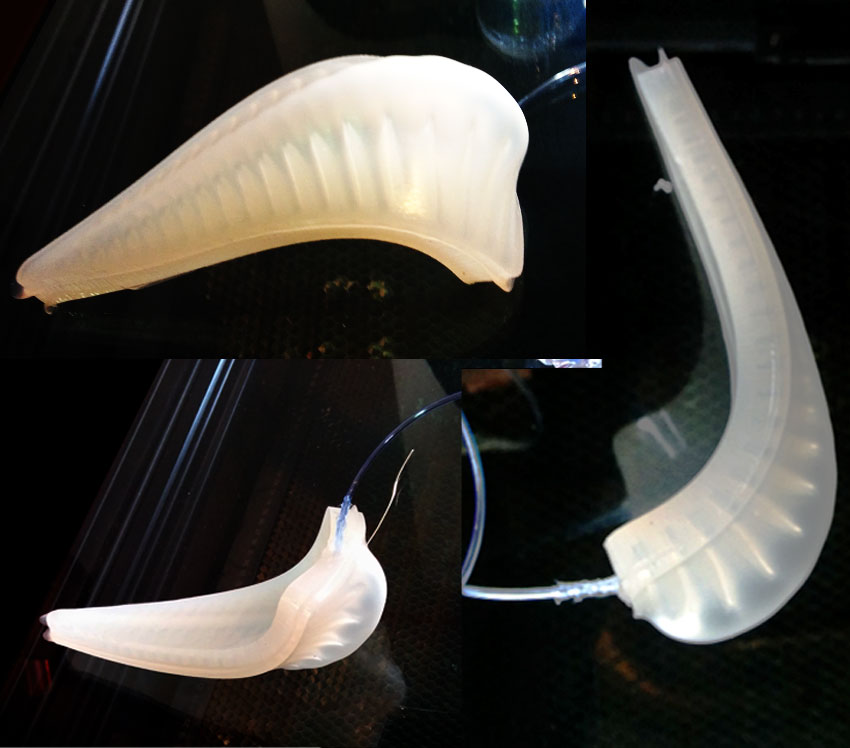
About casting, it is important to have clearly understood how the soft actuator works: there are two parts, the main body (the one with tridimensional structure) and the top (the silycon straight layer).The two elements should be stiched together in order to create an iar chamber in between. To do that, we need to cast the two elements in two different moments, starting with casting the main body.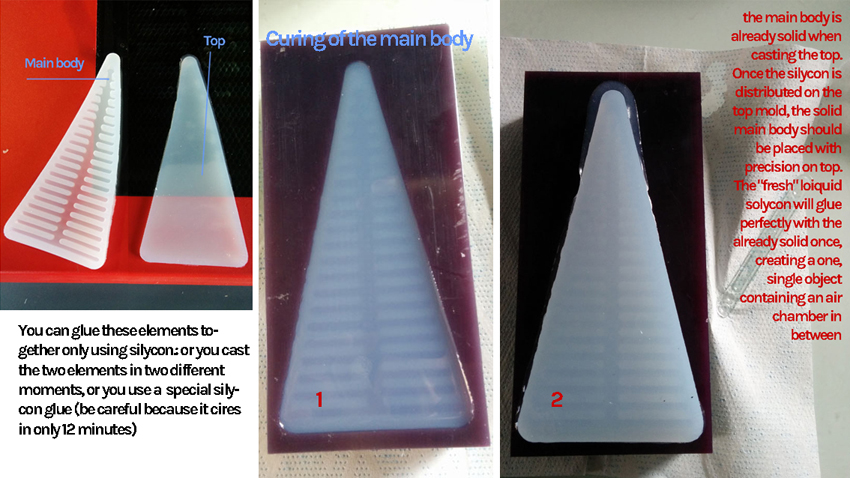
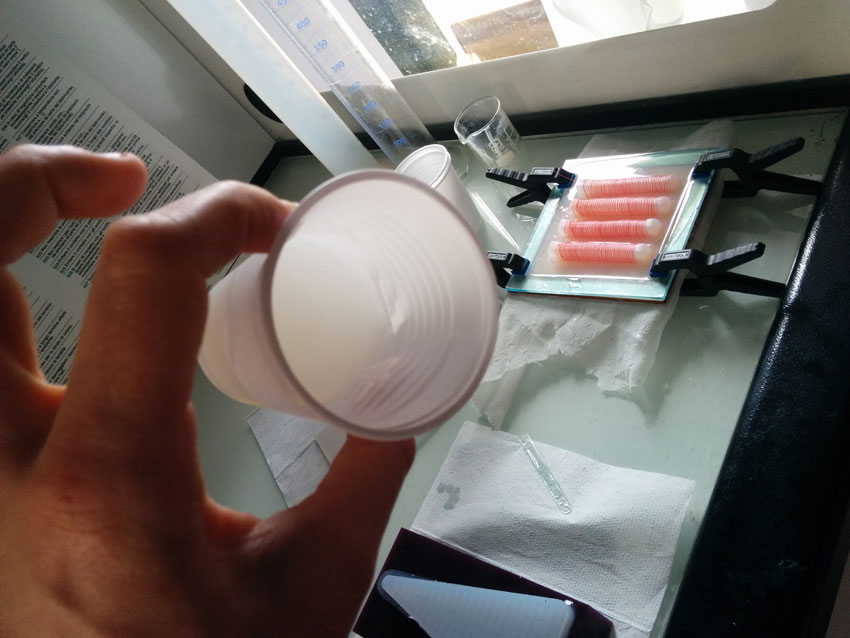
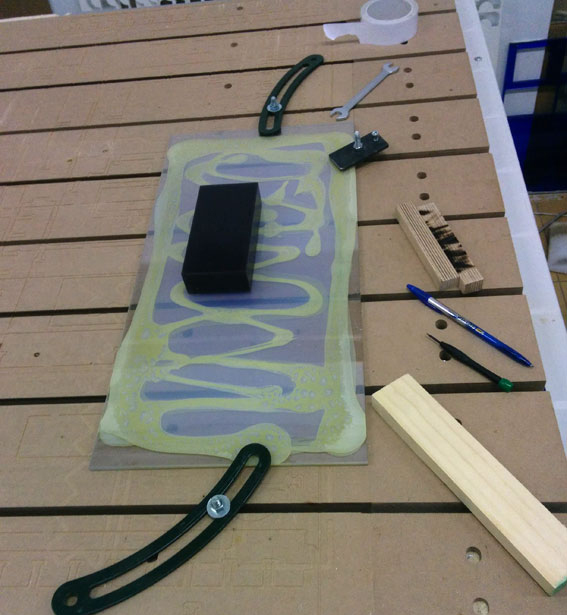
Silycon is bi-component (both Dragonskin than Ecoflex) that requires a same quantity of A and B components. You need to use a libra to start and a plastic glass. Place the empy glass on the libra and make tare. Fill half glass with component A and take the weight measurement. Change component, make tare again and release the same quantity of component B. With a plastic coffee spoon, mix the liquid for about 5 to 8 minutes, manually. The silycon will become plenty of air bubbles and this condition will require some de-gassing sessions to eliminate them.
A nice tip is the one of the plastic glass residual. Leave in the plastic glass that you use to mix the silycon components a little amount of silycon, meaning do not cast the 100% of it. This remaining quantity will be useful after the curing process to maker you sure first that the silycon would have cured in the proper way, and then safely proceed to demold the actuator.