Mechanical Design & Machine Design
Group Assignments
Mechanical Design
automate your machine document the group project and your individual contribution
make a machine, including the end effector build the passive parts and operate it manually document the group project and your individual contribution
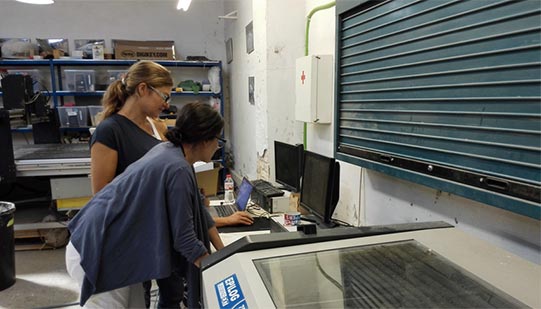
For this assignment we built a pizza cutting machine: the PizzaBot! This exercise was lots of fun & we learned together to plan ahead & be really comfortable with prototyping and reiterating until accomplishing the objective! Always with spiral development in mind we build the machine that achieved the goal of cutting a pizza made of play dough! We divided the tasks but ended up working together along side in each step. The help of our Fab Lab Gurus was absolutely necessary since we had lots of situations were we felt blocked & between Santi Fuentemilla & Ferdinand Mayer we were able to achieve our goal on time! We started from the machine we received from MIT Modular Machines that Make: Cardboard by Nadya Peek & James Coleman and developed our own machine.
Our Team:
- Alessandra Müller
- Josefina Petrini
- Kalil Ventura
- Mariona Ciller
- Milena Orlandini
- Pamela Chami
Nadya & James Machine Bill of Materials (BOM)
- Stepper motor integrated leadscrew (2x)
- Gestalt node
- USB FTDI cable
- Resistors (4x)
- Alluminum shafts
- Bushings
- Lead screw nut hardware
- Motor hardware
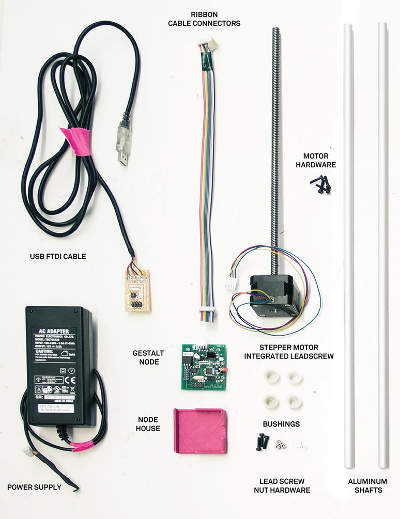
Materials Provided at our Fab Lab:
- Cardboard to make the machine structure
- Ribbon cabble connectors
- PCB to make the FabNet board
- 5x2 pin header
- 2x2 pin header
- Materials needed to assembly the cardboard structure (glue, tape, etc.)
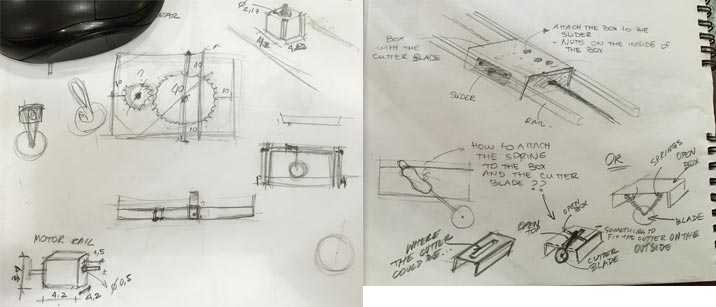
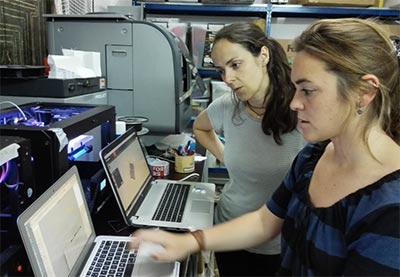
We went through an extensive sketching process before we decided the design which them we brought into Rhino, SolidWorks & Blender. Once we had the design & parts drawn by hand we started to make a the PizzaBot BOM
Our BOM
- 2 bipolar stepper motors
- Acrylic
- Bearings
- Bolts
- Mdf - Plywood
- Nuts
- Pizza cutter
- PLA (3d print)
- Rails
- Screws
- Springs
- Threaded rods
- Washers
- Wheels
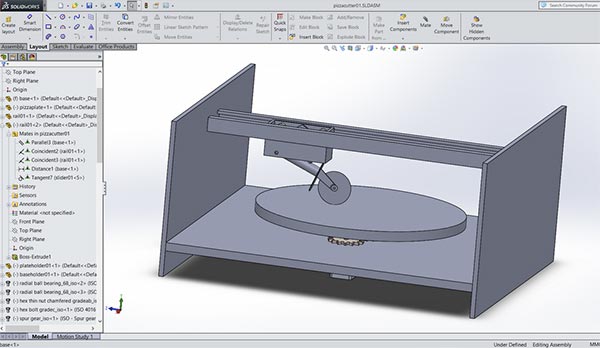
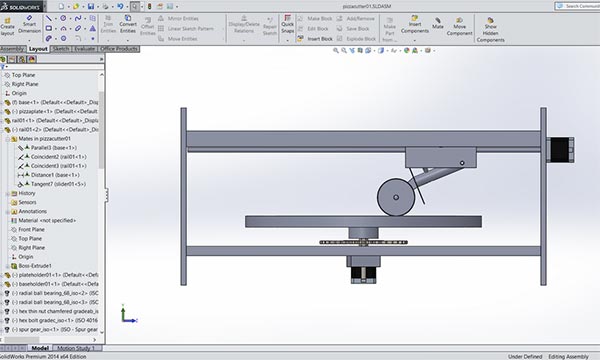
We started by designing the pieces with Solid Works. These are the side walls files.
Besides Solid Works we used Blender & Rhino to design the other machine pieces with the help of our lab instructor Ferdi who is a very skilled engineer.
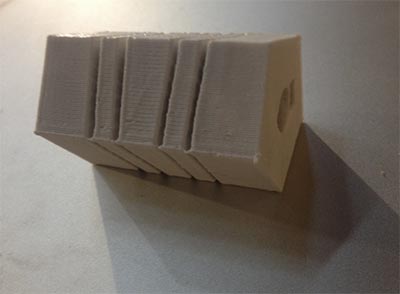
To hold the pizza cutter we created a 3d printed flexible coupler designed in blender.
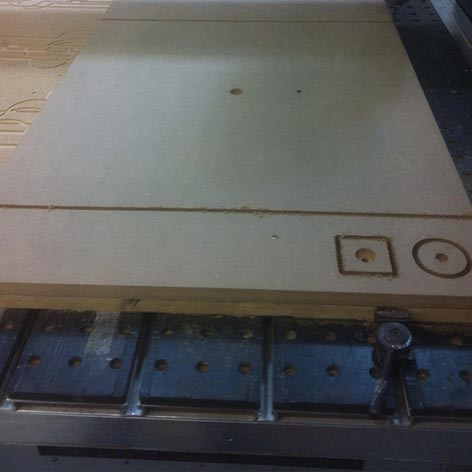
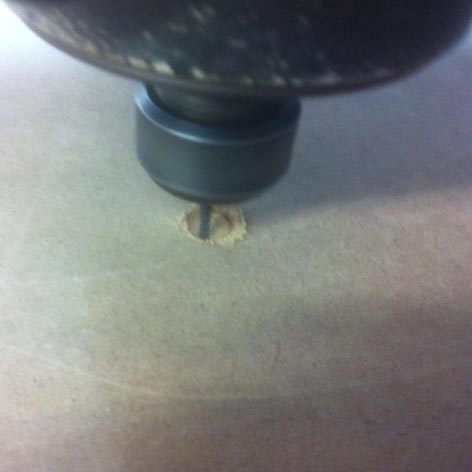
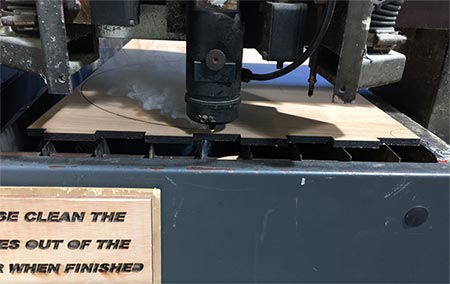
To cut the pieces we used a combination of the milling machine & laser cutter. We created the gears to rotate with the laser cutter in acrylic. The laser cut gears.
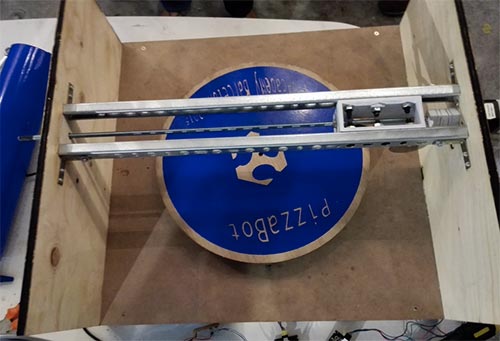
We designed the 3d pieces to be 3d printed but they did not work properly, then we decided to only use the wheels. In the process we made a turn table & wheels. To join the turn table pieces we created a piece which functioned as a joint. This part of the project we designed together hand in hand with Josefina. We failed together and most importantly learned a lot, we used the wheels alone and it worked quite well!
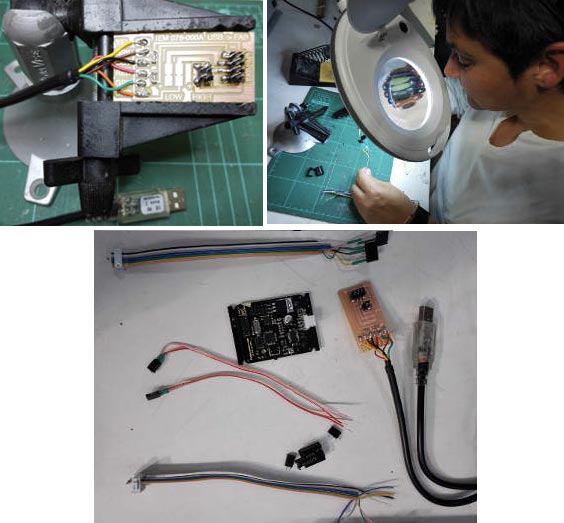
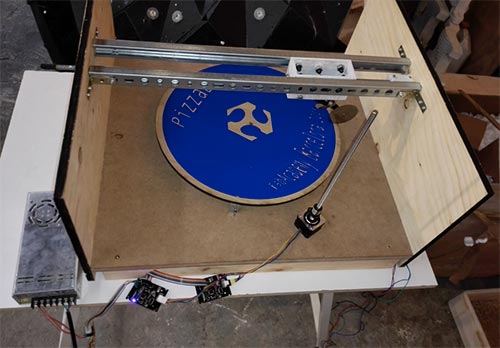
We downloaded the electronic board from Nadya & James's site and Millena milled the traces & the outlines as well as soldered all the components. Then we ran the Gestalt nodes code and was all ready to assemble and program the machine.
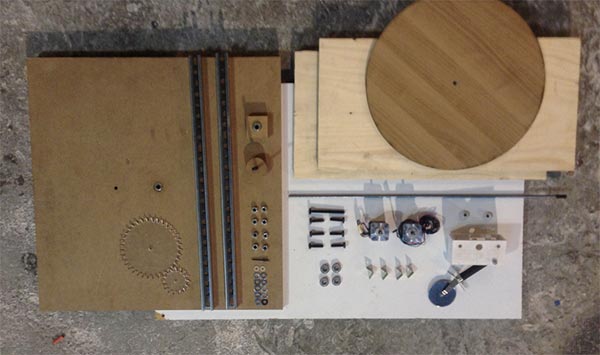
All the materials designed, fabricated & ready to assemble!
Last but not least we created a vinyl to decorate the turn table.
The machine works like a charm cutting four pieces! Here is the python code that makes it all happen :)