3D Scanning & Printing
Assignment
design and 3D print an object (small, few cm) that could not be made subtractively
3D scan an object (and optionally print it)
check out the assignement guidelines at academy.cba.mit.edu
3D Scanning on the milling machine
3D Scanning on the milling machine is a great process to get super high quality 3D models that can be used for 3D printing, casting & molding and many more purposes!
First step is to set up the piece to be scanned in the milling machine & second set up the area to be scanned.
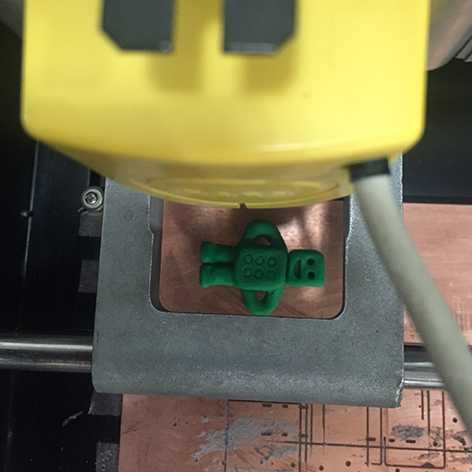

Third setting up the highest point & starting to scan!
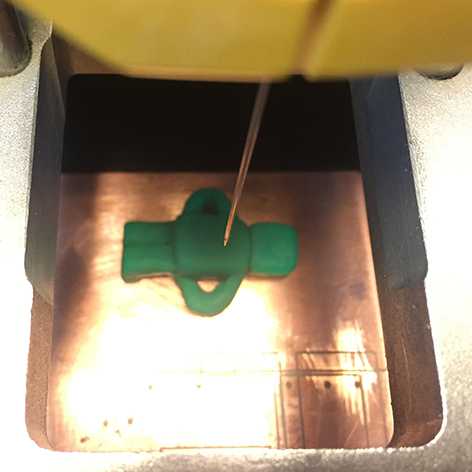
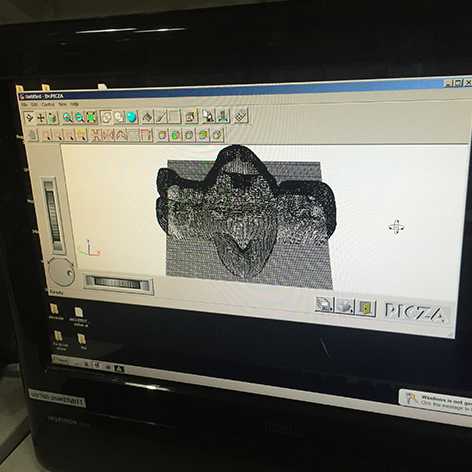
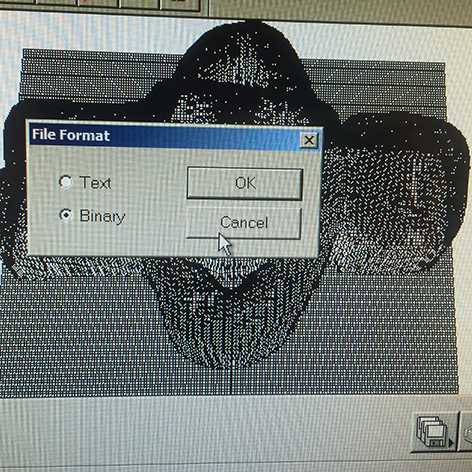
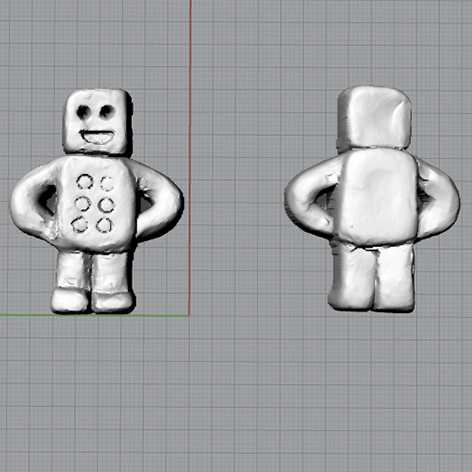
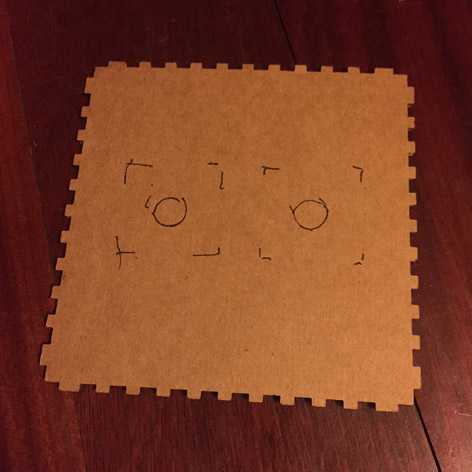
Once the model is scanned it is saved as binary & also as an .stl file. The front scan of the robot can be dowloaded here & the bottom face of the robot here.
Then doing the same process on the back side of the piece (robot)!
3D Printing Robot Joints
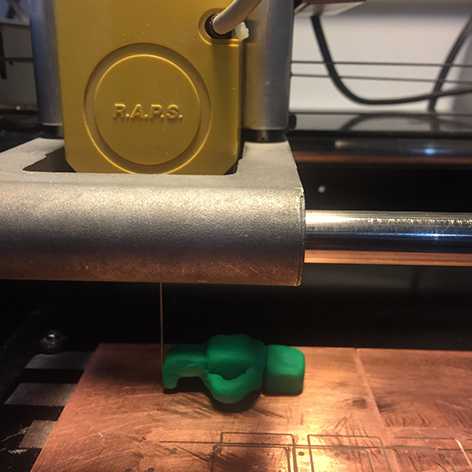
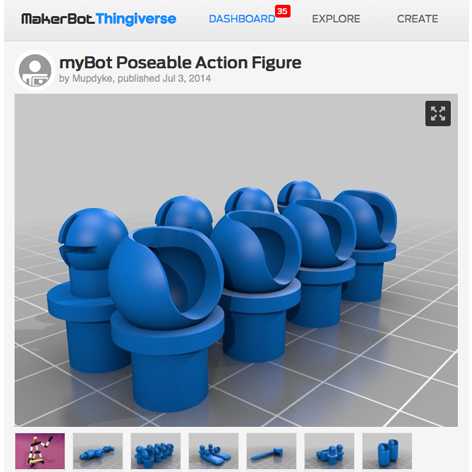
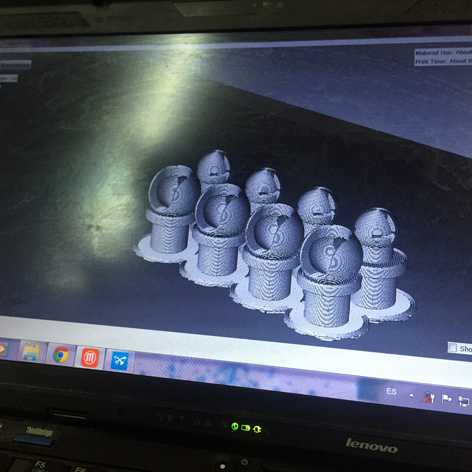
3D printing is an amazing opportunity to make the robot arm joints! In Thingiverse I found a bot posable figure that has great joints. I printed them to make sure they would work properly. Then combined them with a screw to be able to close the piece from the back of the bamboo robot arm.
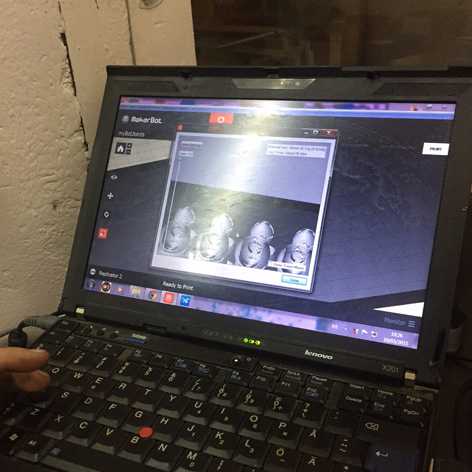
To make sure that the 3d models were solid to print Santi Fuentemilla showed me how to inspect the model with MakerBot's software.
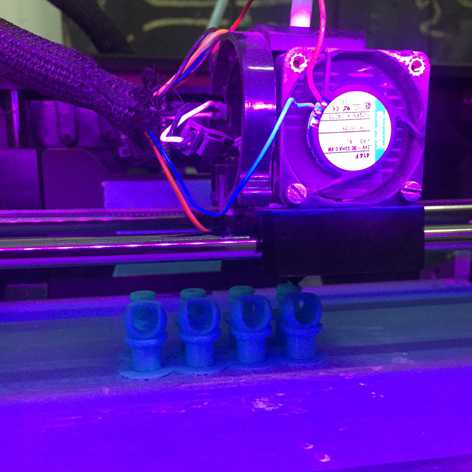
Uploaded the files to the cloud & searched them from the computer & then send them to the MakerBot! The print went super smooth & did not take much time at all, only 30 minutes.
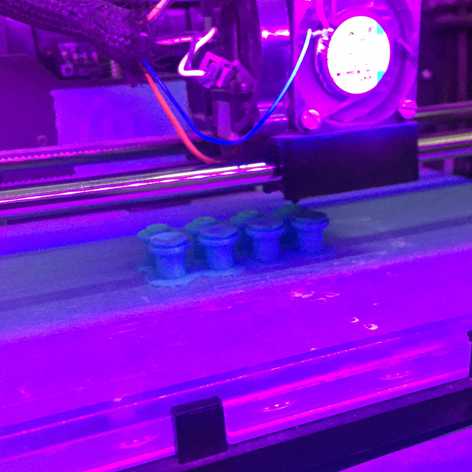
The print went super smooth & did not take much time at all, only 30 minutes.
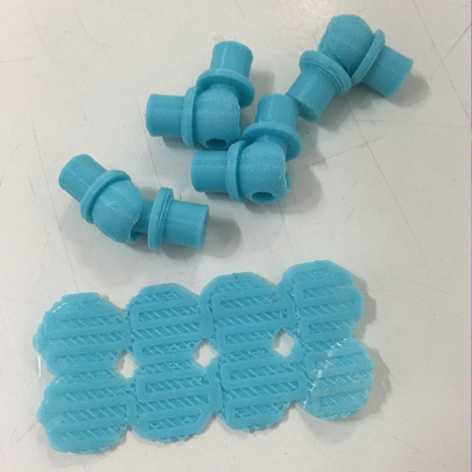
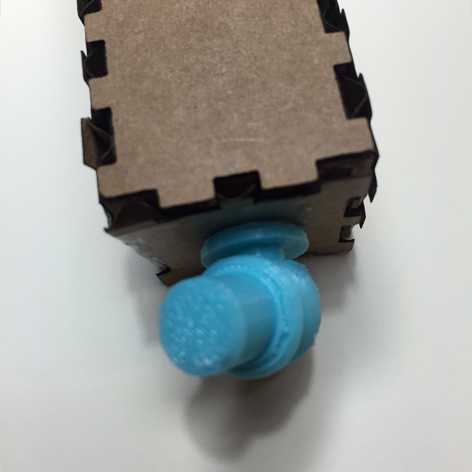
The end result was pretty nice but it was quite hard to get the joint piece into the socket. The ideal material to make this piece in the future will be resin as it will allow much better mobility.
Inserting the joint into the arm requires previously laser cutting a whole. For prototyping & testing purposes I made it with a cutter. To make sure that the piece will stay attached in the bamboo there is a need to create a latching system. Converting the joint piece into a screw to be able to secure it from behind the bamboo piece seams like a good idea.
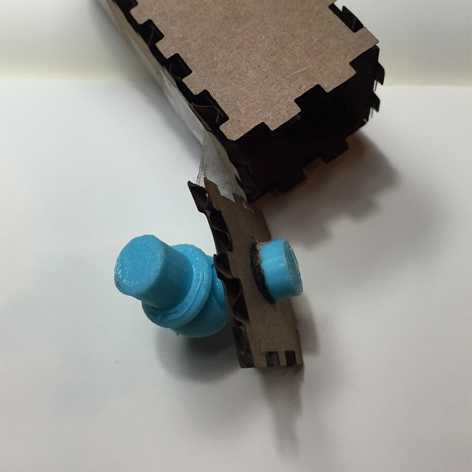
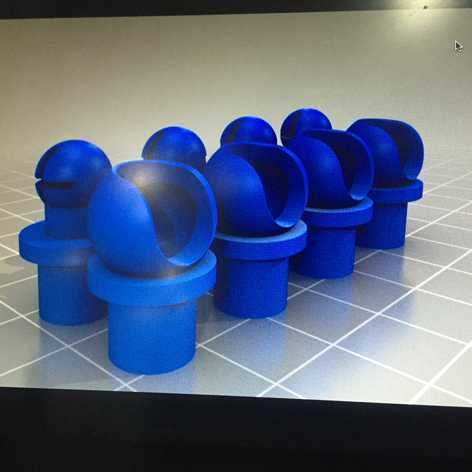
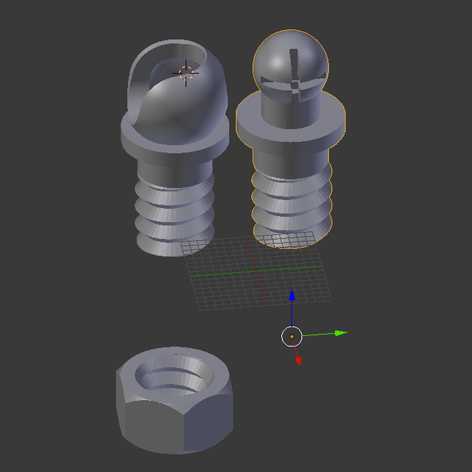
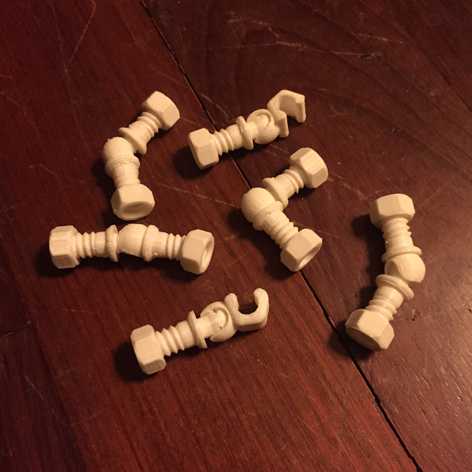
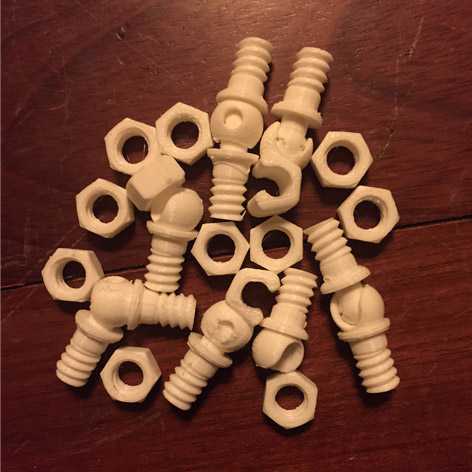
A search for the word screw & nut in Thingiverse returned a model that can be assembled with the joint piece to be able to have an easy way to secure the joint piece on the arm.
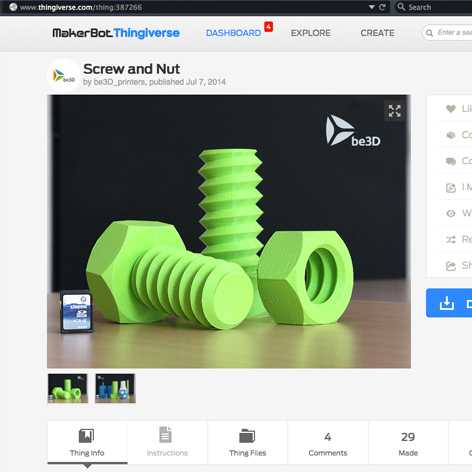
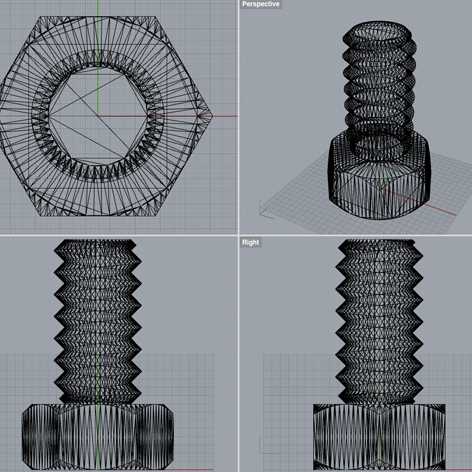
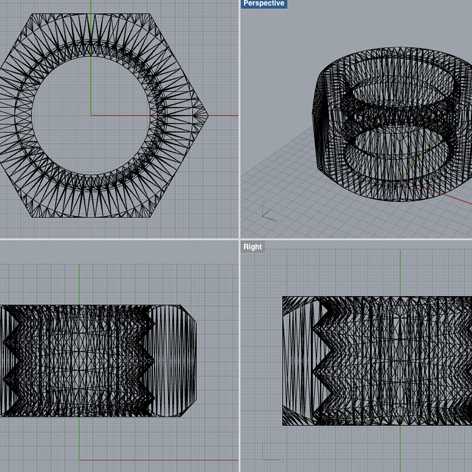
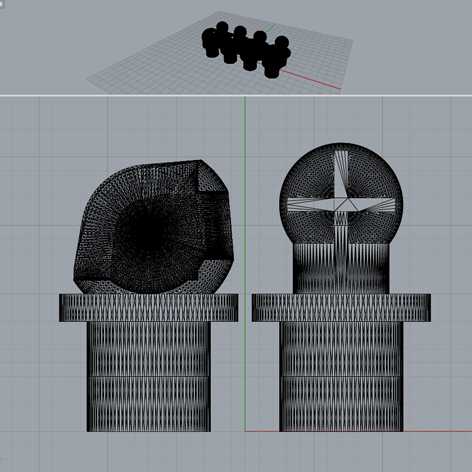
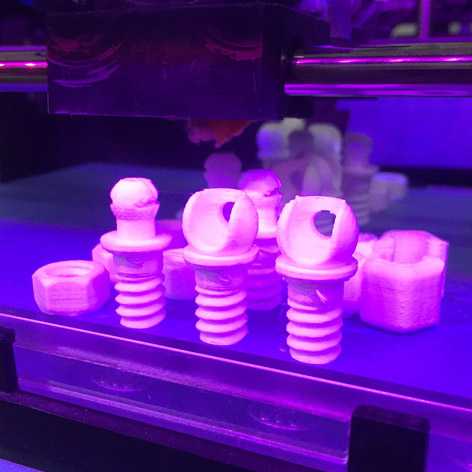
The joint models combined with the screw model are ready to print & test that the nut works well with the screw.

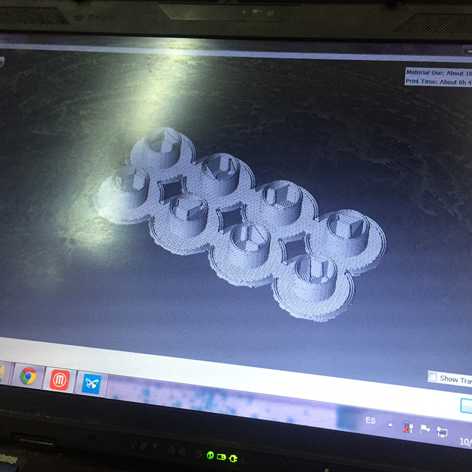
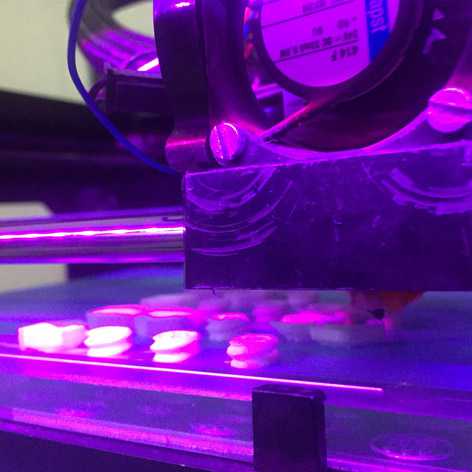
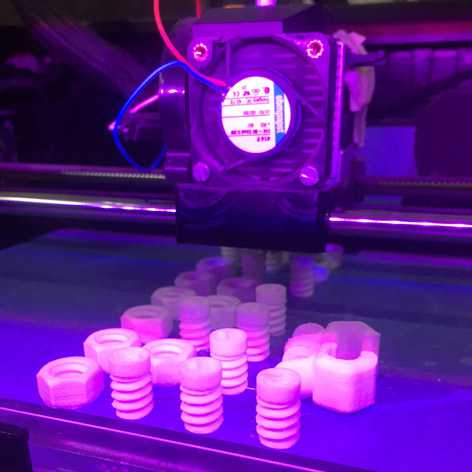
The tray of parts printing
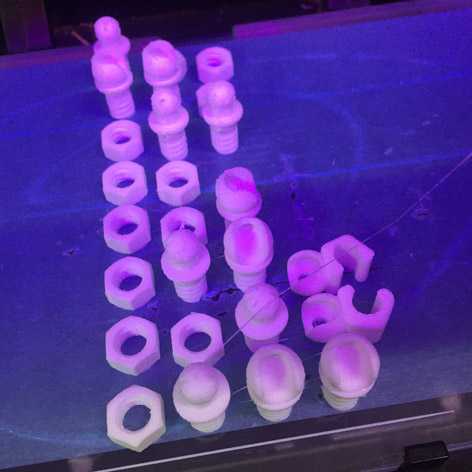
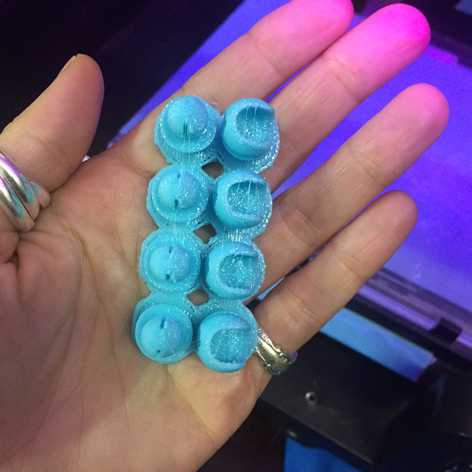
All the parts ready to add to be tested on the cardoard prototype
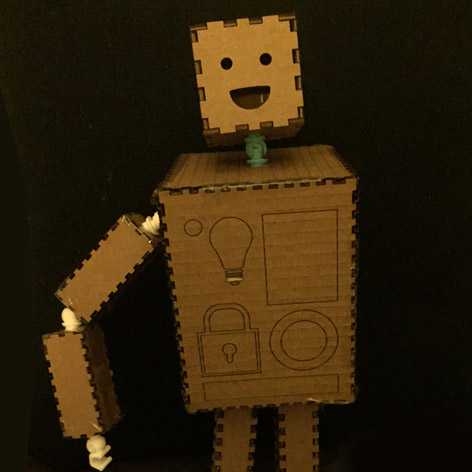
The joints added to the robot
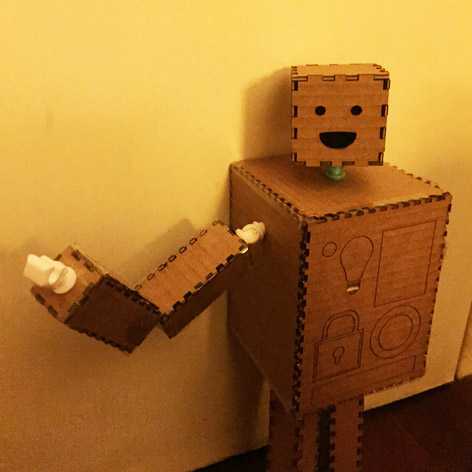
To create the whole for prototyping purposes I used a marker & with a cutter extracted the circle allowing to pass through the 3d printed joints. One of the remaining joints was quite nice to create the robots neck giving mobility to look up and around.
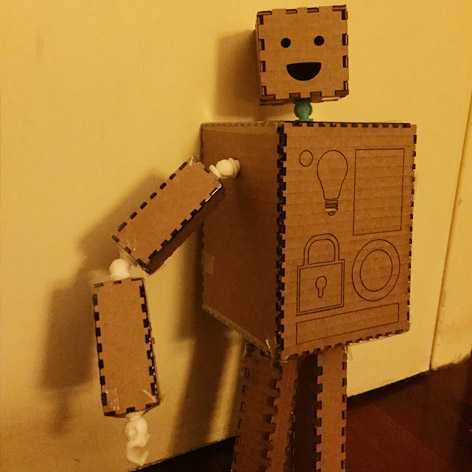
The process of prototyping the robot before constructing it is super helpful since the robot's body will have to be tuned to make sure that it's proportions are a little more coherent. The joints need to be shortened making the screw part only enough to be able to put the nut to secure it to the bamboo piece. This will also help reduce the overall weight of the robot.