Week 9
Molding and casting
Machine: monoFab SRM-20 (Software: Vpanel for controlling the end mill’s position, Modela Player 4 for creating the tool path)
Material: Clean wax , Silicone rubber and stiffening agent, Resin cast
Software: Fusion 360 for 3D modelling
First try: Fablab Kamakura Logo
Making the data
I couldn’t think of anything particular to make, so I made a simple shape with Fablab Kamakura’s logo on it. (all photos can also be viewed here. View/download the 3D data here)
Making the molds and casting
(all photos can also be viewed here)I milled the wax to create the positive mold, poured in rubber to create the negative mold and cast the resin part.
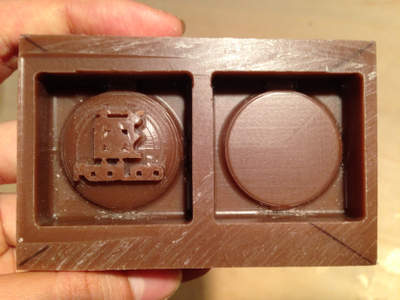
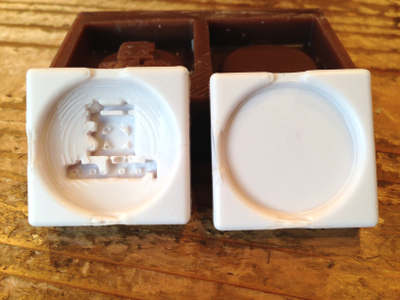
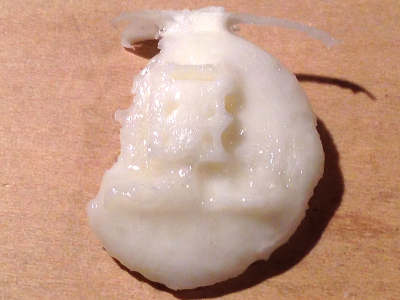
Mistakes
- I added two holes (2mm in diameter) in the mold : one to pour the resin in the mold, and the other to vent air while pouring. But since they were too close to each other I couldn’t mill the space between them.
- To save time I started milling just the logo section several times with different end mills.
At the end I forgot to do the “finishing” (that's why there are circular rough cuts around the logo). - After milling the wax, I poured in the rubber and left it in the Fablab to cure for a couple of days. The rubber didn’t settle into the dents in the logo. Though I did tap the mold as I poured to release bubbles, I should have been more careful and poured smaller amounts of rubber at a time around the logo.
- I had a hard time pouring the resin in the rubber mold. I learned that I should make wider holes.
- The resin cast was a little sticky and it didn't cure completely. The liquid ratio (1:1) must have been a bit off.
Second try: Sakura (Cherry blossom)
Making the Data
I decided to make a different mold (with a wider pouring hole) to cast sakuras which are currently blossoming in Japan. (all photos can also be viewed here. View/download the 3D data here)I made enough room in the center of the flower to insert an LED. Since the petals where going to be thin, I added venting holes at the tip of each petal.
Making the Molds
(all photos can also be viewed here)
The First Sakura
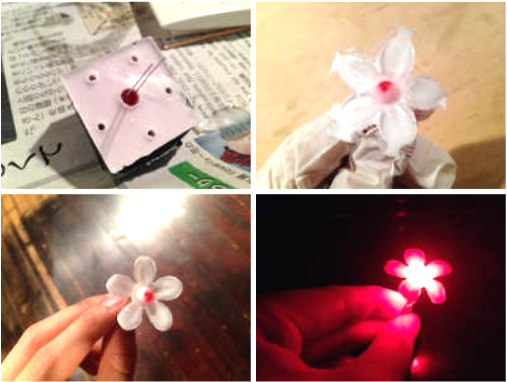
- The LED sank to the bottom.
- The resin cast didn’t cure that well again. This time I didn’t stir the liquid enough.
- (I cut off the resin that leaked with scissors. )
The Second Sakura
- I folded the legs of the LED when inserting it in the cast, so that it won’t sink to the bottom and it worked!
- This time I carefully measured the liquids and stirred it well and the resin cast finally cured completely.
- But after pouring in the resin, I pressed the mold which made it leak around the petals.
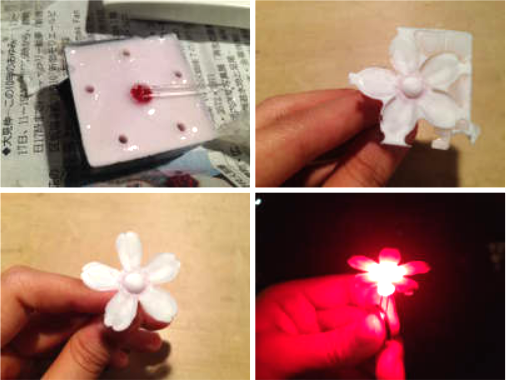
The Third Sakura
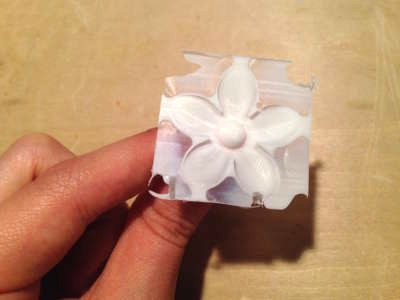
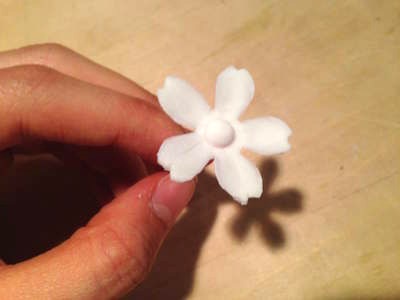
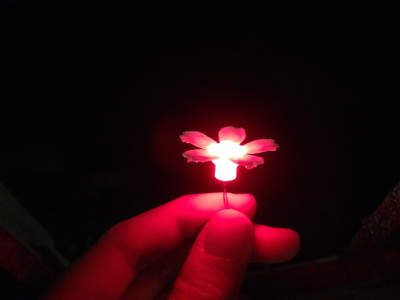
The third cast was pretty successful, but I still have to improve the mold’s data so that the silicon molds fit together and the cast won’t leak. (all photos can also be viewed here)