Week 10
Input Device: Sensing Sound
PCB Design Software: Eagle
Machine: MODELA MDX-20 (Software: Fab modules)
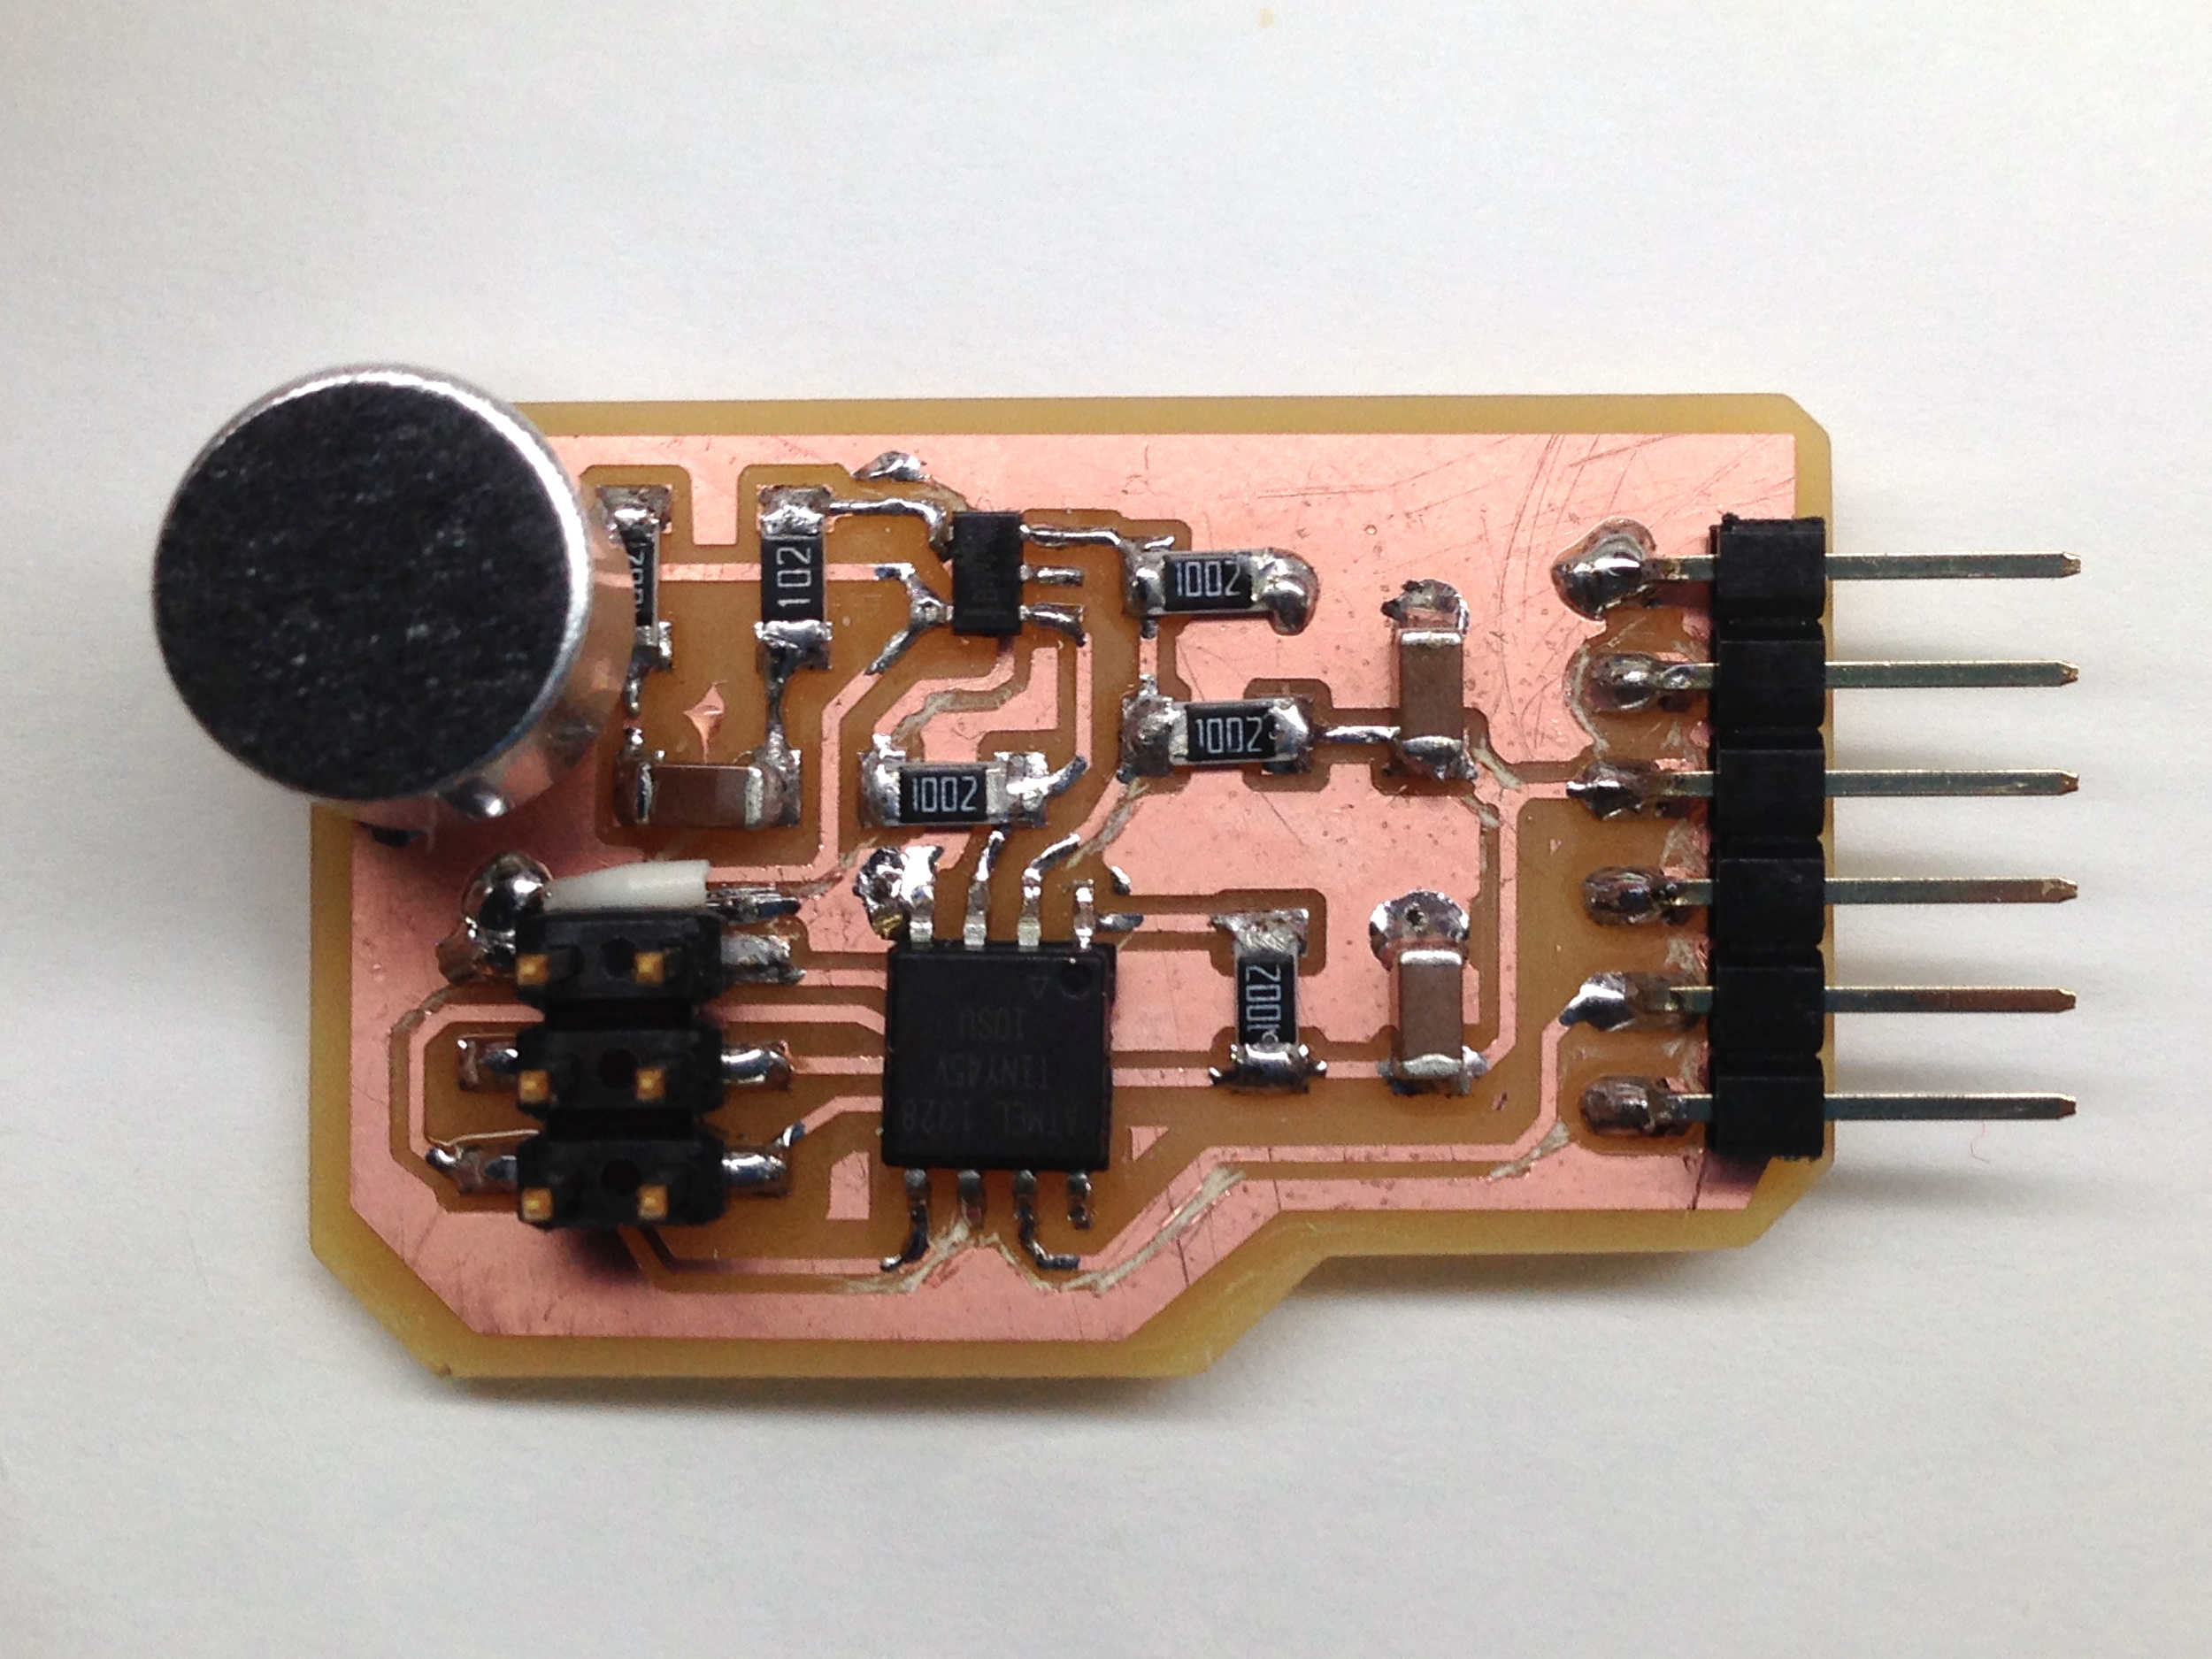
This week’s assignment was to make an input device. For my final project I want to detect a person’s sneeze, so I decided to use a condensor mic.
Components and Tools
- Attiny45 x 1 (Digi-Key)
- 1uf Capacitors x 3 (Digi-Key)
- 1k ohm Resistor x 1 (Digi-Key)
- 10k ohm Resistors x 5 (Digi-Key)
- Op-amp x 1 (秋月)
- Condensor Microphone x 1 (秋月)
- 6 Pin SMD Type Male Header x 1 (Digi-Key)
- 6 Pin Right Angle Male Header x 1 (秋月)
- PCB (FR-1) x 1
- Double-sided tape x 1
- Mitsuwa Paper Cement Solvent x 1(Amazon.jp)
Designing The Board
I designed the circuit based on Neil’s board. The image below is the Schematic.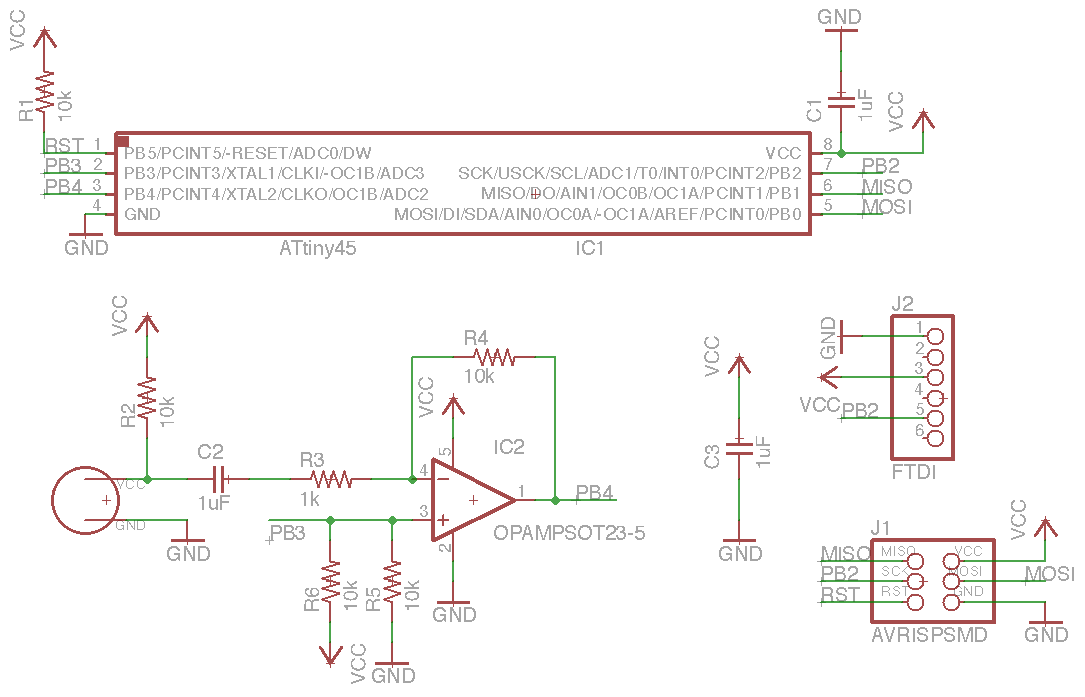
- Since the microphone produces small signals, one amplifier is applied to the circuit to amplify the signal.
- R2 is a pull up resistor for the mic. The data sheet recommends a 1.0k ohm for 1.5V. In my circuit I used 10k ohm.
- C2 is a capacitor that blocks DC voltage on the input signal and allows AC to pass through.
- R5 and R6 resistors are for stabilising the output.
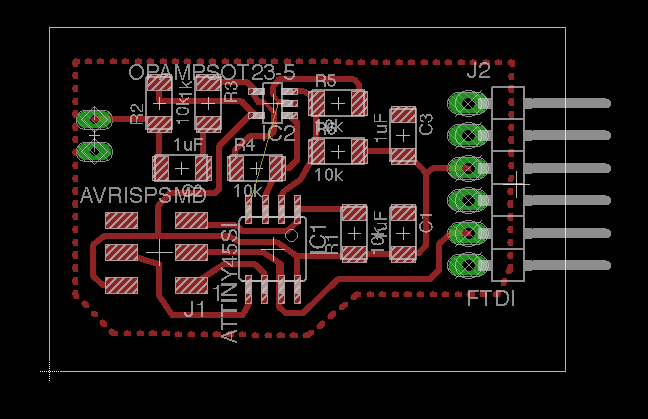
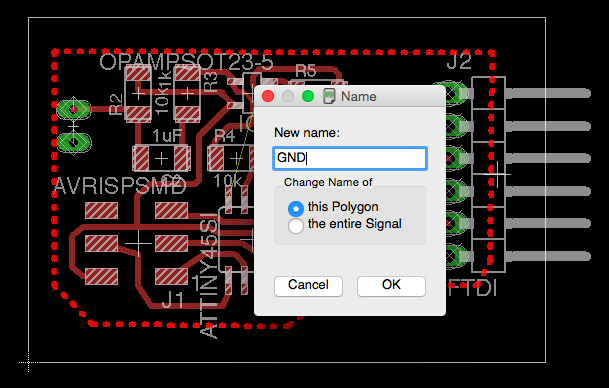
(This red GND plane can be erased with ripup)
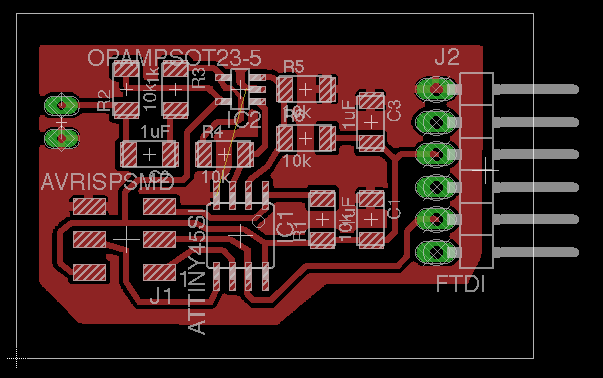
Making The Board
Some parts of the board were not milled so I cut those parts by hand with a cutter. (Later on I found out that I should have changed the tool diameter setting in Fab Modules from 0.4 to 0.3 to mill all of the narrow traces.)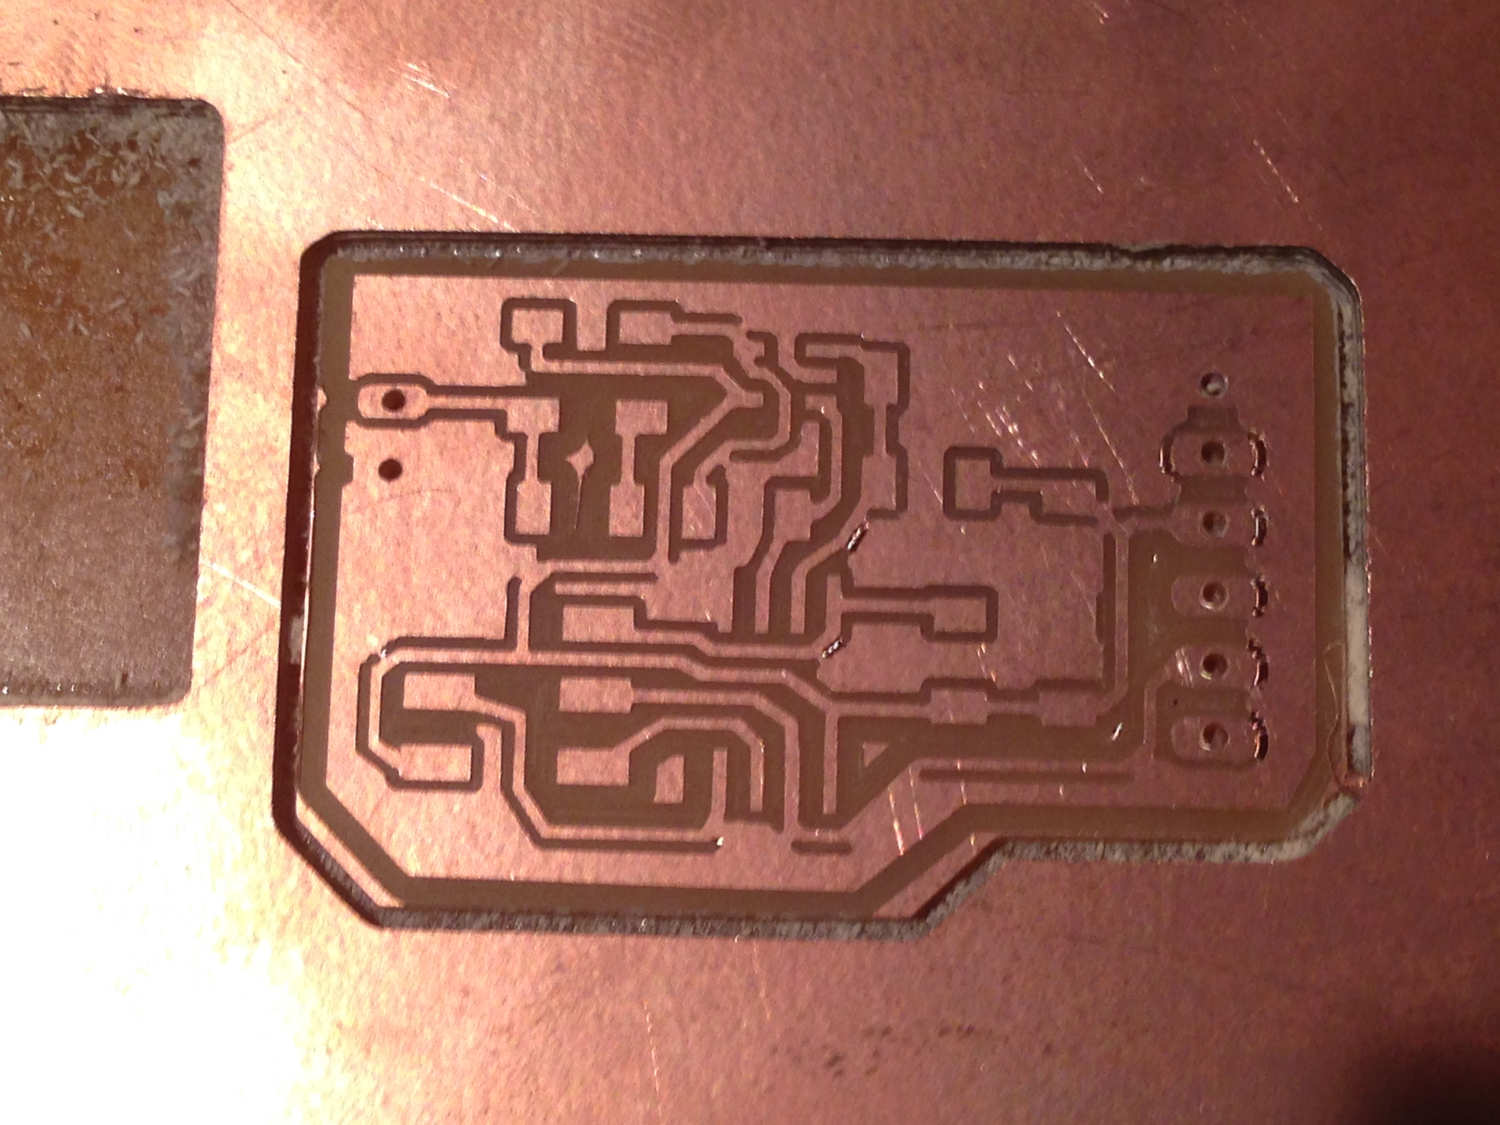


Programming The Board
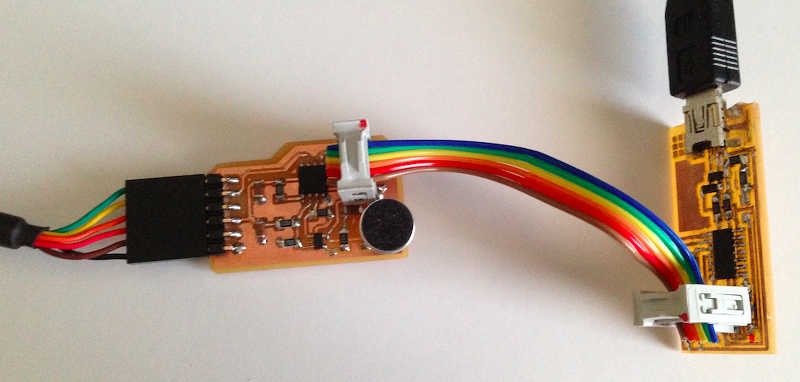
I followed this tutorial to program my board. Since I'm using Mac, I downloaded Pyserial and installed it by typing in terminal...- cd the directory to the Pyserial file
- sudo python setup.py install Then, connect the mic board to the FabISP.
 Download the c file, make file, and python file (right click link and Save link as…) and move them to a folder. To flash the micro-controller, type in terminal...
- cd the directory to the folder
- make -f hello.mic.45.make program-usbtiny Type in ls /dev/tty.usb* to find the serial port you are using. Mine was FTGCKCJC.
- python hello.mic.45.py /dev/tty.usbserial-FTGCKCJC
Now type in the following to run the python program.