STRUGGLING WITH 123D MAKE
The outcome of this week will be essential for my final project. I am going to make a tool essential for my final guitar, a torsion box press to create the front and back plate of my electric guitar. The curve radius, although very slight, curves on two different axis. Bending material on this axis can be tricky as expansion and compression errors can occur. Making a torsion box with complex curves (in 123d make) has been done before and should be easy, but making a press requires a few more steps:
- the intersections of the torsion box should all line up with one another. This is so that when the two sides compress each intersection will exert pressure on the other intersection.
- the sides of the press that are in contact with the bending material should be skinned to more evenly exert pressure across the whole face.
I had concerns about how the press will be skinned, especially with how the skin will be bent to the right shape, and how the bent skin will stick to the torsion box.
I started by playing with the compound curved skin.I started by going into 123D make and using the skinning tool to make a face fit to the curve. Unfortunately this method was not going to work, unless I split the whole front into 300 different surfaces to cut individually. Instead I decided to use matboard to create a compound curve with the laser cutter.
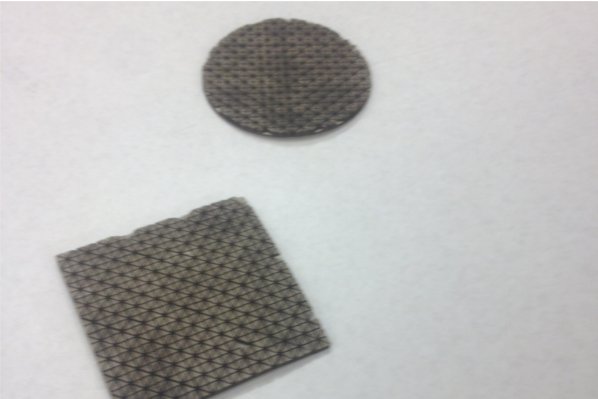
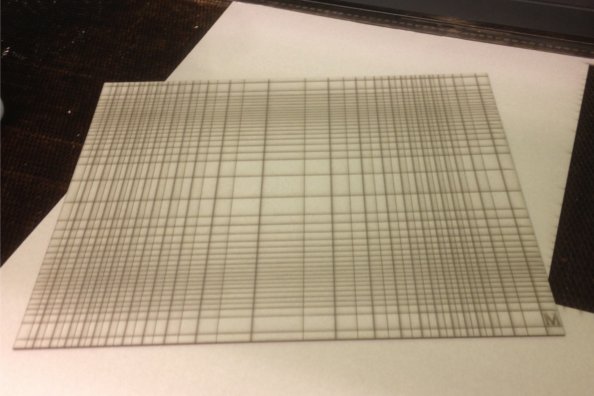
I used engraved lines in 2mm matboard to create compound curves in the otherwise planar material, using a power setting of 20% and a speed setting of 10%. It is worth noting that the material would only bend on the two directions of the cut lines, good for rectangular material but not so good for circular material.
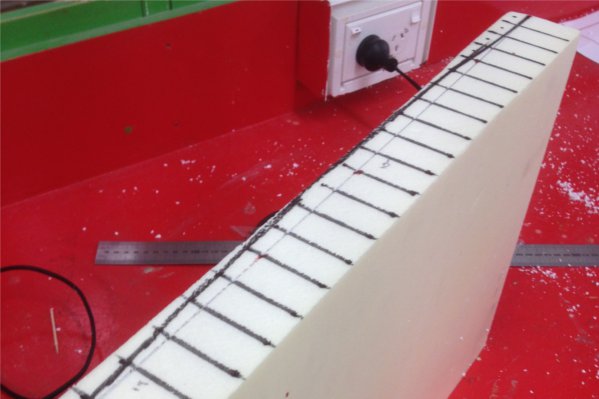
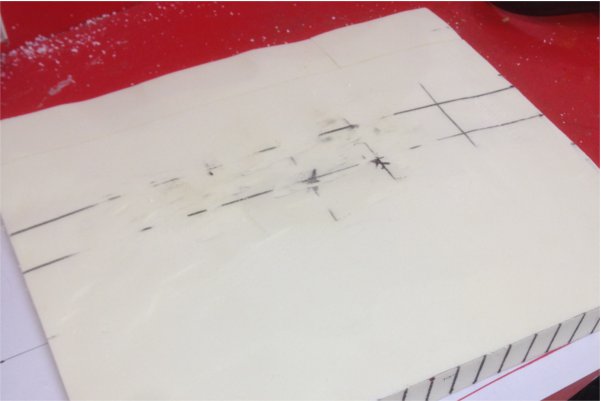
After that I needed to get an idea of what the front of the face would feel like, and to get an idea of how steep the curve actually would be. I went over to the 3d workshop and using a power sander, sanded the guitar face curve into yellow foam, in one to one scale.
I was pretty satisfied by the feel of the object (it actually started to feel like a guitar!).
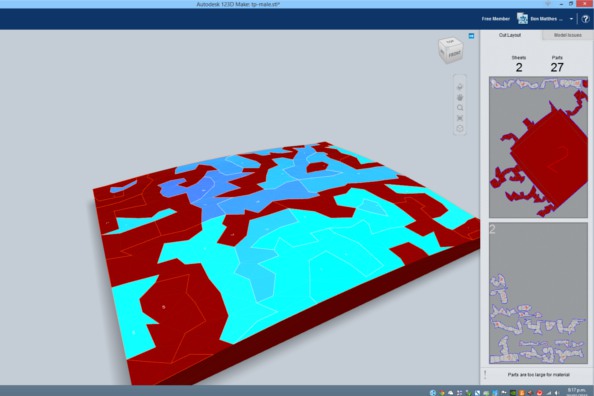
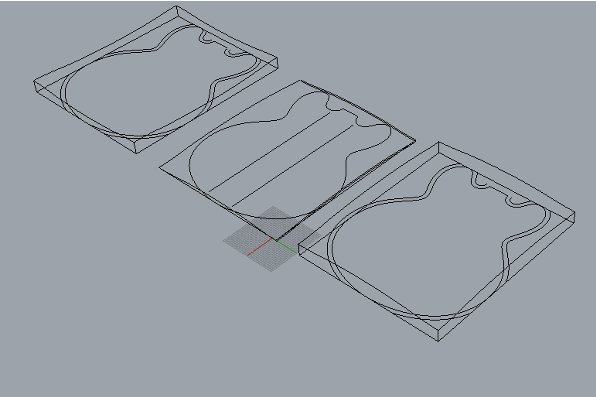
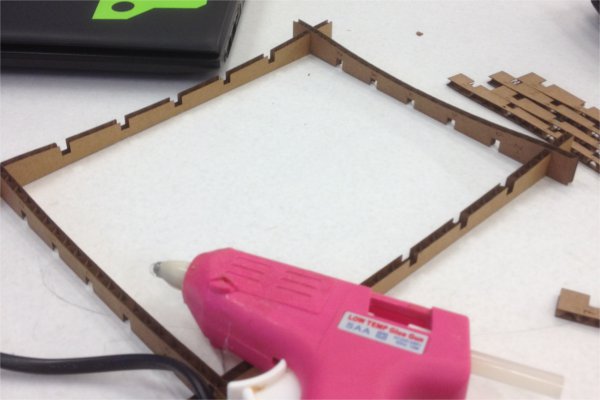
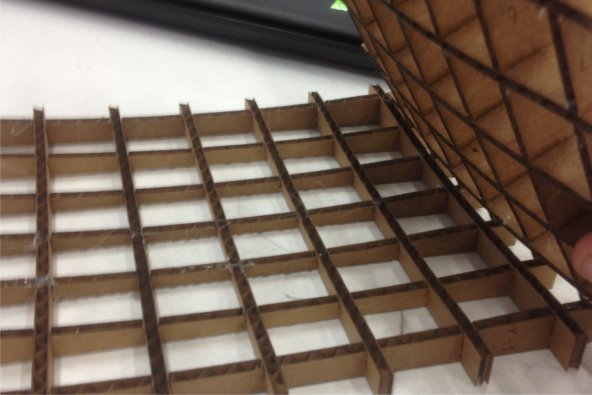
The next step was to laser cut a scale model of the press out of corrugated cardboard. I made up a model of the press from the work I had done in week 2, and scaled it down to size for the cardboard version. I then moved into 123D make which I had never used before.
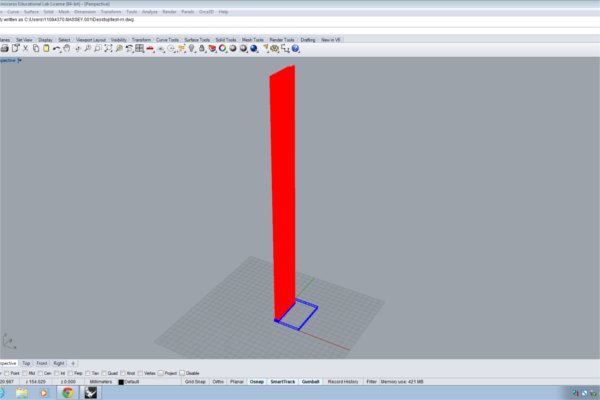
Overall I would say I liked how easy 123D make was to use, but It did limit what I was able to do, and the files needed to be worked on afterwards in rhino and illustrator. If I were making a parametric 3D model for a typical user, I would rather use a more flexible program (like grasshopper).
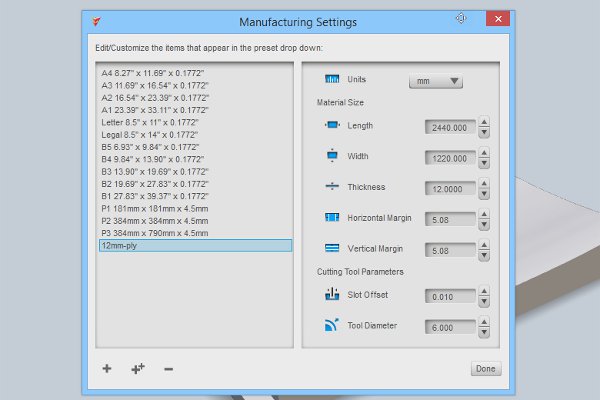
setting up the torsion box joints to align was easy enough, but at that point I couldn't figure out how to change the slot width. Later I was shown that you have to create a new material and change the thickness from there.
After cutting and glueing my torsion box press, I moved into try to get the exact compound curve for my skin on the laser cutter. In rhino, I drew lines (0.25 mm) across my curve and mapped out the shape of the curve, on 2 dimensions. I then tested this out on the laser cutter using the same settings as before for my engraving. One of the problems was that small parts of the matboard were ripping of the face of the matboard where the distance between engraving lines was too close. To prevent this on my future models I decided to decrease the amount of lines to engrave and use a speed setting of 11%.
As you can see, the test worked well and fit nicely with my press. I had a question about how to attach my matboard skin to the final plywood press, and it was suggested that I use small nails. A good idea. It was getting closer to cutting, I just needed to finish my final file. because 123D make doesn’t work at the lab (something about the university firewall), I had to go home to remake the file in full scale. One thing I needed to add was a way of holding the press in the right location under pressure. It was suggested that It might be a good idea to use locator pins in the shape of the guitar face and cut the material to shape before hand. After testing this out in rhino and 123D make, it wasnt going to work.
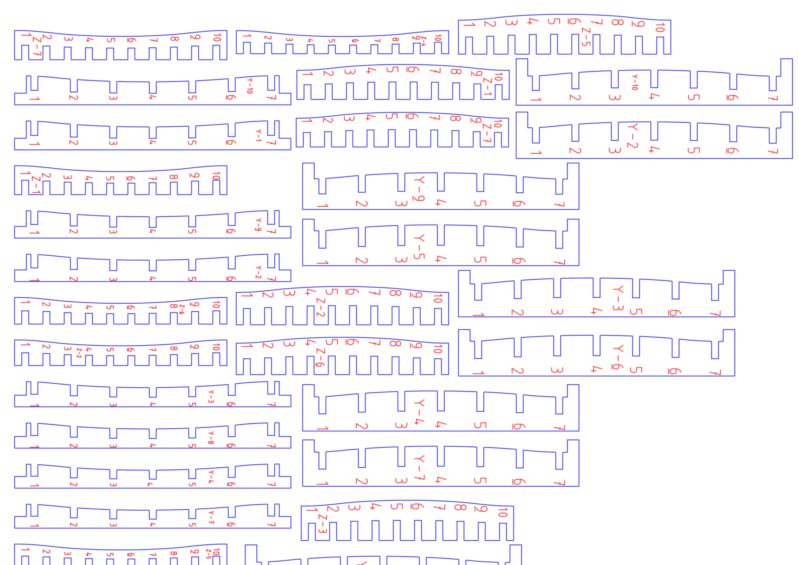
Then I decided to scrap that idea and just use linear locator joints that might work less well, but would work in 123D make. I exported happily ready to shopbot out on the final day.
However I then discovered that if you dont export as an eps file, 123D make will export the image as a point cloud. Finally, I went back to 123D make and corrected this error, imported into illustrator for nesting and then exported as a final DWG.
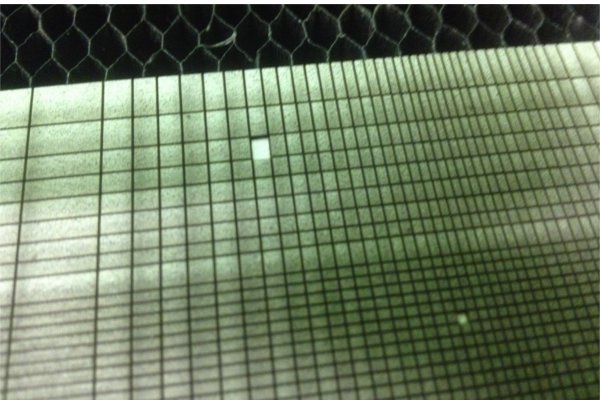
It was time to move into partworks, but first as a group we decided to test out our joints and make sure the tolerance was correct. We moved through partworks 3d quickly, and cut our test joints.
By the time we finished this it was the regional review, so i decided once again to work on documentation and uploading my experience in the little time I had left. I will cut my press and finish it off later this week.
ASSEMBLY
When it came to the production and assembly of my torsion box, Ive had a few issues. Somewhere along the way the 0.25 slot tolerence was lost, resulting in the torsion box being too tight and snapping when I tried to put it together.
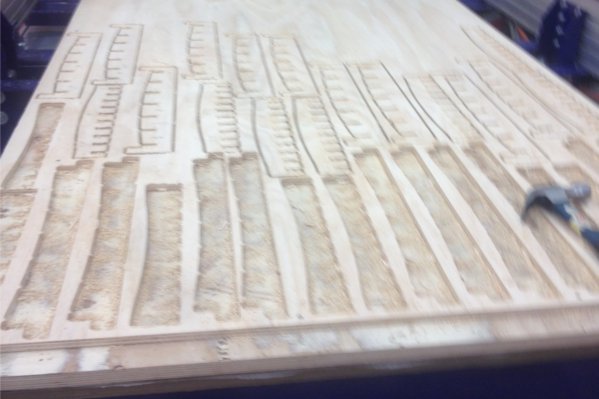
I went back to the drawing board and double checked everything. I learnt you had to take the esp file in illustrator and use the simplify tool to reduce the amount of points in the curve. The catch is that you have to select all the points except the ones that make up the slots.
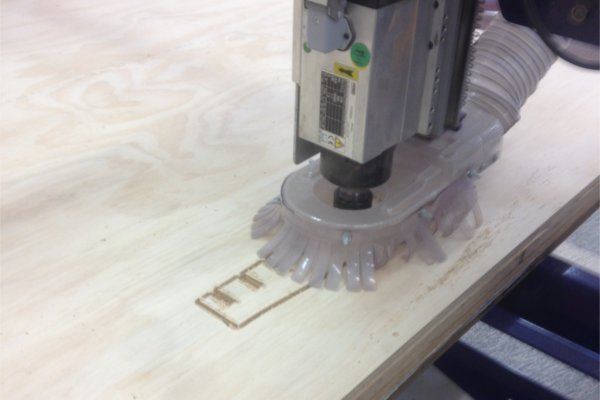
I used a 6mm end up cut end mill. I wanted to get the cut done and spend more time finishing rather than spending more time on the machine (other people needed to get thier shobot assignments done as well). Because of this I used feed and plunge rates of 80 mm/secong and 40 mm/second respectively, with an r.p.m of 12000.
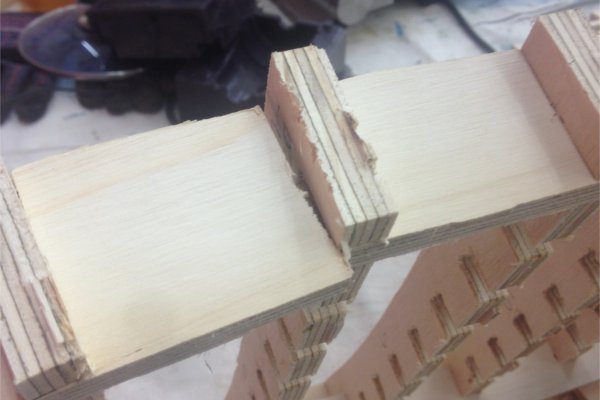
with this in mind I then re-cut and moved onto cleaning up and the assembly of the press. They fit together fine untill the last couple of peices. Then the tension in the box was too much and the ply started to split. I figured that the amount of pressure on the wood was also dependant on the amount of peices that need to slot together.
With the help of Stuart, I managed to get something working, and when I assemble the other half I will only use three or four peices to hold it together with the right amount of tension.
My next iteration will use less peices and hopefully
get the same result whioe being easier to put it together. I might also try widening the slots so that there is less pinch on the wood.
At some point I would like to look at grasshopper torsion boxes to see if I can get a more coherent model.
SKINNING
As part of my Composites assignment I had to quickly finish the production of my CNC cut press.
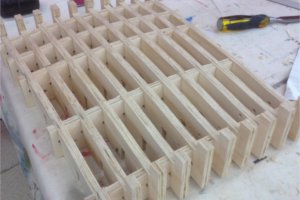
Assembly was alot easier once I figured out how to fit toggether the press in the right way, however it still broke slightly as I was putting it together.
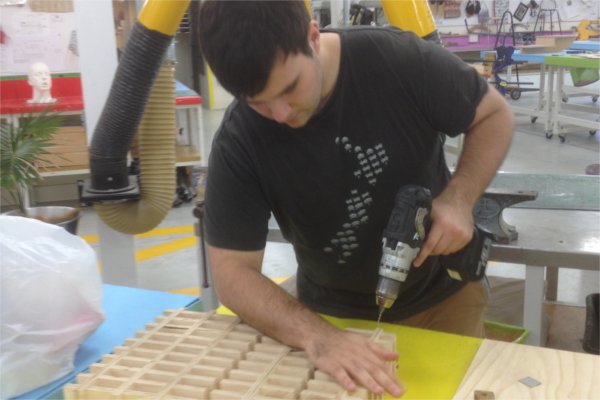
the first press I assembled was pulling apart from the tension of it fitting together. This would effect how the front and back would look, so I needed to find a way of sticking the peices together. Fab academy Geoff helped me in deciding to drill pilot holes and nail gun the torsion box together.
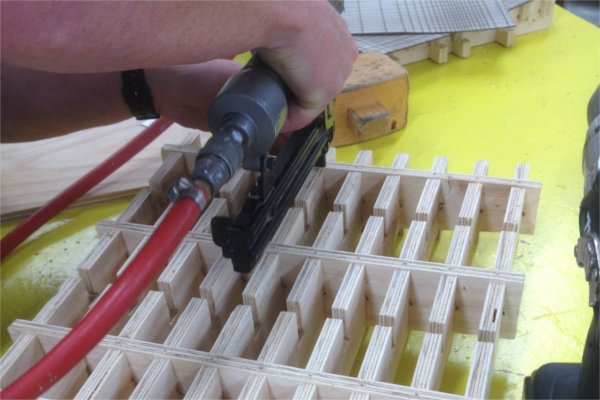
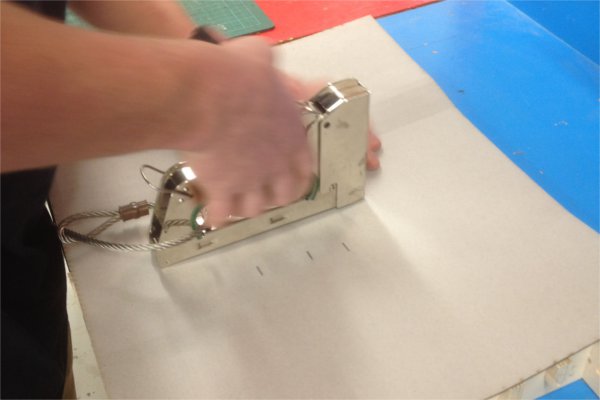
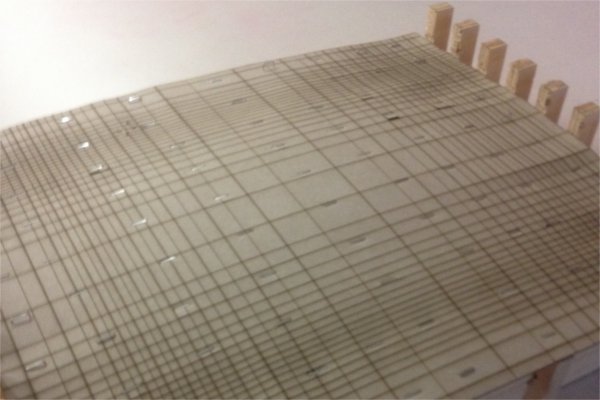
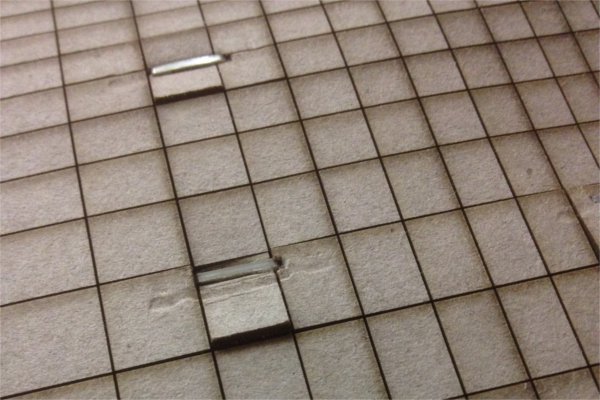
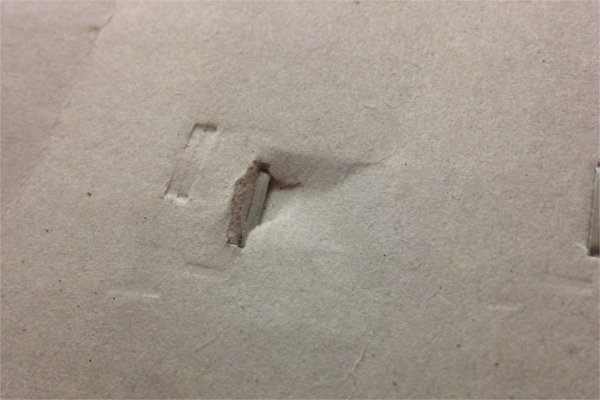
Finally it was time to skin the torsion box in the laser cut matboard. The matboard bent well because of the lasercut lines. This also meant that the material was very fragile. Geoff and I attempted to attach it to the torsion box with staples which worked somewhat. It is worth noting that Wendy reccomended that we start in the middle and staple outward, which we did. This worked well and helped us avoid errors.