VORONOI. NEVER AGAIN.
I have made the same mistake twice. My ambitions for this weeks assignment were very high (possibly because I have the opinion that 3d printers are extremely good at printing objects tat arent useful). I decided during the lecture to try and design a 3d printed lock, I thought I could learn about 3d printing moving parts in the process. Unfortunately I also had the first week of university, which reduced my available time significantly.
Maybe it was the stress or the workload, but I quickly caught a cold, which means I should probably work a little bit easier from here on.
I started by going through previous assignments, but also looking at the mechanics of locks and how I could change things up. I came across Alejandra Diaz De Leon, who came up with fantastic parametrically designed, 3d printed jewellery. I also looked at videos of how different locks work.
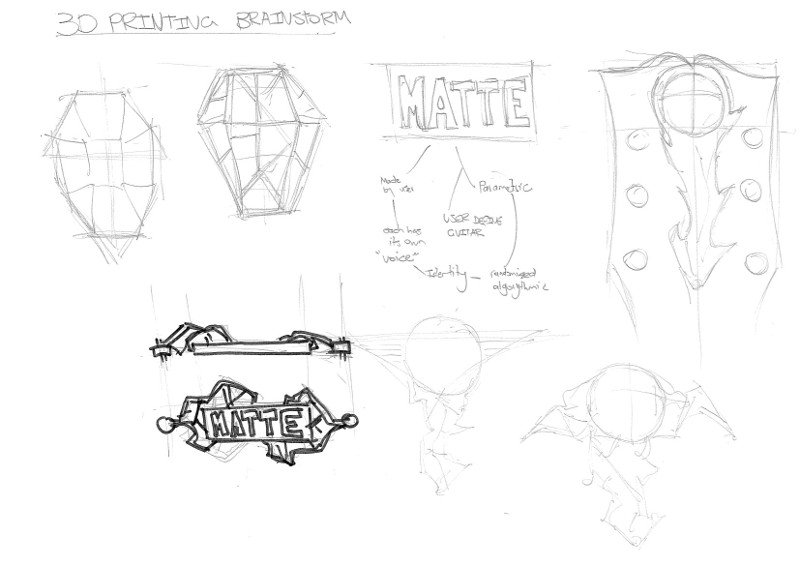
It was on sunday night that I decided to scale back my project, and so I started brainstorming. I came up with the idea of a 3d printed badge for the headstock of my guitar. Most guitars will have either a laser engraved or stuck on brand name (think Gibson or Fender at the top of the guitar). I wanted my brand to be on the top of the guitar, but also represent the individuality of the user made guitar.
I looked at different inspiration from different 3d printed objects and other objects in general. My two favourites were wireframe 3d prints, so thin they almost look like lightning from a plasma orb, and the composition of airplane badges, which have a certain authority to them.
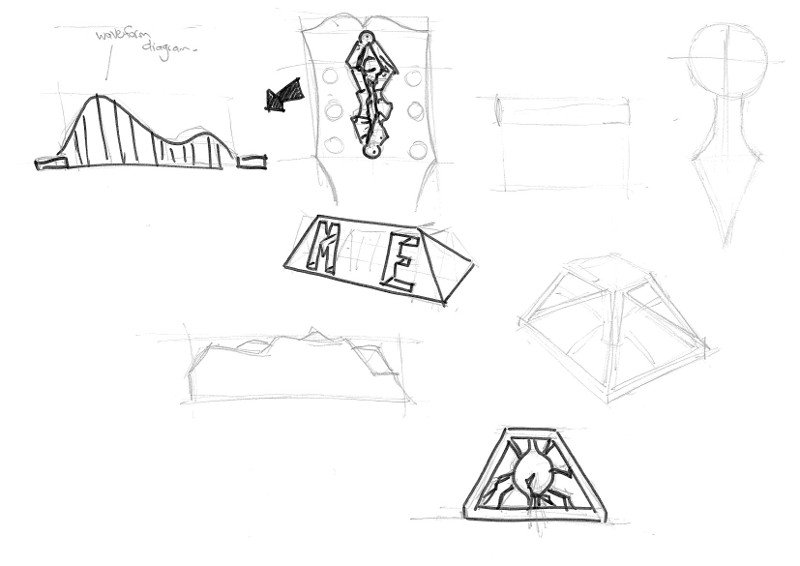
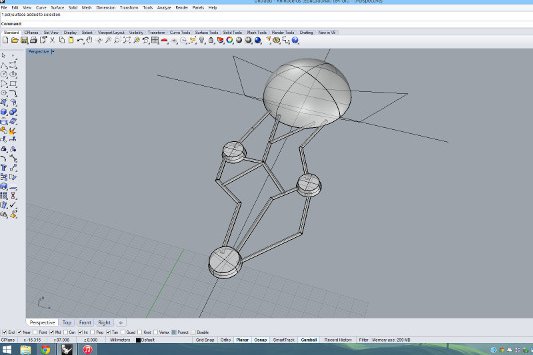
I started drawing, playing around with different shapes and concepts. I came up with the design of a single semi-sphere, with 3 screw plates and wireframe lightning to connect them. The broader idea was to have the lightning algorithmically generated so that each time someone makes the guitar and 3d prints it, the badge is slightly different. I would use grasshopper to achieve this. I kept on developing the concept and simplified the concept to work as wireframe lightning between 2 points. Continuing on with the theme that each guitar has it’s own voice (and headplate), the lightning could be modeled to mirror the wavelength diagram of the guitar itself, or at least having individual looking wavelength patterns.
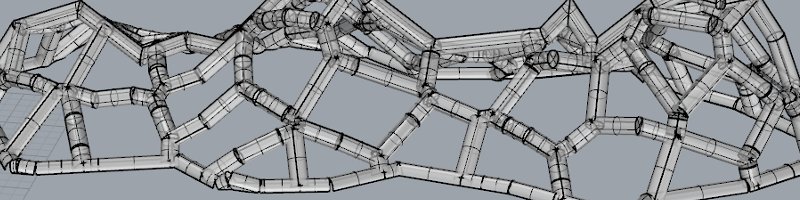
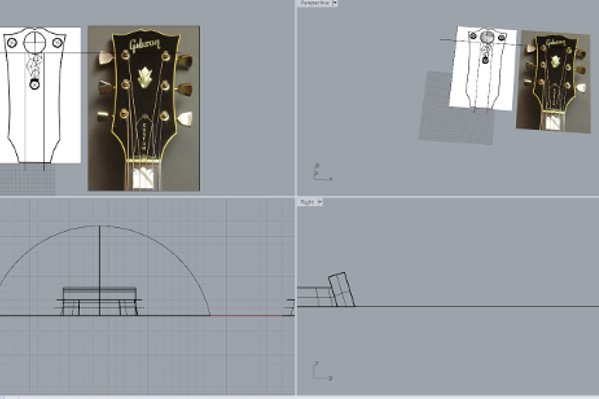
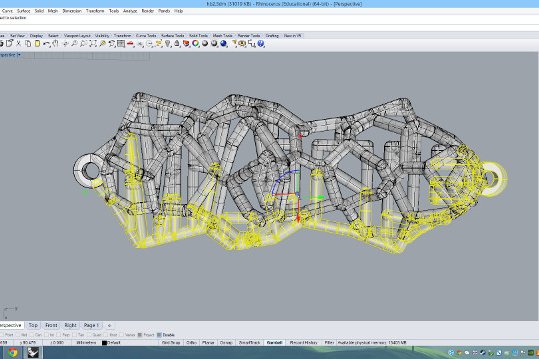
I started modelling by making the flat patterns for both the top and side views on Rhino. I think I will start by making the first one on rhino and moving onto making algorithmic generated shapes when I have more experience in grasshopper. After creating a few rough 3d shapes I moved into grasshopper to create the randomly generated wireframe. I have to thank my generous collgue Anna for showing me how the Verenoi tool worked with grasshopper and a toolbox extension called kangaroo.
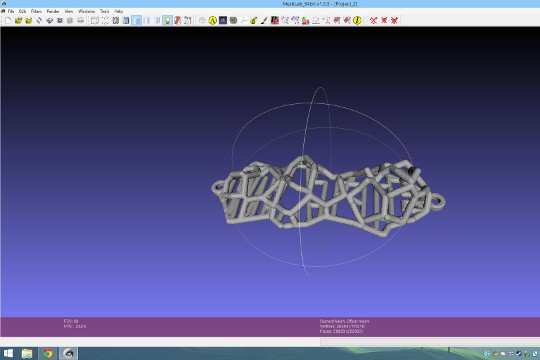
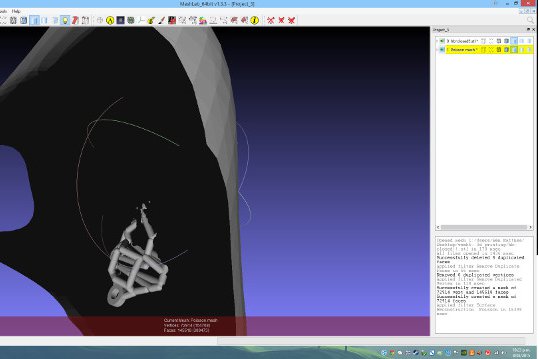
After finishing my grasshopper model with something not even remotely watertight, I moved on to Meshlab, which was a new tool for me. Anna suggested that I use the possion tool in the resurfacing directory. What this does is completely resurface the mesh so that it is one watertight objecs based on a approximation of the model. This process is very computer processor heavy and didnt fully work (it distorted the model so that it wouldnt print happily) using the University computers and 32-bit version of meshlab. I was then reccomended to use the uniform mesh resampling tool, which just did not work for me at all.
I went home to try Possion resampling on my bigger home computer, but ended up moving back to Grasshopper. I managed to close the pipes, creating a whole lot of water tight shapes, but overlapping each other. A failed boolean union shows that there are still vertices too close together, and self intersecting faces. I then decided to go through and manually clean up the model, to create a single watertight object.
3 hours later I had something that was working well. Moving into meshlab, a uniform mesh resample made the model as a whole look more unified. I also tried to use the Poission tool but always ended up going distorting out of control.
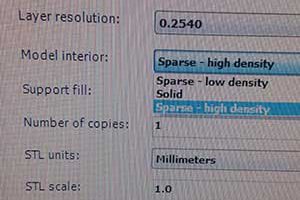
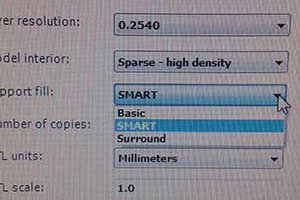
It was finally time to print. I used the Uprint plus printer with as much structure as I could (I did not select the smart setting) with the intention of washing it away in the bath.
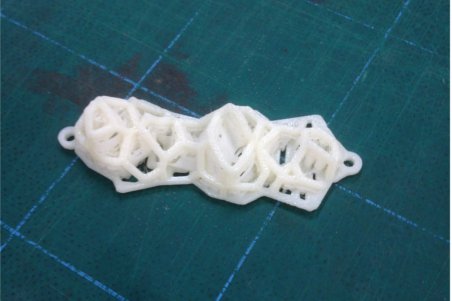
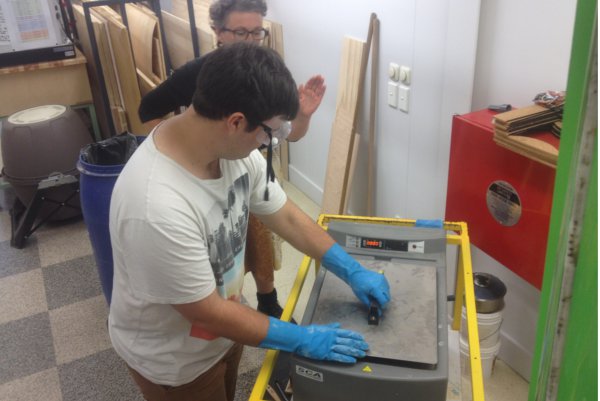
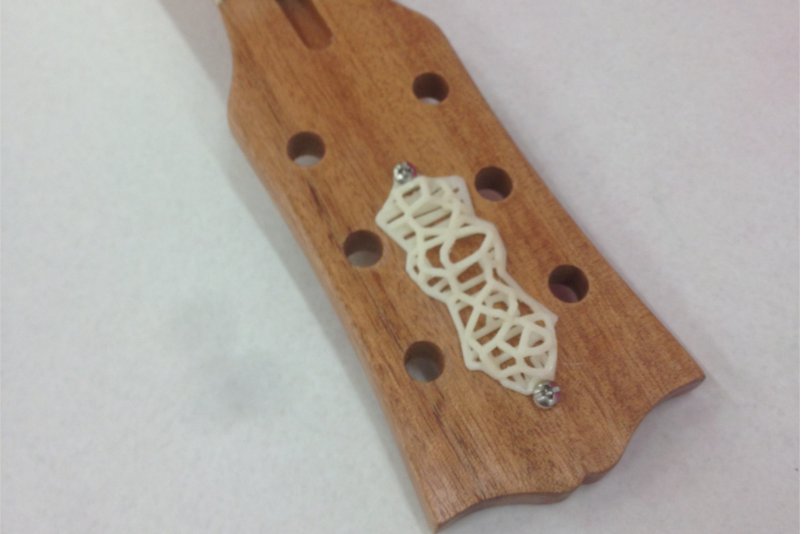
Using the SCAA bath was as simple as putting the model in the cage and flipping a switch. Three hours later I had a (carefully dried) model without any support. This is what it looks like mounted on my guitar neck:
Overall I think the final design could be alot bigger and more complex. I aim to use the basis of this design the molding and casting assignment.
3D SCANNING
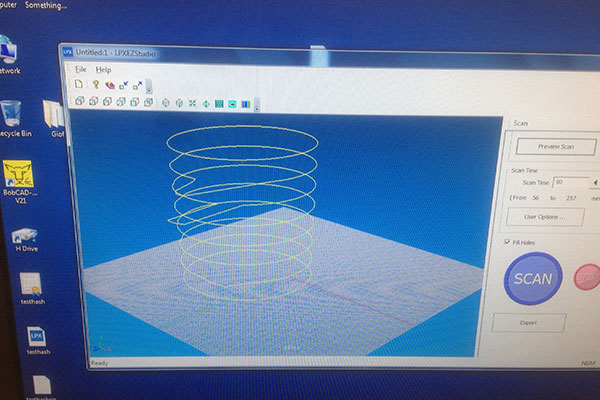
I needed to complete a 3d scan, and having had issues with this process before, I decided to keep it simple. I decided to use the Roland Picza scanner, affectionately reffered to as the microwave.
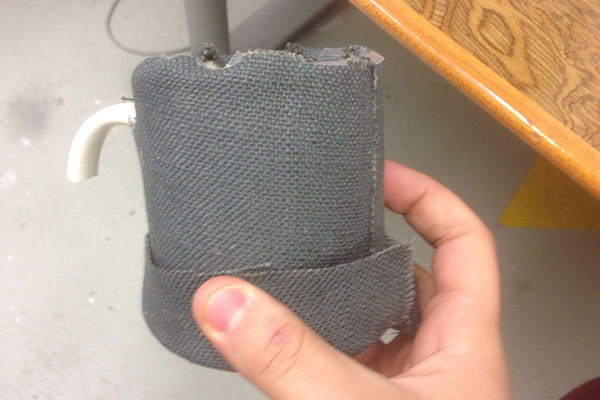
The first thing I needed to do was decide on something to scan. I chose my favourite mug, but decided to wrap it in fabric to give it a mette finish without painting it (the scanner really will not work with any kind of glossy finish). I also decided to abstract the material a little bit to see how the scanner handled it.
Using the scanner was very easy, you simply turn it on, set a preview scan (which takes only a couple of minutes) and then set the time for the actual scan. You can choose to either adjust the precision of the scan by time which will change the prcision and size (or number) of polygons in the model. I went for 90 minutes, right in the middle of the rccomended times of between 40 and 120 minutes. This gave me a scan with mid range resolution, but also meant the file size wasnt huge.
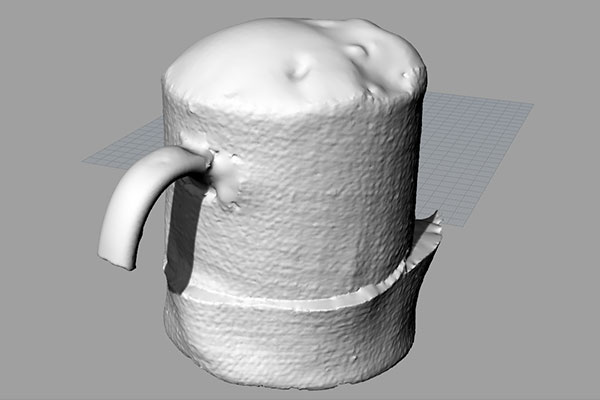
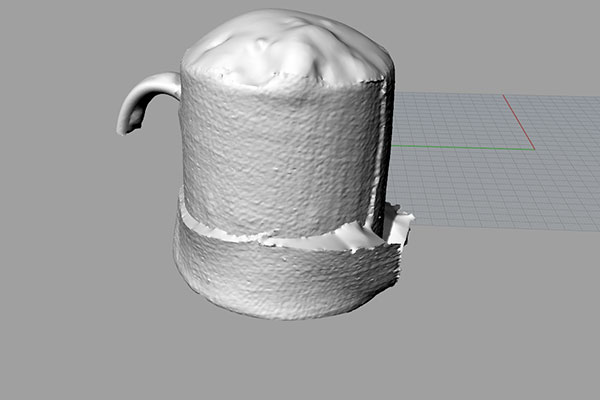
The scans came out alot better than expected, that is, with less mesh holes than I thought. You can clearly see the difference in detail between fabric and ceramic handle. The only unexpected bit is the top of the mub, which I expect had to do with the reflection of the inside fo the mug on the laser. Of course the fold of the fabric was an issue as well, but that wsa somewhat expected. Overall a good experience.