For this week, we will be doing a group assignment which is something that I am looking forward to doing with my team.
Roy is leading the team which consist Roy, walter and myself. We will be taking care of the design, fabrication and assembly of the machine. The rest of the team will take care of the programming which will join together and to make machine works. Roy has assigned me to do the machine joints for the machine to link together.
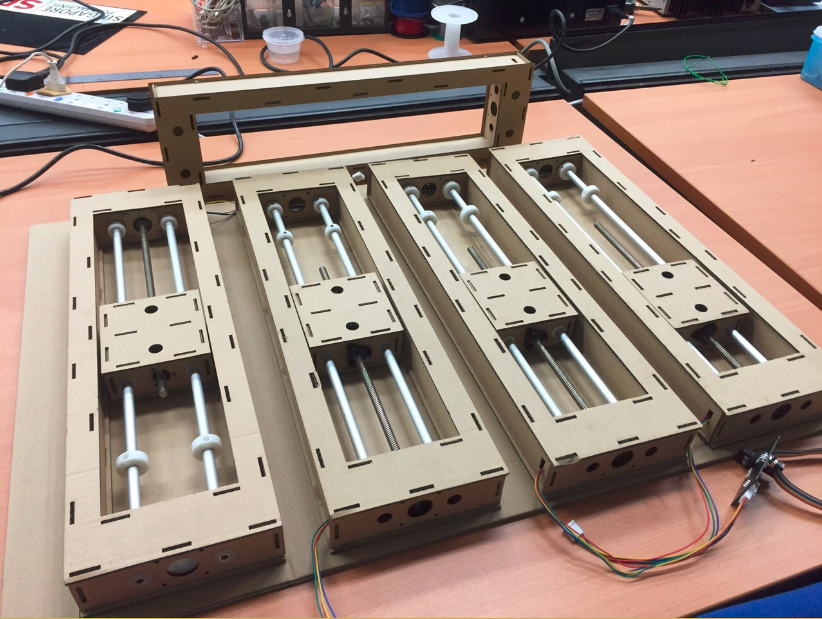
Below is a photo of the final product before assembly, Our FabSP MTM.
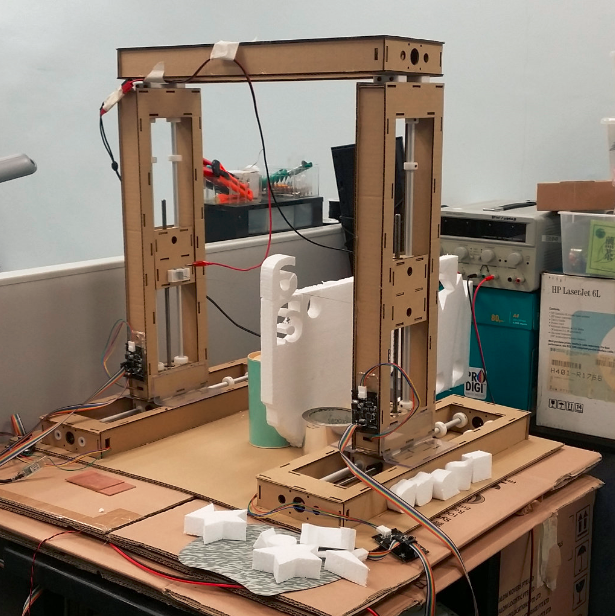
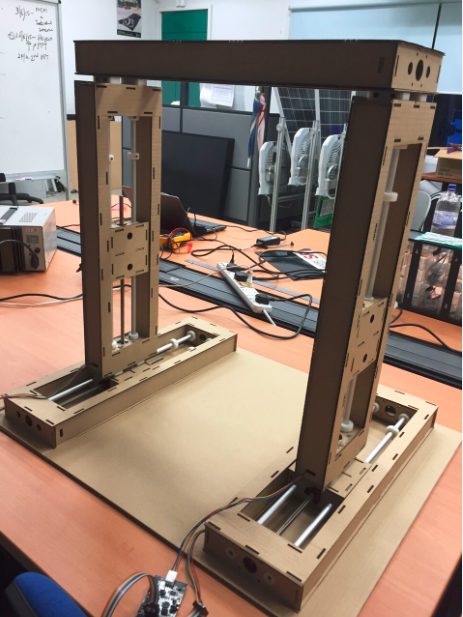
Below is a photo of the final product after assembly, Our FabSP MTM.
I am quite impressed of what we can build out of cardboard. For my part, I will be designing the parts that are to link the machine together and also the parts used to link the heating wire. Below are the designs that I have come out with.
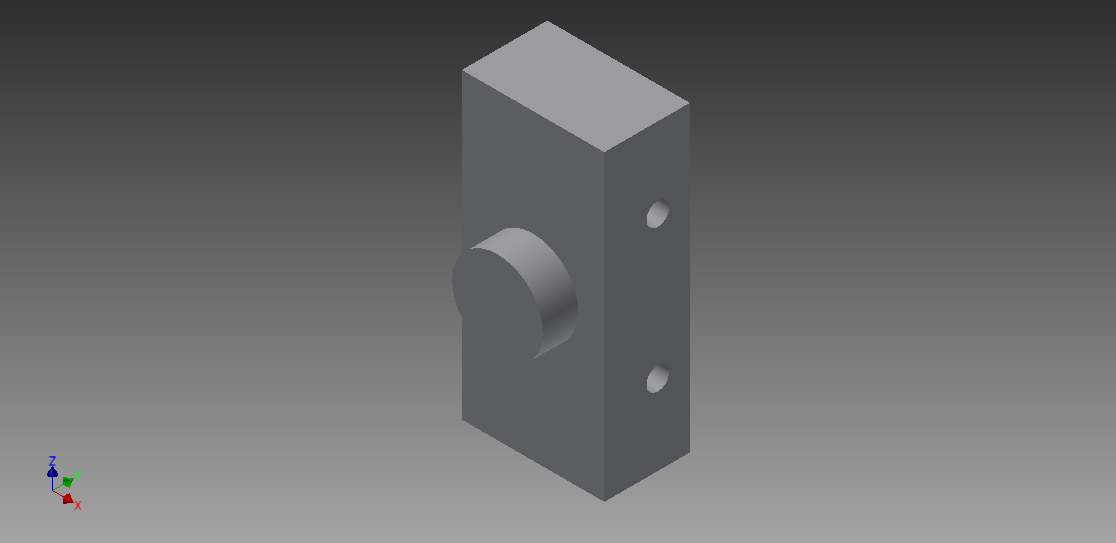
Below are screenshots of the part drew from the Autodesk Inventor.
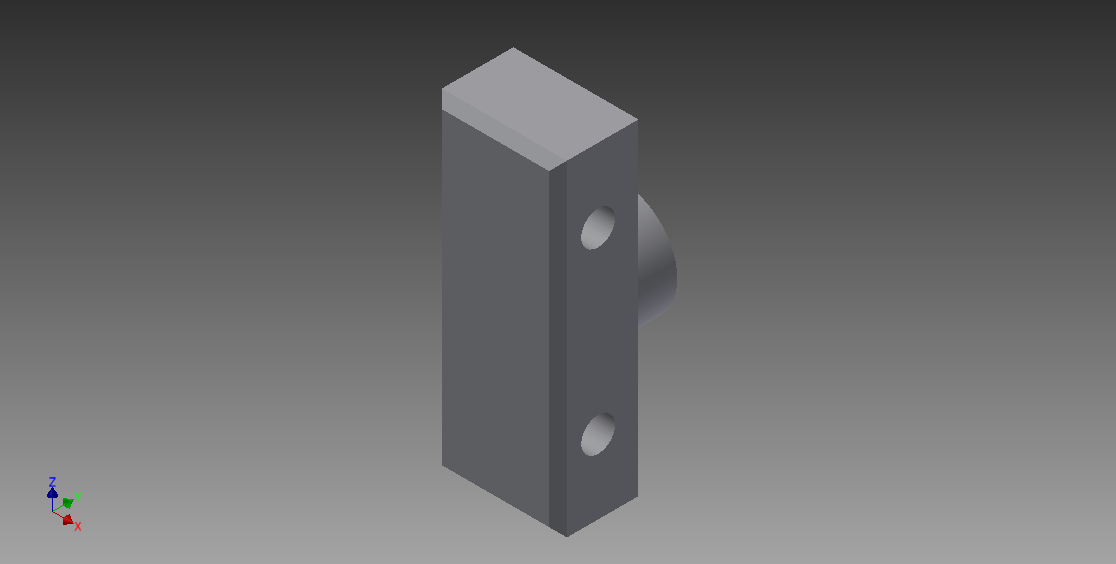
Click here to view male part ipt (right side)
Click here to view male part stl (right side)
Click here to view female part ipt (left side)
Click here to view female part stl (left side)
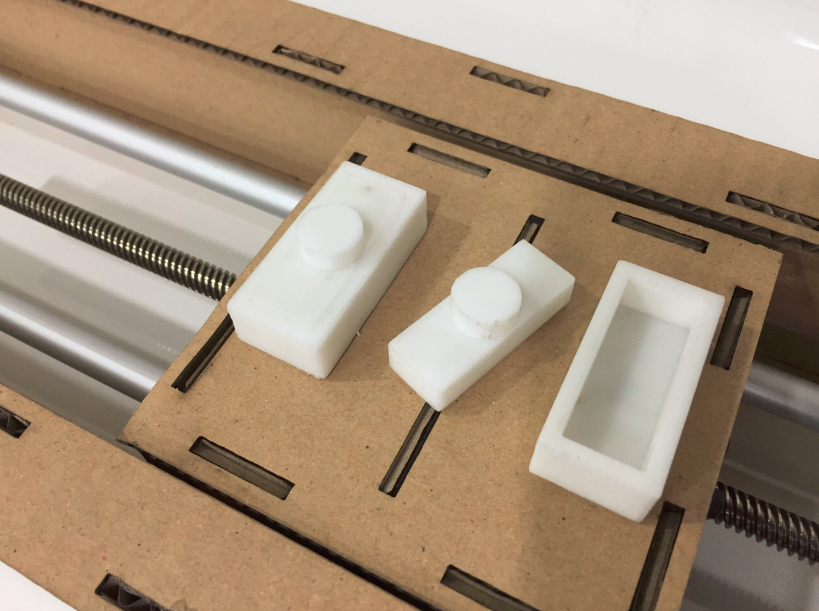
After completing the drawings, I have already decided to use 3D Printer to print out the links with the machine. After printing, the parts fitting came out quite nice fit except I need to file down a bit.
Below is a photo of the linkage parts for the machine.
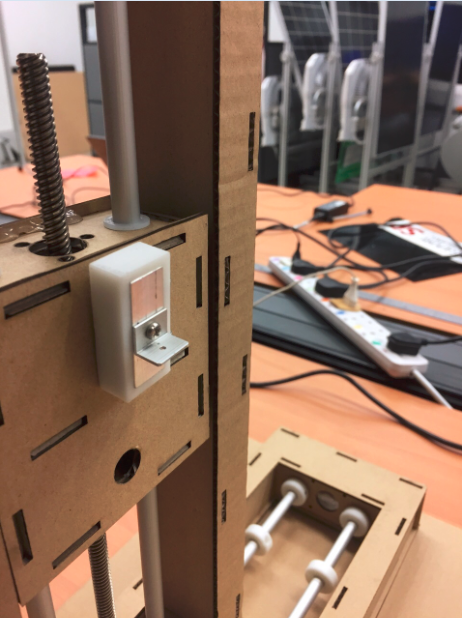
After trying to assembly with the parts, the linkage parts are fitting well into the machine. I have to continue with the design and fabrication of the heating wire parts which I have to reconsider the material used for the heating wire parts. This is crucial, there might be some possiblity that the heating wire might melt the parts fabricated from 3D Printer. I decided to use a aluminium block to replace the 3D Printer parts. I started fabricated the parts for the heating wire which came out quite nice. The aluminium blocks are cut out using conventional milling machine which took me a while to fabricate the parts.
Below is a photo of the heating wire parts for the machine.
Finally I am done with the fabrications of my parts and now is the final testing of the MTM which I am very anxious to see the results. I was shocked with how well the machine is working. I am pleased with the results.
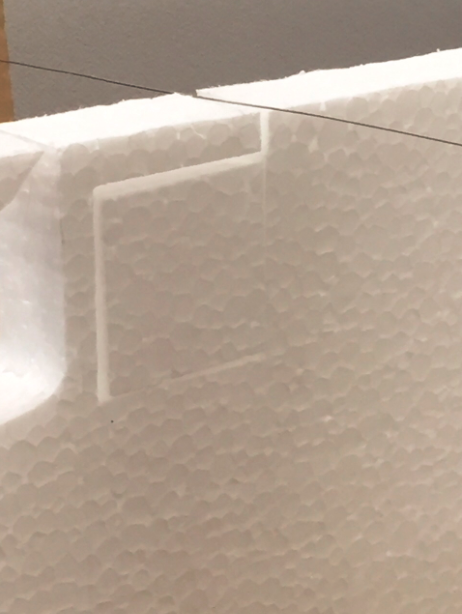
Below are two photos of the MTM doing some excellent work, the photo on the left side showing MTM performing cutting and the photo on the right side showing MTM cutting alphabet.
Click on the picture to take a look of the video of the Foam Cutter in work.