
9. Molding and Casting
design a 3D mold, machine it, and cast parts from it
Making "Hugging Teddy bear" : softrobotics
For this assignment, I have two weeks. I try to make hugging Teddy bear with PneuNets Bending Actuators. This mechanism is inspired by softrobotics the video below.
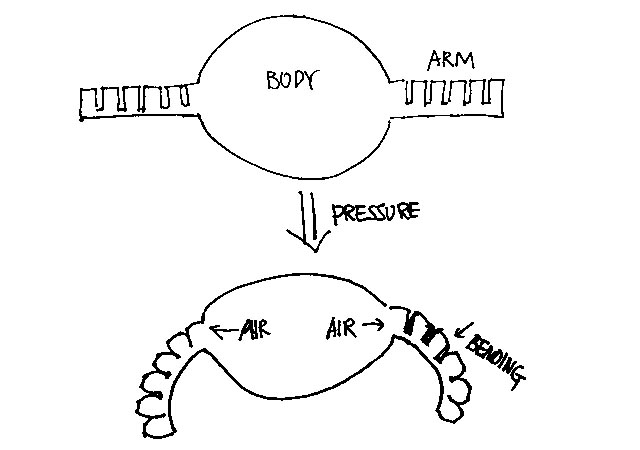
Idea sketch
It’s very simple mechanism. there are two parts: body, arms. Body looks like ball and contains air. If I hug Teddy bear, the body will get pressure. And then Teddy bear also hug me because the arms are bended when the air goes inside.
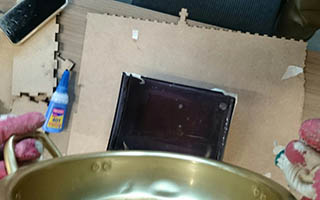
Making Mold
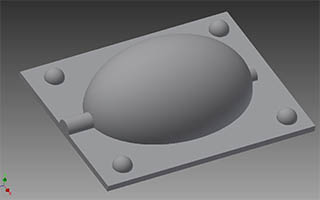
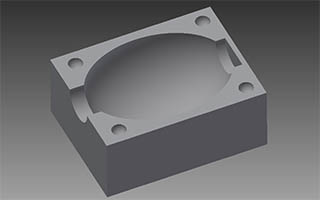
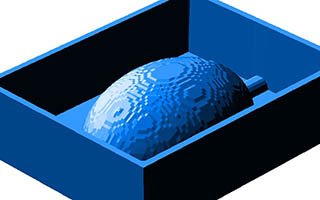
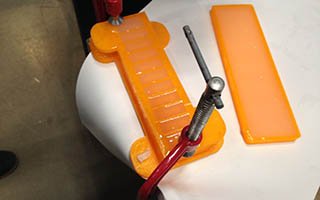
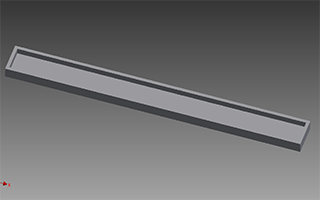
Design Mold : body
I want to make a ball which has empty space inside. I split the ball to half and going to stick it together. I made two mold parts; bottom part is outside of the ball, top part is inside of the ball
 |
 |

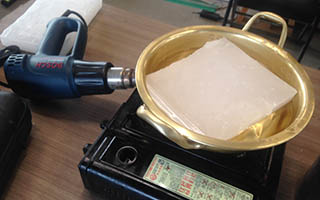
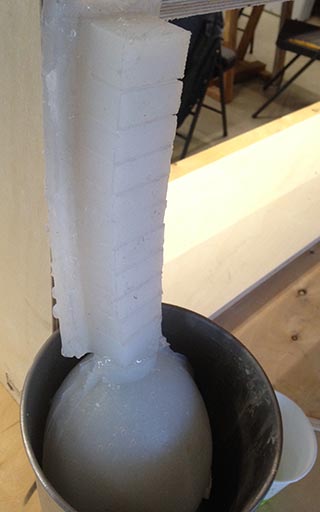
Making Wax block
We have a suitable wax for Machining, but It was only 4mm thickness. I melted it with a heat gun. this list is the needed things for making thicker wax block.
-
wax blocks to melt (I also the classmate’s used wax chips after being machined.)
-
2 Molds for a Wax block (Acrylic box: Laser cutting)
-
heat gun (oven would be much better)
-
pot
-
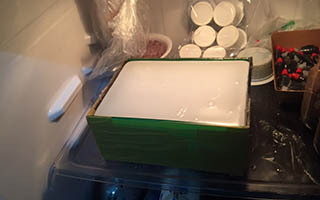
refrigerator (much faster to cool it)
 |
 |
 |
 |
Download (Acrylic mold for wax block pdf, dxf file : 170mmX130mmX70mm)
Failure
-
first time I tried to melt each surfaces of the two blocks and glue it together, but it doesn’t work.
-
Masking tape let wax leak. I used duck tape after
 |
 |
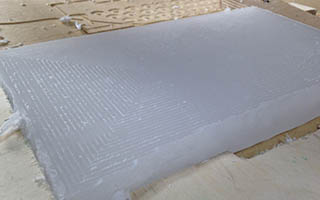
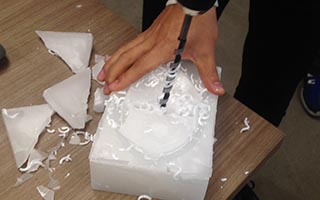
Flattening wax
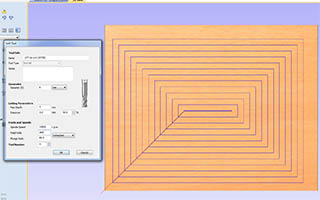
for machining, I made the wax flatten using shopbot and Vcarve Pro. make a pocket toolpath 3mm depth using upcut endmill 1 flute.
pocket depth = 3mm
Diameter = 6.0mm
Pass Depth = 4mm
Stepover = 3.0mm (50%)
Spindle Speed = 14000rpm
Feed Rate = 200inches/min
Plunge Rate = 60inches/min
 |
 |
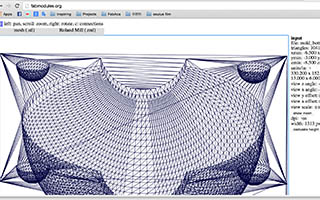
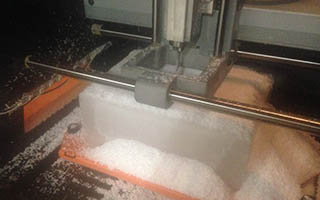
Machining Mold
Make a tool path using Modela Player 4.
-
import stl File
-
change the origin to right way, make sure the scale of the material
-
choose Z-top surface to cut
-
Cutting Area : Check ‘Partial’, lower left X:0, Y:0, Upper right X:170, Y130
-
Cutting parameters
-Roughing
Tool : 3mm square
XY speed : 30mm/s
Z speed : 10mm/s
Spindle : 7000rpm
Cutting-in Amount : 1mm
Path Interval : 1.8mm
Finish Margin : 0.2mm-Finishing
Tool : R3 ball (6mm diameter)
XY speed : 30mm/s
Z speed : 24mm/s
Spindle : 7000rpm
Cutting-in Amount : 0.2mm
Path Interval : 0.2mm
Finish Margin : 0mm -
Create tool path : Roughing takes about 3hours, Finishing takes about 2 hours
 |
 |
 |
 |
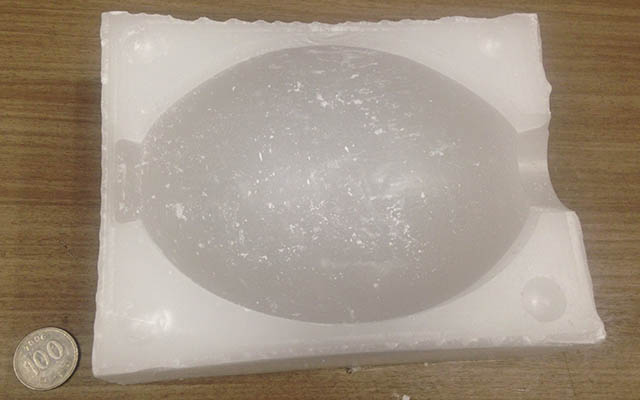
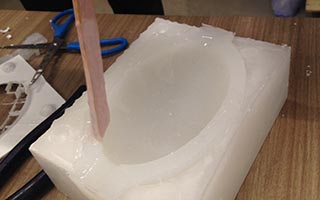
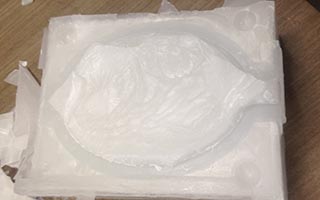
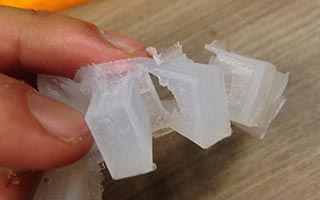
bottom mold
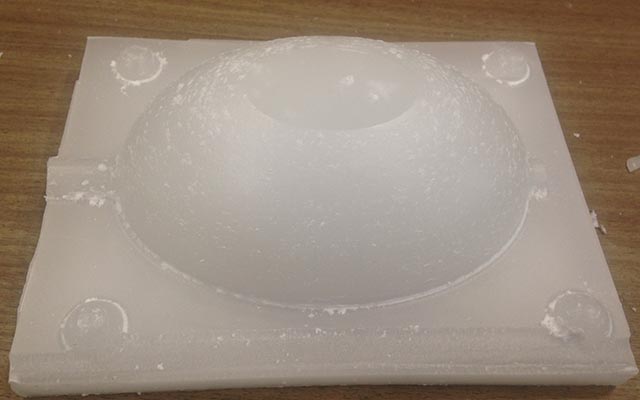
top mold
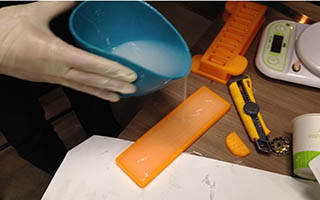
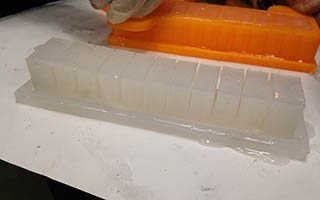
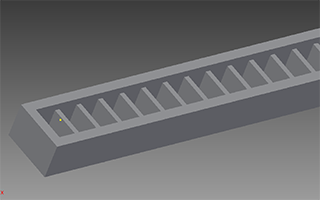
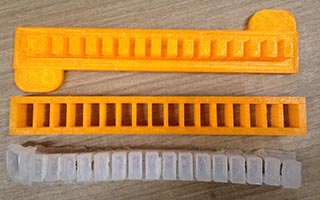
Making arms (using 3Dprinter and open-source design file)
I 3d-printed mold files and Casted it (I used ke1402. Next time, I want to modify my design and make with CNC. I followed instructions and downloaded mold stl files from the link below.
http://softroboticstoolkit.com/book/pneunets-bending-actuator
-
3D print the downloaded stl files
-
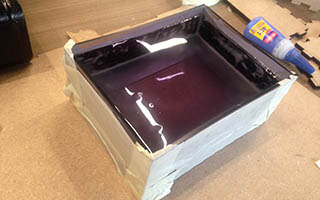
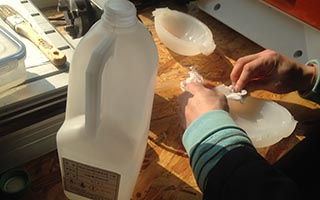
Casting : Mold Star® 20T Silicone
Mold Star® 20T is an easy to use translucent platinum silicone that is mixed 1A:1B by volume (no weighing scale necessary). It features a relatively low viscosity and vacuum degassing is not required for most applications. Pot life is 6 minutes and cure time is 30 minutes at room temperature.
 |
 |
 |
 |

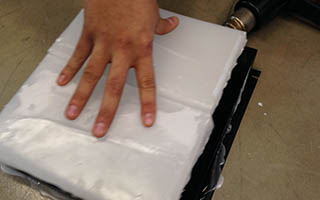
Assemble
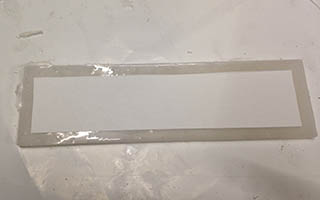
I made two same body parts and glued it with silicone. then glued it with arm parts.
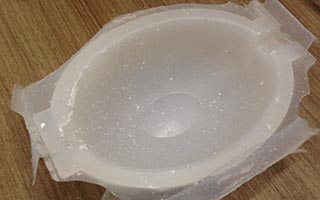 Body part casting (2EA)
 |
 glue it with silicone
 |
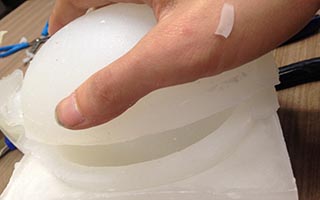 glue two casting parts
 |
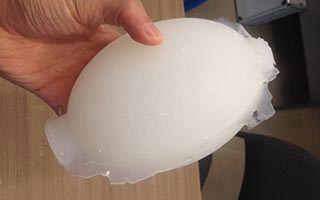 body part Assembly
 |
 It was very effective to clean the surface with acetone before gluing it
 |
 |
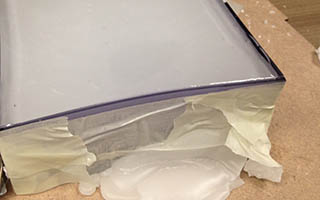
Failures
it was really hard to take silicon cast out from the mold which is wax. I used WD7 which is penetrating oil. It was much better to take it out
 |
 |
|
The arm parts what I modified were too thick to bend it by hand. It is too hard to bend it. so I had to redesign the design files. I read design rules for softrobotics on the website.
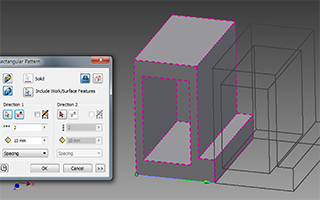 Rectangular Pattern - make chambers |
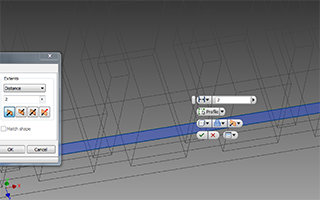
Making air holes |
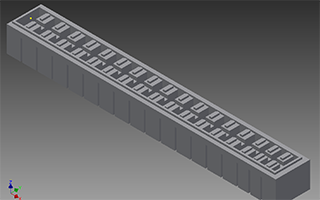 Model completed |
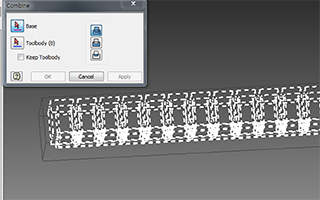 Combine - make molds from the model Combine - make molds from the model |
 mold top |
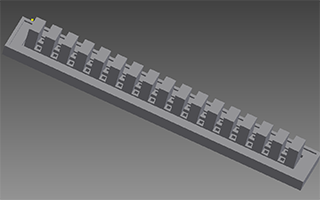 mold bottom |
 Bottom layer mold |
|
|
|
Failure
I designed two thin layer (1mm thickness) so it was too easy to be torn. I redesigned to 1.5mm thickness. It was fine.
 |
 |
Complete!