
3D Scanning and Printing
-
design and 3D print an object (small, few cm) that could not be made subtractively
-
3D scan an object (and optionally print it)
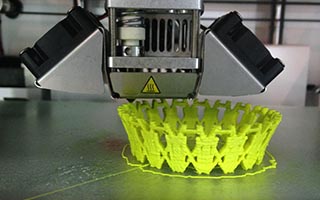
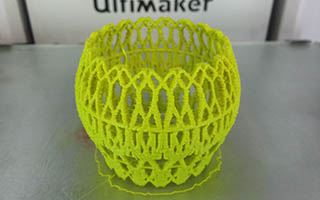
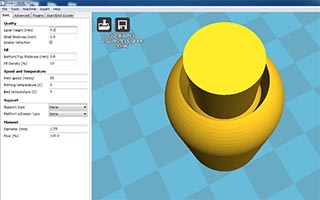
3D print an object : Candle Holder
I designed a complex patterned candle holder and export stl using Antimony.
I printed with two FDM 3D printers (Ultimaker2, Almond) at Fab Lab. both of them using same software ‘Cura’ for slicing and making toolpaths.
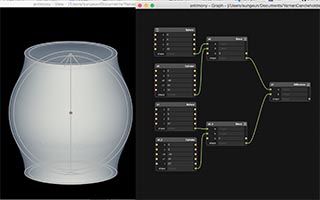
Antimony
I don't have any experience with Antimony or other similar parametric software like "rhino grasshopper". It was very logical and easy to make parametric 3D CAD model using GUI. All I did was make some objects and linking the values.
-
Download & install software
I followed this link below’s instruction https://github.com/mkeeter/antimony/blob/master/BUILDING.md -
Design & export to STL
- Make a Cylinder and a sphere, connect them using “CSG - blend”
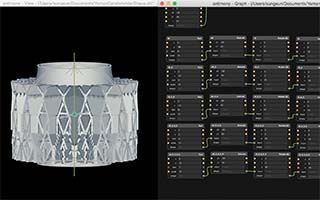
- Make a Text, I wrote 5 letters ‘YAMAN’
- Extrude, Rotate X, make a copies using “Iterate(polar)” to each of the Texts
- Union all the Text extruded
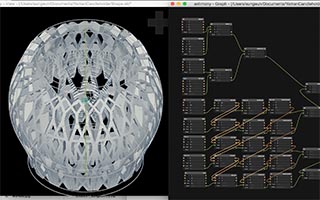
- finished with a blended part and a united text pattern Using a Intersection tool
- Export Mesh (.stl), choose resolution to 0 ~ 10 Voxels per Unit
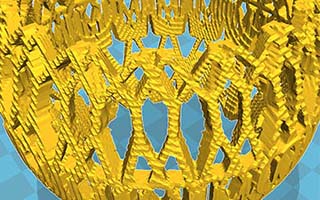
Failures
when I choose more than 3 Voxels per Unit, My computer stopped. So I tried 1 Voxel per Unit and 2 Voxels per Unit. It almost 2 hours to export to stl.
Download
FDM 3D printing
-
Settings - this model have many holes and complex surface, so It was hard to make a good printing qualities. I set up low printing speed. first one is much high travel speed(150mm/s), there are too many thin strings between holes. I dropped travel speed(100mm/s) when I tried second time
- Layer height (0.2mm) :
- Shell thickness (1.2mm) :
- Bottom/Top thickness (1.2mm) :
- Fill Density (10%) :
- Print speed (50%) :
- Support type (None) :
- Platform adhesion type (None) :
- Initial layer thickness (0.3mm) : -
Material - ABS from Ultimaker, PLA from Almond for same setting.
 |
 |
 |
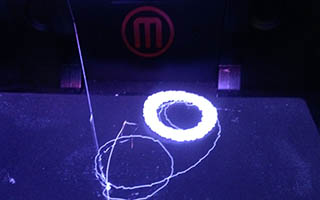 |
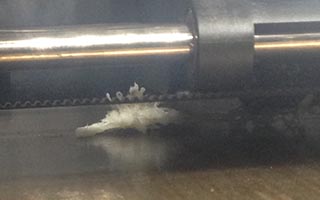
Failures
-
I failed to using a Davinci 1.0, but their own software sliced the model awfully.
-
I failed to using a Makerbot. I used ABS and made a raft. but the raft is too easy to moved on platform when it be shrunk.
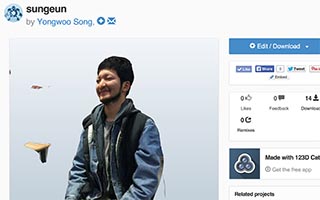
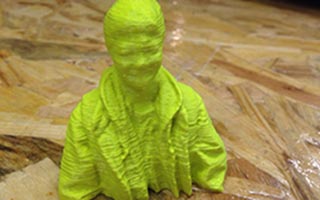
3D Scan an Object
I tried to scan my body using 123D catch, and cleaned up the file using blender.
 |
 |
 |
-
Install 123D catch application on a Smartphone.
http://www.123dapp.com/catch -
take many pictures at the different angles and upload a model.
Then I can download the zip file included obj file. (link below)
http://www.123dapp.com/catch/sungeun/3502251# -
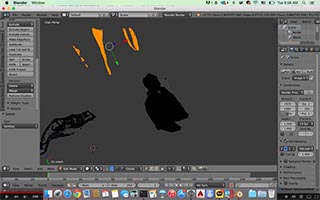
blender & meshmixer
clean up and modify the model, I used the blender and meshmixer. both tool can edit meshes. blender can do much more things than meshmixer. It was but not easy to beginner like me. -
Clean up the meshes using blender
Choose ‘edit mode’ and type ‘b’ for the select the meshes I don’t want. Select ‘Delete vertices’ -
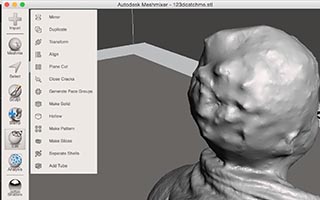
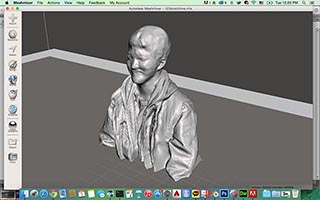
Make solid using Meshmixer
The obj file downloaded from 123D catch website was hollow. click the object and select ‘make solid’. I can choose Mesh density and Solid accuracy. -
Smooth the rough edges using Meshmixer
Choose brushes type in sculpt tap. I choose flatten type for smooth the rough edges on my hair. -
Cut the flat bottom
make a plane on the xy plane and extrude it. select two objects and choose difference.
 |
 |
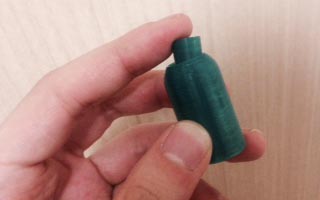
3D printing - Ball joint
I tried to print my potential final project model what I made it for the second assignment. It cannot be assembled in normal way, So I printed 2 parts at once (ball part and the part that cover the ball)
-
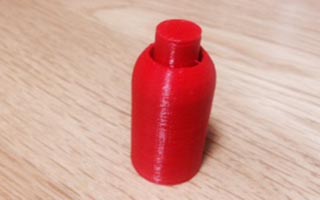
design file : change the dimensions
for slipping joints, I made the ball part’s diameter 1mm smaller than Inner surface of the other. -
Export stl
In Autodesk inventor, export STL directly on assembly mode.
Layer height : 0.2mm, Shell thickness : 1.0
Fill density : 10, Print speed : 50
Support type : None, Platform adhesion type : None
 |
 |
 |
 |