3D Printing and Scanning
3D Scanning with Microsoft Kinect
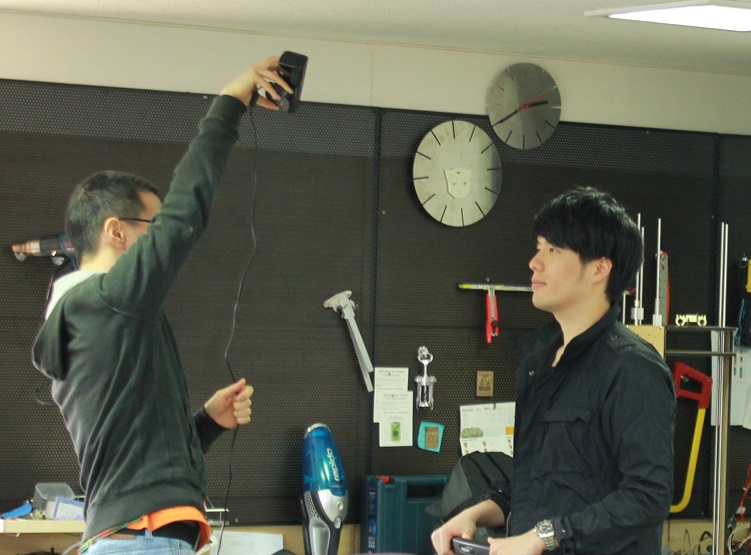
Using Kinect and Reconstructme software to scan full body in 3D. There was a problem that scanners' connecting line wasn't long enough to move around, so keep Kinect still and turn the chair 360 degree while put my body on.
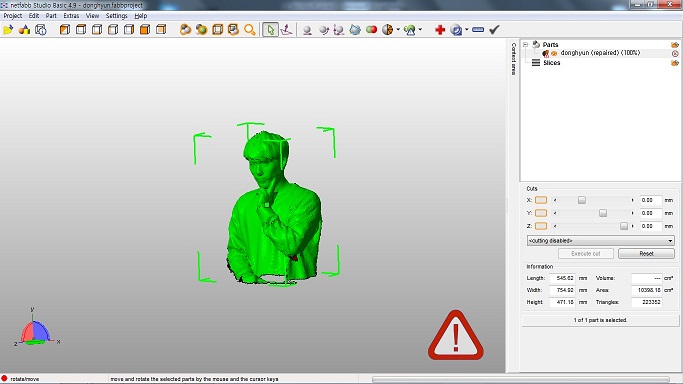
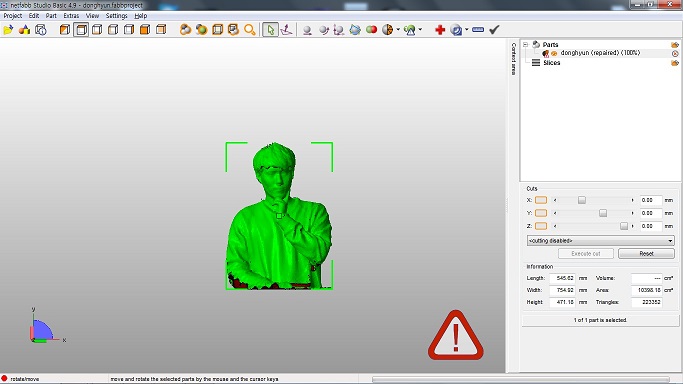
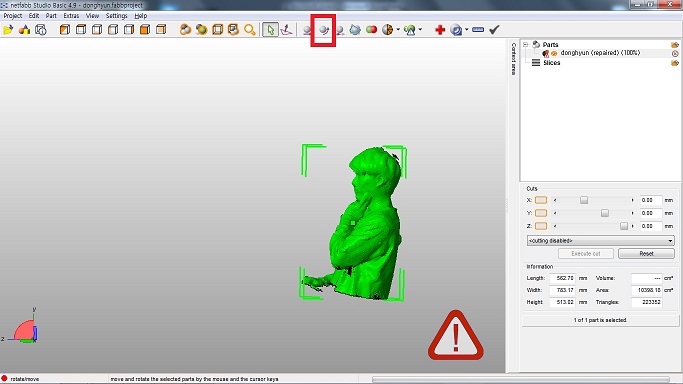
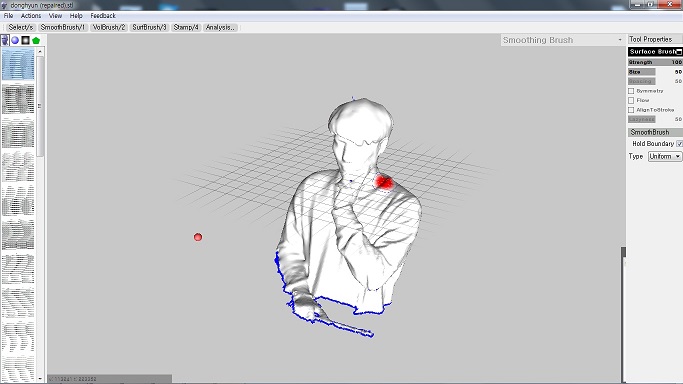
Using Netfabb Studio to fill up cracks and remove all of defects.
Try not to use any support while printing, avoid Overhang situation with tilt model back.
Also retouch model with Brush tool in Meshmixer to make finer sculpture.
3D Printing
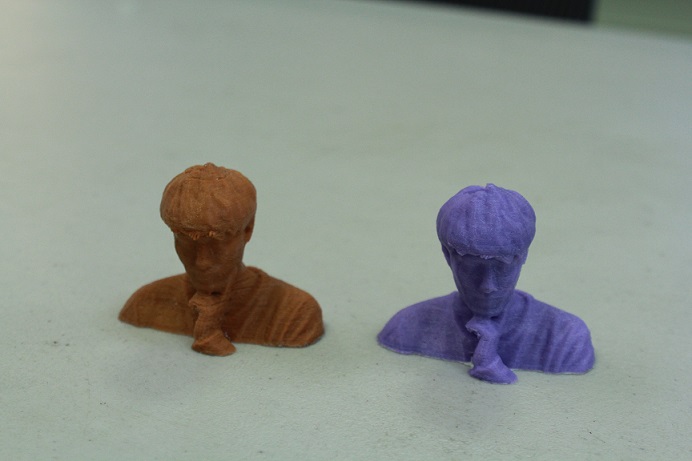
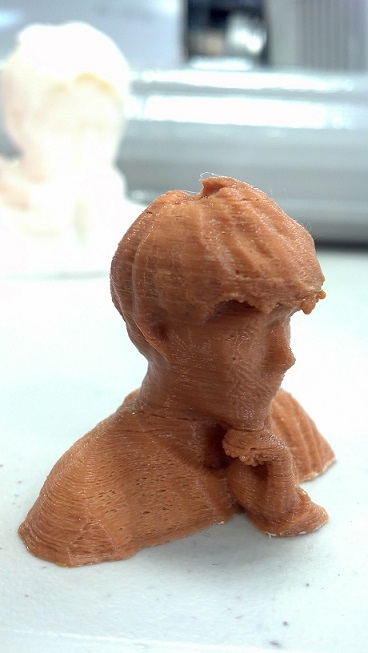
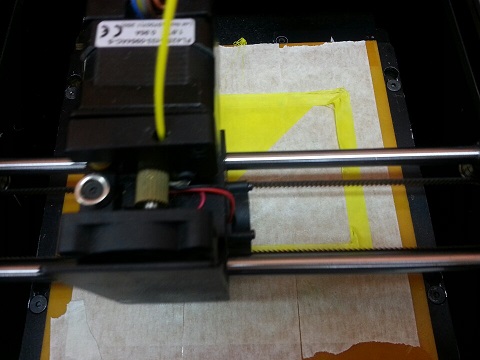
The model was printed with "Ultimaker". Not to make overhang; which is humans chin, I hold my chin with my hand it is natural support! But, hair cause a problem. As you can see from the picture there is some defects on the fringe.
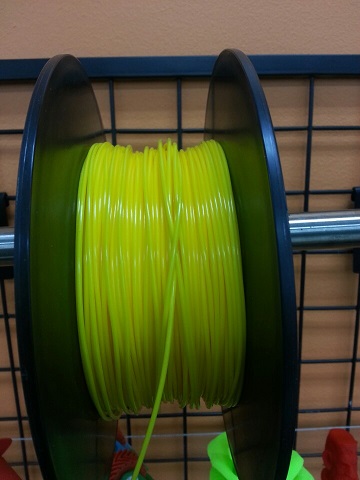
There was stuck problem while printing, it can be easily solved with push filament backward and turn the bobbin at the same time or after cut off the filament and put the filament back; it can print different color of layers in single model.
Try to print out Calibration model with Almond 3d printer made by Open Creators but ABS material wasn't stick on the masking tape and it causes bent.
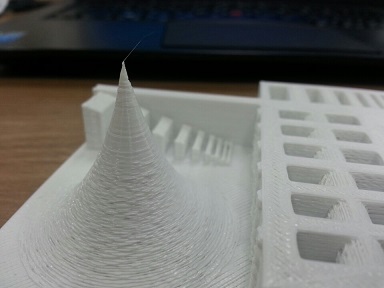
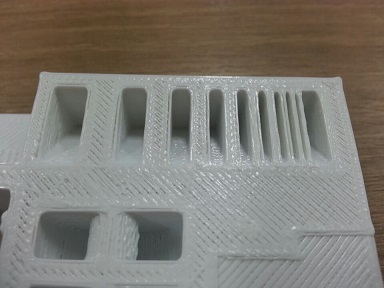
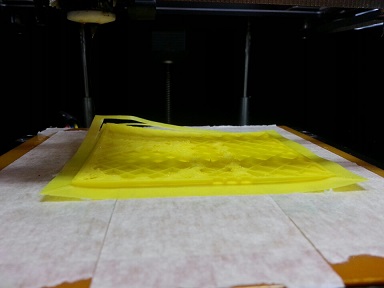
With PLA there was no defects and you can check the very fine cusp.
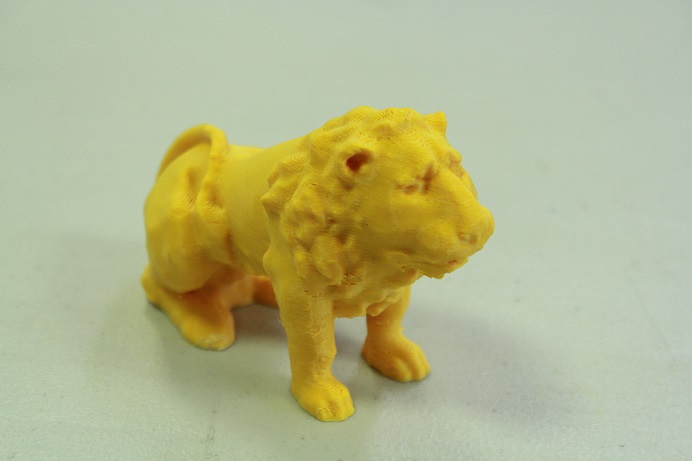
Print out lion without any support. Overhang area wasn't clear but I can sure about some can be printed without supports.
TIPS
- When use the Kinect make room dark because Kinect gather information by infrared ray to measure depth of the structure and it easily interrupted by lights.
- Infrared ray can pass some material like glass and scatteredhair so, put glasses or goggles off and put on a cap or apply hair gel to settle down the hair.
- To print bust without supports, use Nefabb Studio or the other modification tools to tilt back and minimize the Overhang.