Fab Academy 2015, Dong-Hyun Kim
Project Development
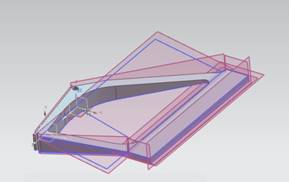
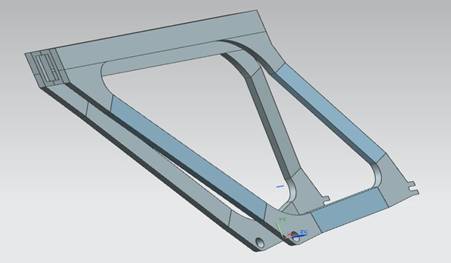
Computer-aided design
Before I started 3D CAD modeling, I measured the basic dimensions with the help of a program that advice me which part should be measured. For exact size of my bicycle.
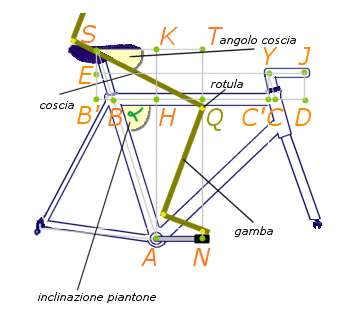
Bicycle Measured Referenced from Homepage.
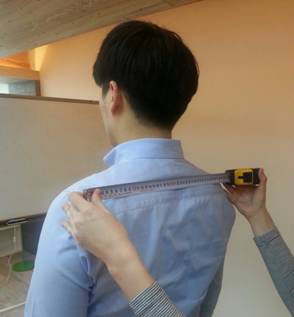
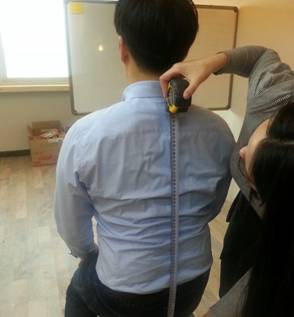
Measuring my shoulder with ruler, Sitted height is also very important measure that i have to consider.
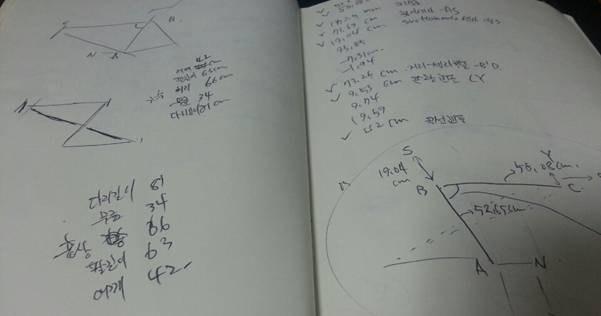
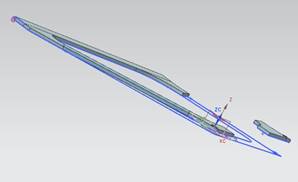
With the process shown above, leg, knee, arm, shoulder length followed by sitted height and shoulder length I've measured the first-prototype of my project.
Computer-controlled cutting
I cut wood sheet, acrylic and fiber glass with laser cutter layer by layer.
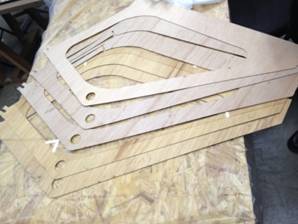
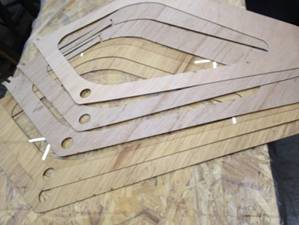
When you cut wood sheet, you have to check the direction of wood. Because wood have a direction and it is important for strength.
3D Printing
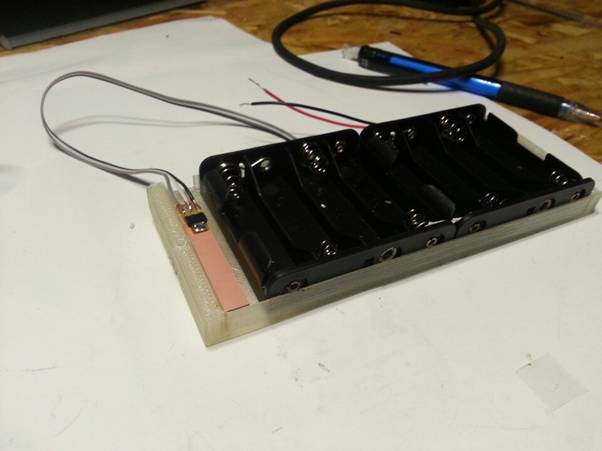
For making battery case, I design battery case that is adaption with wooden main body frame. I design battery case for water proof and change easily.
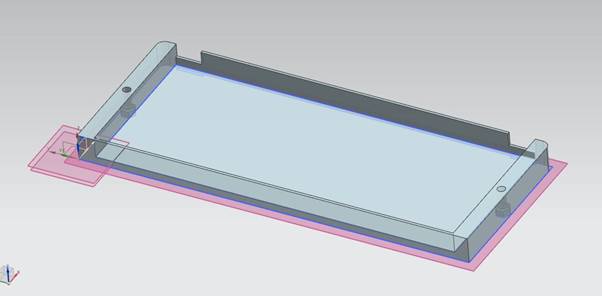
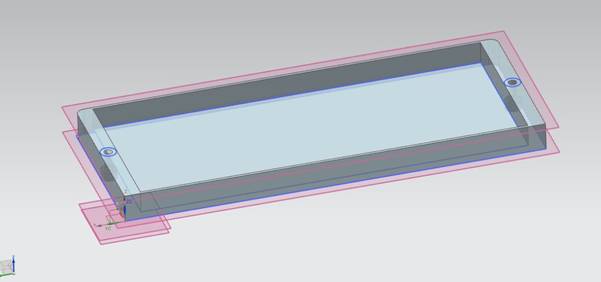
Upper and lower case design.
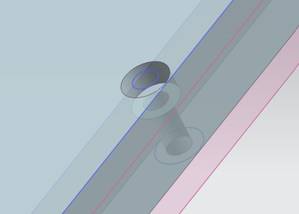
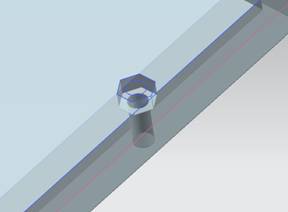
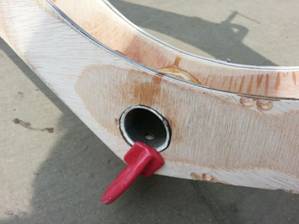
Bolt and nut hole design.
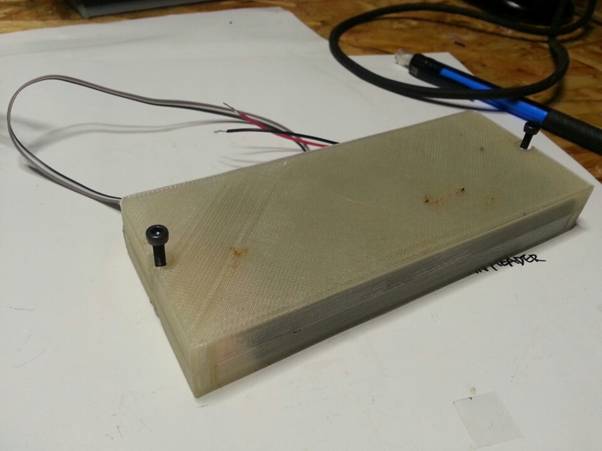
3D printing design parts and assemble it.
Electronics production
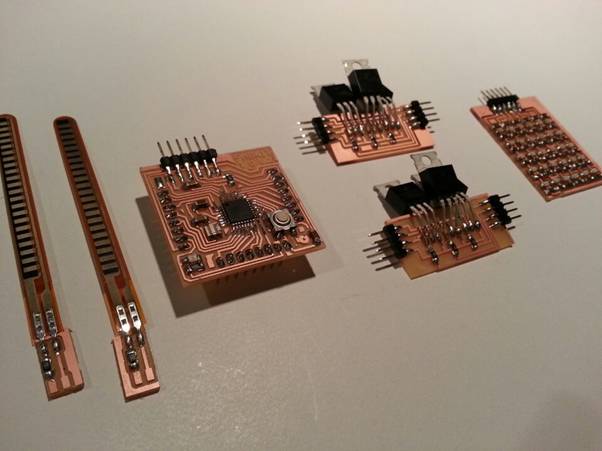
For final project, I designed flex sensor, fabkit 2.0, regulator, led array and fabricated.
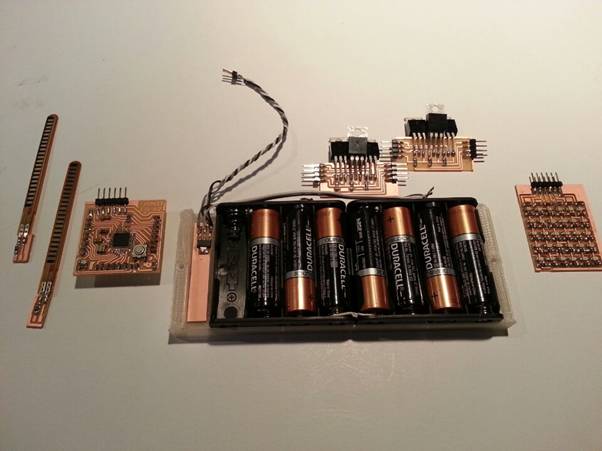
- Flex sensor
- Fabkit 2.0
- Battery pack(transistor)
- Regulator
- LED array
Input devices
For sensing the how much grab a brake, I used flex sensor and sensing a flex level.

Using serial monitor, I measured flex sensor value, and using those of data, controlled LED.
int flexpin = A5;
void setup()
{
Serial.begin(9600);
}
void loop()
{
int flexVal;
flexVal = analogRead(flexpin);
Serial.print("sensor:");
Serial.println(flexVal);
delay(200);
}
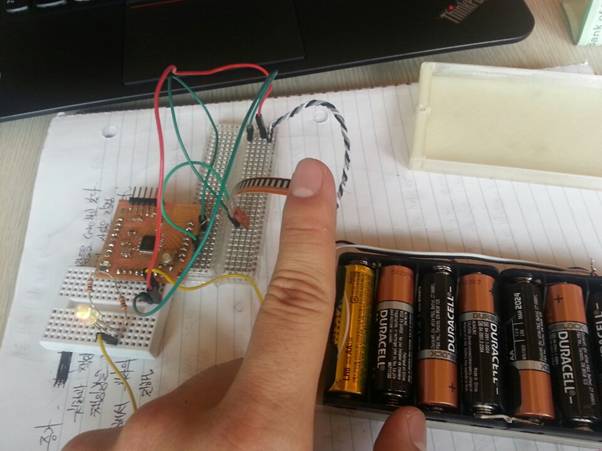
When I bent flex sensor, LED brightness was changed following the value.
First of all, I just check the value with LED, and I adopt with LED strip that was planted in main frame.
Output devices

Computer-controlled machining
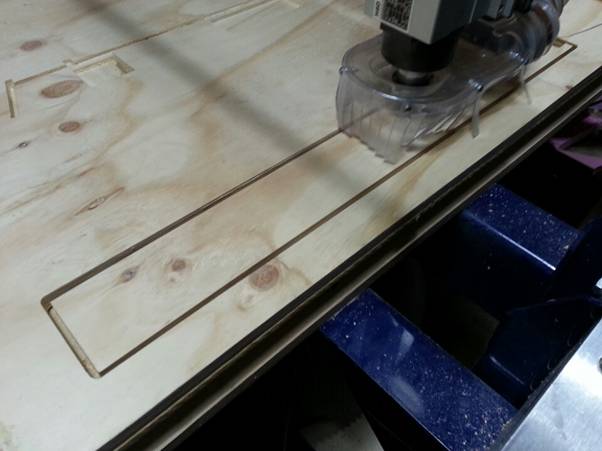
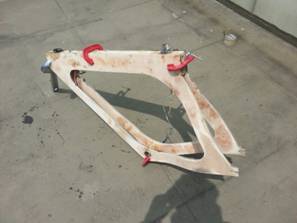
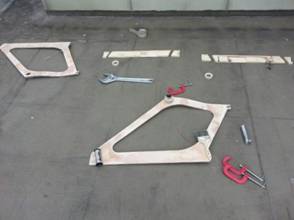
Composites
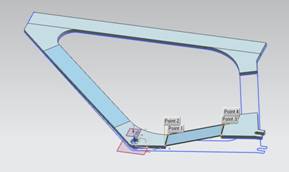
To making a mold, first draw full dimension of box little bigger than original dimension of the object. Put original model and remove overlapped part. It is done.
Important thing is CNC machines end mill size is already set so, it can cause intrude.
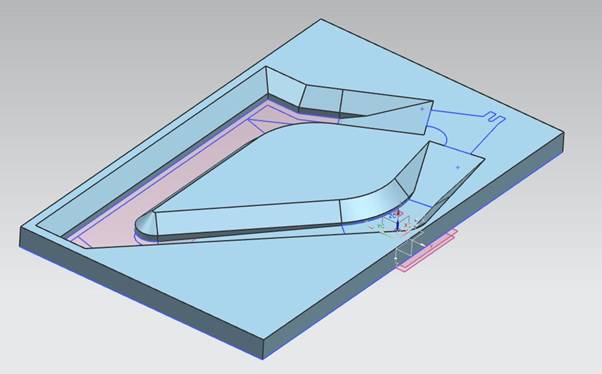
That’s the reason why we have to do trim or chamfer when we design to remove intrude.
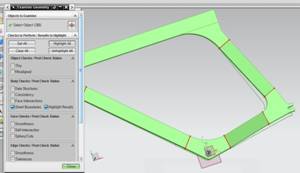
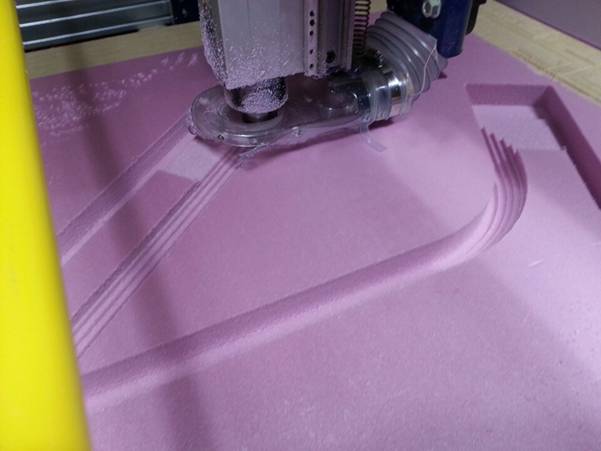
Cut thick iso-pink board with CNC. The thing is you never change the view point before make g-code because Fab Module directly make g-code as it looks. If you change the view before done G-coding in Fab Module you can’t get output what you want.
You can’t move the view before it show in gradient.
Set materials for compose; Poly coat, Hardener, Mold, Sheets of woods for composing and fiber glass.
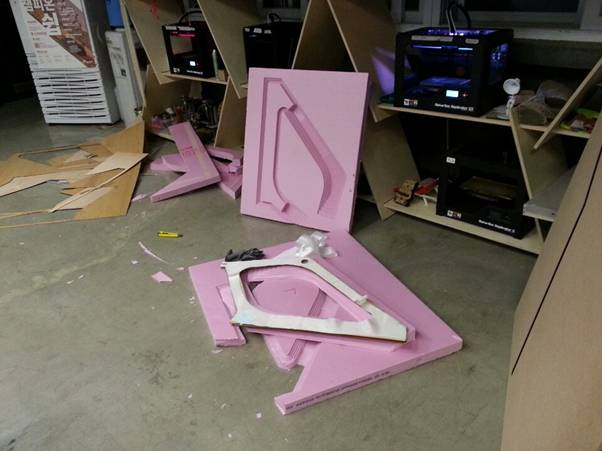
You should do simulation before you start composing to check any possible defects and sequence of composing.
You may have smaller result in case of curvy mold.
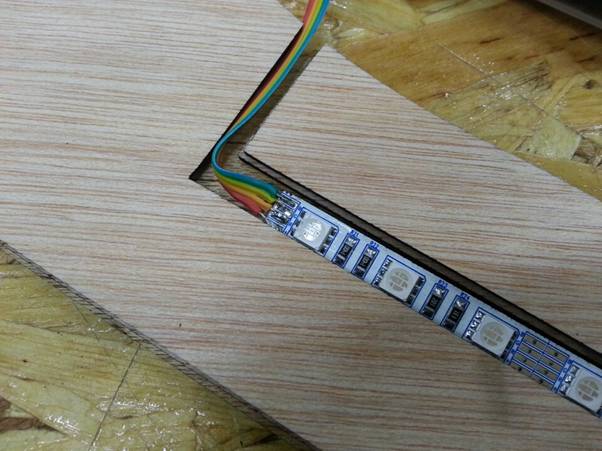
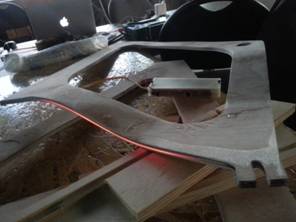
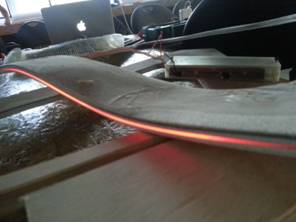
To do the final project middle of layer I put LED inside of it. You can get dim light ooze from sheet of acrylic.
Before start composing put vinyl on the mold to prevent destruction of the weak iso-pink mold. While epoxy hardened mold easily break.
Poly coat was harden so fast. Because of that I have to move fast. It is efficient to do it separately when you have to do a lot of quantity
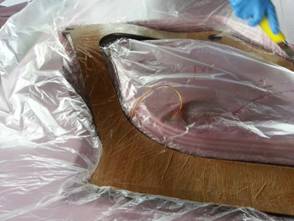
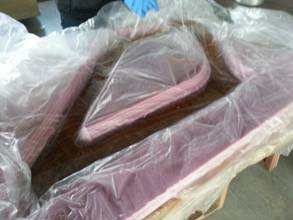
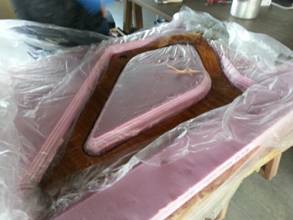
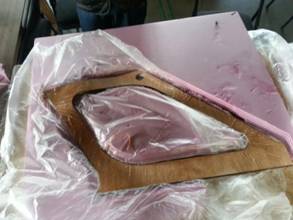
Check finally if there’s no problem while it bended and cover it up with upper mold. Press the mold with heavy stuffs (best way to do this is clamp upper and down mold to gather) while it harden most ideal way is using plastic bag full of water to give even pressure.
Compose with the pipe.
Completed tasks, remain tasks
What has worked?
What hasn't
(But, the only LED array it works very well. you can see on the 'Output devices assignment.')
What have you learned?
Final working video
Download files
3D CAD
2D CAD
Code sources
Boards