08 -
computer-controlled machining
In this week, I tried to make a key holder and practiced making wood joints. At the begining, I searched modeling tutorial of wood joints. This video from Rob Cameron is very helpful. Although I can find some CAD files on internet, the best way of creating them is learning how to build and applying to my work.
I bought some pine wood, and started to work on modeling in Sketchup 2013.
Modeling
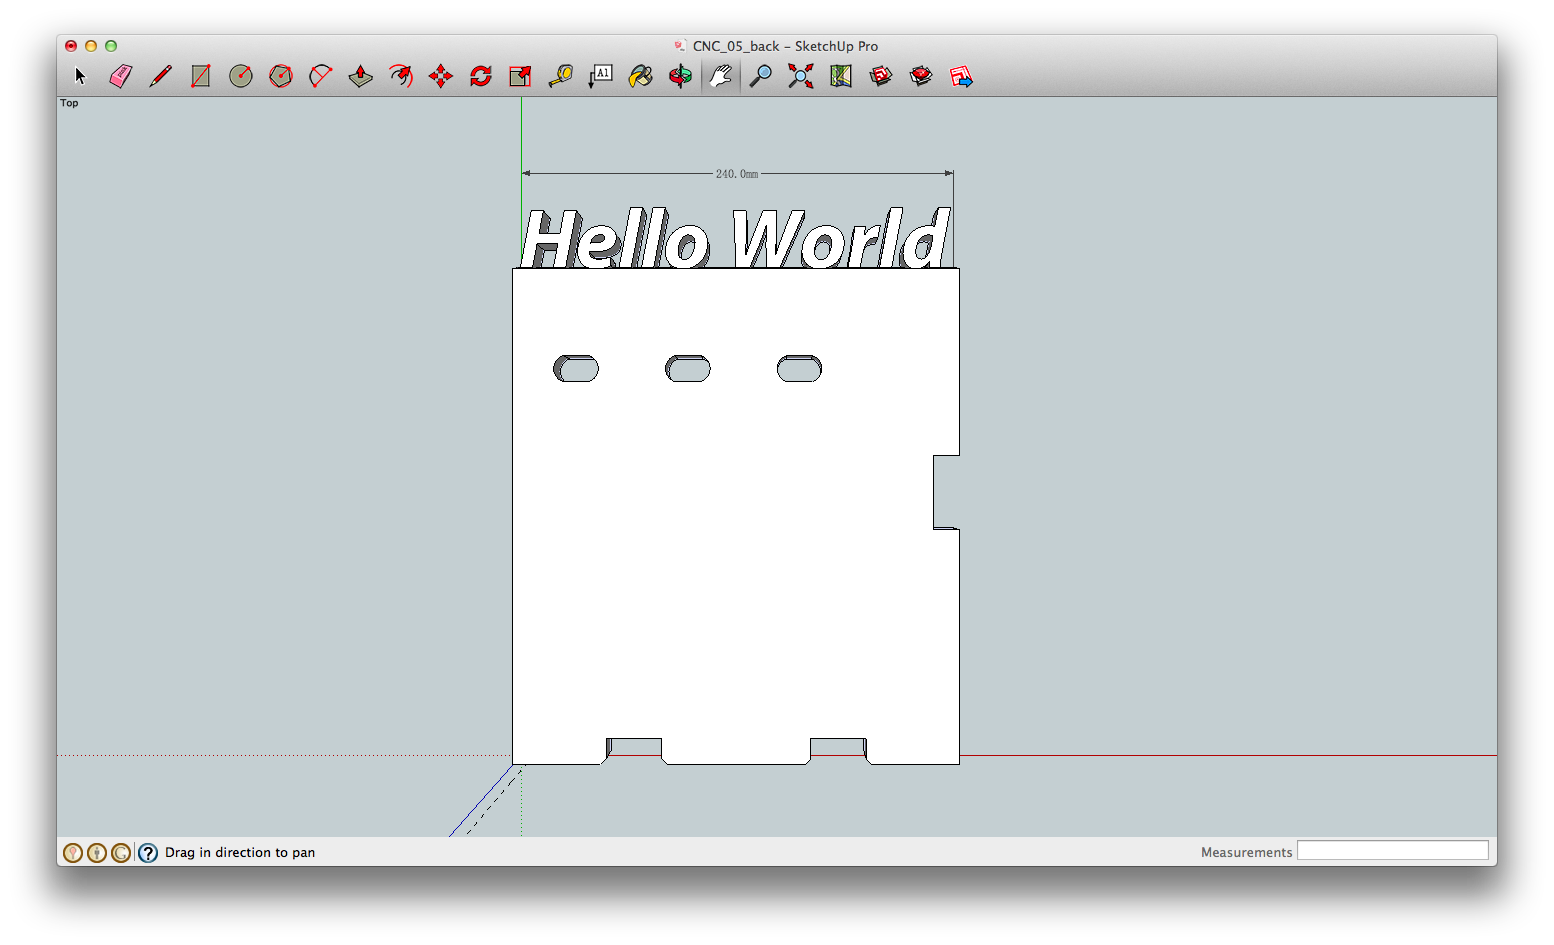
The main frame of my key holder:
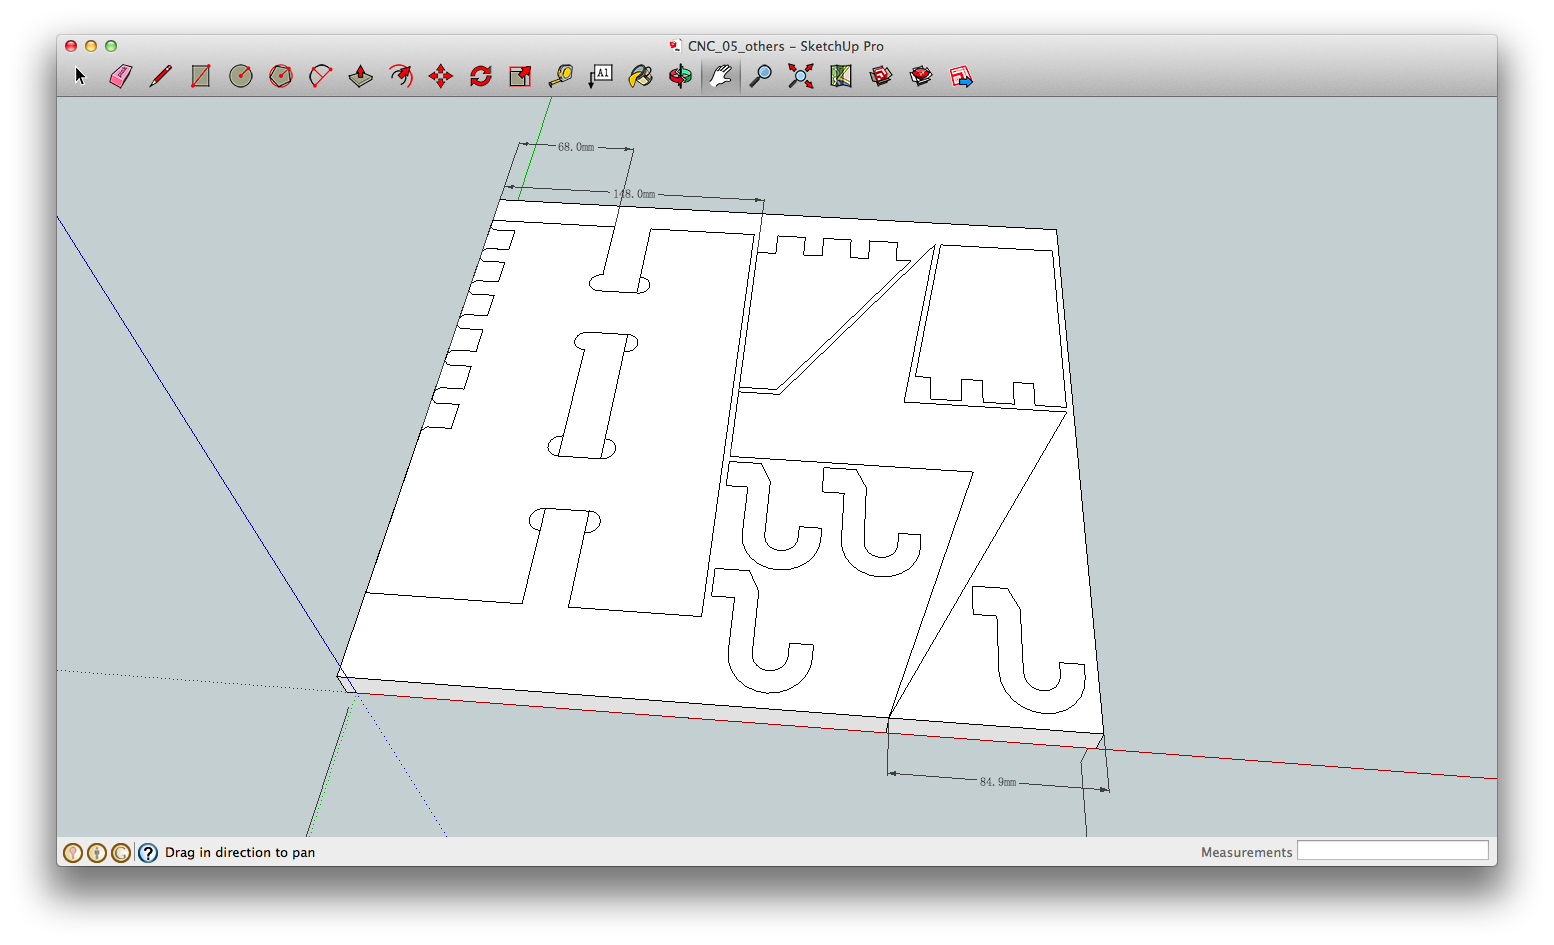
Other parts:
In this exercise, I put different solutions on joints. Some of the joints have inside corner, and some do not.
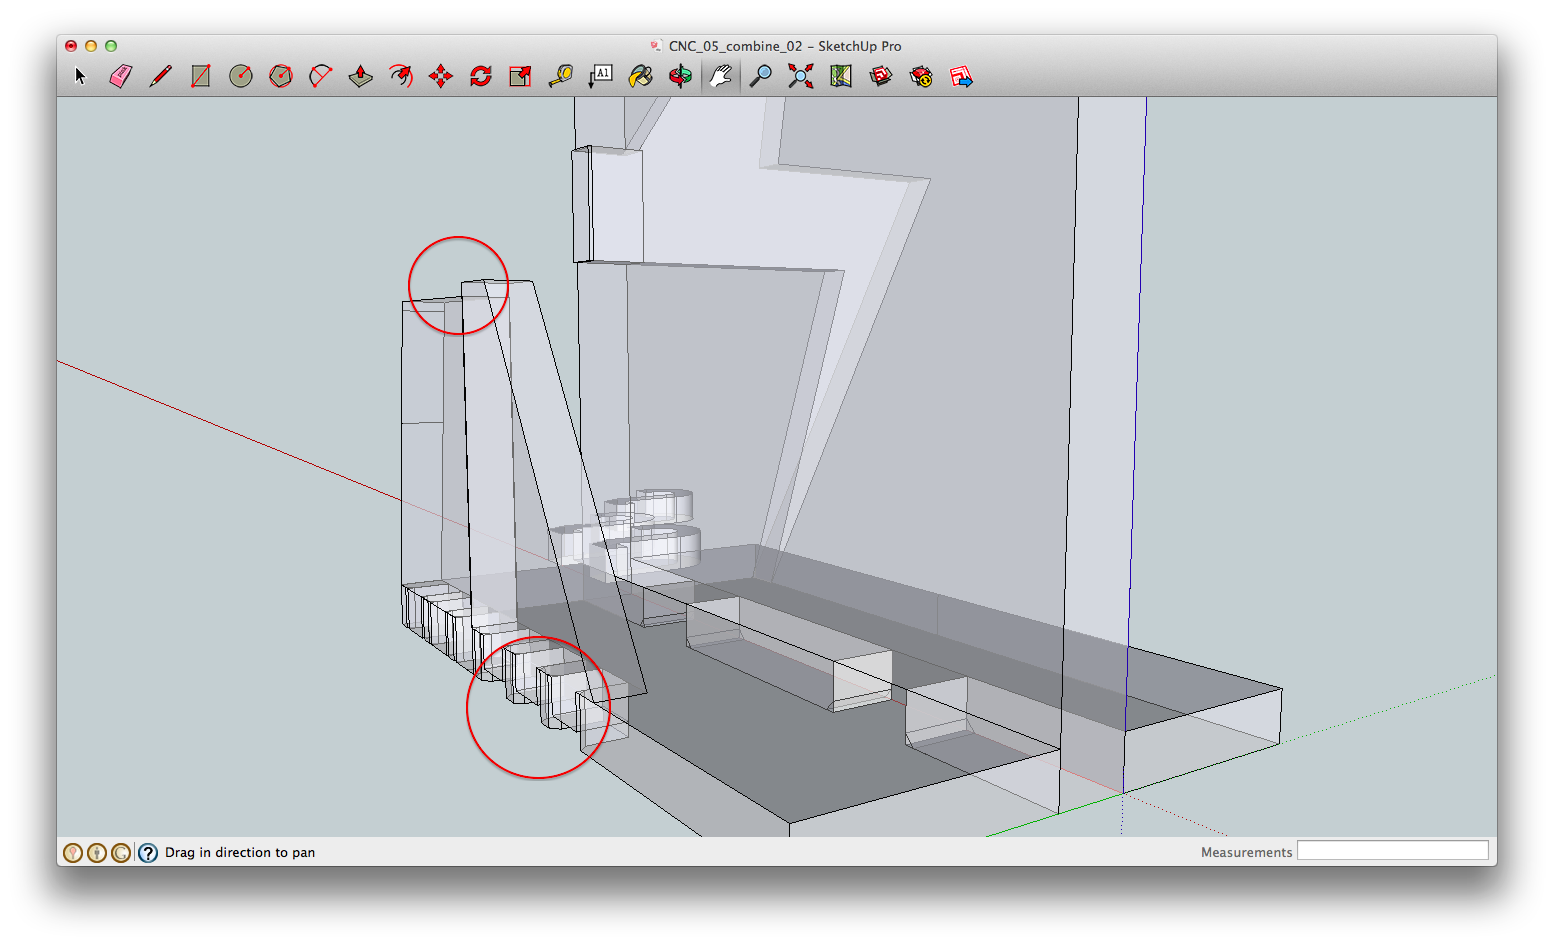
I combined the parts in Sketchup and found out some bugs. Hook's joint were not correct, and also one of the clapboards behined.

Format
XYZ-Asix travel: 19.6(X) x 15.7(Y) x 6.1"(Z)[500 (X) x 400 (Y) x 155 mm (Z)]
table size: 21.7(W) x 16.5"(D) [550(W) x 420mm (D)]
I exported my file to .dxf (AutoCAD version / release 14) from Sketchup and imported to SRP player.
Milling
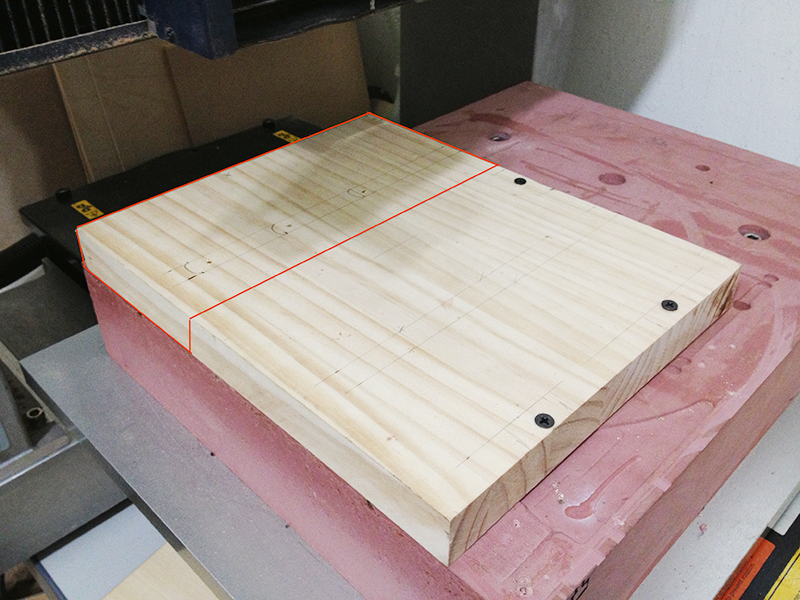
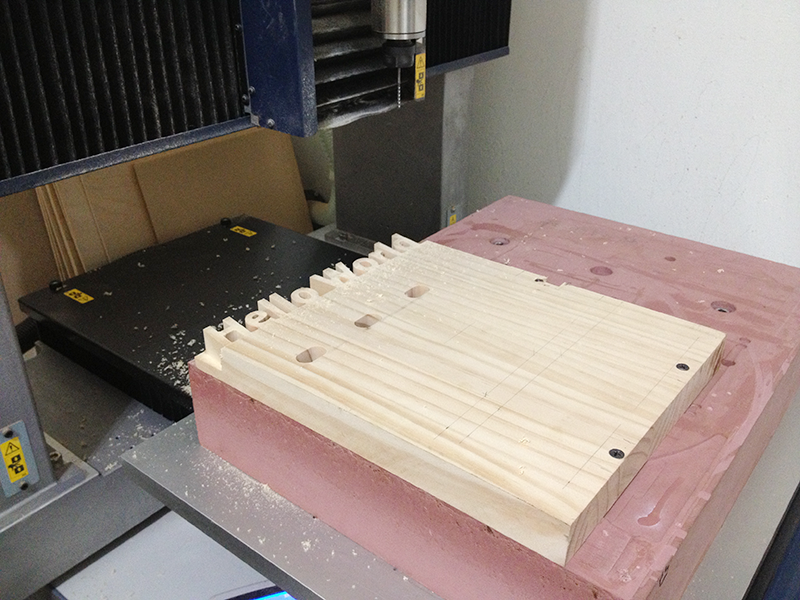
The size (240mm x 300mm x 25mm) of my pine wood was smaller than MDX-540 table size. I marked the wood, and screwed it on epoxy tooling board.
There were 3 screws on wood, so I changed settings on SPR player to mill part of it.
However, I made a mastake. The milling area was not quite correct, so the end mill hit a screw.
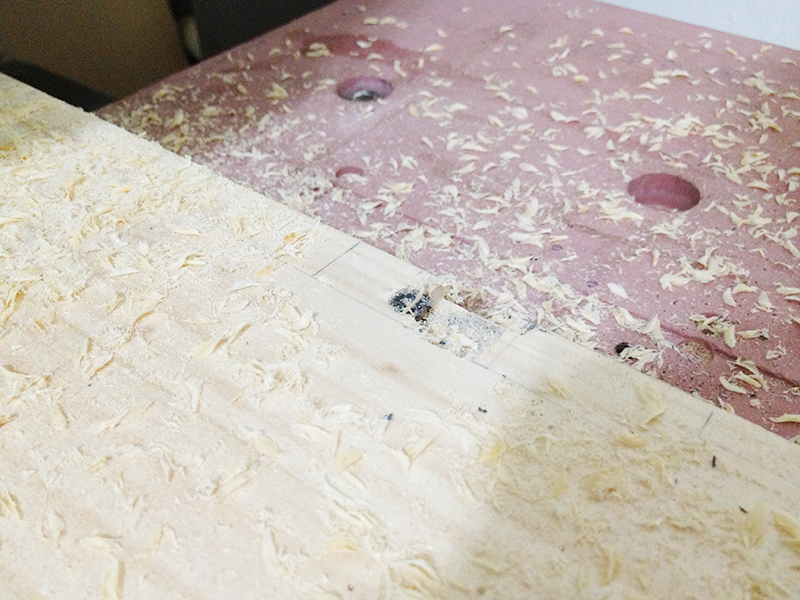
The first milling took 8 minutes.
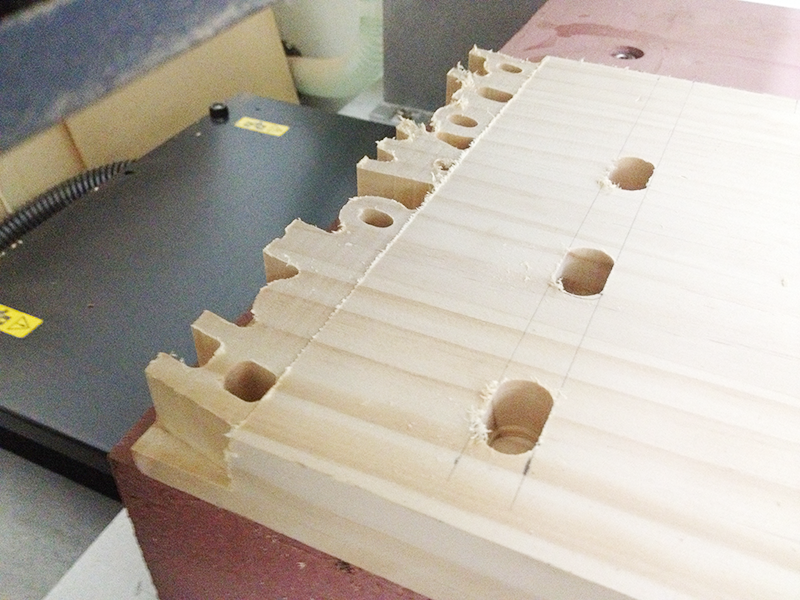
The 2nd time for detail:
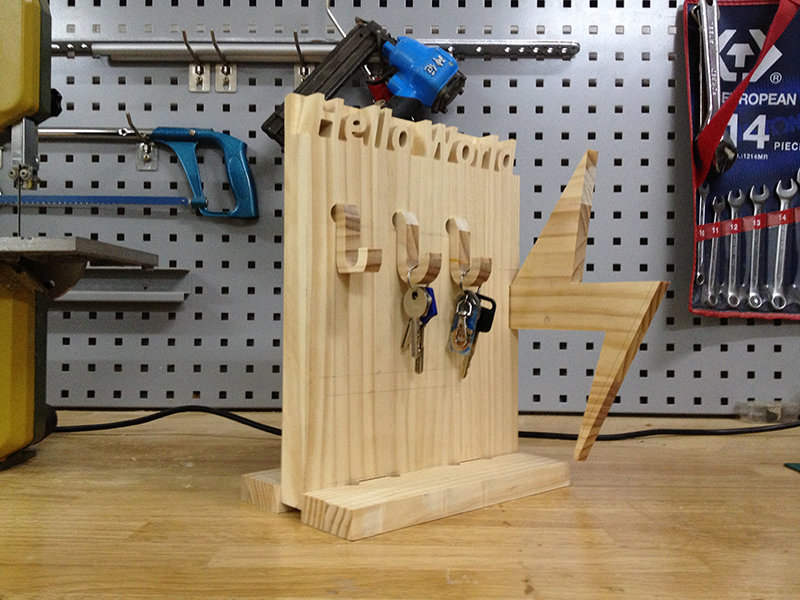
Results:
source file