
04 -
electronics production
Fab Module
This week's exercise has 2 tasks: milling a board and soldering a circuit. This was the first time I use milling machine Roland MDX-20 and Ubuntu. Because fab module has already installed in fab lab's computer, I can directly open terminal in Ubuntu and typed "fab".


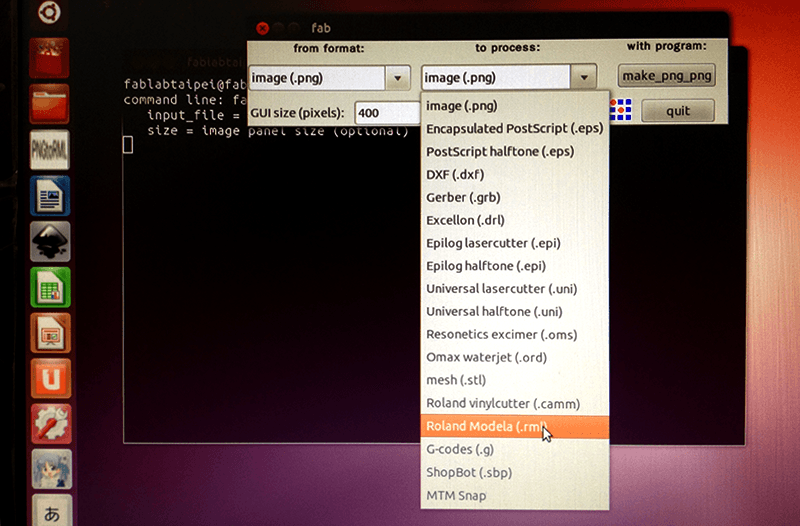
In fab module, I choose source image format first, then choose Roland Modela (.rml) indrop-down menu of "to process". This is where my .png file deliver to.
Mill and cut
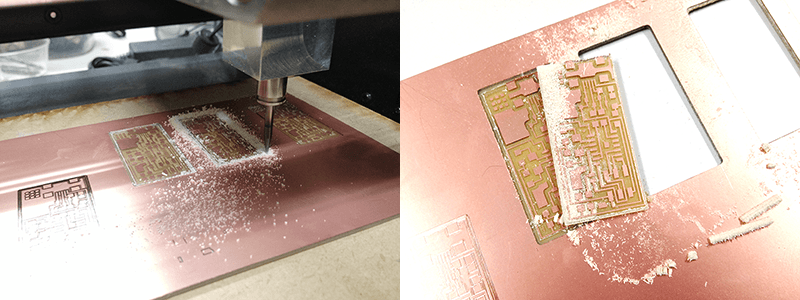
My machine's has been hacked, so I don't need to use tape when I attach the board to the platform. Screwing the board on the platform of MDX-20 and make sure that won't move when milling, then I can start to adjust cutter's x, y, and z position.
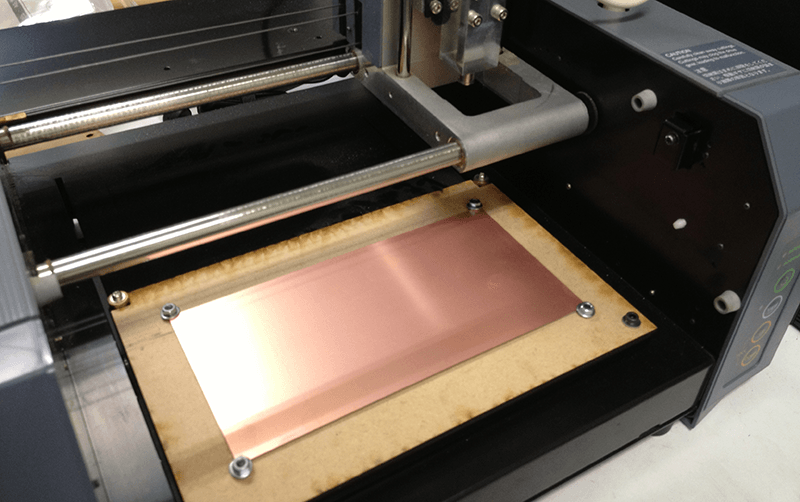
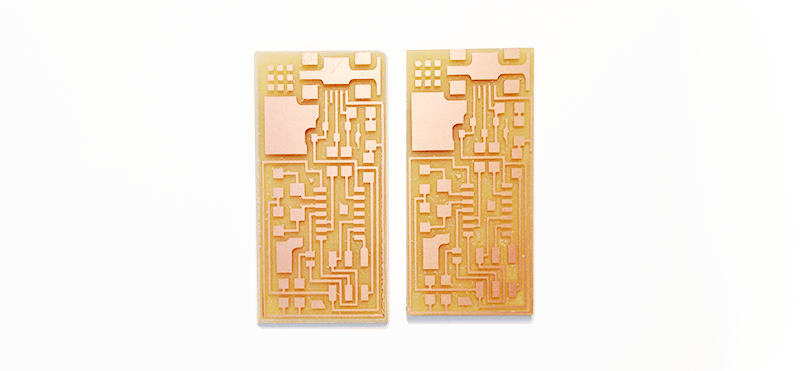
I used 1/32 cutter for the first exercise. The result is fine.
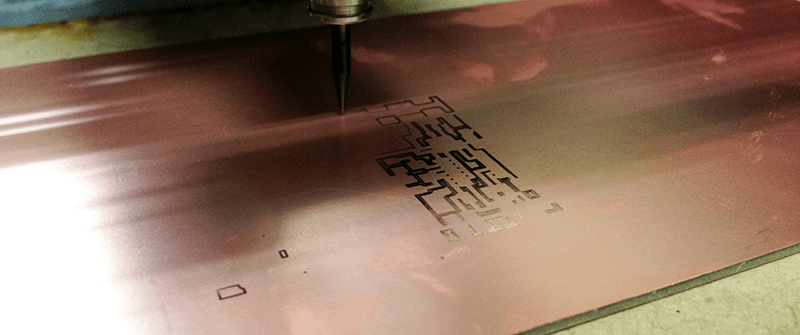
Then I tried 1/64 cutter. That was failed several times, so I slightly adjust cutter's x, and y position iteratively.
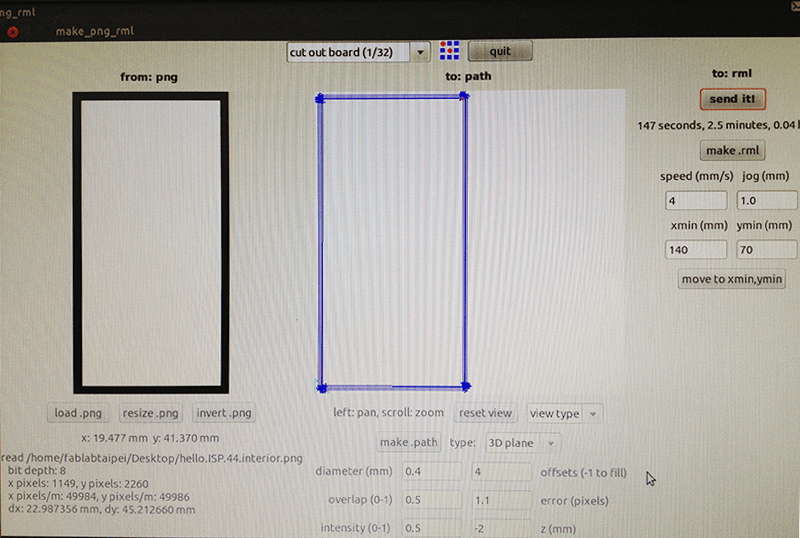
- mill traces (1/64)
- type: 3D plane
- diaeter(mm): 0.4
- offset (-1 to fill): 4
- overlap (0-1): 0.5
- error (pixels): 1.1
- intensity (0-1): 0.5
- z (mm): -0.1 (this is the key attribute indicates just mill or cut the borad.
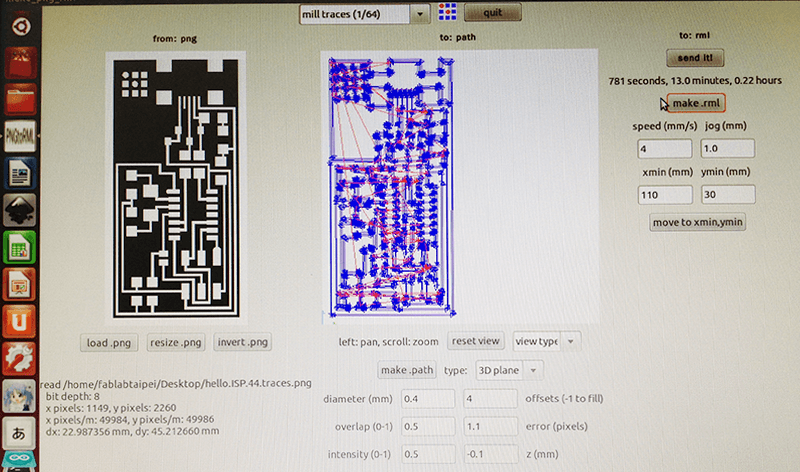
After I milling 2 pieces, I changed to 1/32 inch cutter for cutting the board. z (mm) was set to -2 this time.
Solder
SMD (surface-mounted devices)
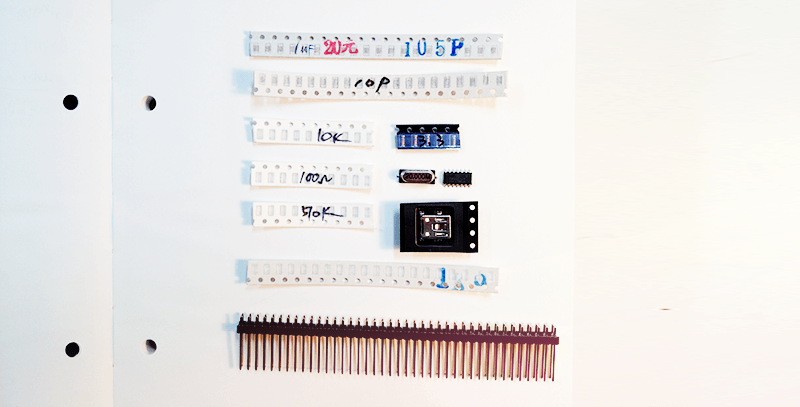
I sordered the components by following the schematic.
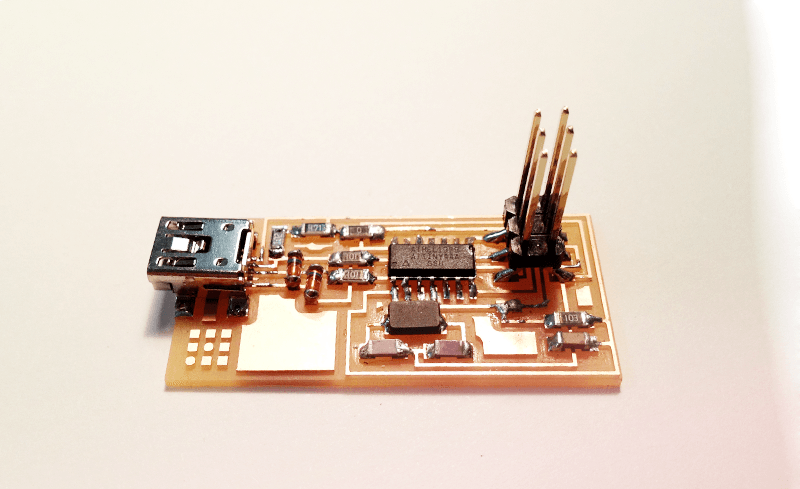
Smoke test
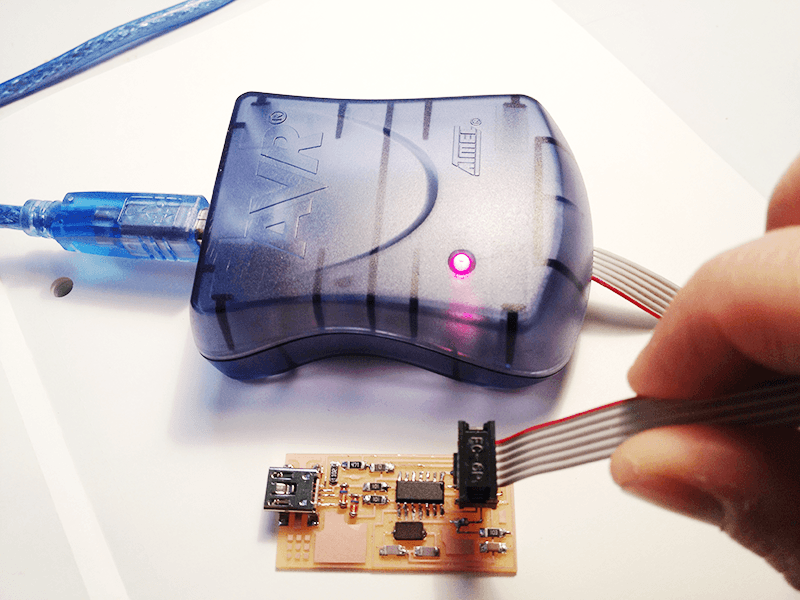
To program the FabISP, I followed the instructions of tutorial in AS220.
[home]