03 -
computer-controlled cutting
This week's assignment is to make press-fit construction kits. For the assignment , I tried 2 tools so far. The 1st one is my most familiar tool, Sketchup, and the 2nd one is Flatfab.
The 1st exercise
I started from the most simple example, a box. There is a tutorial on instructables. Firstly, I created a box in Sketchup, then draw lines by using offset and pen tools. The distance between cube's boundary and offset surface should be the thickness of material (mine is 3mm). Then slowly drew the teeth until it looks like every surface is interlocked.

From 3D surface to 2D SVG file, we need a plug-in, sketchup-svg-outline-plugin. Select each surface which I want to convert to flat shape then click SVG icon on tool bar, the surface are exported.


The 2nd exercise
In Flatfab, I tried to draw an animal like chinese character. I choose my last name 黃 (Huang) because it looks like a standing character. The woking flow is like drawing 2D shap in 3D enviornment.

Laser cut parts in machine.


There are some errors. One of the pieces can not fit into model because slot position is not correct. The other error is that some slots are too big.

Vinyl cutting
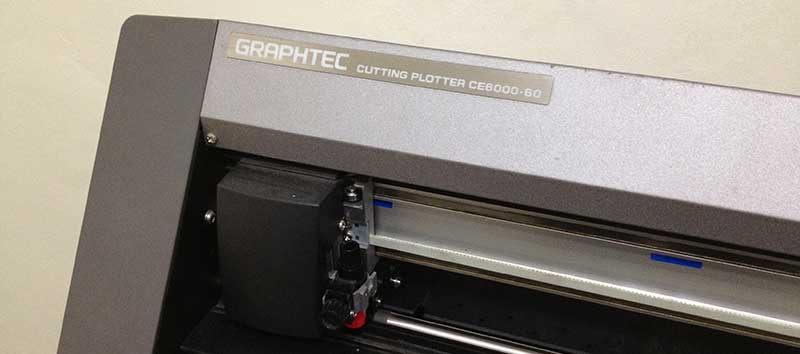
Vinyl cutting is new to me. we have GRAPHTEC cutting plotter CE6000-60 in FabLab Taipei. It is easy for us to use Graphtec studio to load file and send the cutting path to machine.

I wanted to make a vinyl cutting FabLab logo sticker for my laptop. The first cutting was not successful because the blade was too long. The photos below shows the results. Finally I got my sticker.

Source files
- Flatfab: flatfab_exercise_huang_02
- SVG: flatfab_exercise_huang_02
- Vinyl: fablab_logo
[home]