Bright Head
In line with my body part fixation (see my final project or the face vace) my composites project aimed to be a wall mounted lamp with a face extruding from the surface. "Why?" Because I had to think about something I'd like to do quickly (since I'd wasted a whole lot of time trying to figure out a food composite) and "How?" - I'd recommend continuing reading below.
How's
I made the model completely in meshmixer . The second image below is the final version I went for, in part because my computer crashed and I lost the other iterations, which in the end was ok since the first one wasn't too bad even though it looks a little alien like.

Issue with linear cut
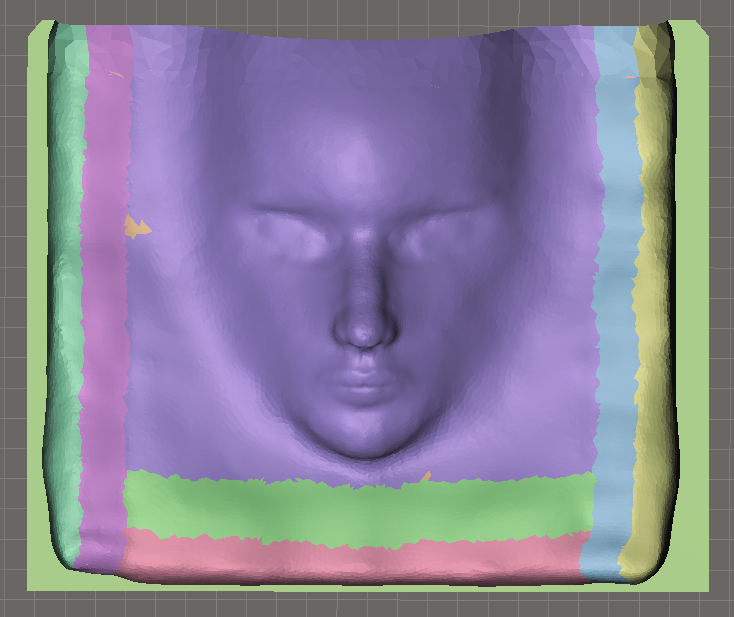
The issue, the one and only, I ran into when building the model in meshmixer. 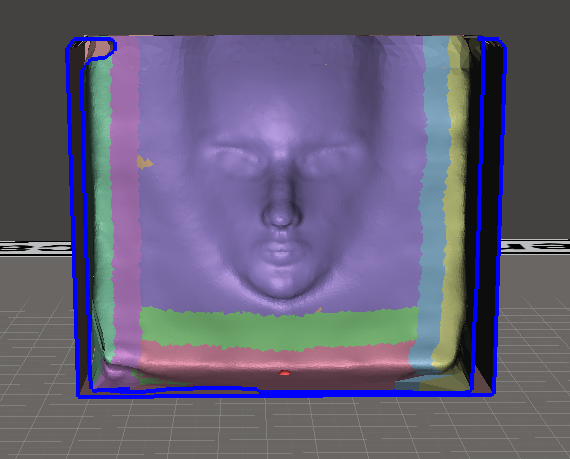 The blue lines indicate that the curve is open, a term which, if one's familiar with CAD programs, comes along with sirens and warning signs. The solution wasn't much of a solution since there was no undarstanding to come along with it. What I did that erased my problem was simply to do the same thing as I'd done to create my problem (in a different place) except this time it actually did what I'd been wanting it too. The tool which gave me these issues was plane cut, I've used it quite a bit and it's the first time it's given me any fuss. Below is the image after the successfull cut.
Milling Out The Blues
I used somethingsomething3D to set up my files to mill on the shopbot. I used bluefoam as the base material even though it won't give me the precise details I might want it'll do for the job to get done.
The settings were streamlined with seven different steps. First the  (insert name), then
  (insert name)2,
  (insert name)3,
  (insert name)4,
  (insert name)5,
  (insert name)6 and
  (insert name)7. Once Craig noticed my mistake of aligning the xy corners wrong the actual milling went well. It gave a nice finishing result as seen below.
