
Our assignment for this week is to show our ability to design for laser and vinyl-cutters and prove that we are able to implement those designs using this technologies.
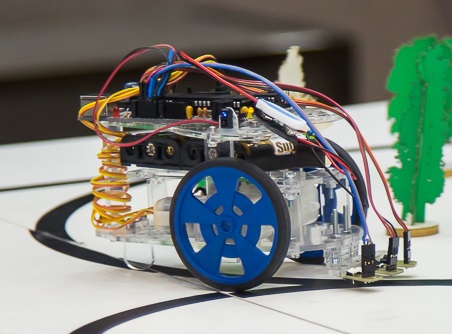
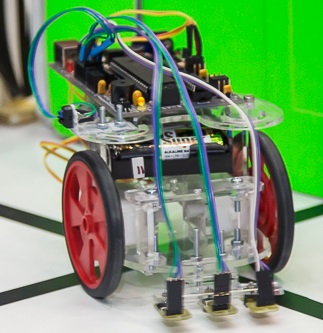
To show my skill of working with laser cutter I decided to document my press-fit mobile-robot-kit I designed for classes I am conducting. And for vinyl-cutter I will show some interesting way to make a PCB via etching, not a flexible one.
I am teacher of introduction into robotics. Finding out something new about robots is very interesting for the students, but being able to program the real robot is even more interesting.
As far as I have about 20 students in my group, it needs at least 10 robots (plus one for me) to have have really interesting practice (and to make students feel responsible for their robot through assigning the robot to a team).
Plus having your own robot is awesome and students often ask me how can they get their own.
We are at the FabLab, so the answer is "To make it!"
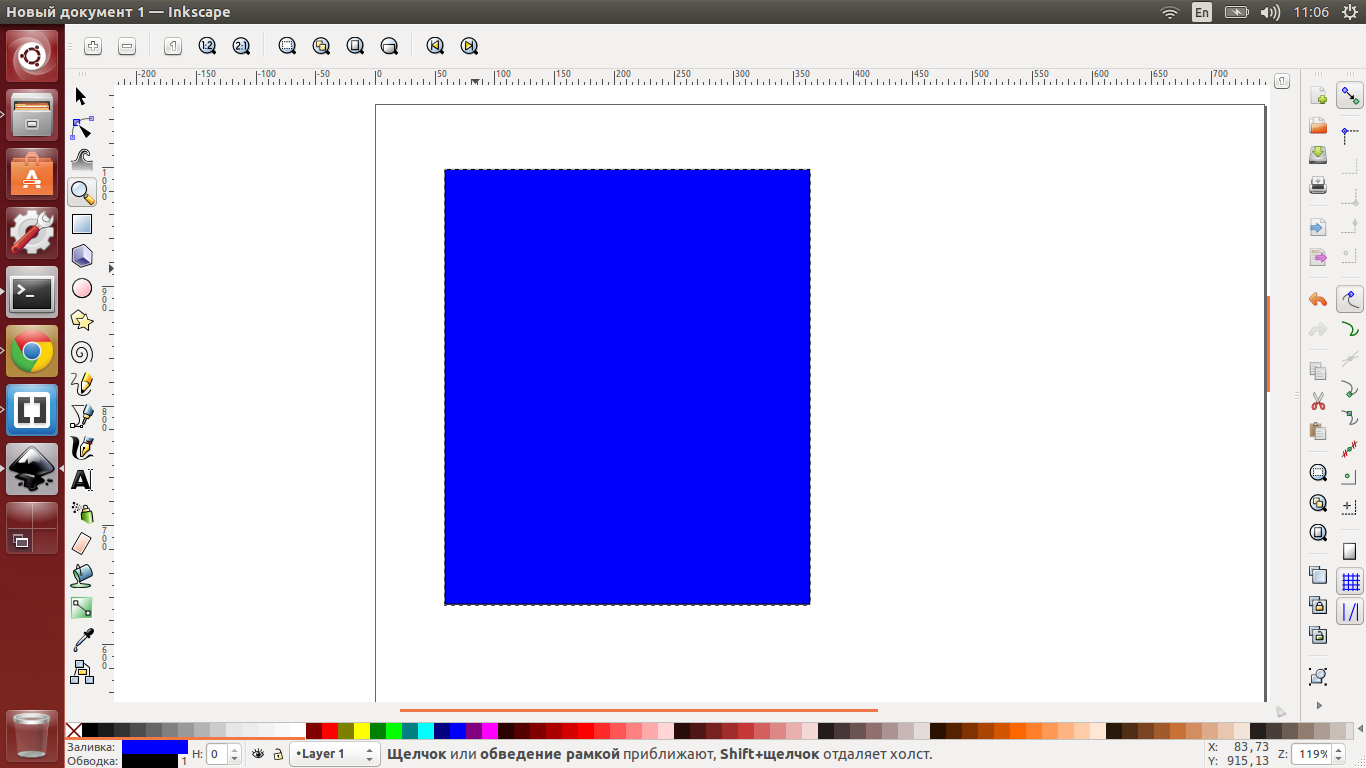
The tools I was using were really simple: using grid and polylines. Let me show you a simple example of how to make such smooth outlines from a rectangle using inkscape:
First, make sure you have the snapping turned on and grid set in the comfortable way (you can find it in file->inkscape settings). If it's ok, let's start from drawing a rectangle! I make it with no will and with black line colour:
|
|
|
Next thing to do is to turn it into a outline (that will allow us to work with this figure as if it is a polyline). Note please that I can change it's shape now:
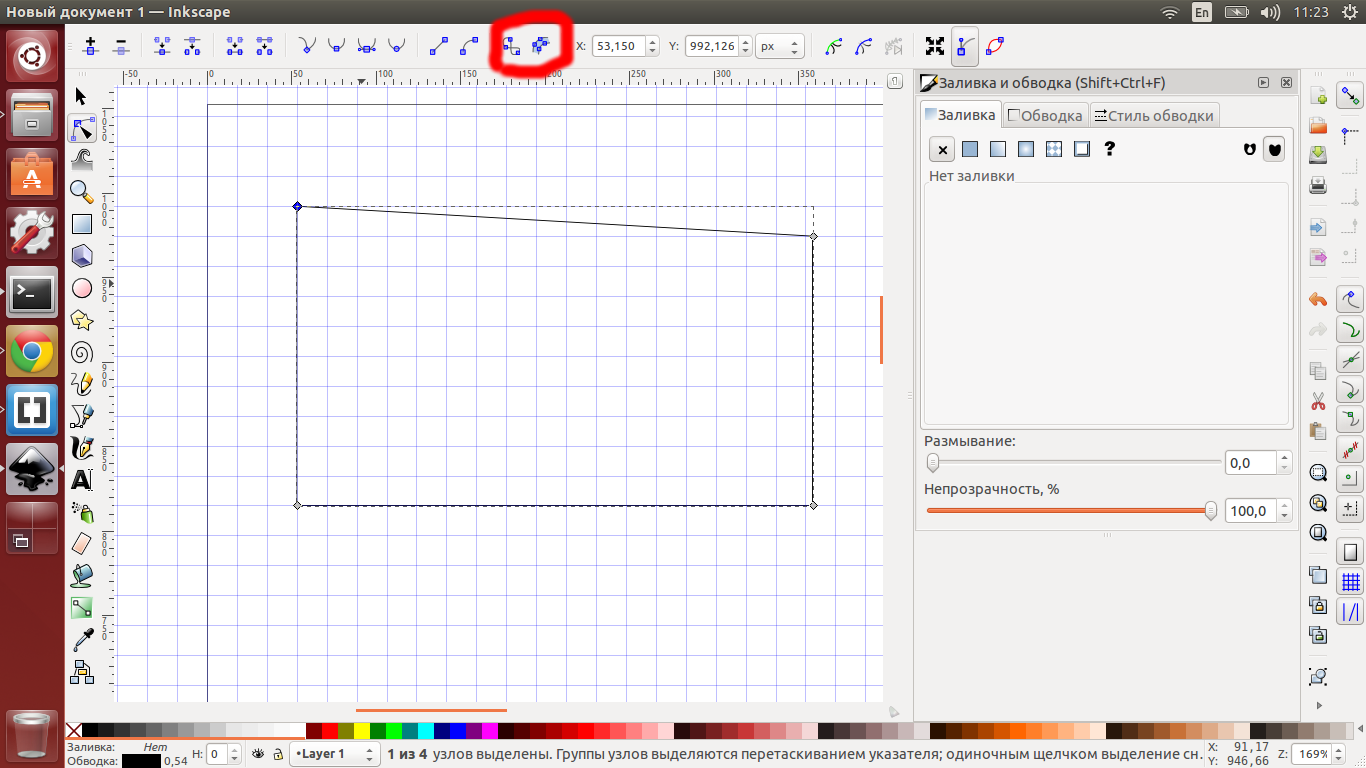
The last thing to do is to choose one node from this outline and change it to smooth or shapr. After that you can manipulate with curvature:
So, as you see, everything is quite simple and there is no rocket-science about making such an outlines. If you want to, you may play with my rectangle_example too!
That's how it looks when it's done:

The final blueprint for this press-fit construction-kit looks like this:

NB!I made this design for 3mm-acrylic. If you want to use some other material (the thickness matters), then you probably might need to redraw some parts. More information about that and explanation of how to make such kit can be found here
Here are my blueprints in cdr and dxf formats.
To make this press-fit kits I used epilog helix laser with it's software for windows (It was identified as a printer by computer). The print window looks like this:
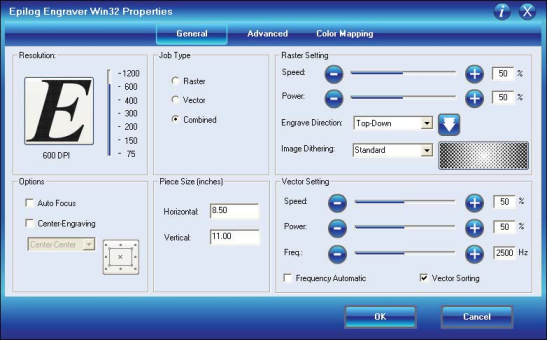
To cut something or engrave you choose between raster and vector modes or use a combined (first engrave, then cut the outlines). The laser is cutting all the lines that are hairthin (that's for coreldraw. In inkscape the line has to be 0.001" thin and pure red-coloured: 0xFF0000 in RGB colour model) and engraving everything else. Each mode has it's parameters: enfraving has speed (the faster you move, the less heat is applied to the material) and power (the higher power level you choose, the more heat is applied to the material); cutting also has the frequency (it is the number of laser pulses that the laser fires per inch of travel and is set in the dashboard and can be adjusted from 10 to 5000 pulses per inch. The lower it is the less heat is applied to the material). You can find some extra info and printing settings for different materials here or even more info in owner's manual for your laser (for example see the manual for mini helix 8000. We have Epilog Helix 24 Laser in our lab, but the manual is still informative.).
During my work on embedded programiing with atmega88 I developed the PCB for breadboard prototyping (I understand that breadboards are not really reliable, but it's hard to break a habit instantly). I am explaining why on earth I was using vinyl cuting with etching here.
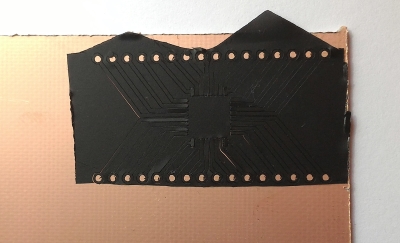

As you see, it is just TQFP32-DIP interface. I made it in eagle:
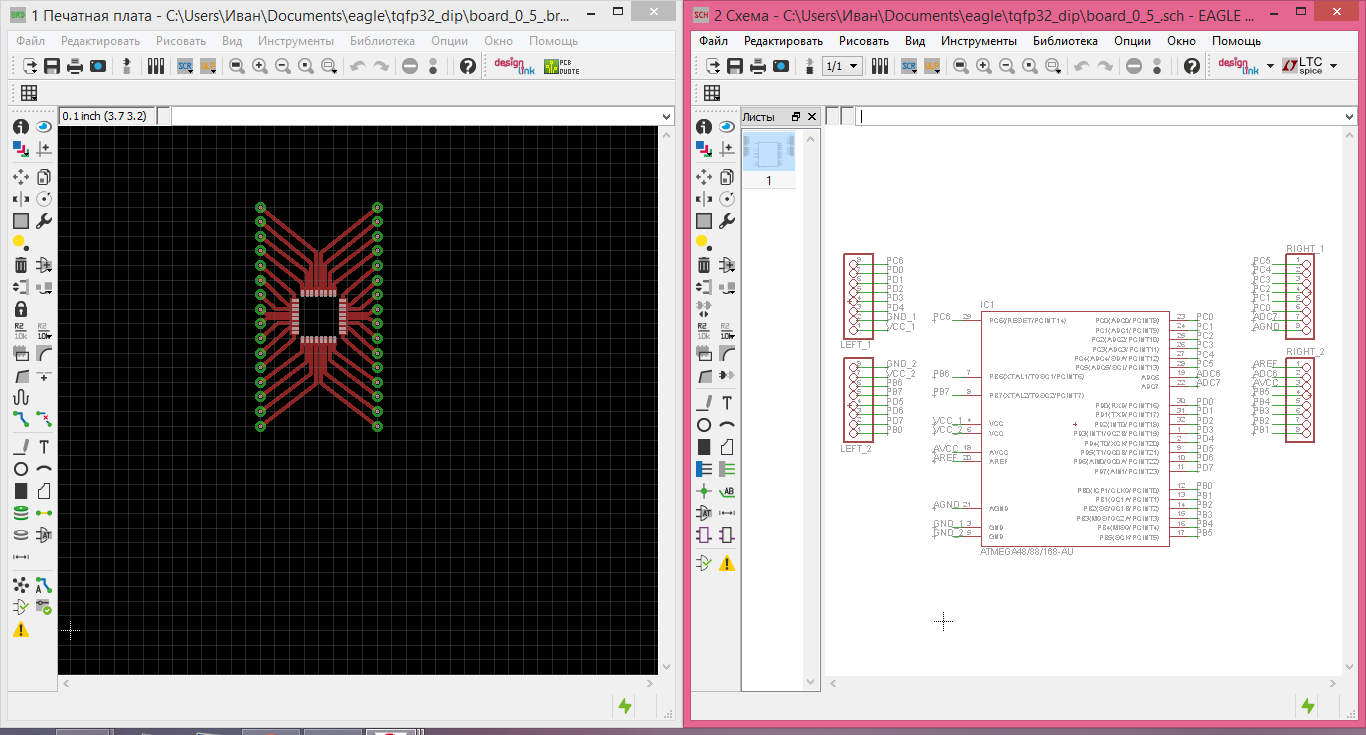
Here is the vectorisation in Coreldraw and it's dxf export. And just for the case: the eagle schematic and board though they are done really fast!