MOLDING AND CASTING

Assignment for this week: Design a 3D Mold, Machine it and cast parts from it.
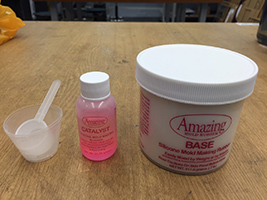
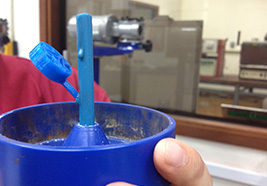
Investment Casting

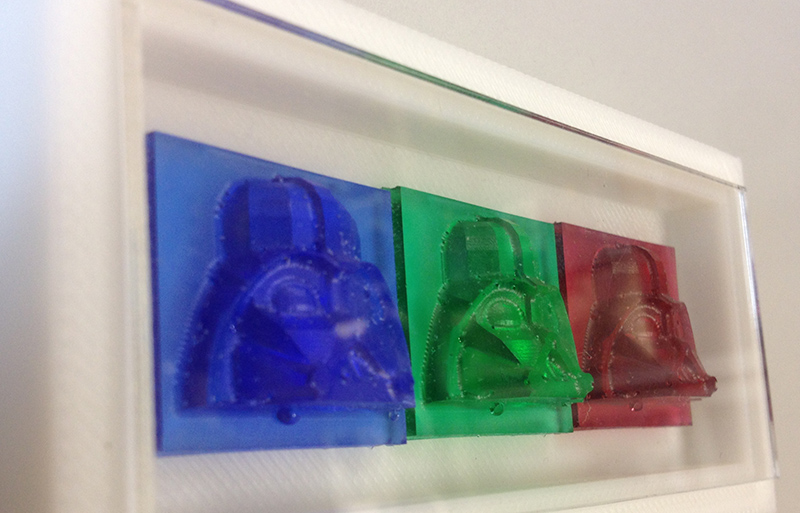
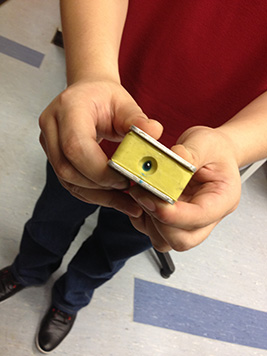
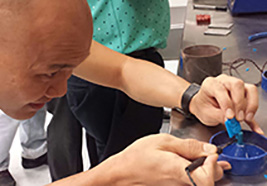
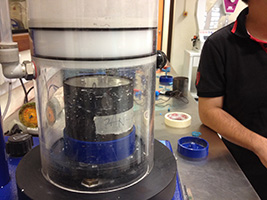
The team took a little detour and found out more about what Investment Casting was about. The activity took place in the Materials Lab @W1414.

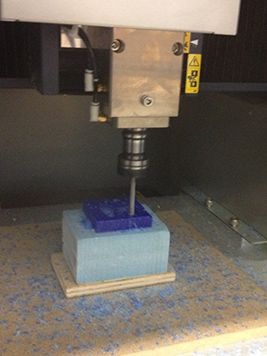
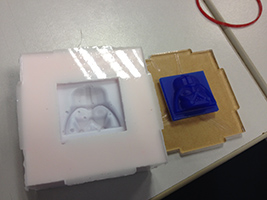
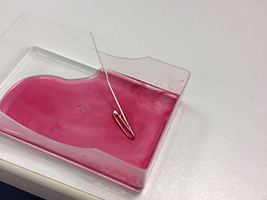
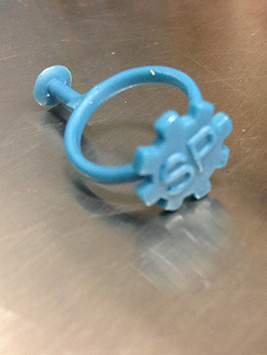
Step 1 : Creating the Mold

The silicon mold was already availble for us to create our Wax parts. Alternatively, you could 3D print parts that you designed.
Silicon Mold Hold firmly with 2 plates Wax Injector
Opened Mold Wax Part 3D Printed Alternate way
     
Step 2: Attach Part to Wax Sprue
The part is then attached to the wax sprue by gingerly melting it with a fine soldering iron. It is done at an angle of 45degrees to aid the flow of the cast material. The part has to be firm and not fall off due to its own weight or the ceramic slurry that would be later poured onto it. The mass of the plastic is weighed to determine the amount of metal to melt later on.
Me Trying really hard Steady like a tree Weighing it
     
Step 3: Create the Ceramic Mold
We prepared the Ceramic Mix (Satin Cast 20) of 480grams to 220ml of water. Water is poured in first followed by the mix, to prevent clumping. Using a Vacuum mixer with vibrating function makes life a little easier. The mixture is mixed for 3 minutes under vacuum and released into the mold holder with the wax parts. The mold is left to set at room temperature for 24 hours, which leaves us some time for tea.
Pouring in Mix and Shake Mold is wet!
     
Step 4: Baking the Mold
Early next morning the mold is placed in the oven and baked at 700 deg C for 8hrs. Then it is placed in machine that heats up the pellets through induction heating and the casting is done under pressure in a inert gas (Argon) environment. The mold is then placed in a bucket of water to cool and the cast is removed for post processing.
Oven for Baking the Mold Pellet melt and poured in Bronze Pellets
Visible 3D printed grooves on Transformer logo Mocking Jay


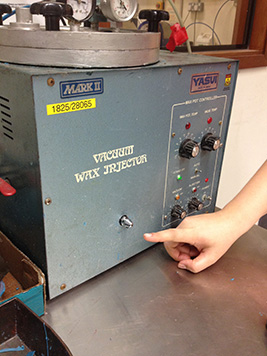
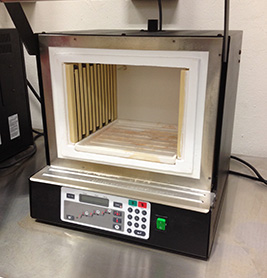
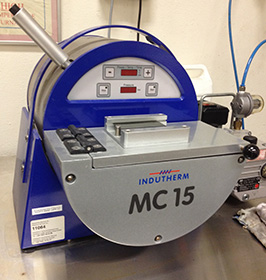
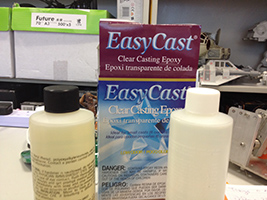
It was an interesting experience doing Investment casting and learning this 5000 year old process :)

________________________________________________________________________________

Silicone Molding

Back to the Assignment :) we used the Roland MDX-540 to machine our wax master mold. I tested on foam before moving on to wax to. The foam had lots of pits and the surface finish was poor and would require a fair bit of manual post processing (putty and sandpaper work). The wax material showed better finish and resolution based on the same machining parameters.

Foam Roland MDX-540 Machinable Wax


Next was to make the Silicon Mold negative so that we can cast parts from it. Although it says 4hrs cure time, it took approximately 15hrs. A little disappointed as there was some bubbles on the mold. This could be prevented if we used a vacuum system to get rid of the air bubbles after mixing.

Amazing Mold Rubber Demolding Bubbles in the Mold


I am casting transparent epoxy resin. Dye can be added to give it a little colour. I would think it may even be possible to add glass or carbon fibre to created complex composite parts. I would try it out another day.

Epoxy Resin Mix 1:1 part and dye for colour Cast in Silicone Mold


On the instruction sheet, soft cure time is 24hrs and full cure is 72hrs. I could not wait and after 12 hours, I decided to pop it out. The top surface had a high reflective gloss. I pryed the the cast out and as there were no undercuts, demolding the piece was relatively easy.

Download CAD files from

https://www.dropbox.com/sh/syut6t3b2iwss42/AABQCVVCvPaUm1WgwHhdanwja?dl=0

or

local Archive

Elements of the Full Process Transparent Red Cast Epoxy
All Hail Lord Vader!

Lessons Learnt

1) Use a vacuum system to draw out the bubbles from the silicon mold. It is worth the trouble.

2) Using High Density Foam would give a textured finish.

3) For larger complex parts, Vents need to be considered at strategic locations. Perhaps even consider a 2 part mold. https://www.youtube.com/watch?v=iRj6xzNx7P4

4) Due to the cost of silicone rubber mold and cure times of both mold and cast parts, one must really consider the necessity before embarking on this technology. It would be useful in the following instances:

a) Overmolding or insert molding is desired.

b) Surface with high gloss finish required with minimal post process

c) Large quantities required 10-30pcs.