Week 16
Making a Drawing Machine
Machines
MODELA MDX-20 (Software: Fab modules)Trotec Speedy100R (Raster setting: Speed 3%, Power 20%, Vector setting: Speed 1%, Power 40%)
Components, Tools and Materials:Yumi
*Highlighted materials were included in the machine kit delivered to our fablab- Solder x 1
- Tweezers x 1
- Gestalt Boards x 2 (board data)
- Stepper Motors x 2
- 12V power supply x 1 (秋月)
- 5mm Cardboard
- Nylon Bearings x 8 (McMaster)
- Aluminum Shafts x 4 (McMaster)
- Velcro
- Screws, Washers and Nuts
Making the Bridge Board:Yumi
In order to use the USB-RS485 cable for controlling the Gestalt nodes (Fabnet), a bridge board is nessesary. I milled the board (Bas’s version) and soldered the bias resistors, wires and headers.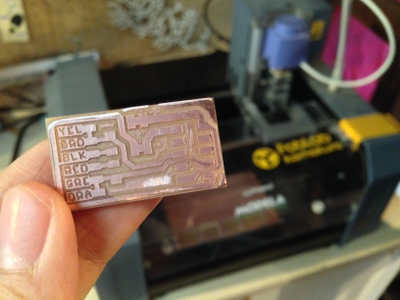
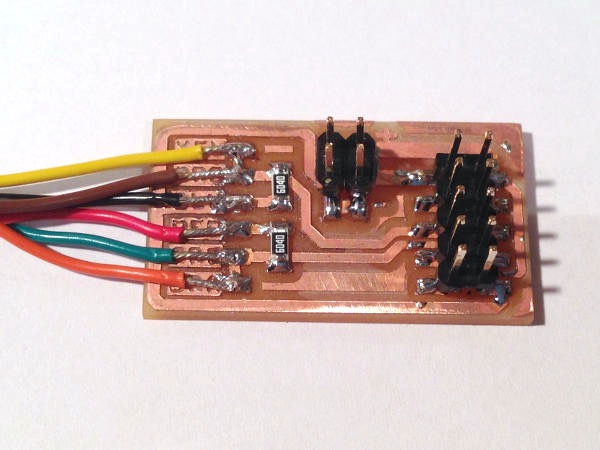
- Data - (B) Signal
- Terninator 120R, Pin 1
- Gnd
- 5v power
- Terninator 120R, Pin 2
- Data + (A) Signal
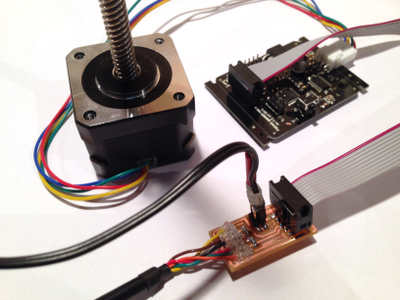
Testing the Gestalt nodes:Yumi
After connecting the boards and motor, Asako-san and I tested the Gestalt nodes by downloading the pygestalt code and entering the following commands in terminal.- cd to the pygestalt folder
- sudo python ./setup.py install
- cd examples/machines/htmaa
- After connecting the board to the pc, ls /dev/tty.usb* and copy the name (mine was
/dev/tty.usbserial-FTXW9Z5W ) - Change the prot name in singlenode.py (in my case, form /dev/ttyUSB0 to /dev/tty.usbserial-FTXW9Z5W)
- Turn on the 12v power supply and python single_node.py
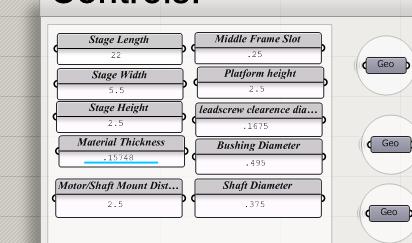
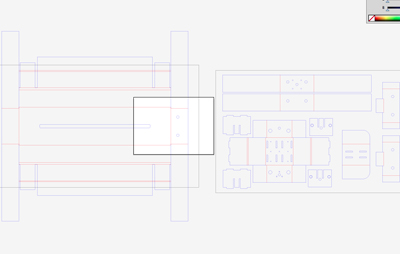
Making data:Asako
In japan, we do not use 'inch' generally, only uses 'mm' . so, I redesigned borad for 4mm tickness.
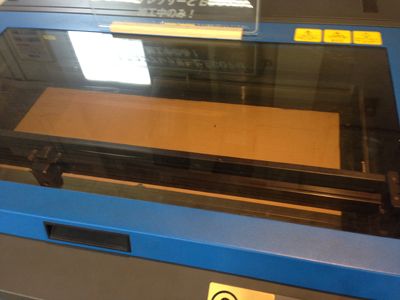
Cutting:Asako
To cut big parts with one piece,I cut it in a laser cutter of Makerspace.The value is as follows.
machine:UNIVERSAL ILS9.75
cut>power:100% speed:60%
fold>power:100% speed:45%
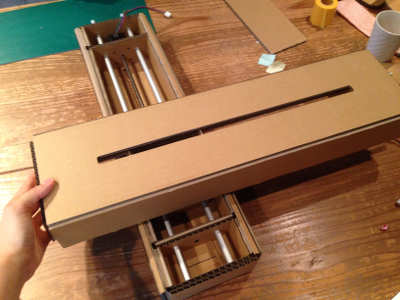
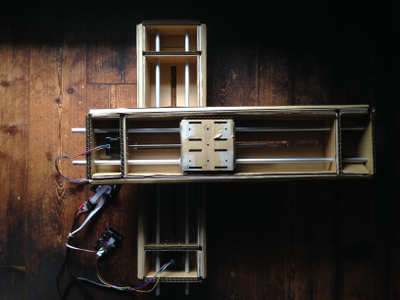
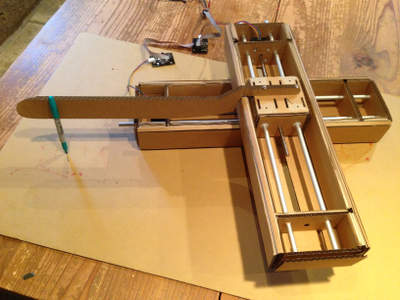
Assembling the Stages:Yumi
Now that all of the parts are ready, it's time to assemble the stages!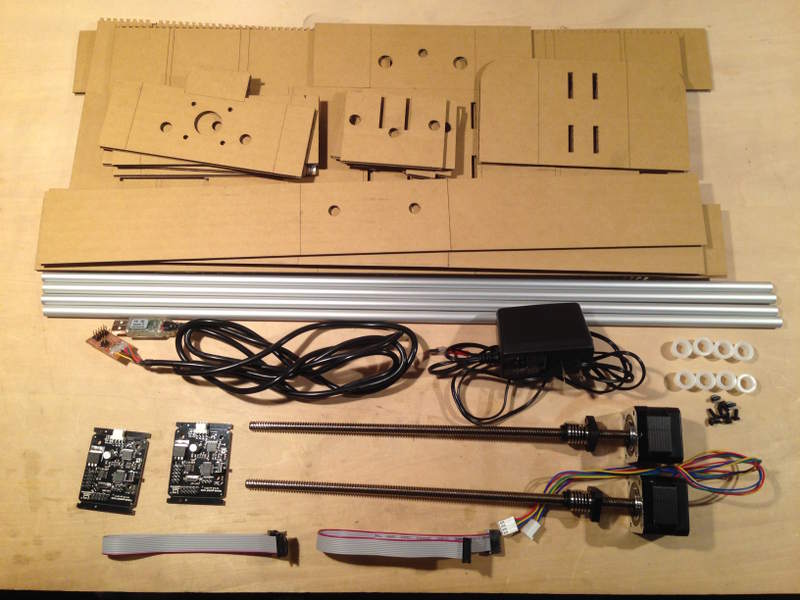 In order to connect the linear stages in a way that they can be easily detached when necessary, we used velcro. First, we tried to connect them by their stage parts (left photo), but we realised that the weight of the motor made the top stage unbalanced. So we connected the bottom stage part to the top frame part (right photo).

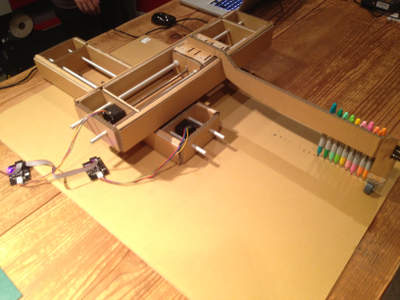
Making the Pen Holder:Yumi
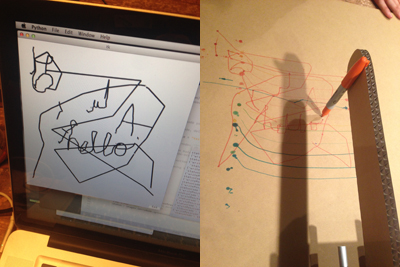
Inspired by the cheating pencil, we decided to attach multiple pens to this machine. I made the pen holder with cardboard, so that the pens can be attached to its corrugated layer by the pens’ clips. This way the amount and position of the pens can be freely adjusted.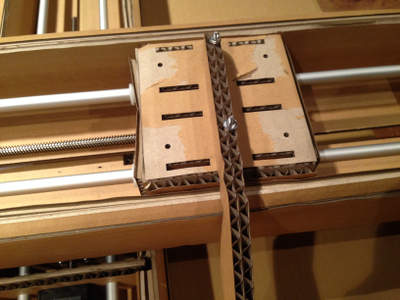
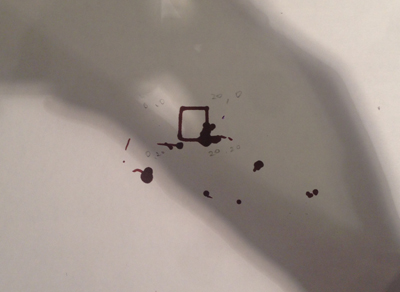
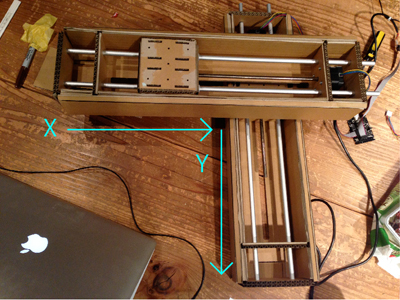
Software:Asako
We gave some tests to make software. We gave numerical value and confirmed that a X and Y became like this.
I made a program that plotter follow and works when mouse was dragged. This was my first Python, and I like it!