wk11 | composites
Assignment :
- design & make a mold & produce a fiber composite part in it
Download : rhino and partworks - platter design files
My notes :
11 april 2014 | designing a mold
Since it's my first time making a 2 sided mold,
I wanted to try out with a simple shape.
So I made a big flat bowl design in Rhino.
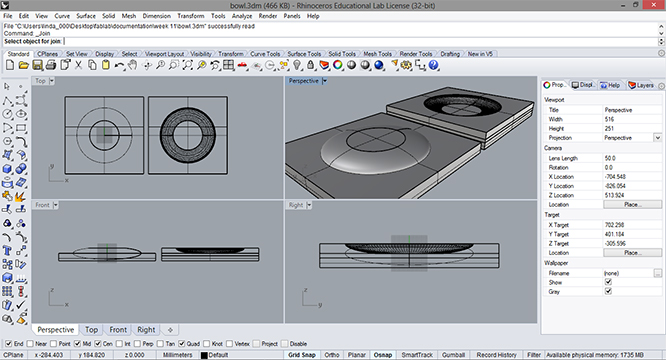
For the preparation in PartWorks3D we decided to use a the 1/2" straight fluut
for the roughing and the finishing toolpath.
And to save some time in the finishing path,
it only mills along the X axes (not a extra path along Y).
The estimated milling time (from start to finish) was now 1 hour and 18 minutes.
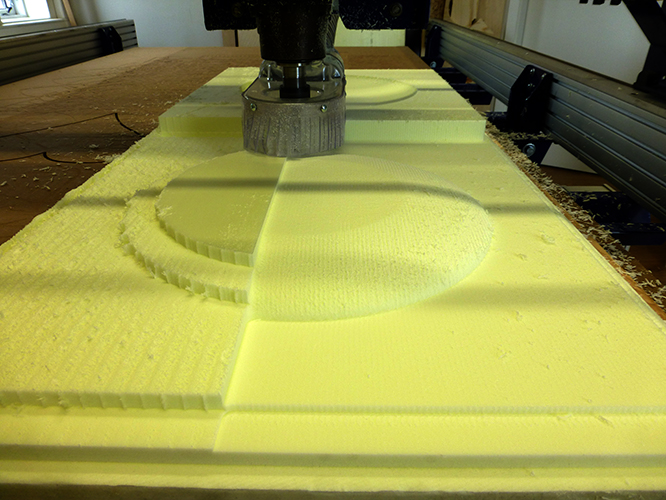
The finished result for this foam mold was a bit rougher then I expected,
so I sanded it down a bit.
Then I painted 2 layers of white gesso on the mold.
And by sanding it, it smoothed again.
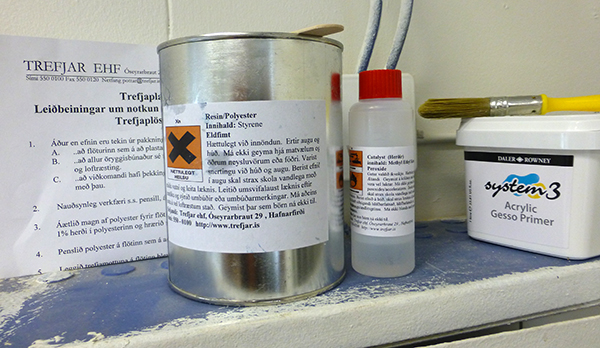
I don't have much burlap, used enough to cut out 2 circles
and decided to cut stips of the leftovers.
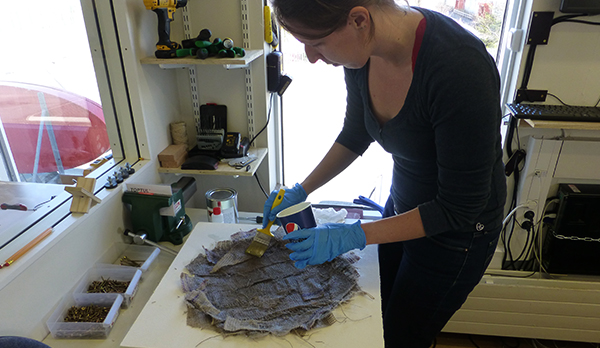
Then clamping down the mold till the excess resin get's squeezed out.
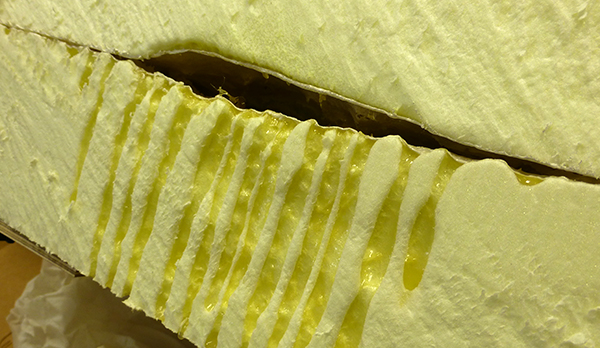
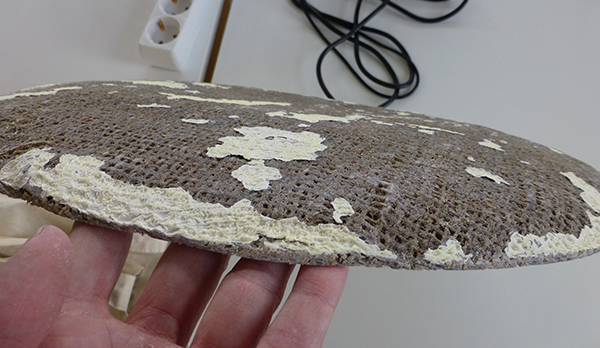
All the drippings were expected, but what happened is that the gesso wasn't preventing
the damage by the resin.
By the time the burlap was dry enough to be pulled away from the mold the resin had
almost eaten trough the foam.
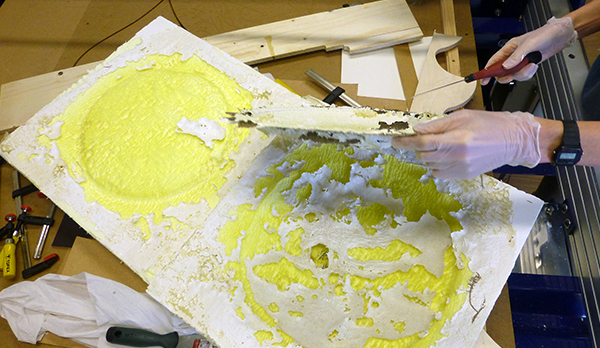
With a small saw I trimmed the edges, and sanded it again.
It smoothed a bit, but I was not able to remove the gesso paint flakes.
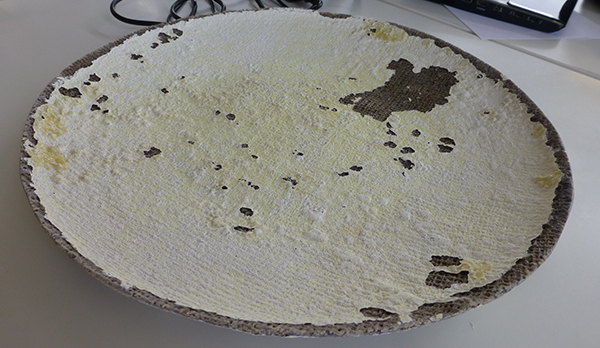
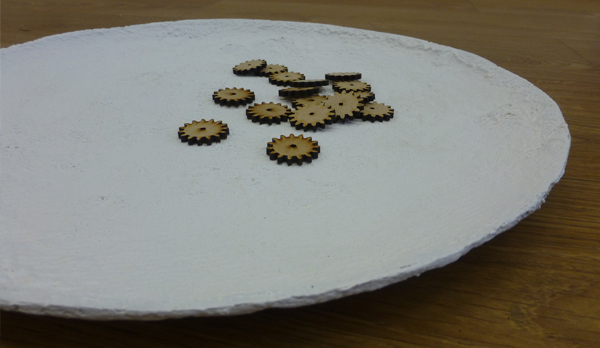
Ignoring the failed gesso, the end result was a solid shape of polyester resin and burlap.
To get the look a bit more finished, I painted it white again.
Now it serves as a platter for small laser cut showpieces.