Week 9 - Moulding & Casting
Brief
The brief for this weeks assignment was to use a 3 step process to create a cast part. Step one - mill modelling wax (positive) then cast a flexible (silicon/rubber) mould in the wax, then finally cast a plaster reproduction of the wax shape.
Design - Sketchup/Solidworks
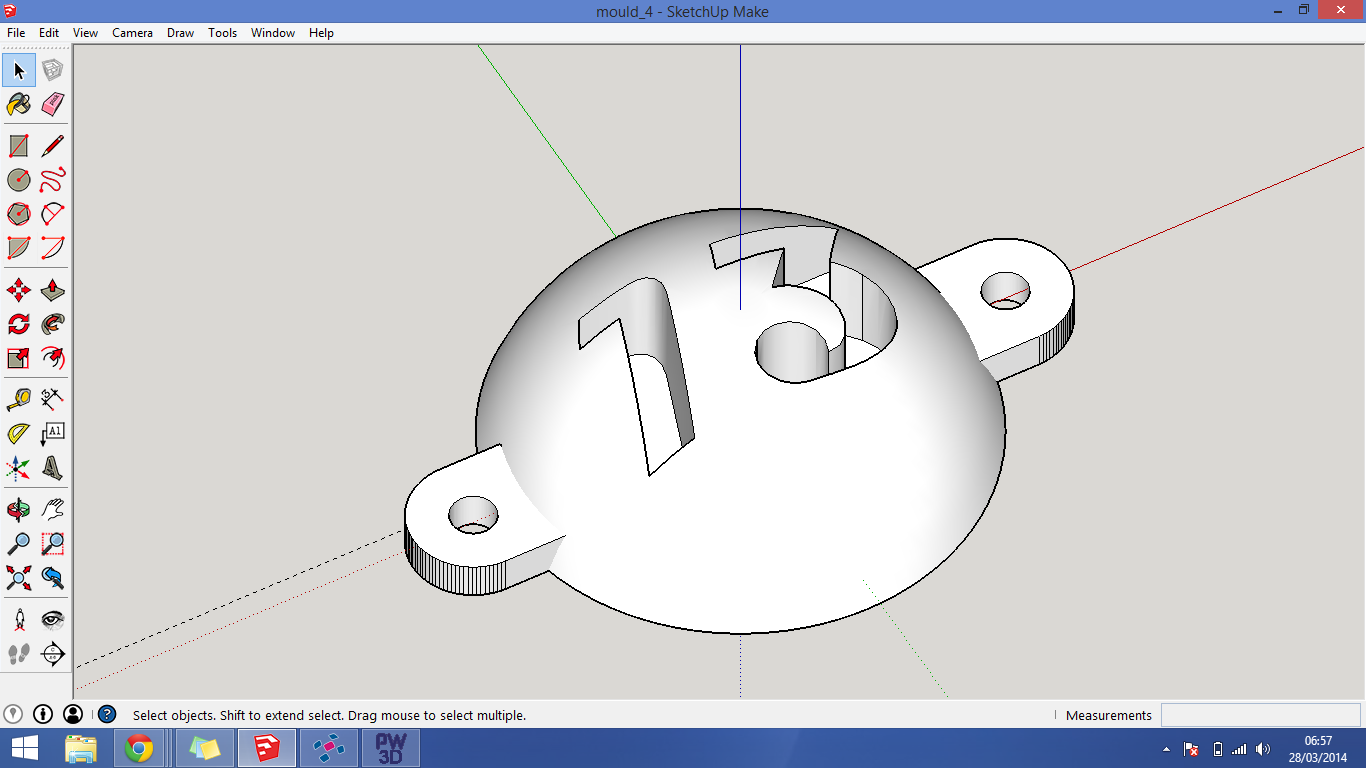
Initially I had the idea for creating a door number for my new house. This being a fairly simple 3d model I chose to use Sketch-up instead of my more familiar Solidworks. I decided that I wanted to make a funky shape so I found a font i liked (magneto) then recessed the number into a half sphere with attachment lugs to create this.
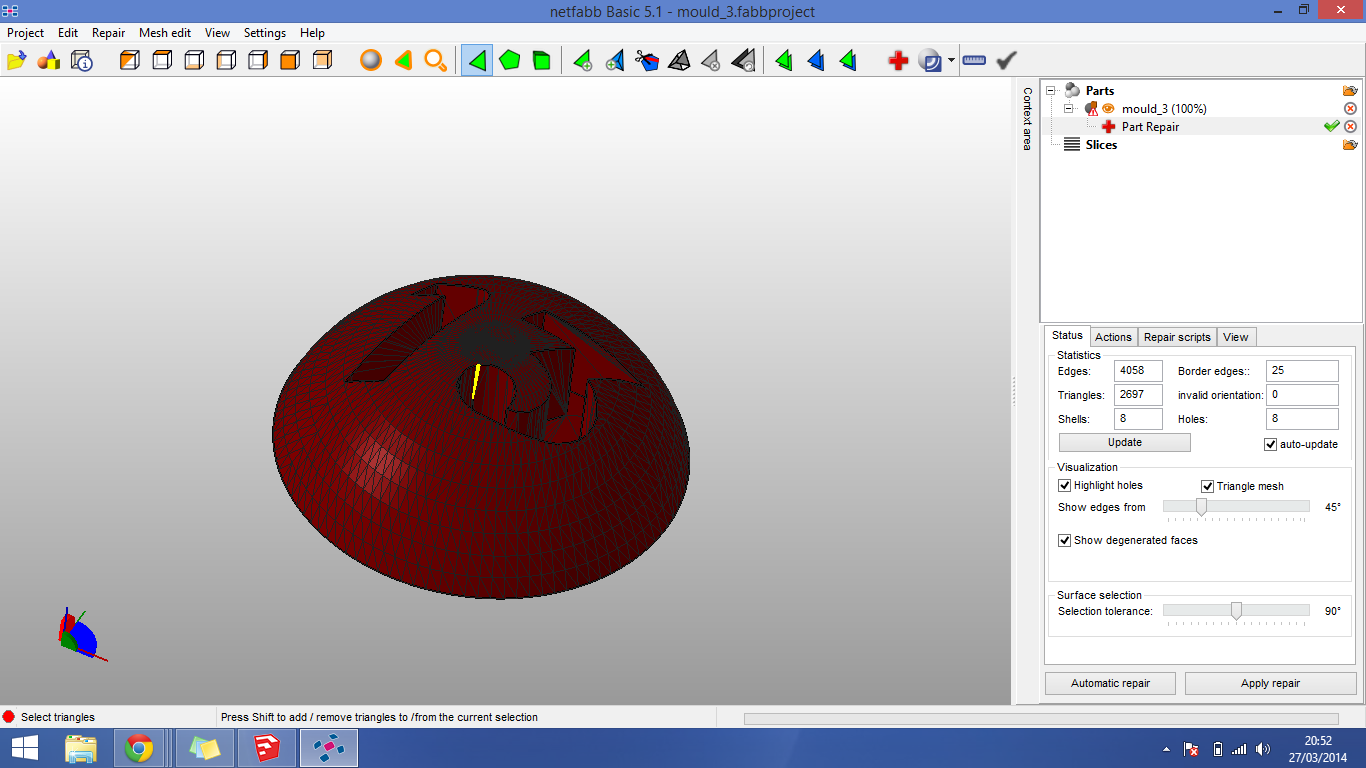
The shape itself was quite quick to model but with many things in Sketch-up it did have some errors to correct along the way and although I have the correct plugin to export to .stl, it is not possible to control the resolution of the stl export. I then looked at the .stl in Netfabb studio to check for errors and found it to have multiple errors, including reversed normals and holes.
These are easily fixed using the repair scripts in Netfabb but I felt the stl resolution would give me a poor cast part with polygon surface detail and so i decided to re-model the surface in Solidworks and then be able to control the resolution of the .stl export.
Toolpath Creation - Partworks 3D
Next I loaded my .stl into Partworks 3D and configured my toolpaths. I found Partworks 3D fairly straight forward to use and the only tricky part was ensuring my model with walls could fit on my block of modelling wax.
*TIP* Remember to allow for wall thickness around the milled shape (typically 2mm or above) and ensure you mill at least 2 mm below the wax surface to allow for a bottom wall thickness of silicon to form.
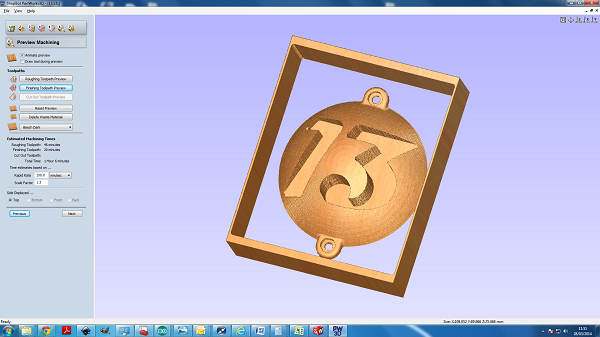
I chose to use a 1/8" down cutter to mill my roughing toolpath. The reason I chose this was I needed 30mm of 1/8" diameter cutting flute and shaft length and all other stock bits moved from a smaller cutting flute to a larger diameter shank, which would have caught on the top of the mould at the lower cutting areas.
Here is the preview shown below
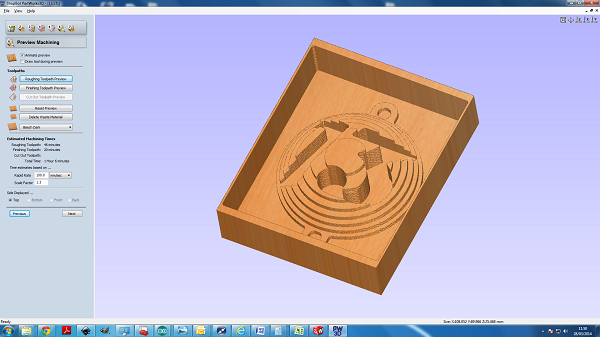
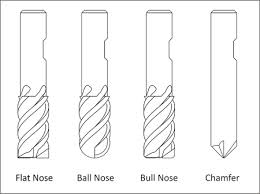
For finishing I chose to use 1/8 inch ball nose bit. I used this bit as I have a half sphere shape which I felt would be better replicated using the ball nose instead of the flat end mill alternative. I did give this some thought as it was highlighted in the lecture that flat ends give you a true flat on recessed features which got me thinking about which bit is best for 3D milling?
From reading some forum posts I understand the limitations of using a ball and flat end mill and that is why it seems the best compromise is to use a bull cutter. As shown in the diagram above a bull cutter has the best of both worlds with a mostly flat bottom and a small radius to do full contoured 3d milling. Having identified the theoretical correct choice for my milling I still had to choose from the stock at the lab and that is why I chose the 1/8" ball nose.
The main difference in programming a ball nose for a toolpath is the stepover value, which takes its toll on the tooling time. For a flat end-mill a typical value is 50% whereas a ball nose requires less than 10% for a decent finish and for this I chose 5% (to get the best resolution without taking all day). In total my toolpath times lasted approx 1h45 with 40 mins roughing 1:05 finishing. Considering the finishing toolpath is only getting rid of a very small amount of material the time is significantly more than the roughing. Having said that I chose to mill my wax using the Shopbot and not the Modella as from experience my job would have taken at least 3 X longer using the smaller machine.
Here is my finishing toolpath preview
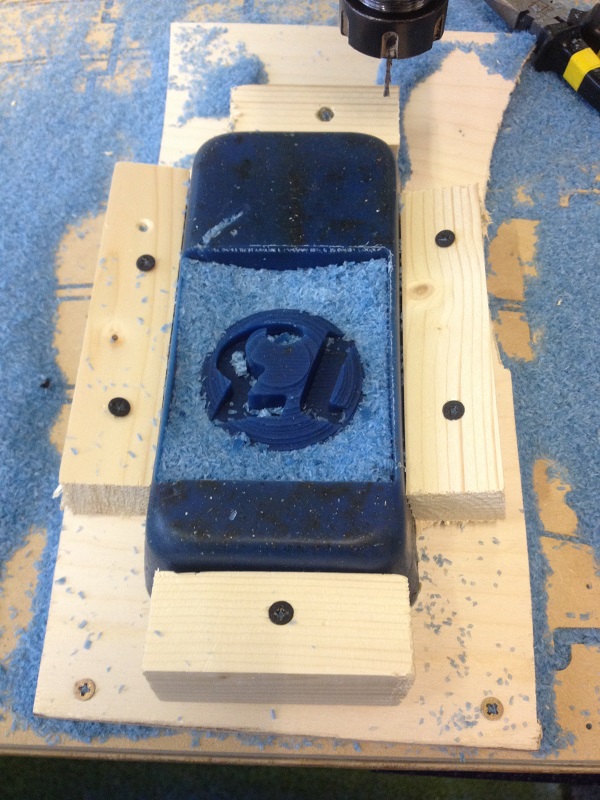
Milling - Shopbot
I set the machine up in the normal way, the only change to milling wood was that I took off the protective plastic skirt away and didn't use the extractor fan. The reason for this was to allow me to recycle the milled wax swarf and as the wax has an easily scratchable surface I didn't want the plastic guard to have the chance to damage my model. The last difference in set-up was that I needed to make a jig to hold the wax in place. I think a jig is the best option to restrict movement without having to to use clamps that extend above the model surface or counter-sink screws that need to go through the wax (and may cause cracking). The spindle speed rpm used was 8000. I read many use slower rpm but as i wanted to machine quickly and I felt a medium speed rpm would help with that.
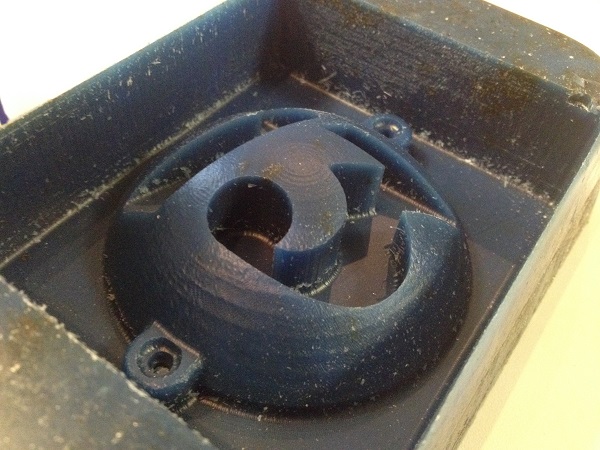
Here is my model after the roughing
and after finishing......
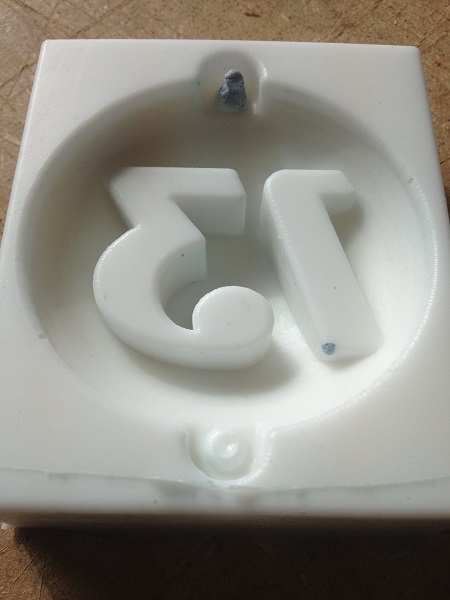
Moulding & Casting
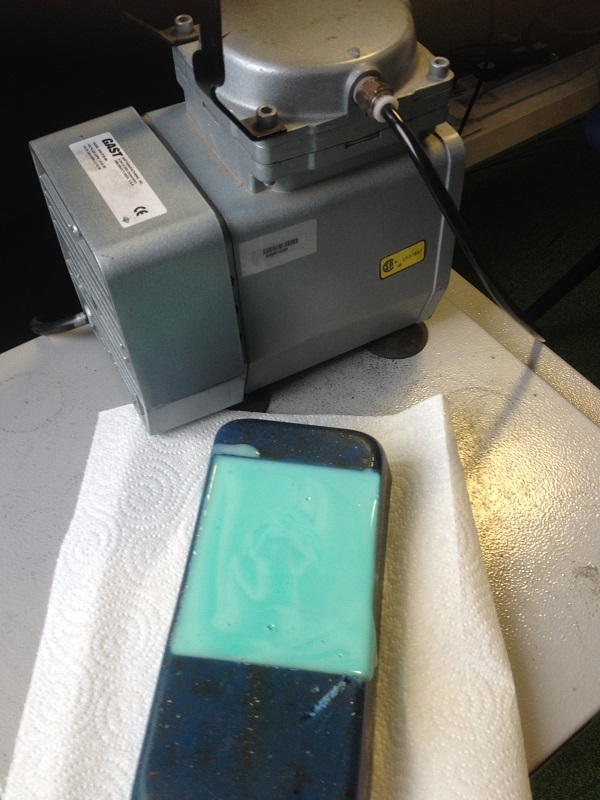
Next I cleaned up my wax using some cotton buds and then mixed the smooth-on rubber compound we had in stock. I followed instructions but as the parts had been opened I didn't expect them to still be within shelf life, but without any other material I gave it a try.
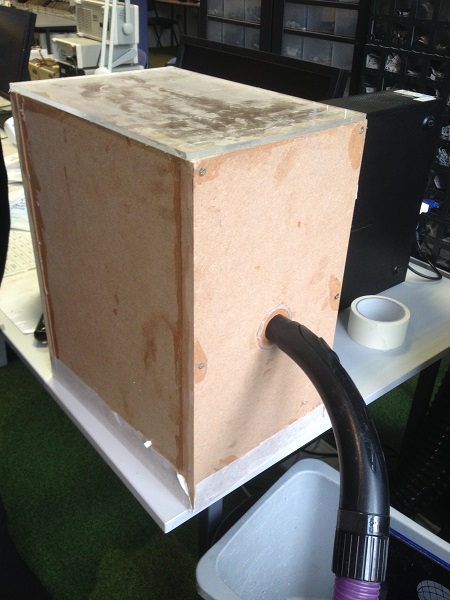
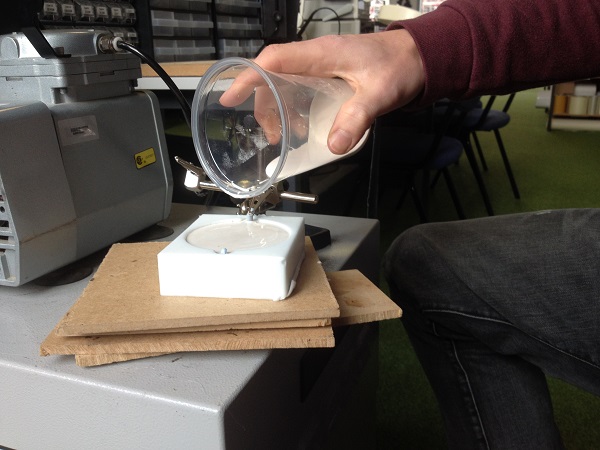
I used the compressor to vibrate the mixture to help release air bubbles and the Fab Vac-Chamber to suck bubbles from the mixture.
Here is the result.
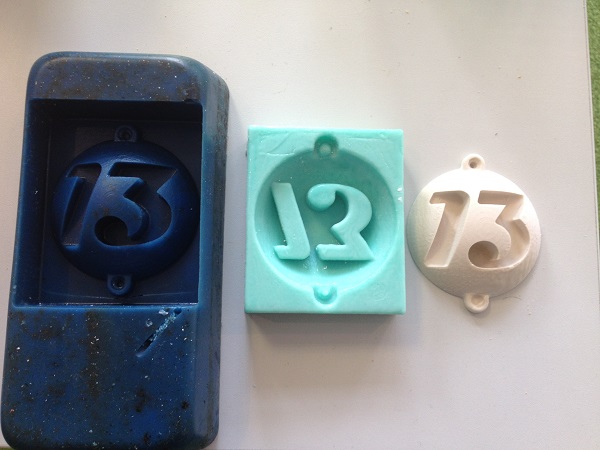
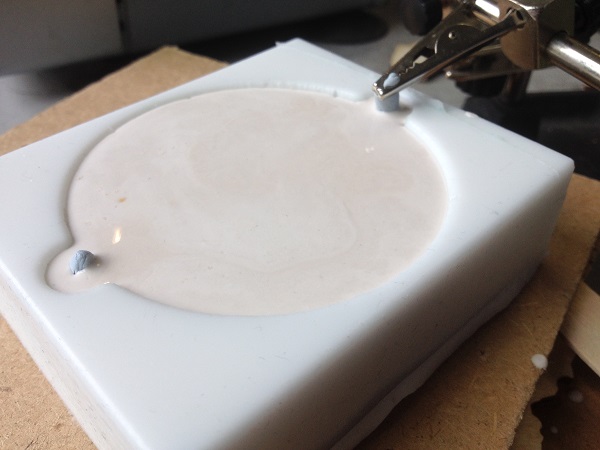
Not bad, but not fully cured (sticky surface) and an error on the shape of one lugs caused by trapped air in the mixture. To cure fully I put on a very low oven temp (40C) for an additional 2 hours. Then I cast a Herculite Stone plaster in the rubber. We have 3 plasters in stick but they all seem to have similar properties (from the data sheet) so I chose the Herculite Stone and mixed to the 100:33 ratio (Plaster:Water) by weight. The mixture was easy to mix together, just make sure you add the powder gradually into the water whilst stirring to stop lumps forming.
Here is the result.
Comparing the three its it's clear to see the surface finish of the rubber mould has lost the detail of the cut wax sphere as the material didn't cure in the mould properly. Not too bad though.
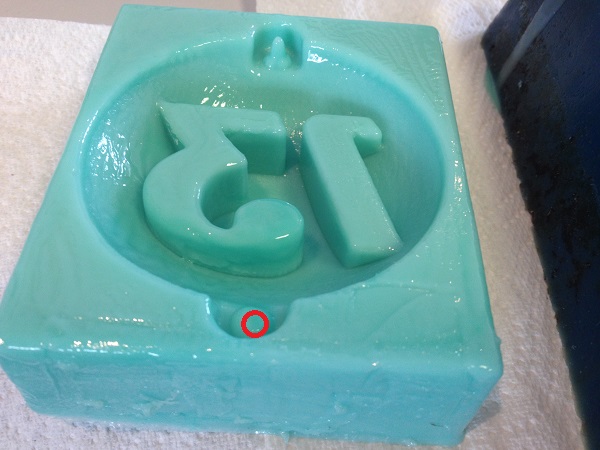
I decided to try a new mould with some RTV 2 silicon to try and improve the surface finish. I have used this material in the past on prototyping projects and hoped for a better result. Instead of equal mix the RTV2 uses a small amount of catalyst (4%) to mix through the silicon to start the hardening process. The mixture is more viscous and significantly harder to mix and pour. The vac-chamber was a must use when creating a mould with this silicon. I left the mould in the vac chamber for approx 15 minutes and let it cure over-night. Here is the result.
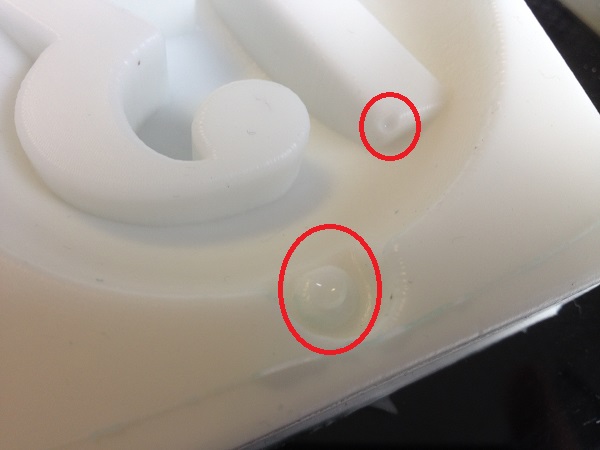
The vac chamber didn't get all the bubbles.....damn.
So I had to patch up the silicon with some bluetack.
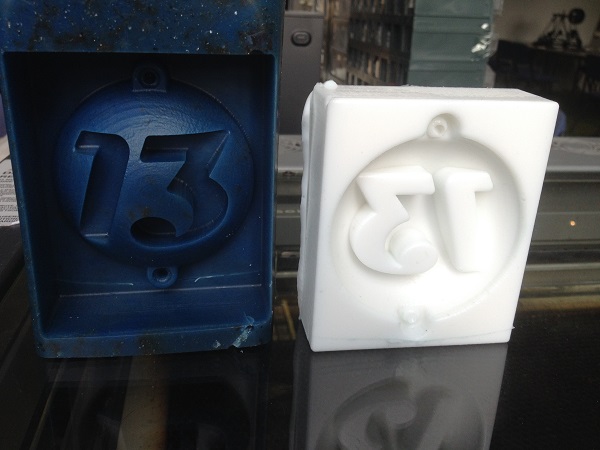
Worked quit nicely actually but there was one area of the lower lug that I couldn't patch up as the bluetack had nothing to fit into so instead I set up a rig to suspend the bluetack into the mould for the plaster-cast.
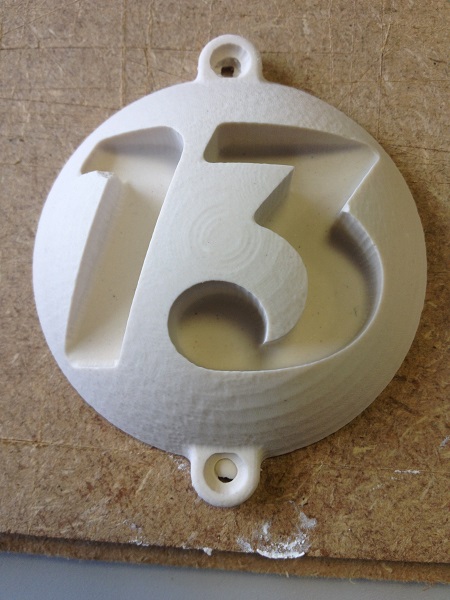
Result
Not perfect. Despite doing a few casts they all had minor imperfections in similar areas that are thin and therefore inherently weak. Maybe a design flaw on the thin edges (radiused edges would have been stronger, and less likely to break). It took quite a lot of force to de-mould the cast and with all the force concentrating on the thin edge of the cast it seems inevitable that some edge damage would occur. I couldn't work out a way to get round this so decided to do the best I could to mask the imperfections with paint, (it is going on my front door after all)
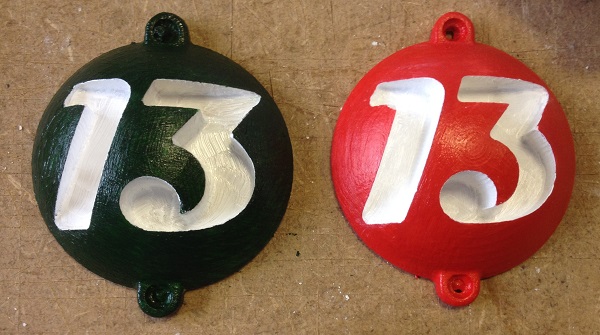
I used acrylic paints and here is the final result.
Quite happy with the result, although my colleagues all say it looks like I live at number 73 when it clearly says 13! Tut tut some people have no style.
Downloadable Files
Sketchup 2014
Stl
Partworks 3D
Roughing toolpath
Finishing toolpath