Week 8 - Embedded Programming
Brief
The brief for this weeks assignment was to read the data sheet of the ATtiny44 to better understand how micro processors work. Then use our own Fab ISP's to program our Hello World PCB, in as many IDE's and languages as possible.
Arduino IDE
Firstly I wanted to learn how to use the Arduino IDE to program the ATtiny44 chip. There is a lot of buzz in the maker community around using arduino and despite learning in the lecture this week that arduino is simply a development board that uses an Atmel chip as it's brain, I was still very keen to familiarise myself with the way it works.
Currently I am using a Windows 7 PC and a Windows 8.1 Laptop. both with virtual box Ubuntu installed. This means that I should use Ubuntu as my main system for the Fab Academy as it is the available on both machines but as I run it in a virtual box I often find it slow and glitchy. I therefore decided to try and get Arduino working in all three operating systems, which would likely prove difficult if the online tutorials are anything to go by.
To get arduino IDE running on Windows and Ubuntu I followed these great tutorials -1, 2.
1- Is used for installation of the software, relevant drivers & chip library.
2 - Is used for making the OS see the devices and install drivers for the relevant hardware.
*TIP*
I installed arduino version 1.04 instead of 1.5r2. The latest arduino version does not support the old Github repository for ATtiny boards. There is a newer version available which should work but there is less information on using the newer rep.
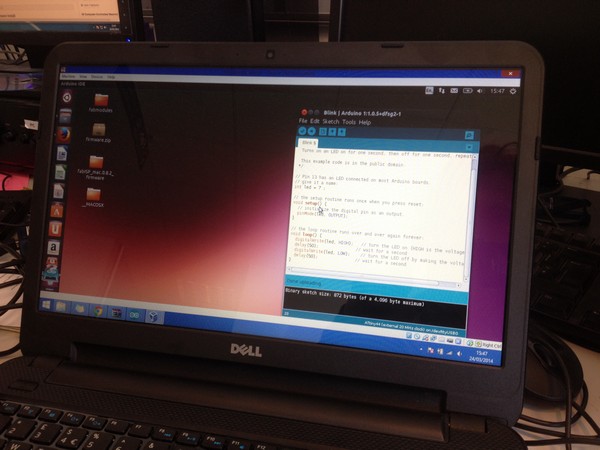
After struggling with Ubuntu permissions, Windows security settings and COM ports I did manage to get arduino IDE working on
in all three OS'S.
Programming
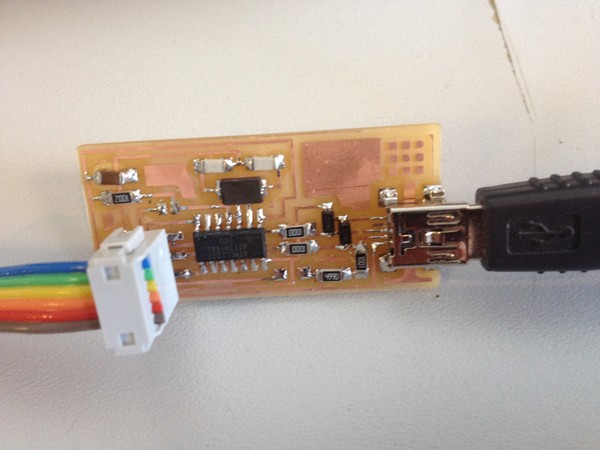
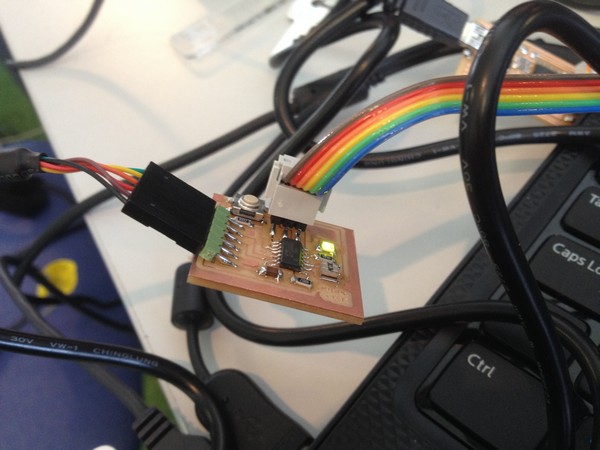
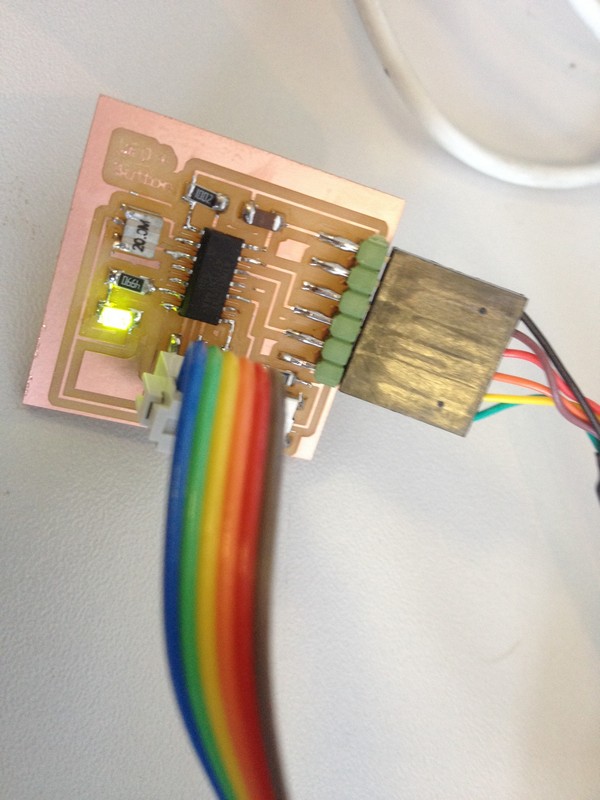
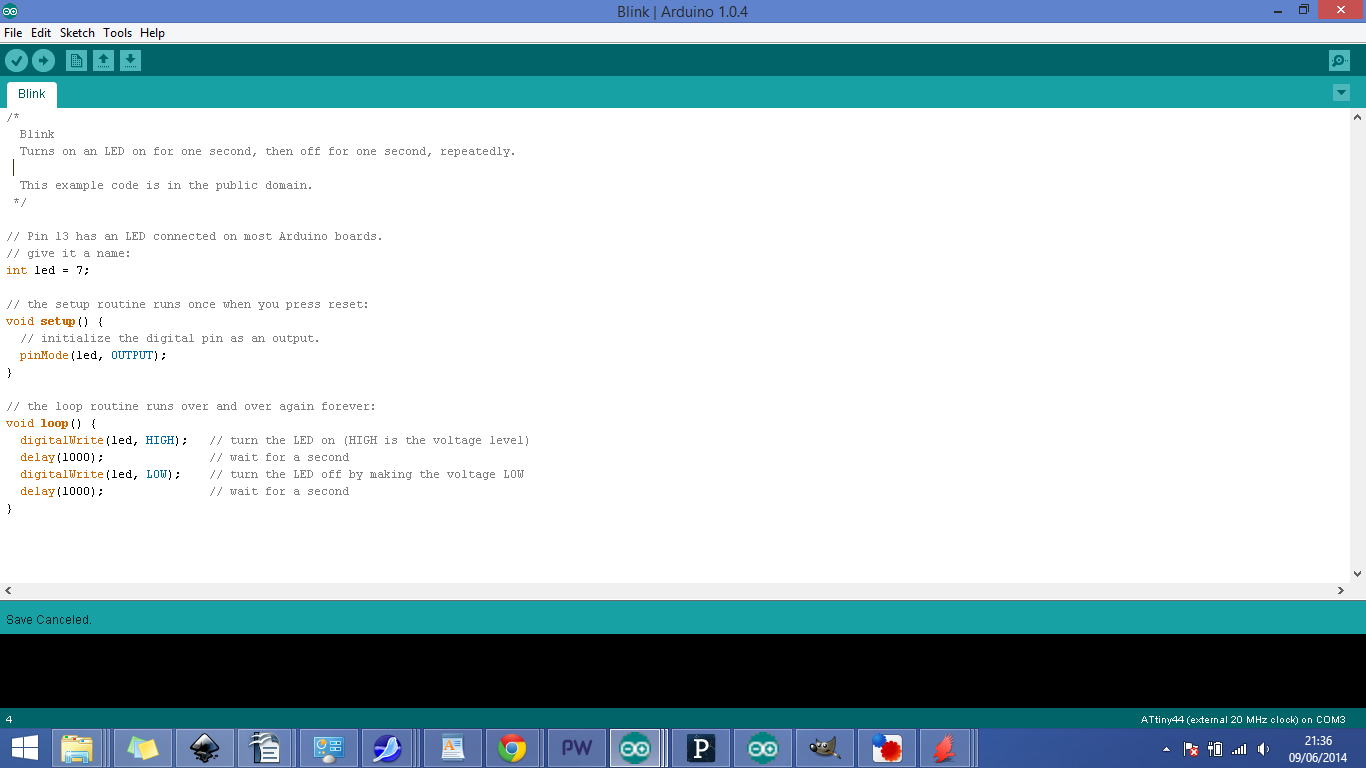
I used my Hello world LED + Button circuit made in an earlier week to program using my FabISP. I was keen to use the arduino IDE and as such I programmed from ubuntu using a modified version of the blink program from the examples folder. To be able to program using the FabISP in Arduino you need to install the attiny library and the fab ISP drivers. It is all well detailed in this tutorial from the as220 lab.
When programming attiny chips in arduino it is important to know the arduino pin name for each physical pin on the chip. This can be seen below.
ATtiny 44A vs. Arduino Pin-Out Numbering
ATtiny 44A
Pin NumberCorresponding Arduino
Pin NumberDetails 1 No number, no access? VCC (+) 2 Pin 10 3 Pin 9 4 No number, no access? Reset 5 Pin 8 PWM 6 Pin 7 PWM, Analog Input 7 7 Pin 6 MOSI, PWM, Analog Input 6 8 Pin 5 Analog Input 5, PWM, MISO 9 Pin 4 Analog Input 4, SCK 10 Pin 3 Analog Input 3 11 Pin 2 Analog Input 2 12 Pin 1 Analog Input 1 13 Pin 0 Analog Input 0, AREF 14 No number, no access? GND (-)
As can be seen from the program above, the only change that was made initally in the program was to change the integer led to 7. This was necessary as arduino pin 7 means physical pin 6 on the Attiny 44a which corresponds to the board layout pin for the LED.
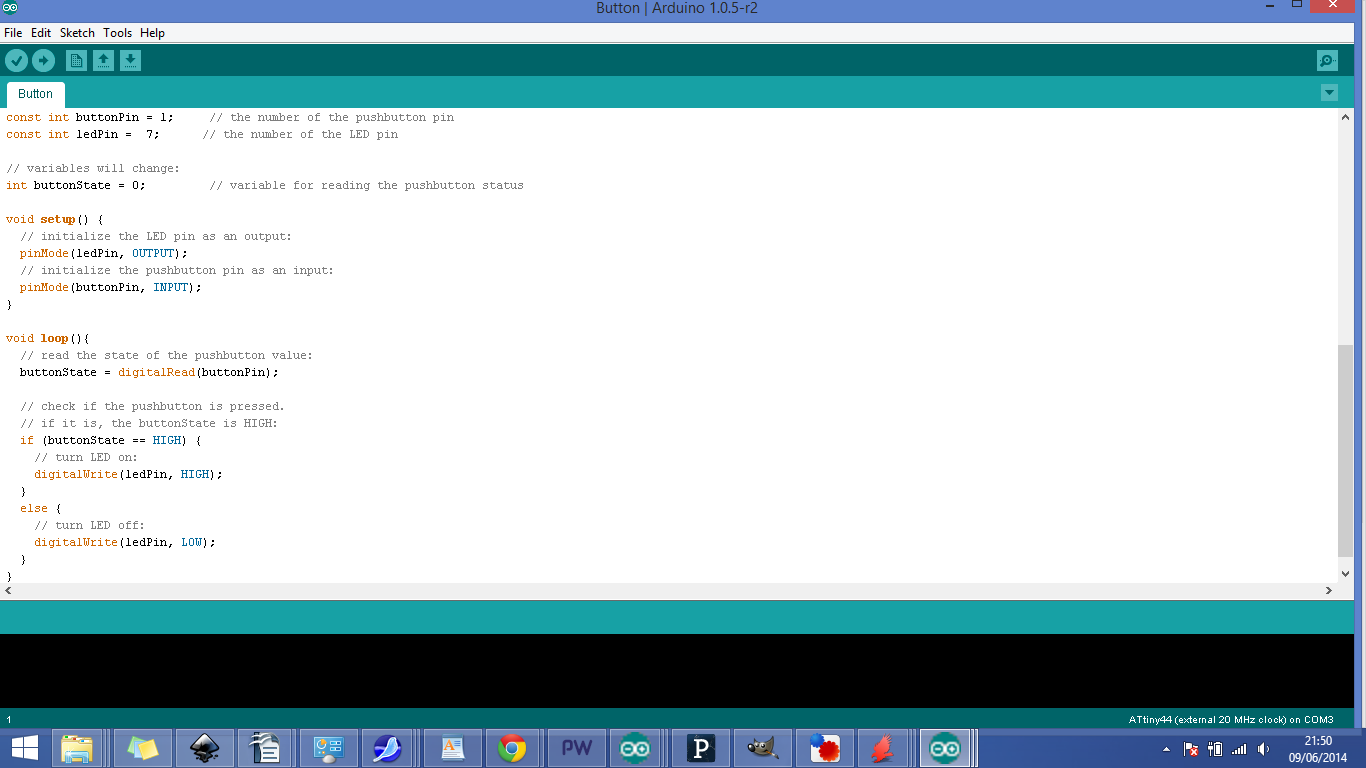
Next I uploaded the modified button example program.
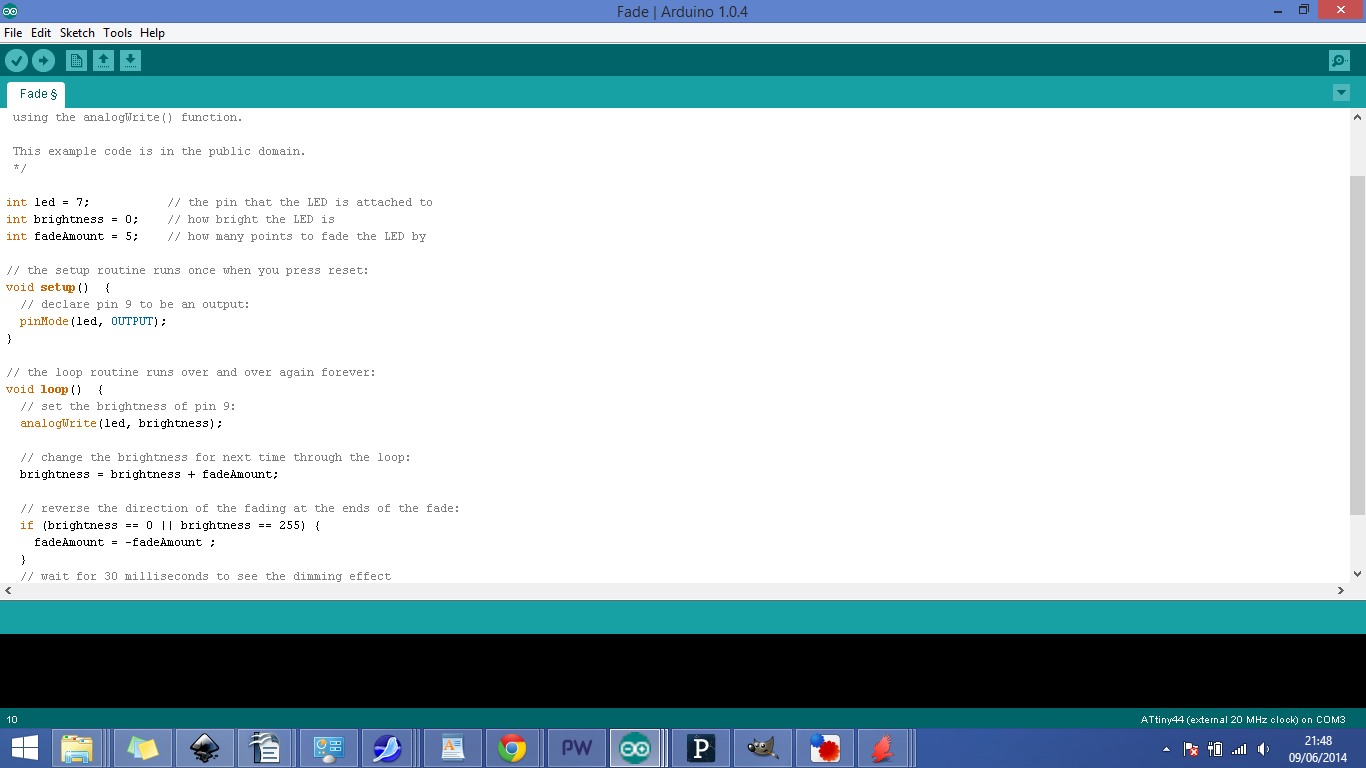
Lastly I programmed the board using the fade program.
All the example programs are great to start with and modify as needed. They have detailed comments which describe what each line is doing and why it is needed. This is very useful for me as I am a only beginning to get used to the functions and syntax used in arduino.
To go further with this assignment I'd really like to write the same program in .c and compare the 2 scripts for differences in structure and syntax.
Downloadable FIles
Blink
Button
Fade