Week 11 - Composites
Brief
The brief for this weeks assignment was to produce a composite part using 1 of three possible methods:vac bagging, two-part mold, or layering over a core.
Initial Testing
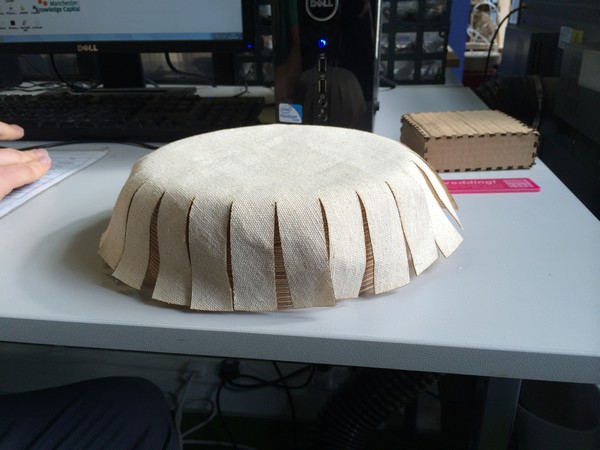
I had no experience working with composites and was therefore very keen to try all three methods to learn as much as I could about the process. Firstly as a group, we looked at layering over a former. We chose this method to get started as it required the least amount of prep. We decided to use the epoxy resin with some hemp fabric that we had in the lab, and an over-sized plywood pen-holder as the former. As it was discussed in the lecture that composites can't be made from single layers of fabric and that it was best to cut the material to size before rather than after, I set up an Inkscape file to acurately laser-cut the sections we needed for the test.
Test 1
The epoxy we used seemed like pretty nasty stuff to be working with (especially the hardener) so we were careful to wear the proper PPE (gloves & safety glasses). Also mixing in a well ventilated area was clearly important as the fumes were very strong, and I can imagine they wouldn't be good for your health.
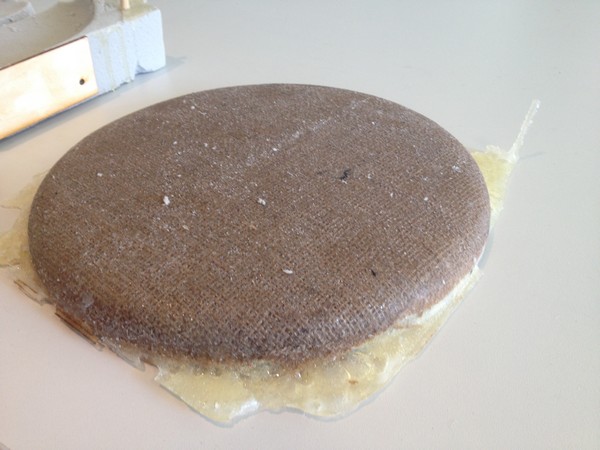
Here was the result of the first test
Learning Outcomes -
- The resin goes off quicker than you think (15 mins max), then it starts smoking. Need to spend less time impregnating the material with resin.
- It is a messy process and you need to have everything setup to cope with the spillage and mess
- Easier with two people working on it than 1 as time is very precious.
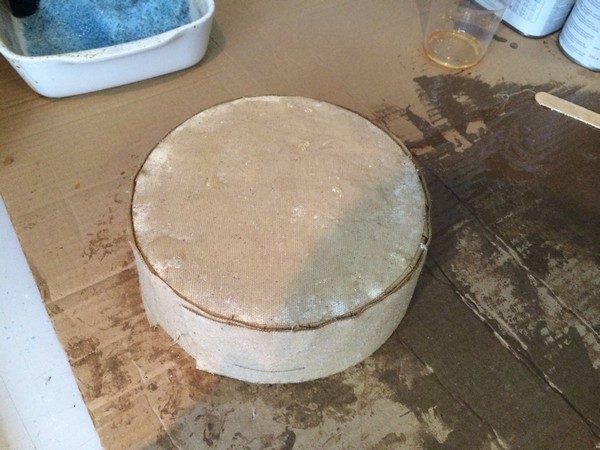
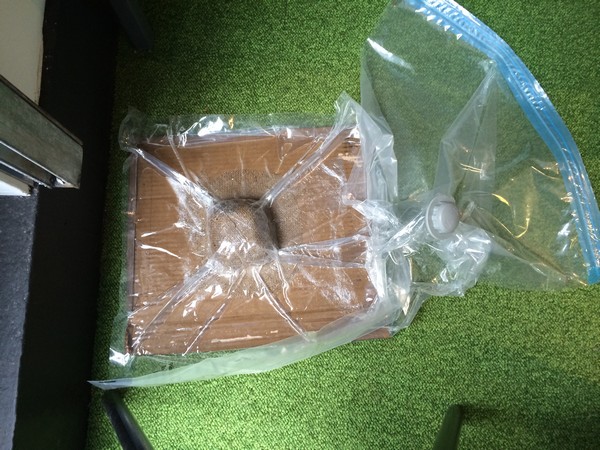
Test 2Next James tested the vacuum bagging process with the liquid plastic, bonded around a foam core
Here is the result
Learning Outcomes -
- The liquid plastic is much less viscous than the resin and doesn't allow for the build up in thickness as the epoxy does.
- The vac bagging does form the material quite well over a core but does not do well on the underside.
- The surface finish of the resulting part is uneven and shows up the vac bag process in terms of clumped material.
Design - Solidworks
After the initial testing had tried out 2 of the three possible options I was keen to also try the third - 2 Part pressured mold. As I understand form the lecture the 2 part mold can be a good option in composite creation as the pressure helps to spread the resin evenly over the material and create a well packed thin layer for curing.
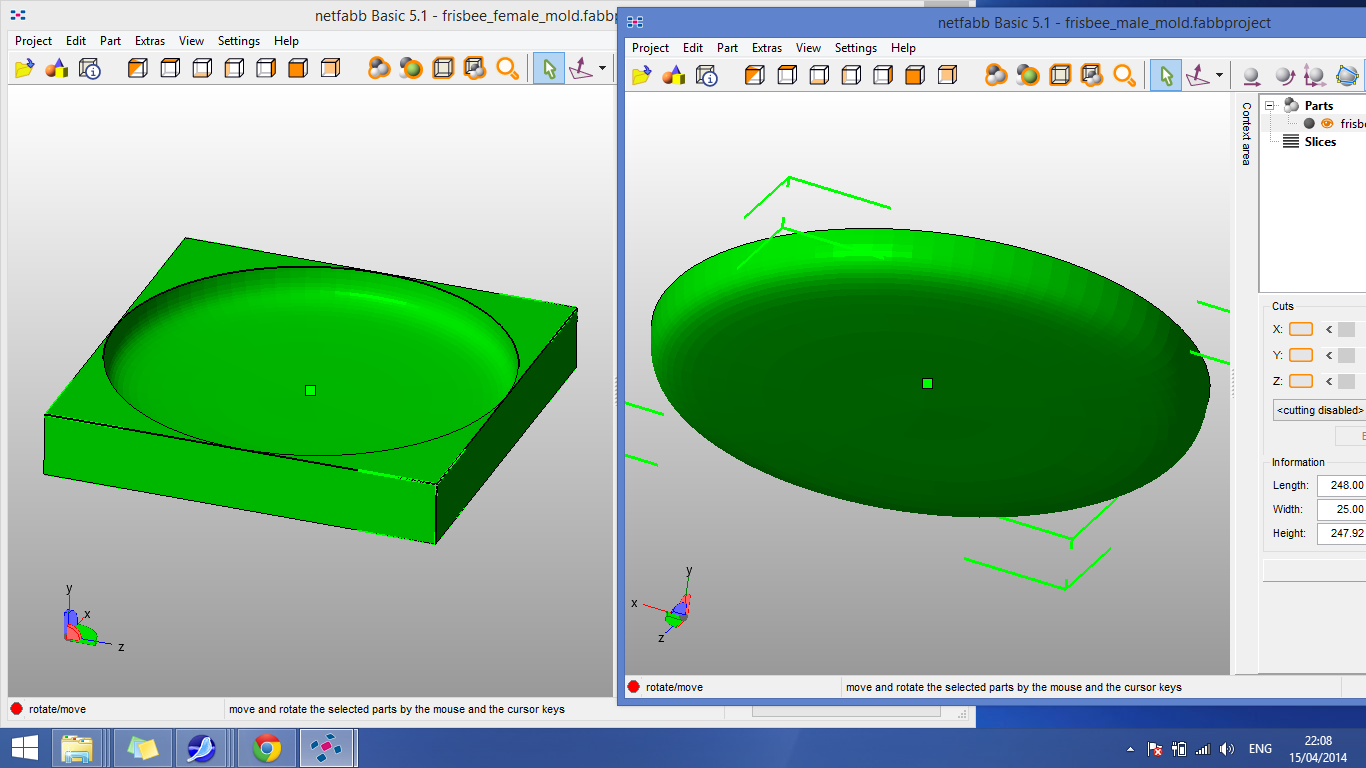
As I am inexperienced in composite making I tried to think of relatively simple parts that would benefit from being made with a composite structure. After some research on the net I had an idea for a badminton racket but felt it would be too difficult to get a good result, so setting my sights a little lower I decided on a frisbee.
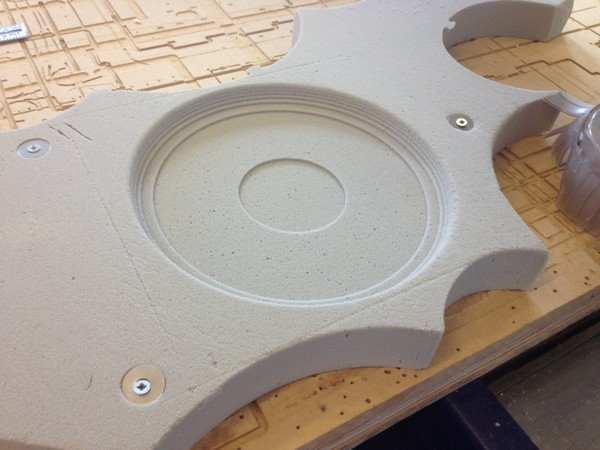
A frisbee needs to be relatively thin, light and strong (impact resistant especially) and would therefore suit being made form a composite structure. To design my frisbee mold I used my old favourite Solidworks. The mold design (male & female) took me all of 20 minutes and I could model the parts in an assembly to check the wall thickness I was allowing for the structure. The models are the exact result of what I want the shopbot to make with the exception of the missing flat structure of the male mold. This will be made naturally from the foam block and does not need to be calculated in the tooling.
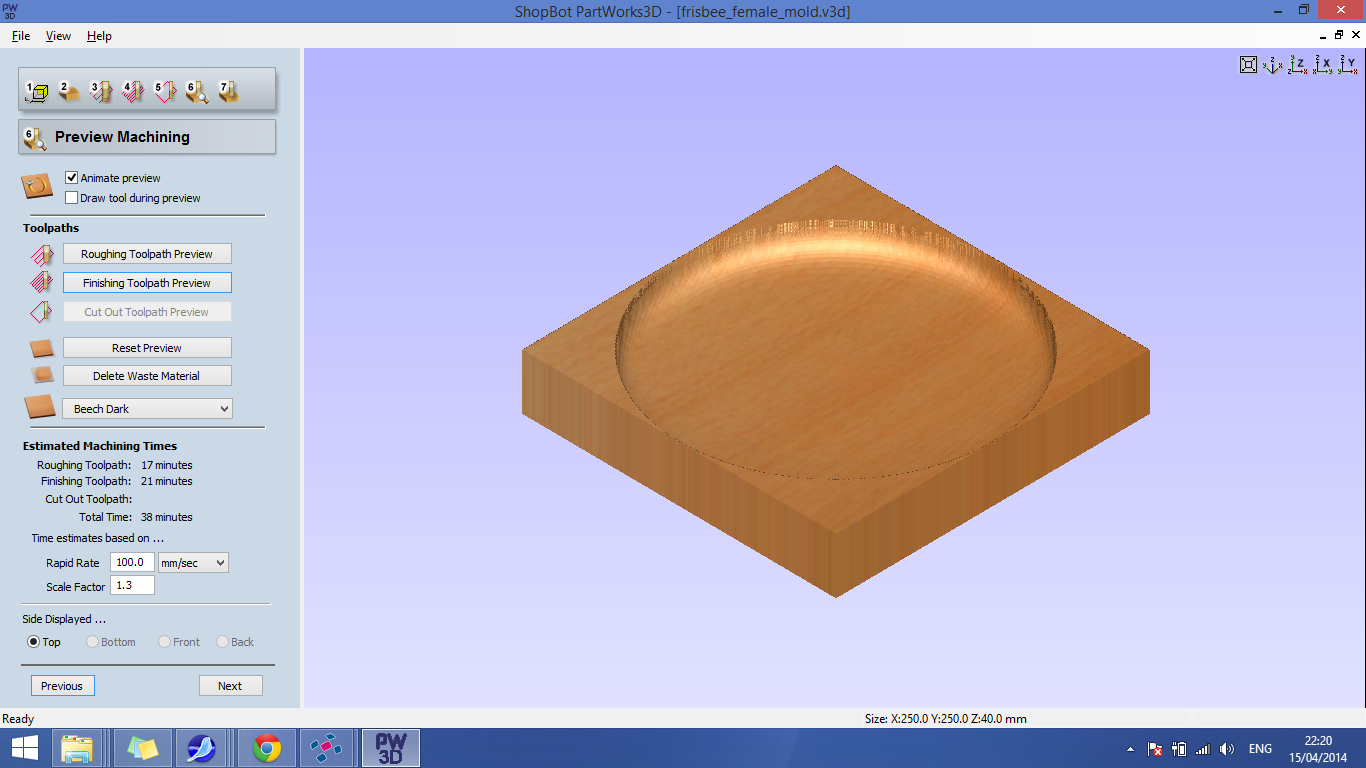
Machining - Partworks 3d/Shopbot
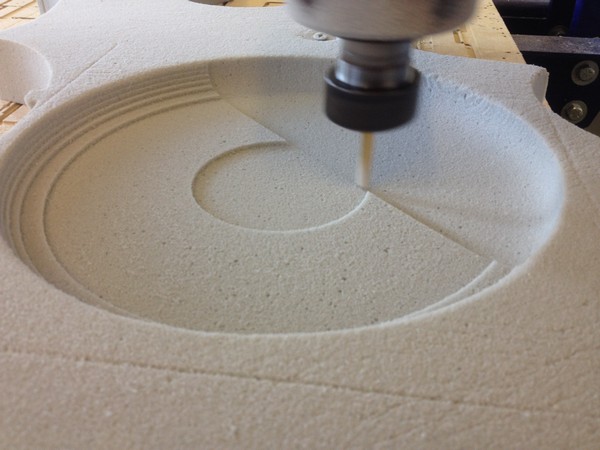
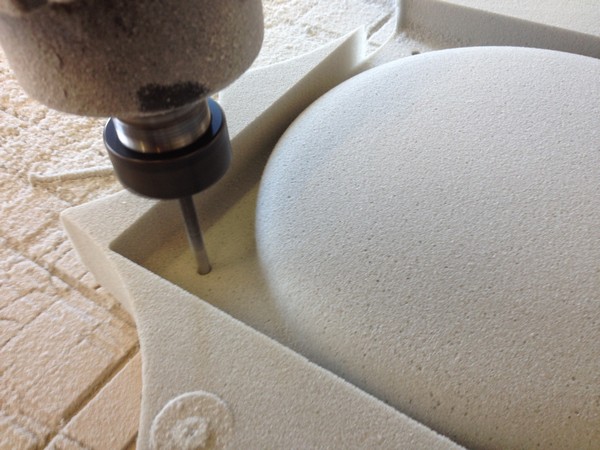
I used Partworks 3D to set up my toolpaths. I used to 1/4 inch, 2 flute up-cutting end mill for the roughing, running at 6 inches/sec, and for the finishing I chose the 1/4 inch ball nose running at 4.5 inches/sec both at 12k rpm. The tooling took approx 1 hour per piece.
In order to be able to align the male & female mold I created a drilling and cutout toolpath in partworks 3.5 (2d). I chose to do it in this way and not include it in the 3d files as it is a much more efficient way of programming the machine and I was able to use a drill for the drilling toolpath which is always better than using a milling bit (as to cut a true circle is a hard test of any cnc machine, the right sized drill will always do a much better job.
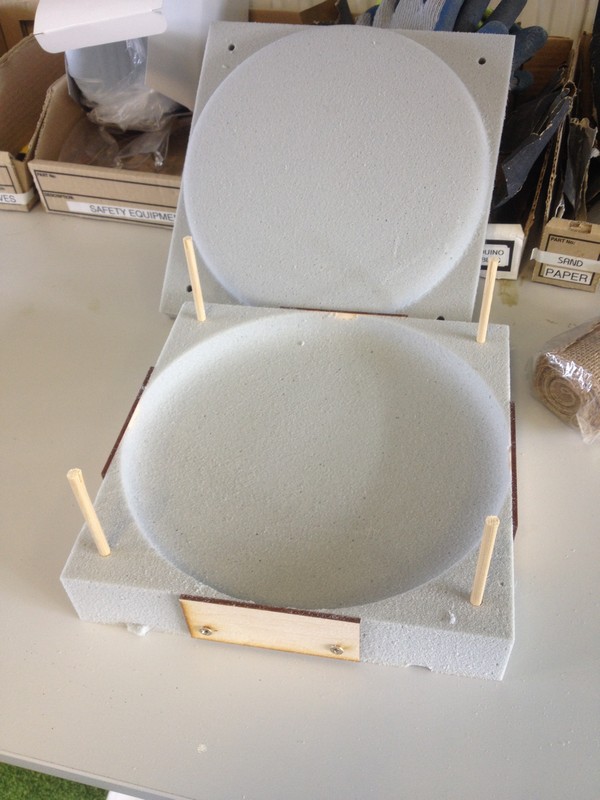
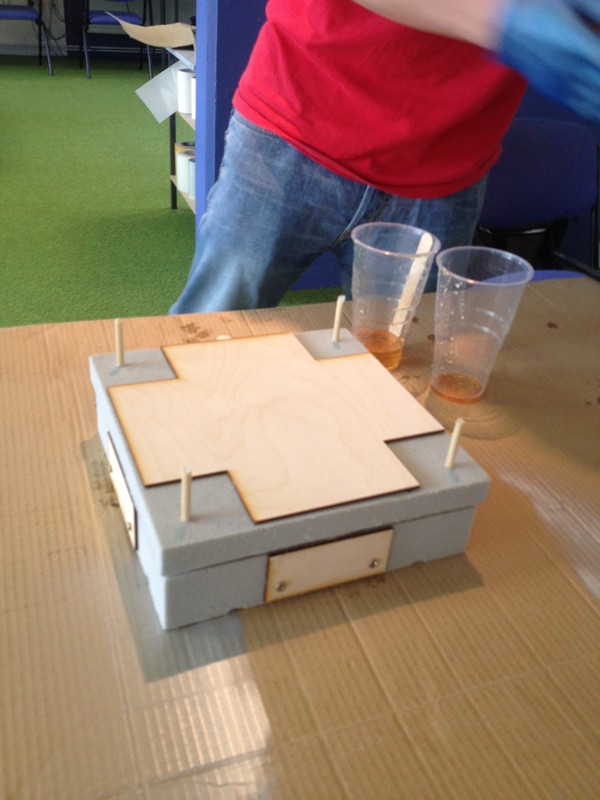
I mad a minor error in calculating my first cutout toolpath and the mold was slightly damaged in a 4 areas. I patched these areas up with some laser cut ply and all in all I was happy with the result (I used 6mm dowel to align the parts). I do think I could run the machine must faster through the foam but maybe backlash and slop in the motors would lead to inaccuracy at higher feed rates.
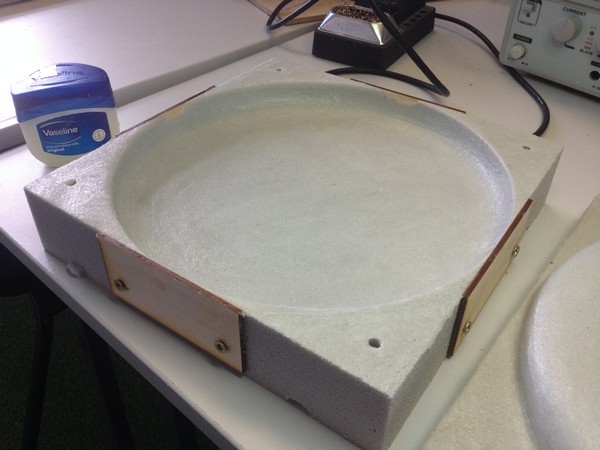
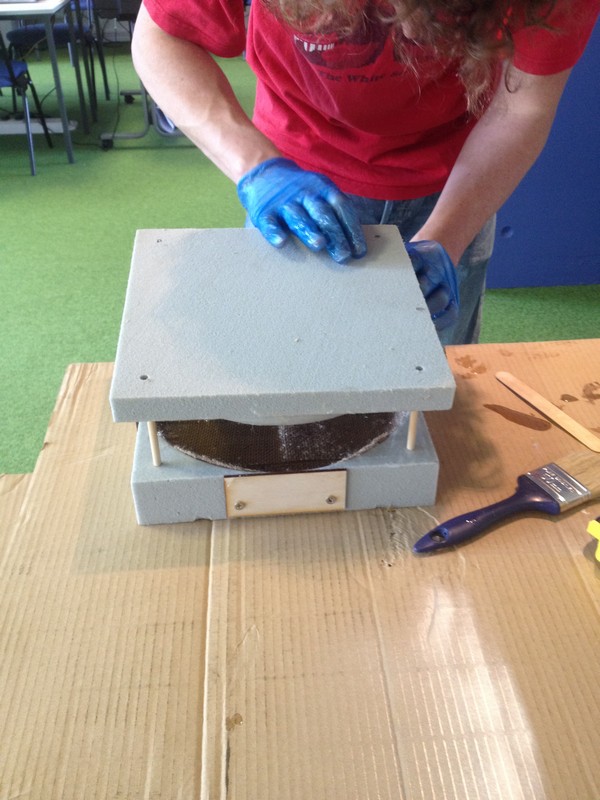
Molding
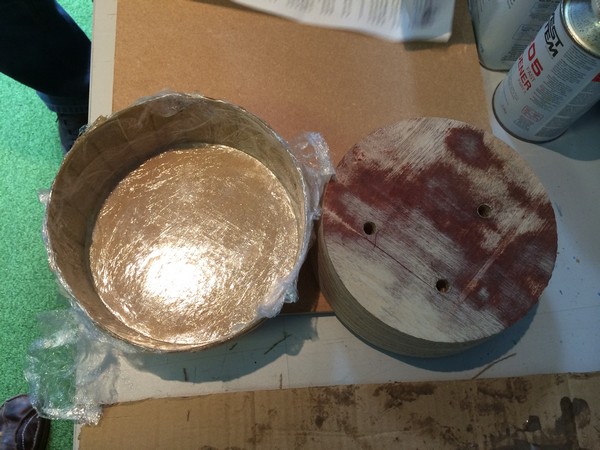
I was not certain on how to release the part from the mold. I wanted to find something to smooth over the porous bubbly foam surface and to lubricate the material. I knew I didn't want to use cling-film as it seems impossible to layer neatly in the mold and makes for a scrunched up surface finish where the material gathers. After a small test with paint, and mold release spray I chose Vaseline. It created a nice coating on the foam and was quick and easy to apply.
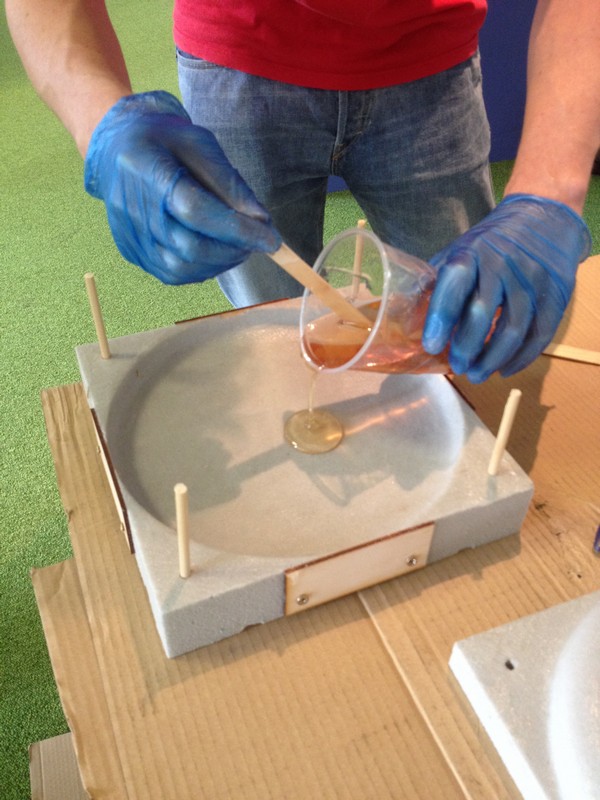
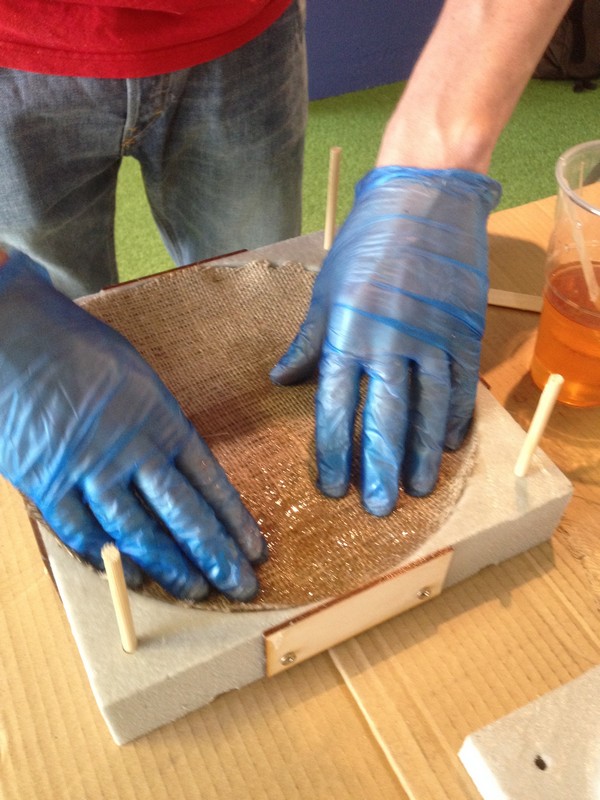
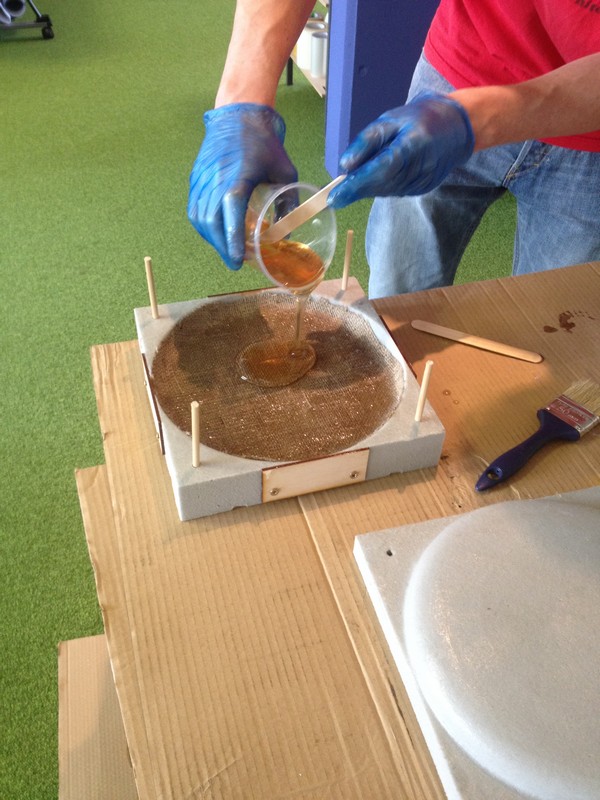
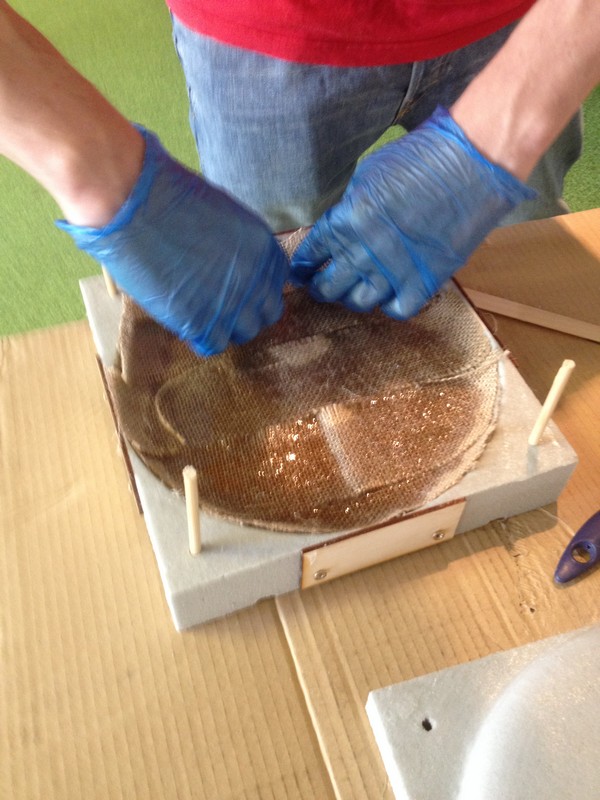
The material i used in my composite frisbee was burlap. The key difference in the burlap compared with the hemp used in earlier tests was the less dense weave of the fibers. As it is less dense it is better suited to getting the 1:1 composite ratio of fibers to resin and it was easier to lay in the mold without bunching in the curves.
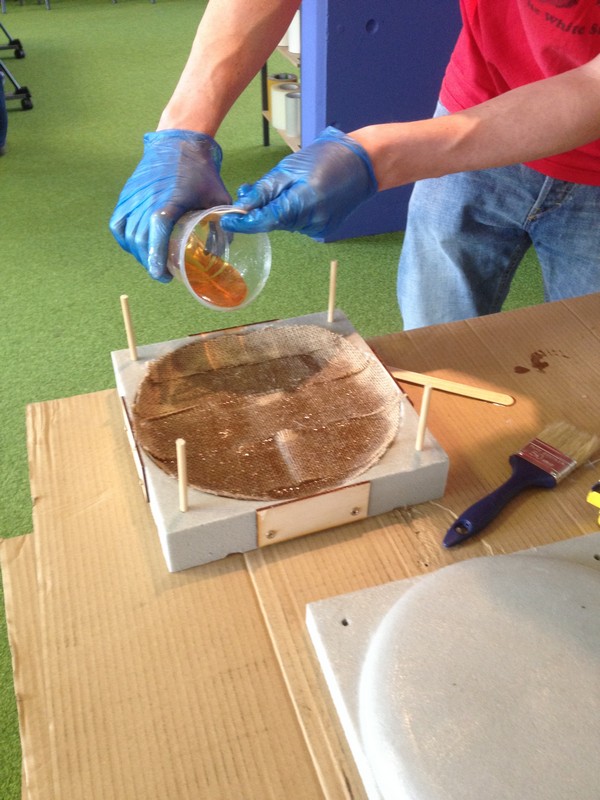
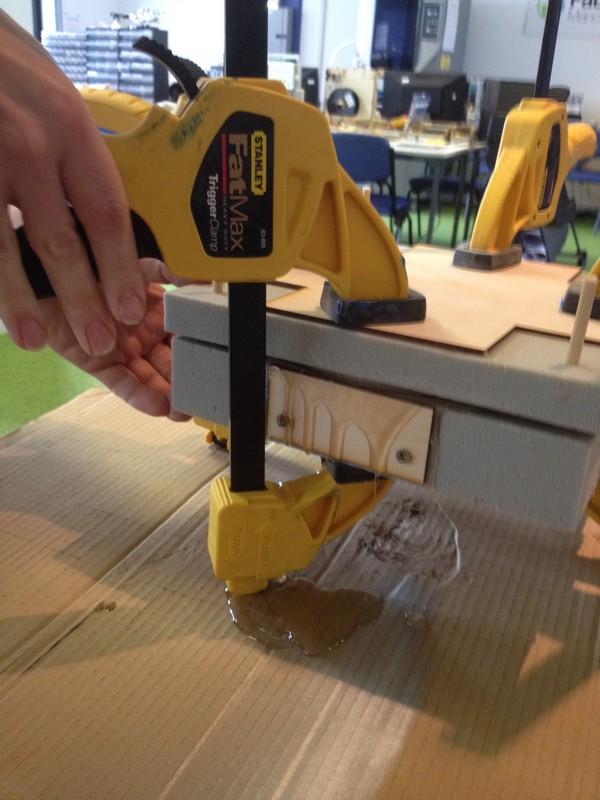
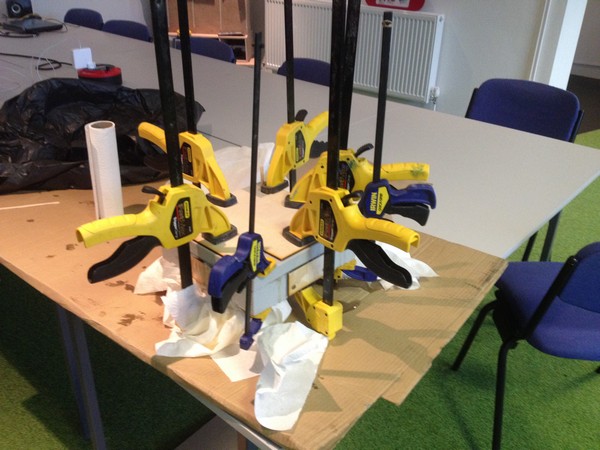
I knew that the clamping would spread the resin and the pressure would help impregnate the material and so my plan was to spend a lot less time on spreading the resin to ensure I get the clamps on before the resin starts to cure.
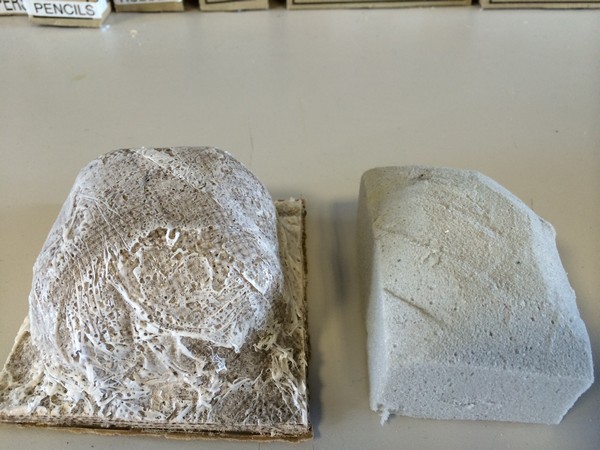
Result
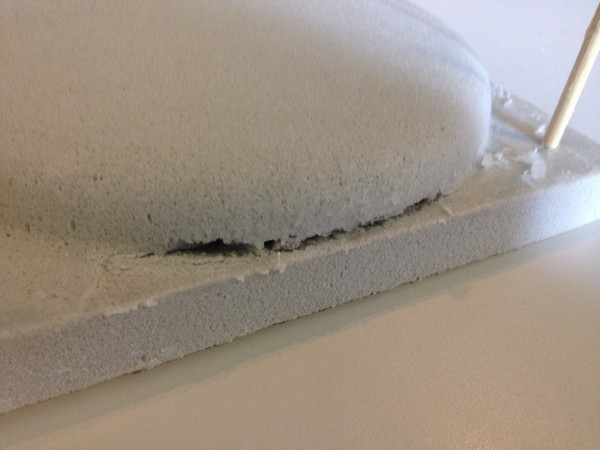
After leaving the mold for approximately 20 hours I decided to try and de-mold the frisbee. This was not easy. The excess seeping resin had bonded to everything without a vaseline coating which was quite a lot as the seepage had gone much further than anticipated. I used a chisel to break the resin's bond and was able to remove the top of the mold without too much trouble, it seems the Vaseline had worked well.
Some damage did occur as i was heavy-handed with the chisel.
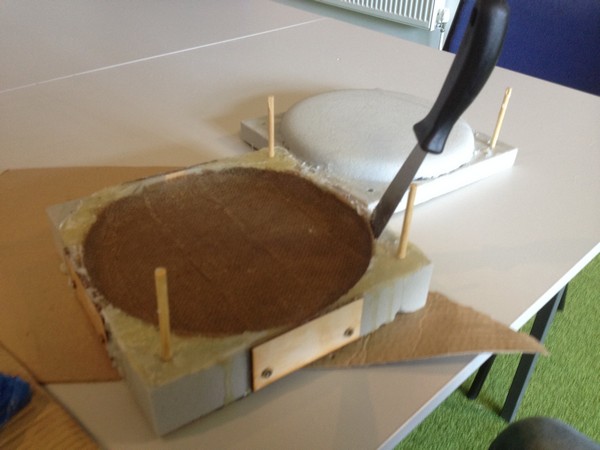
The female mold was much harder to de-mold. The frisbee was not stuck but there was no area for me to grip and get purchase to flick the frisbee from the mold. After carefully trying to get under a corner (and failing) i decided to remove the plywood and cut the mold down the middle. I didn't hold out much hope of being able to re-use the mold but if cut relatively straight i would have the opportunity clamp together and give it another go at some stage.
Here is the result.
Not bad at all! Some excess resin which i can chisel off and sand but it looks like a frisbee and it is rigid, strong and light.
Downloadable FIles
Solidworks -Female
Solidworks -Male
Stl -Female
Stl - Male
Female Roughing
Female Finishing
Male Roughing Toolpath
Male Finishing Toolpath