ELECTRONICS PRODUCTION
Goals:
The Assignment for this week is about making a FAB ISP (Fab-able In-System Programmer). Francisco told us that we could do the assignment in one single afternoon and this is what I want to test cause I have my doubts on it.
At the Lab:
To start with, I am choosing a design for the board. I think I should work with Andy's layout and this is what I do. Andy's layout is a very nice integrated USB connection.
After downloading EagleCAD and the SparkFun libraries I follow the instructions of Francisco, and after some time I transfer the layout into a file. I don't modify or personalize the board.
Time for producing: milling the board
I use the Roland Modela in order to milling the board as Francisco is telling me. After practicing for a while I'm able to use the tool chuck and the machine is ready to work.
Let's start:
The Modela is milling very slowly the board but I can see how everything seems to work good. I make a couple of them and apparently the work is done. I have to remove one board and Francisco helps me by showing me a tool which is very useful to do that. Recomendation: do it slowly from the large part and try not to break it; it will be easy.
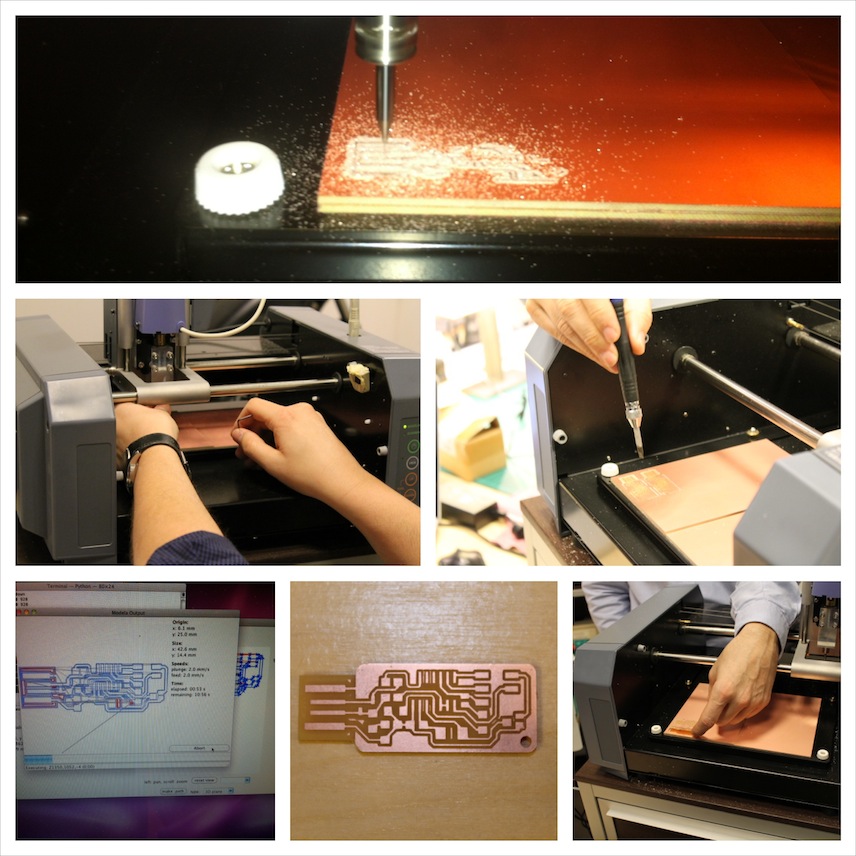
Once this is done, now it's just time to check the copper circuits and it also looks pretty OK. I just need to clean it a little bit with a blade and the circuit board is done.
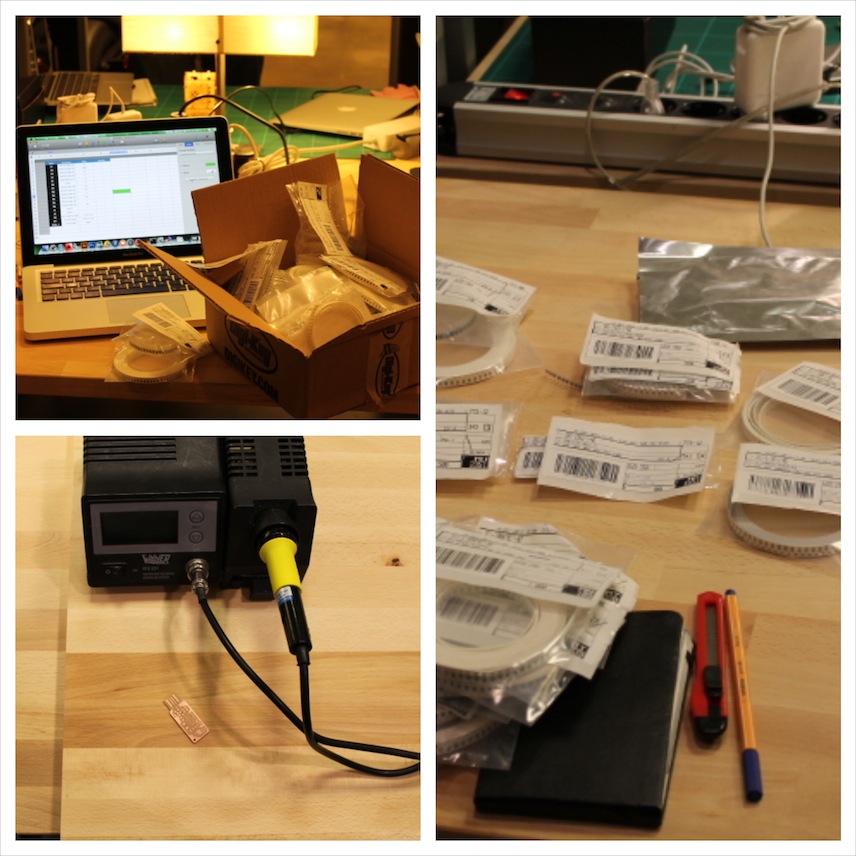
Soldering:
I have to say that this is the second time I'm soldering after a very bad attempt soldering a SubaQuatic Bass Machine a couple of months ago. They didn't show us the technique and it was a disaster.
So I don't know if I'm going to succeed but I'll try my best. First of all I use the BOM (Bills of Materials) that my colleague Juanes Vallejo has made and has shared for all of us in the lab. With the list in my hands I try to find the materials in the boxes and put them together around the table. I use the circuit layout that Andy has created and I start to solder all the elements.
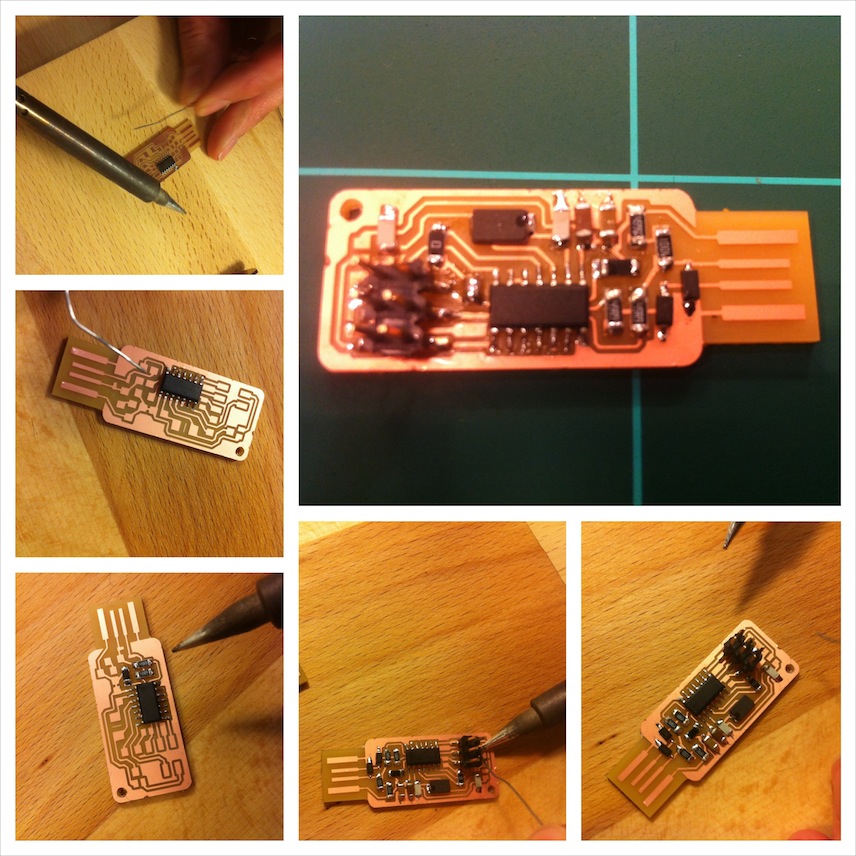
I start soldering with the chip SMD (X2) which is the most difficult element.
I really recommend doing it like this. I'm just following the advices of my colleague Andrew Leek and seems like soldering is not as difficult as I thought.
Thanks Andreu!
Some useful tips are:
1. Use magnifying glasses.
2. Stick the board to the table in order that it doesn't move.
3. To solder one component, you should think that sometimes even the component has “two legs” or “thwo sides”, you might need 3 o 4 steps in order to solder it well to the board. First fix one side a little bit. Then the other and then re-make the first one or even both.
It requires some patient and some time and after a while the boards is completed.
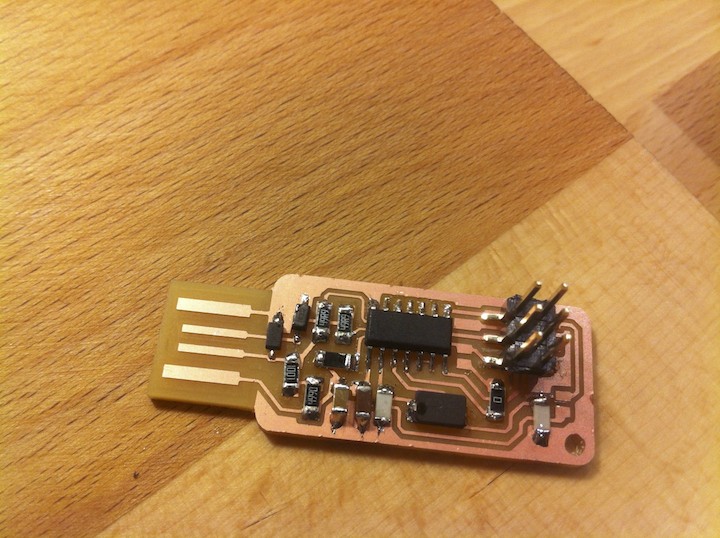
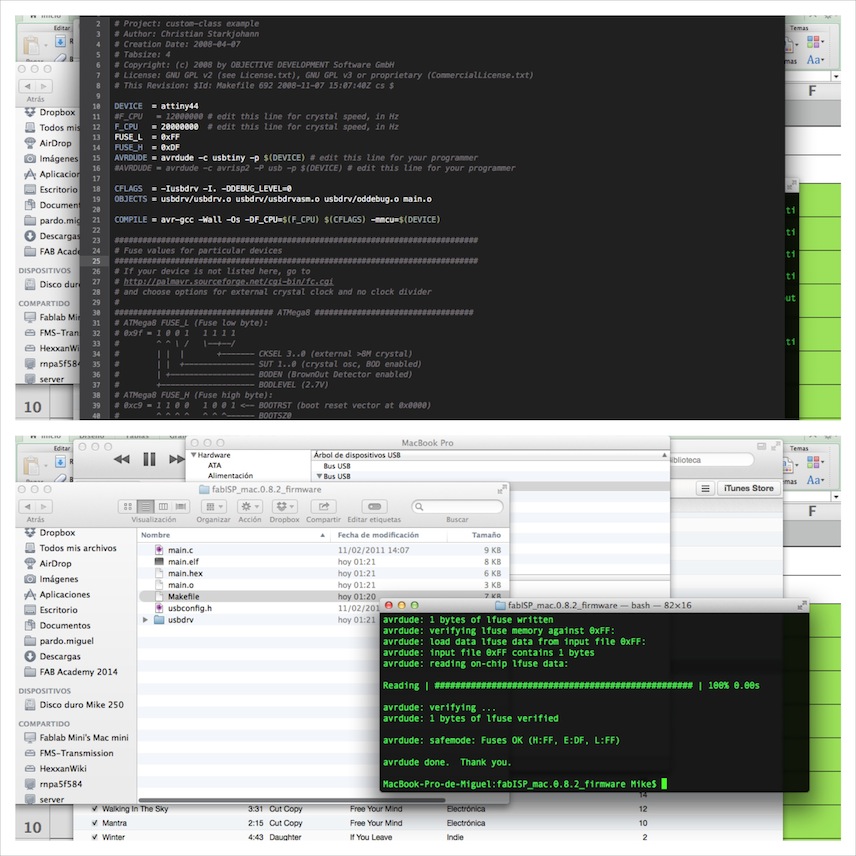
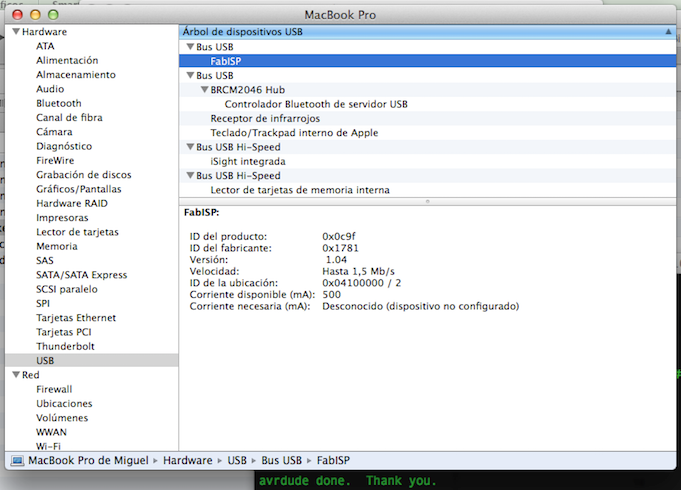
Programming the FAB ISP
After soldering it is time to check if the board is working or not. I manage to program it without many difficulties; just by installing CrossPack-AVR and the firmware.zip file. I use another board from a classmate in order to activate mine.
Then I had to edit the Makefile and make some changes in the comments because I have to use usbtiny instead of avrisp2.
After testing the board works well:
Conclusion:
Be patient with the circuit boards; Do all the processes without hurries and take your time. Some things look very difficult in the beginning and later on we realize we all can make them.
You can download all the files related to this week here.