This weeks
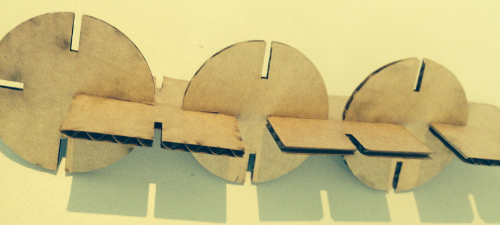
assignment is to create a press fit construction
kit using computer controlled cutting techniques to form
a series of 2D building blocks that can be friction fitted.
My project
I have decided to
explore making snap-fit boxes for the robot body in
preparation for my final project and a construction kit for
creating obstacles for the robots to maneuver around.
Skills learnt and things discovered
To
create a simplistic parametric design I initially started by
learning to use the clone function in Inkscape and after
watching several tutorials was able to adjust the press fit
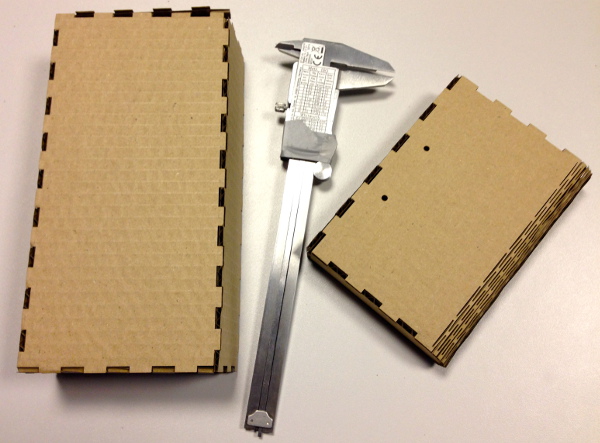
notches. I started with a simple test using 3mm cardboard to
learn how to measure the Kerf. The tolerances of the press fit
notches can then be developed quickly and effectively
depending on the material type and the thicknesses available.

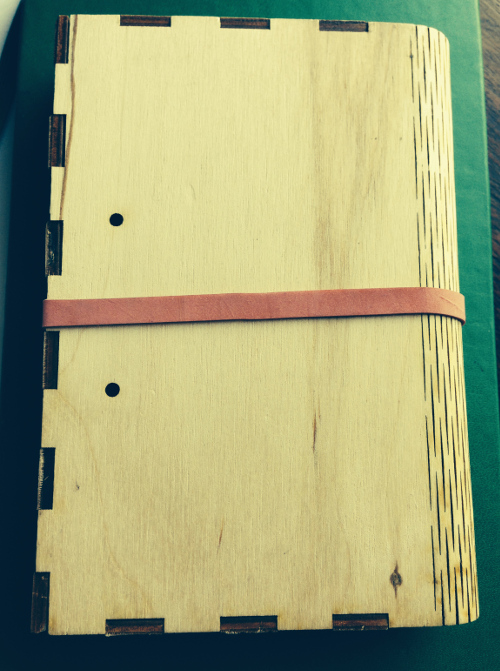
 made pressfit box in ply worked
well, really like the hinge!

What worked well
The ply worked well as a material for snap-fit
design and the Tabbed Box extension for Inkscape was useful.
Thinking about my workflow around the laser cutter helped me
be more organized and productive. (see photo below
showing screen with inkscape model and laser cutter settings )
What didn’t work
Making
larger snap-fit boxes in cardboard. Retaining the press fit
was tricky. Managing the variable thickness of the plywood and
cardboard which required continuing tests to achieve a good
snapfit.
Tools used
Laser
cutter
Inkscape
and Tabbed box
Calipers
for measuring kerf and notches
Next steps
Lots
more practice!
Create
more complex shapes for the construction kit and try other
materials
Also
try other shapes and materials for creating a suitable
snap-fit body for the robot in the final project. Include text
and decorative design element
Useful references
www.instructables.com
previous
work by Fab Academy students - great reference for advice
Files for box
box files1
box2