Overview: Two bamboo shapes are laser cut out of a bamboo sheet. THese will need to stick together and get a 3d form. The steps below explain how this is achieved:
Step 1: DESIGN
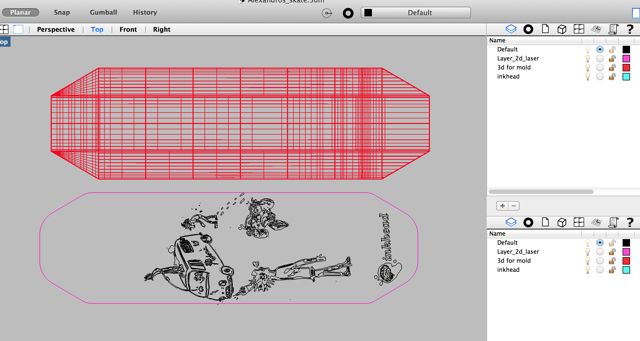
There are two drawings, one for the 3d foam mold and one for laser cutting the two identical shapes for the skate. I wanted to use my friend's drawing for the bottom part of the skate in between the wheels. This was imported as an eps file into Rhino and placed in one of the two 2d skates [the bottom one in the picture is one of the two parts]
Step 2: LASER CUTTING and sanding
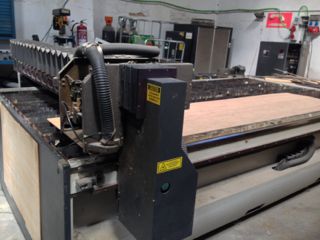
I used the large laser cutter in Fab Lab Barcelona to laser cut the big piece of bamboo in order to make the two parts of the skate. The two parts were put closely together [nested].
The laser cutter did the etched part first and the outline [vector line] at the end. Note: the bamboo sheet that Luciano gave to me was rather flat. In case I do this again, remember to focus the laser cutter accordingly.
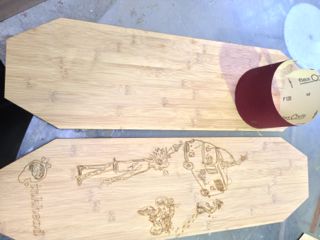
The two parts came out nicely. Sanding them took some time as it was done by hand but it gave it a good finish at the edges.
Step 3: CNC FOAM MOLD
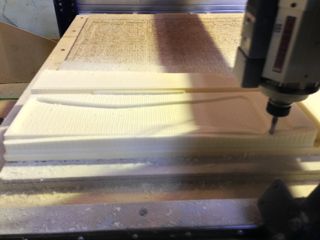
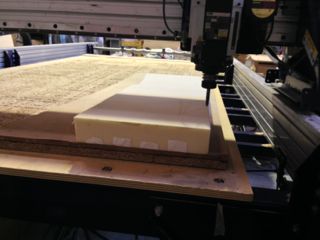
I placed the foam block onto the Shopbot using double sided tape. Strips of tape with a 40mm gap roughly in between to keep it well tight onto the cnc bed. I sent two files to the Shopbot to cut. These are the two toolpaths. The first file is for the roughing and used a 10mm rounded edge tip and the second one if for the finish and used a 6mm tool.
Cutting out the mold from the foam block.
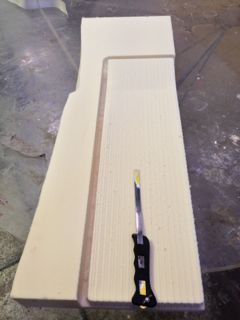
Mold is ready
Step 4: RESINS
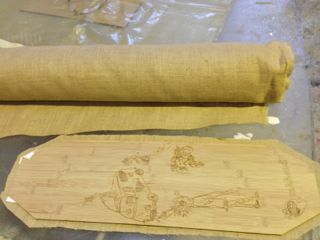
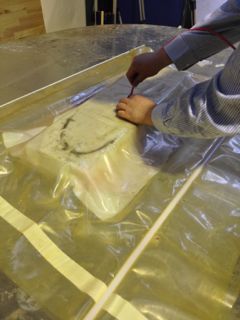
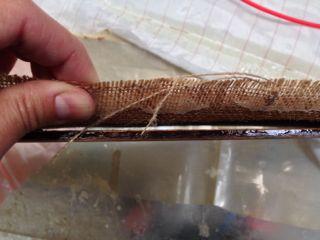
In between the two bamboo parts I placed a fabric that is only 3-4 mm larger than the actual sixe of the skate. The excess will be cut off at the end. Thefabric is secured in one of the two parts using double sided tape.
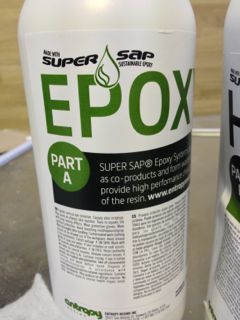
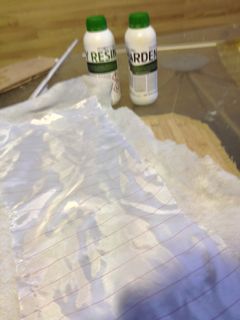
Using the supersnap sustanable resin that comes in two parts: Part B is poured into a plastic cap first and then the part A at a ratio of 2:1.
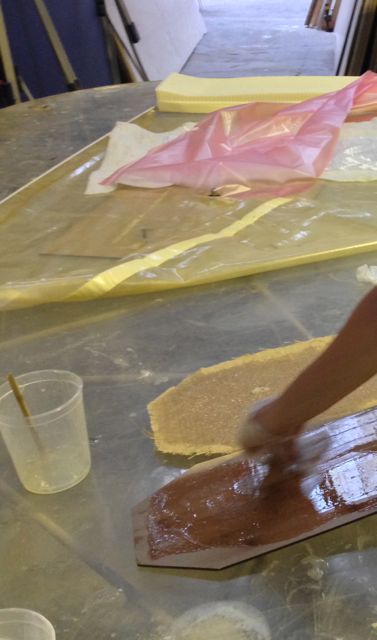
A thin layer is spread onto the bamboo in one of the two parts. The other part, having the fabric has a thicker layer of resin, and well spread to reach the whole surface of the board.
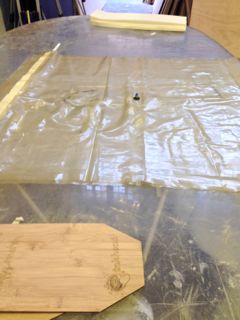
 The bamboo parts and the fabric are sandwitched together.
Step 5: PREP AND VACCUM
The layers go as follows from bottom upwards:
mold
plastic sheet
bamboo sheet
fabric
bamboo sheet
synthetic shiny fabric
soft thick fabric
Vacuum bag. Here is where the layers above will have to be placed. Underneath all we placed a sheet of timber to keep everything straight and in place. I made sure the bag was well tight in the corners.
Luciano helped a lot at this point cause there needs to be two people holding the "sandwich" in the bag and making sure nothing is misplaced as the air comes out.
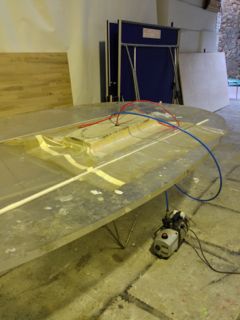
I left the machine on all night. It normally needs 6 hours for hte resin to dry in between the bamboo pieces which have taken the 3d shape given by the mold.
The vacuum pump broke down during the night. The two bamboo parts did not stick together because the resin went dry when they were not stuck together.
The drawing can be found here.