For this assignment I designed a decorative small hexagonal tile that has got a pattern on both sides. The challenge I guess is to make sure all the process steps are done in a precise way.
step 1: drawing the end product - from there I managed to get the first mold [that is made out of wax] and then the second one made out of siicon.

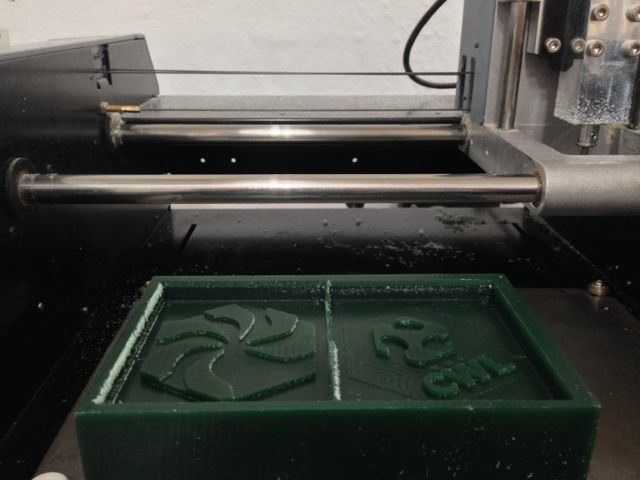
Step 2: milling the wax in Roland Modela - like in pcb milling, only that under the "job menu" I need to choose "wax roughing/finishing". The tool normally used for roughing is the 1/4'' and for finishing the 1/8' or the 1/32 mm. In my case I used the first two.
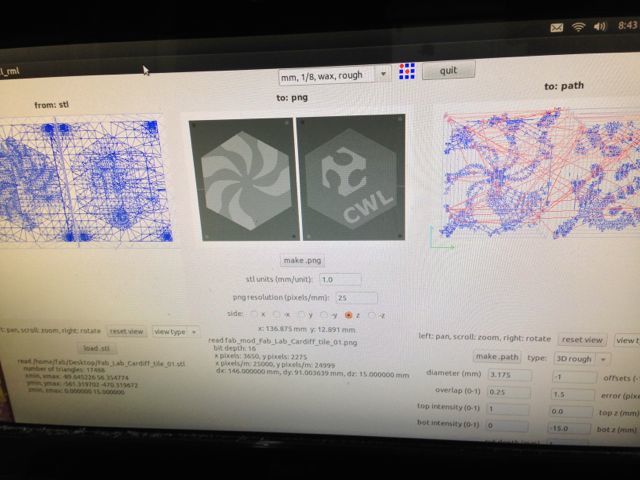
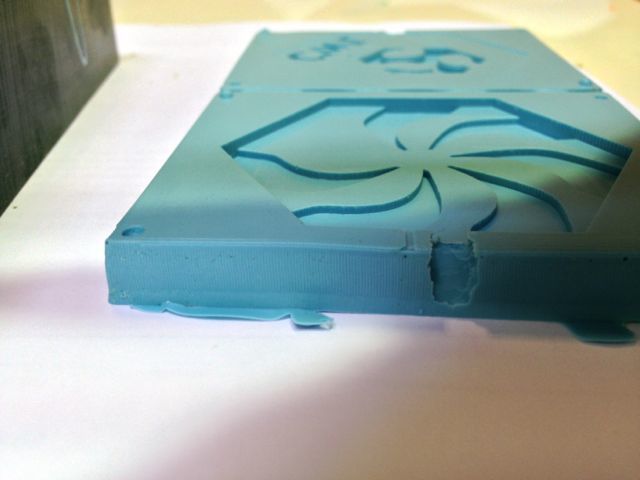
For some reason the hole for pouring the rubber was not milled. I went back to the drawing, everything was there, I checked and it was all one single volume apart from this one little part. Tip for next time: check that all parts are united. For the time being and because we have no other wax to use, I added some plasticine to replace this part before pouring the silicone.
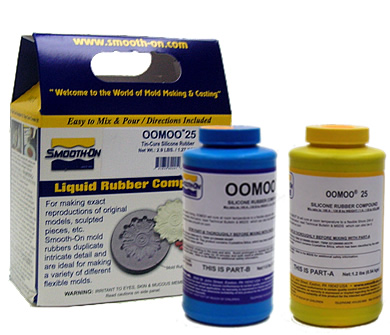
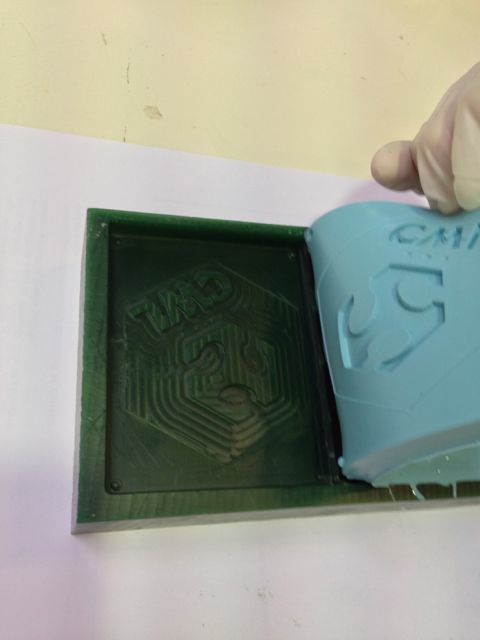
Step3: Pour in the silicon into the wax mold. I used the oomoo from Smooth-on which comes in two parts. Information from their website as well as a video from http://www.paintandpowderstore.com was helpful for me to get the information I needed.
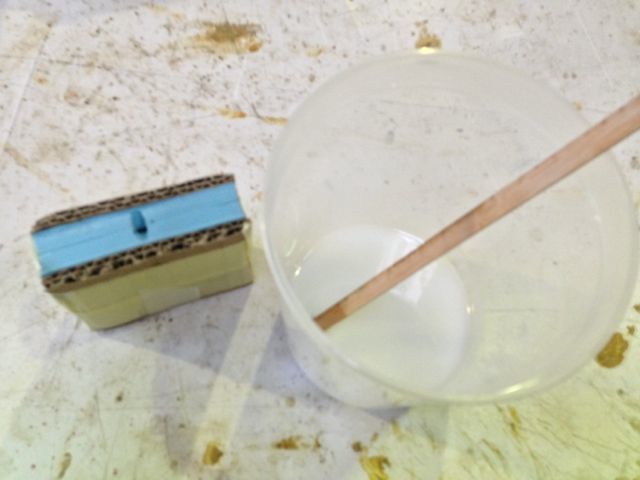
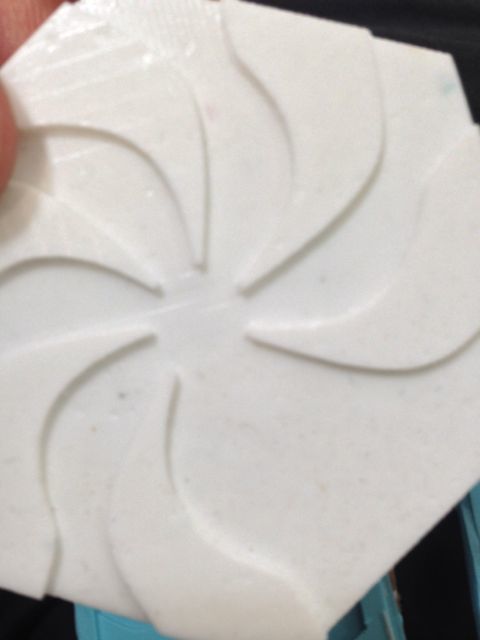
Step4: cast the liquid plastic compount into the rubber mold.
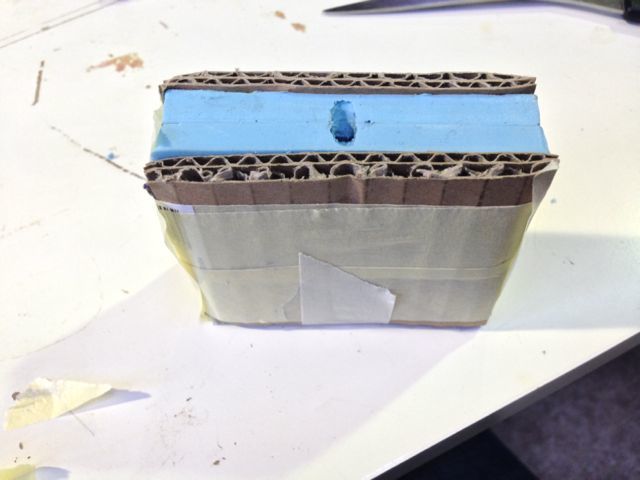
Made sure the rubber mold parts were securely taped. The pouring hole is now well made [despite the problems in milling] and the air pipe is there too. The plastic I used for the end result, is the Smooth Cast 300 from Smooth On. Similarly to the silicon, the mixing techique was the same and quite easy.
Tips for next time:
-- the channels that are needed to be created for pouring plastic and for the air will need to be bigger. Also, check they are all united in the Rhino drawing before milling the wax
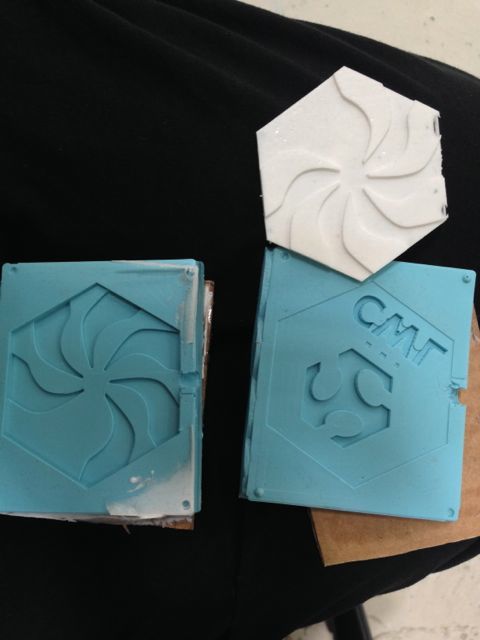
-- the half spheres designed and milled to help align the two silicon pieces together will have to be bigger. The end result was very good this time but this may be essential for a more complicated or thicker object.
-- It is better to have some plastic spilling out of the hole than not having enough. In my case one of the sides of the tile was not well finished. I had to make a second cast to make sure the plastic would fill the mold completely.
The drawing can be found here.