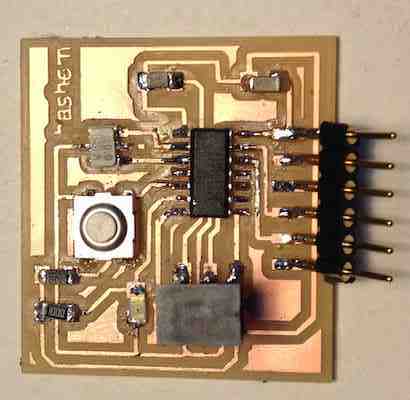
Steps:
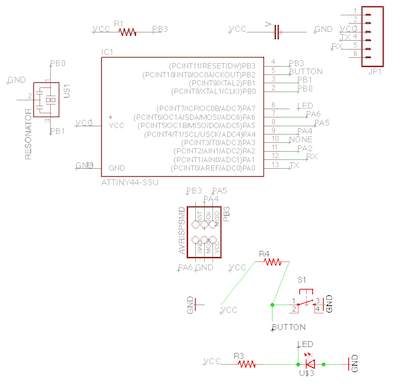
1- Load the schematic file on eagle
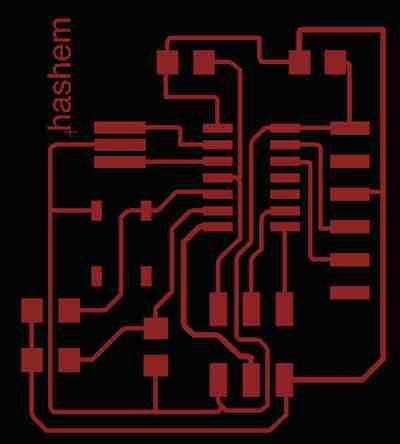
2- Draw the board
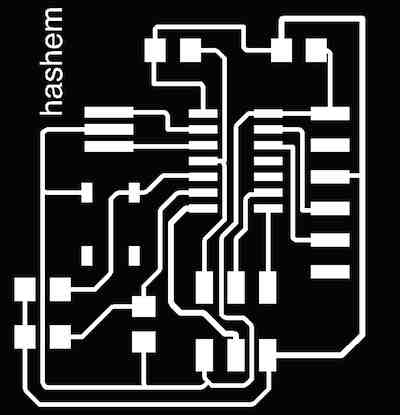
3- Invert to black and white on Photoshop. If some lines are not very clear you can edit it using the paint brush.
4- Create an outline which will be the interior (5mm thick).
5- Navigate to the modela machine and Fab Modules. Install the (1/64) shank.
6- Load the Traces and Interior files on Fab Modules and follow these steps:
- Use double sided tape to stick the copper board to the work plate on the Roland Modela
- Load .png
- Choose Roland Modela milling machine
- Install the (1/64 diameter) shank
- Load the traces png image of the board
- Change the mill size to (traces 1/64)
- Click on make .path
- Click on make .rml
- Choose your coordinates
- Send the file for milling
- When the machine is done milling the traces, do not move the board!
- Click the "View" button on the switch panel of the Modela.
- Change the shank to (1/32 diameter)
- Load the interior png image
- Change the mill size setting to (interior 1/32) on Fab Modules
- make .path
- make .rml
- Send the file for milling.
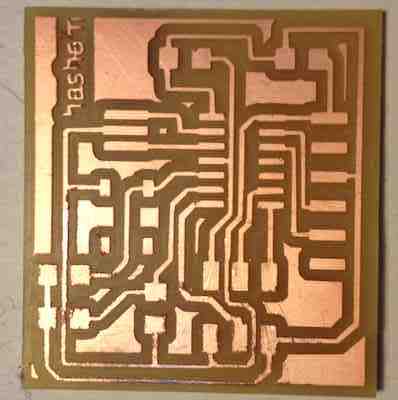
- When the machine is done milling, remove the board with care using a sharp tool.
7- Solder the components on the board
What I've Learned:
- To guarandee cleaner traces, modify the line size (wires) on eagle. You can make the lines larger which are easier to mill.
- Make sure to set the image resolution for both the traces and the interior to 500.
- Check the fab modules settings before milling. Some computers have different settings for the same machine/task.
Do not move the board after milling the traces, this will make you lose your coordinates and you will never be able to find the exact position of the board.
- Use Alcohol to clean the board in case it got dirty. Be gentle when cleaning, to avoid displacement of copper traces.
- Use solder wick to remove excess solder, removing solder tips can be found "here" .Click here to download Board File
Click here to download Schematic
