The task this week is to create a wired or wireless network of at least 2 nodes.
Materials:
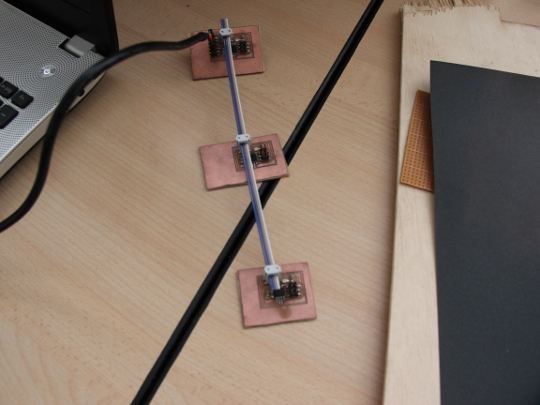
FabISP
Bridge
Node 1
Node 2
FTDI cable
MiniUSB cable
Connecting cables
To make the Bridge we need the following:
- AtTiny45
- A resistor of 1k Ω
- A resistor of 10k Ω
- A led SMD
- A capacitor of 1uF
- Headers
To make the Node we need the following:
- AtTiny45
- A resistor of 1k Ω
- A resistor of 10k Ω
- A led SMD
- A capacitor of 1uF
- Headers
Programming:
To program the bridge and the nodes, the first thing we have to do is download the files from this link:
http://academy.cba.mit.edu/content/tutorials/akf/Downloads/bus_fixed.zip
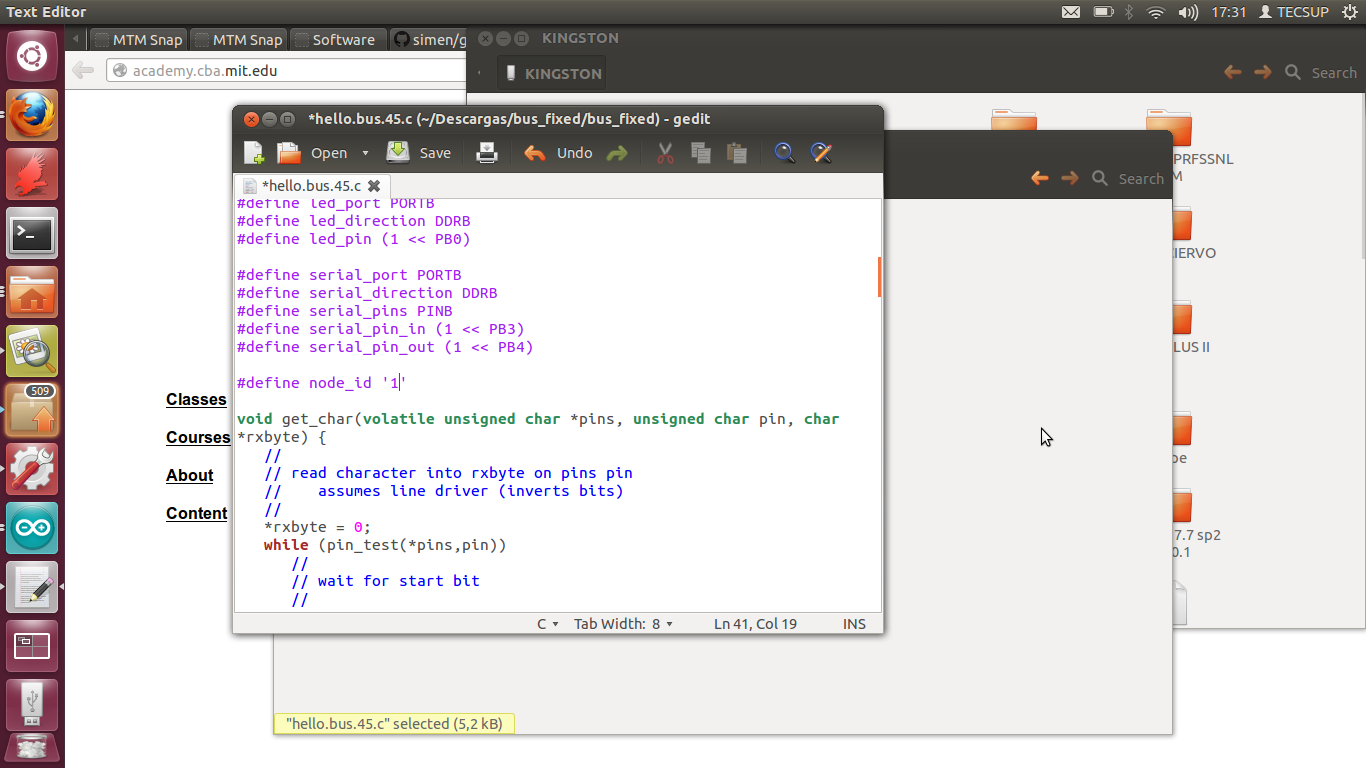
Unzip and open the file .c
Depending on which of the devices we will record, we need to change the next line of code in the file .c
#define node_id ’0′
For example, in the case of the bridge we need to keep the id in 0.
In the case of the first node, we changed the id to 1.
In the case of the second node, we changed the id to 2.
We then proceed to write as super user on the command line:
sudo make -f hello.bus.45.make program-usbtiny
Observations:
To burn the nodes, it must be plugged to the bridge and the FabISP and maintain the bridge connected to the computer using the FTDI cable.
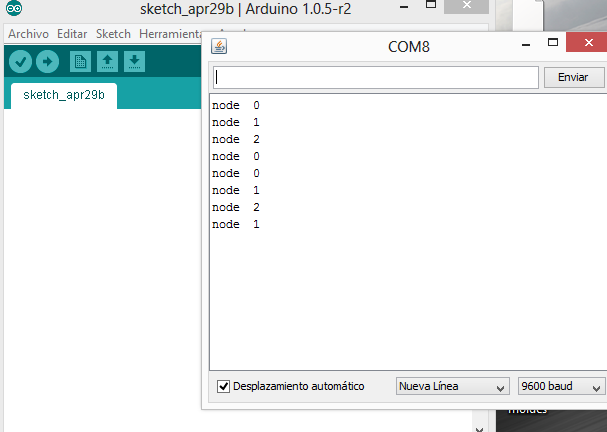
Finally, to verify that we have scheduled good our plaques, we open the Arduino IDE and we select the connection port and we open the serial port at 9600 baud.
To blink the leds, we send data: 0, 1, 2.