Electronics Production
The task of this week was to do the FabISP, which we will need to burn the cards in the subsequent tasks.
The task of this week was to do the FabISP, which we will need to burn the cards in the subsequent tasks.
The first thing we do is install the Fabmodules, for this we continue the tutorial of Anna Kaziunas France: Tutorial Observations: For its correct operation, it is necessary to install all the dependencies. In my case it was also necessary to follow this tutorial, because I had problems with the installation of Ubuntu.
Once we have installed the Fabmodules, we do the following: 1. In the terminal of Ubuntu, we write sudo bash for log in as admin. 2. We write "fab". 3. We will get in to the GUI of the Fab Modules. 4. We select the format and process that we will perform. In this case, PNG and Roland Modela MDX20. 5. We click in make_png_rml. 6. We load the file PNG of board. 7. We select the type of cutter that we will use (1/64) . 8. We regulate the parameters of milling. diameter: 0.4mm overlap: 0.5 offsets: 4 error: 1.1 pixels intensity: 0.5 z: -0.1 mm 9. We click in make_path, to generate the G-code that will be the file with the trajectories of headstock. 10. We cleaned up the copper board of impurities (isopropyl alcohol). 11. We put masking tape on the board in order to attach it in the iron of the Modela MDX20. 12. We calibrate the origin of the axes X and Y in the milling machine, considering the position of the copper board. 13. We calibrate the Z-axis, for an optimal milling of the board. 14. We give you click make.rml
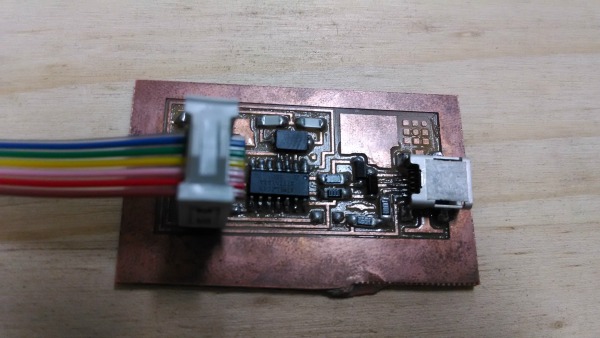
The following is to weld the electronic devices, the list is as follows: 2 capacitor of 10pF 1 capacitor of 1uF 2 diodes 3.3 v 1 Attiny44a 1 crystal 20Mhz 1 resistor 499 Ohms 2 resistors 100 Ohms 1 resistor 1k Ohm 1 resistor 10k Ohms 1 micro USB port 1 jumper header 2x3
The welding is according the image below:

To weld we have to be careful not to heat up too the integrated and avoid the lift of the tracks. Another recommendation is to see the orientation of the diodes and the Attiny44a. For weld repair, as best we can do is help us with a magnifying glass, paste to weld and a multimeter to detect errors. By placing a point of tin and then warming up the area with the soldering iron to weld the piece.
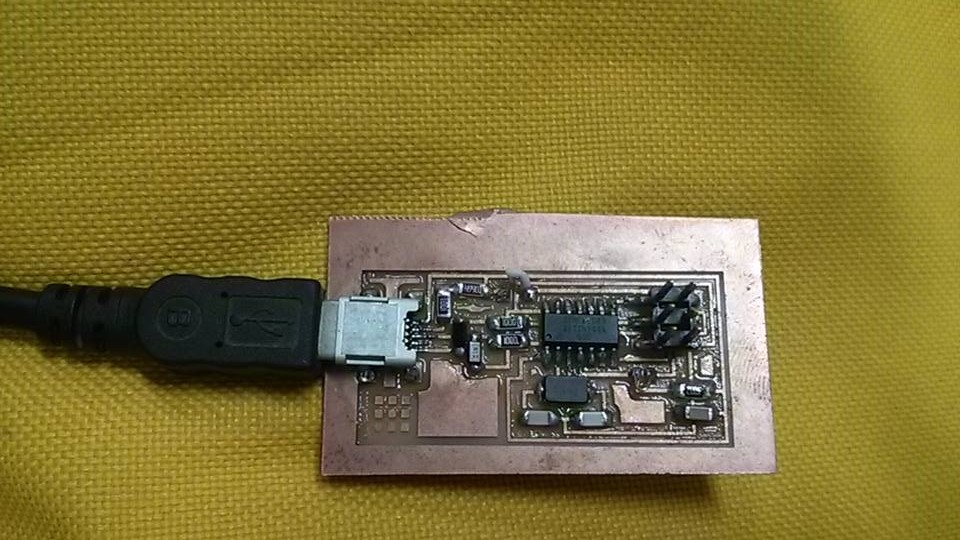
The next was programming the board. For programming we do the following: 1. Connect Avr Programmer with FabISP. If the led glows green on the programmer, then we can proceed to the next step, if we do not recheck the solder. 2. Copy the next syntax in the terminal of Ubuntu as root.
sudo apt-get install flex byacc bison gcc libusb-dev avrdude
sudo apt-get install gcc-avr
sudo apt-get install avr-libc
sudo apt-get install libc6-dev
3. Download and Unzip the Firmware. 4. Program the Fab ISP copying the next code inside Firmware folder.
make clean
make hex
sudo make fuse
sudo make program
5. For verify that the computer is recognizing the device, type:
lsusb
6. Desolder jumpers. 7. Make IDC ISP cable. 8. Congratulations, your FabISP is ready!