Embedded Programming
The assignment for this week is to read a microcontroller datasheet and to program yourHello Button + LED board from week 7 to do something, in as many different programming languages as possible. The tutorials for this week will show you how to program your board using the Arduino IDE, C and how to make an Arduino for the final project.
Heres a very usefull tutorial for the assigment.
Fab Academy Barcelona Class No.9
Assignament: Embedded Programming
By Robert Garita
Machine:
-Roland Modela MDX-20 milling machine
Software:
-Modela
-Eagle
For this class we need an in-system programmer (ISP) use the FabISP we made in class.
ATtiny 44A Microcontroller Pin-Outs
Note that the pinouts on the microcontroller are not the same numbers in the Arduino code. The microcontroller pin number is listed on the microcontroller body below. The corresponding Arduino pin is listed on the outside - to the right or left.
Installing ATtiny support in Arduino
- Download: ATtiny (from this GitHub repository)
- Locate your Arduino sketchbook folder (you can find its location in the preferences dialog in the Arduino software)
- Create a new sub-folder called "hardware" in the sketchbook folder.
- Copy the attiny folder from inside the .zip to the hardware folder.
- Restart the Arduino development environment.
- You should see ATtiny entries in the Tools > Board menu.
Connecting the Attiny
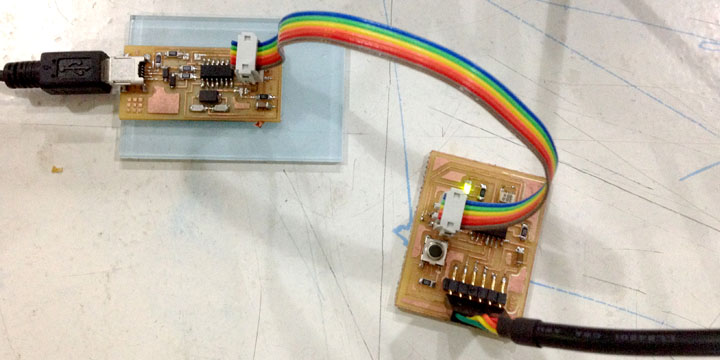
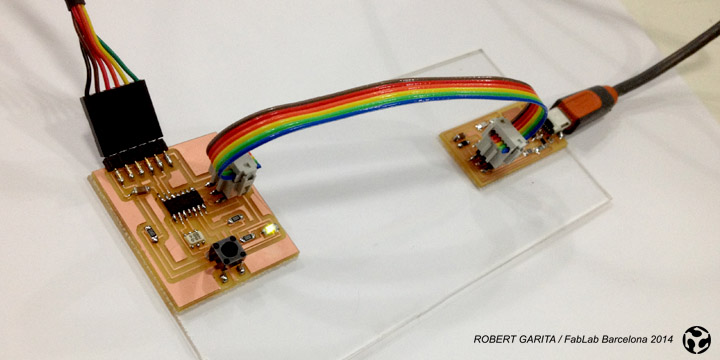
You'll need to provide power to the ATtiny and connect it to your programmer (FabISP). That is, connecting MISO, MOSI, SCK, RESET, VCC, and GND of the programmer to the corresponding pins on the ATtiny.
Connect the programmer to the ISP header on the LED + Button board
You will also need to power the LED + Button board with an FTDI cable.
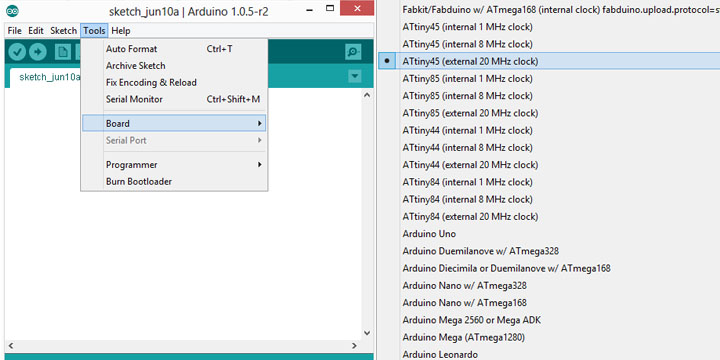
Configuring the ATtiny to run at 20 MHz
By default, the ATtiny's run at 1 MHz (the setting used by the unmodified "ATtiny44)
You need to do an extra step to configure the microcontroller to run at 20 MHz – as we have an external 20 MHZ resonator on the Hello Button + LED board.
Once you have the LED + Button board connected to your FabISP, select the "ATtiny44 (external 20 MHz clock)" from the Boards menu.
Burn the Bootloader (Mac and Ubuntu)
Then, run the "Burn Bootloader" command from the Tools menu. This configures the fuse bits of the microcontroller so it runs at 8 MHz.
Note that: the fuse bits keep their value until you explicitly change them, so you'll only need to do this step once for each microcontroller, this doesn't actually burn a bootloader onto the board; you'll still need to upload new programs using an external programmer.)
Select a Programmer
Select the appropriate item from the Tools > Board menu (leave the serial port set to that of your Arduino board).
Select the appropriate item from the Tools > Programmer menu > USBtinyISP

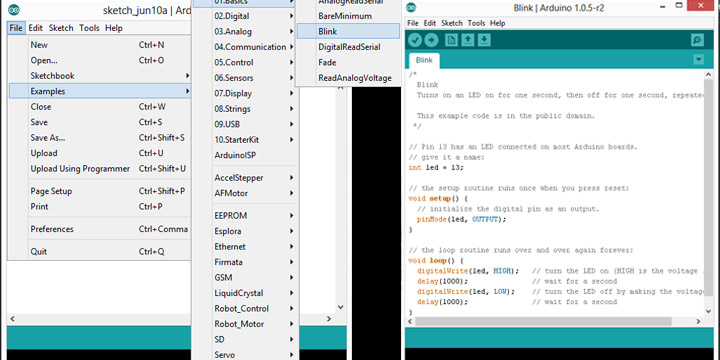
You can download here the code for the Blink Test