3D Scanning + Printing

For the 3D scanning / 3D prinitng assignment, we used the kuka in order to have a precise scan of ourselves. Each one of us stood on a platform that rotates 360 degrees while the kinect, attached to the Kuka, would get a full 'top to bottom' scan of us.
Fab Academy Barcelona Class No.6
Assignament: 3D Scanning + Printing Kuka Robot + (Stereolithography Process)
By Robert Garita
Machines:
Scanning Process: Kuka Robot + Kinect
Printing Process: Projet 1500
Softwares:
Scanning and Mesh Repair Process: Scanect + Rhino 5 + Grasshopper
Printing Process: Projet 1500
Materials:
Printing Process: Photopolymer (Ivory Resin)
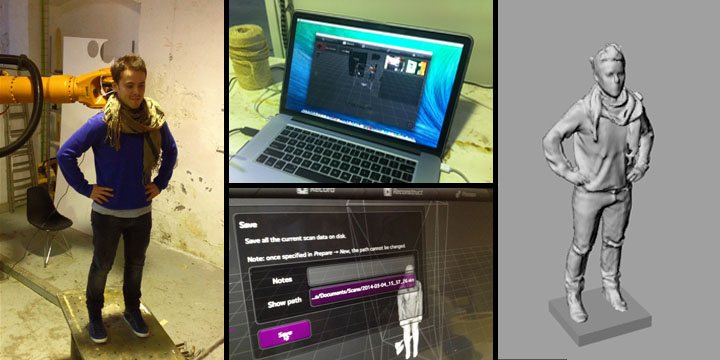
Complemented with the previous assigment for this week the exercise was about 3D scanning and 3D printing. With my classmates Alejandra Díaz de León, Aldo Sollazo and Chirag Rangolia we decided to team up and use KINECT with KUKA robot arm to scan ourselves.
For the scanning process we attached KINECT on KUKA as a tool, so we divided the team in pairs, one controlling te robot ante other one in front of the kinect and on top of the rotating table.
The process was nice and different but not eficient in time, it took us a lot of time to complete the full scaning of everyone.
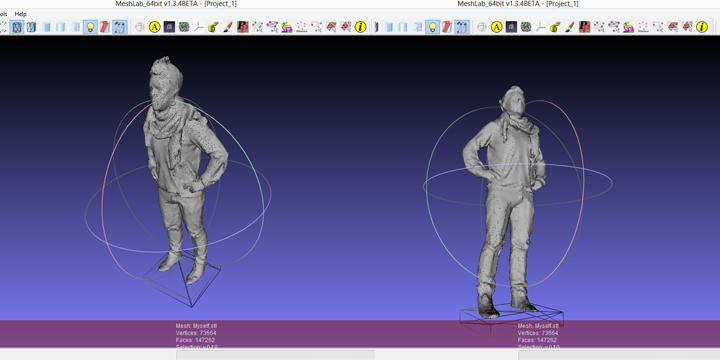
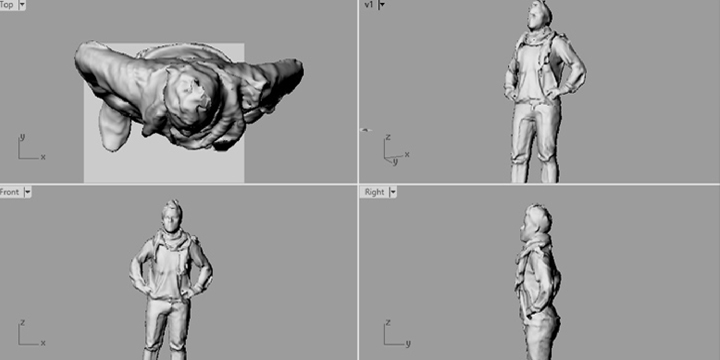
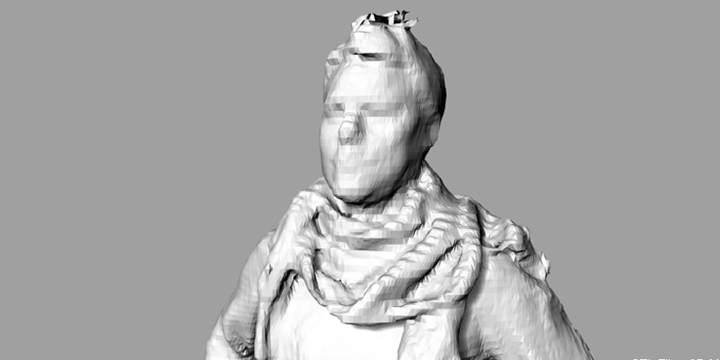
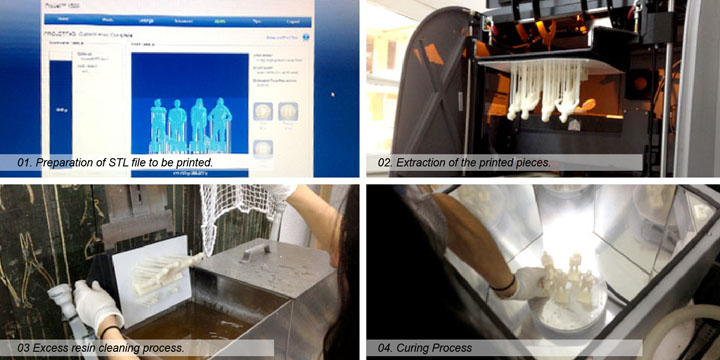
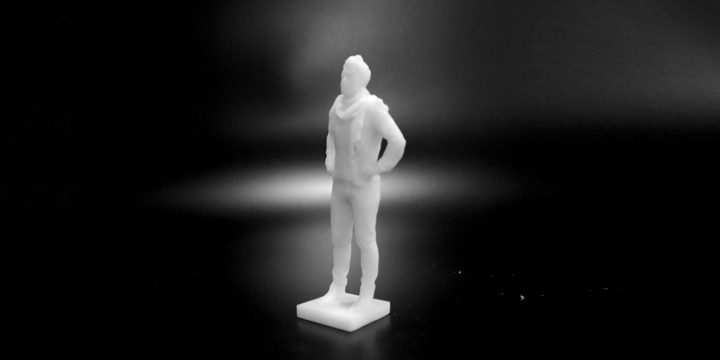
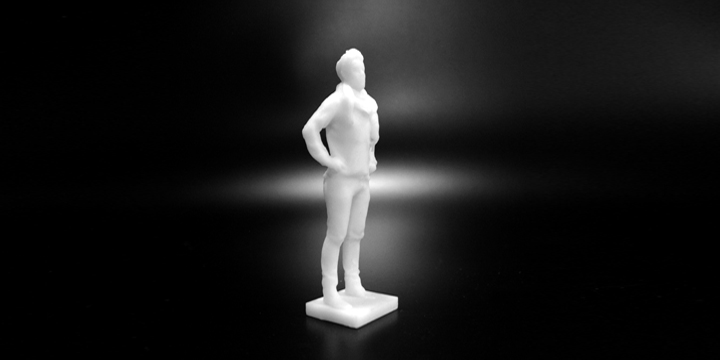
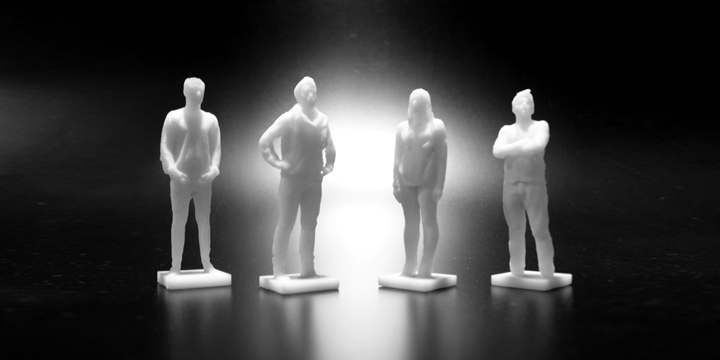
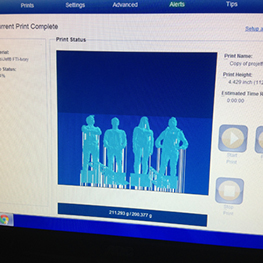
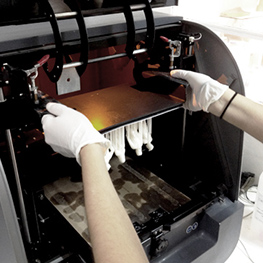
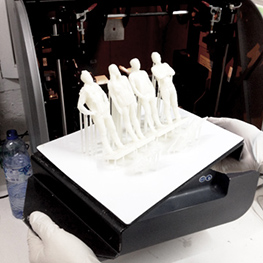
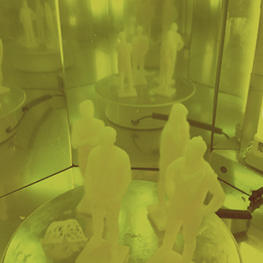
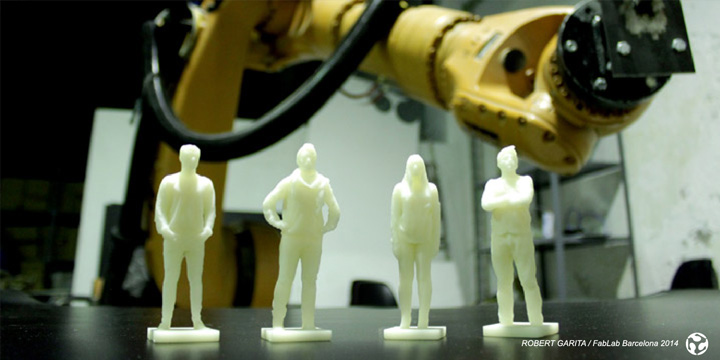
Its very important to fix the mesh after the scanning process, most of the time is not a good mesh and you can find a lot of gaps, that could be a problem for the future printing process, for that i used MESHLAB to smoothen the shape, fix the holes and save the file as .STL (stereolithography format). we used PROJET1500 3D printer to print all the 3D models, for the printing process we used PROJET1500 3D printer for all the 3D models, this printer works with resin and solidify the material through neon light, gives you for me one of the best resolutions.
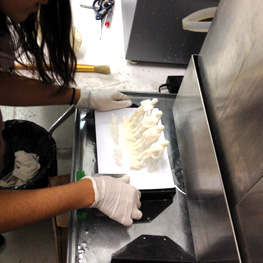
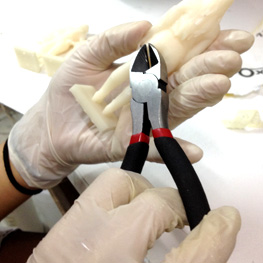
When the 3d piece is already done is time for the curating process: cut the supports, wash and bake and the pieces with the help of the UV solarium light for 15 minutes.
