 |
|
 |
|
For this assignment I have to design and 3D print something from scratch, then scan and print another thing. I decided to design and build something funtional and usefull for my final project and it is a "ballcaster" which is a support point for differential traction used in mobile robots. The process begins designing with Autodesk invertor. 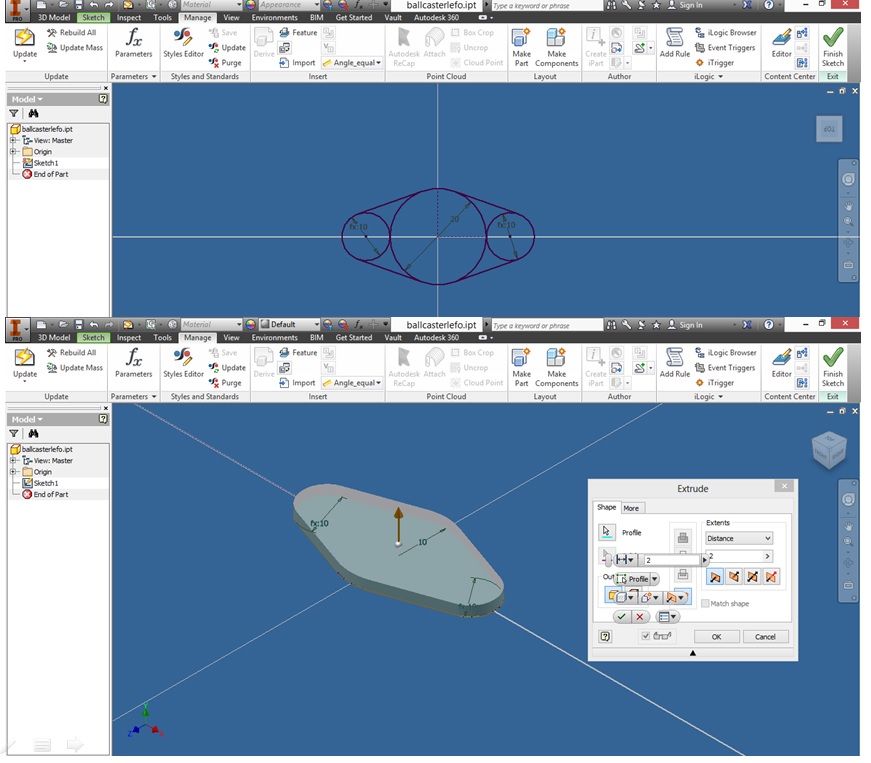
Photo 1:Designing on Autodesk Inventor
 Photo 2: Designing on Autodesk Inventor Once you finish your design you have to export it into STL format in order to get ready to use the 3D printing software. The printer used for this assignment is a Felix2.0 and the software is Repetier, it's a open software and the good part is that you can manipulate all the variables of the process, that allows you experiment in a better way You can download Repetier for felix here. OK, once you have the STL file open it with repetier Before printing you have to select a profile for slicing and then press the "Slice with SFACT". In this case I selected "1.1Draft Quality-no support" profile. 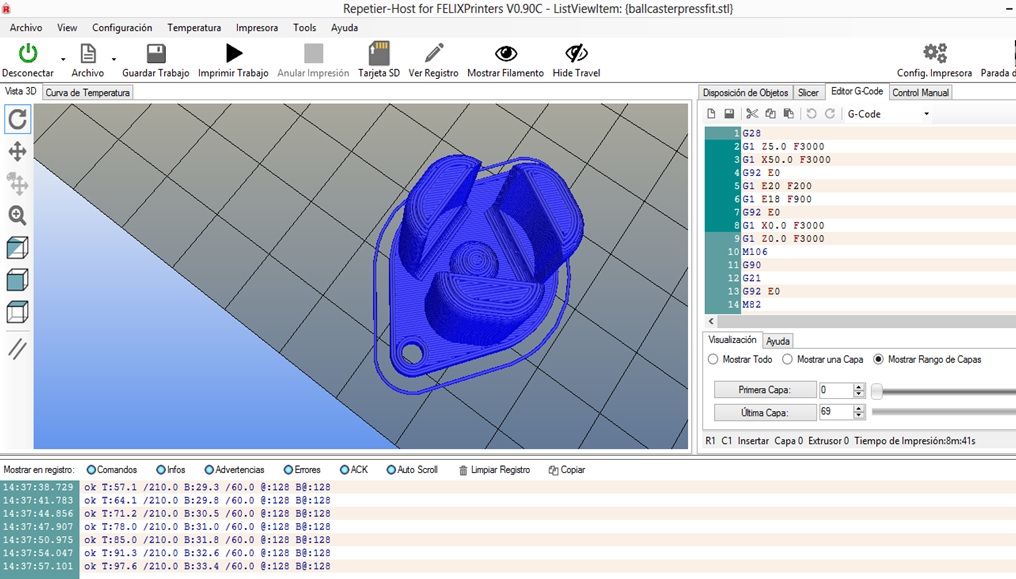
Photo 3: Ball caster STL sliced with Sfact on Répetier Once the slicing process have been done the next step is to prepare the printer, I used the following parameters for PLA: -extruder temperature: 210 ° C -bed temperature: 60 ° C Then click "Print" :) 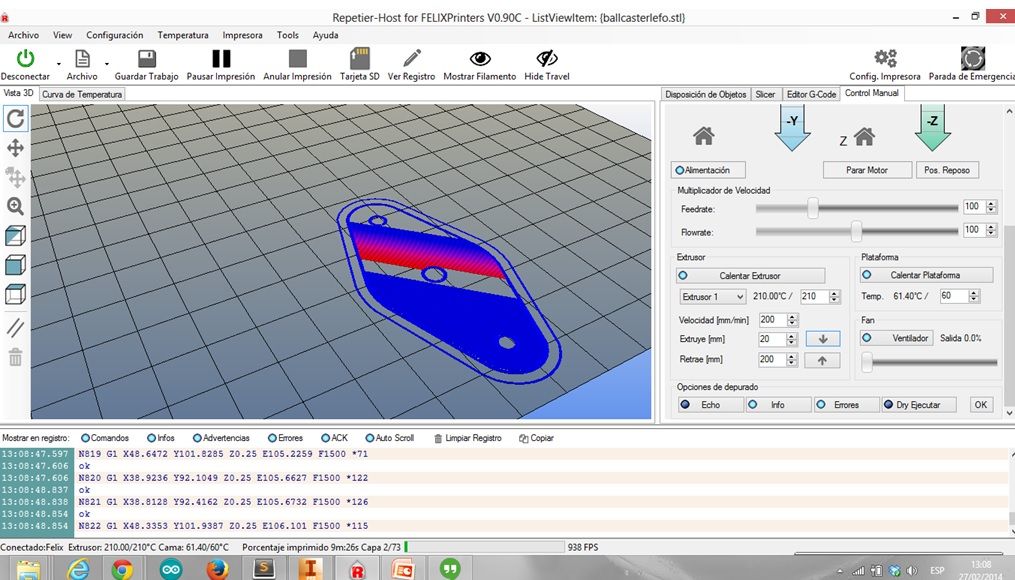
Photo 4:Simulation of the first layer printing And at the same time: 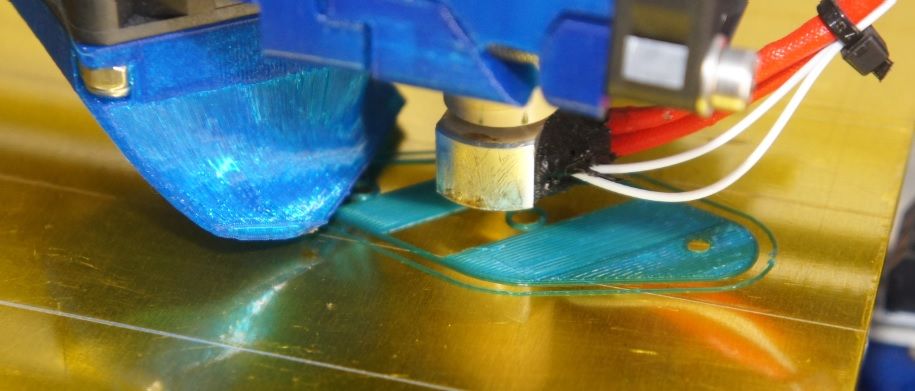
Photo 5:Printing the first layer After many layer: 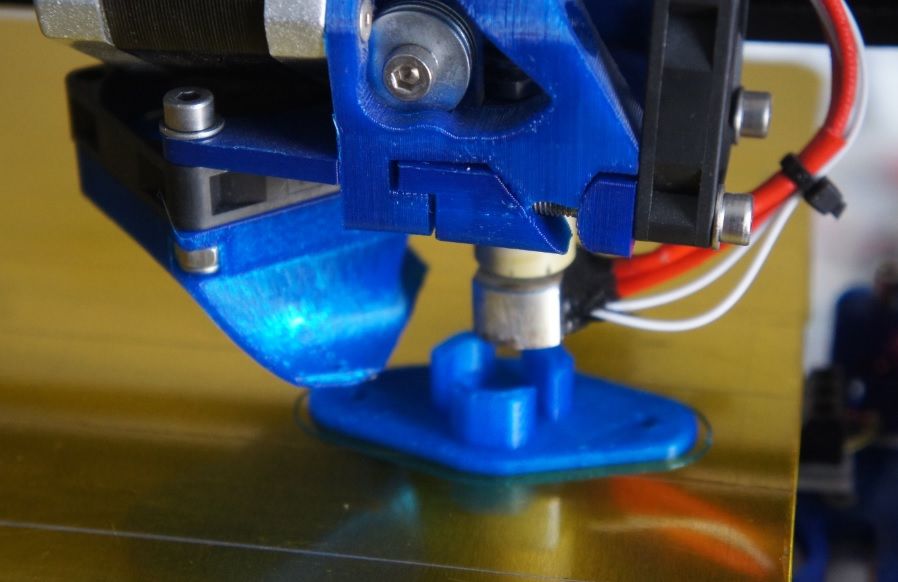
Photo 6:printing 60% I had to iterate 3 time until get the correct size and tolerances 
Photo 7:3 iterations printed Finally is only needed a marble of 15 mm diameter to complete the ballcaster!. 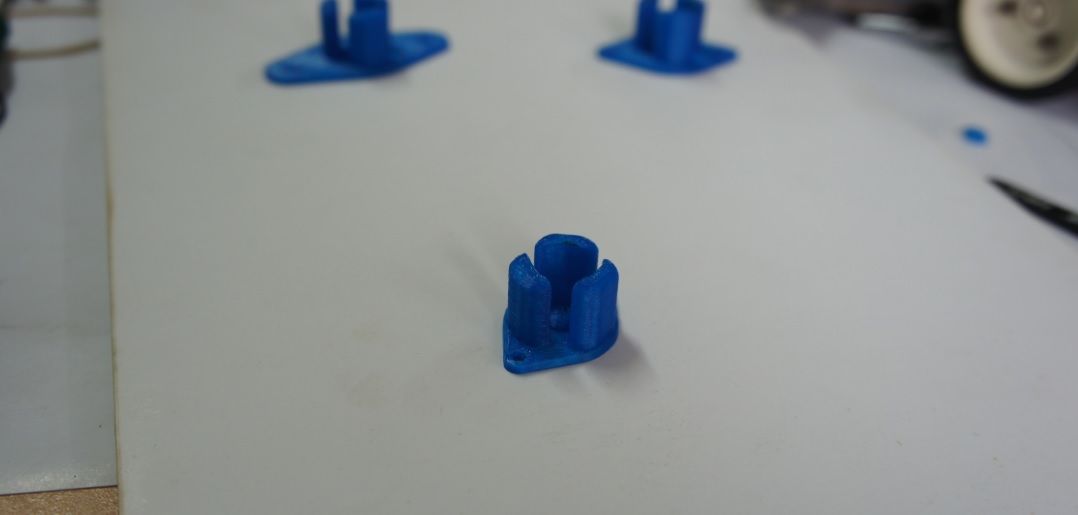
Ball caster base 3D printed 
Ball caster final product For scanning I decided to scan myself using the 123d cutch software which allows you to scan from pictures of a object. So I take pictures in 360°(with help of my friend) and then generated the 3D model with the software 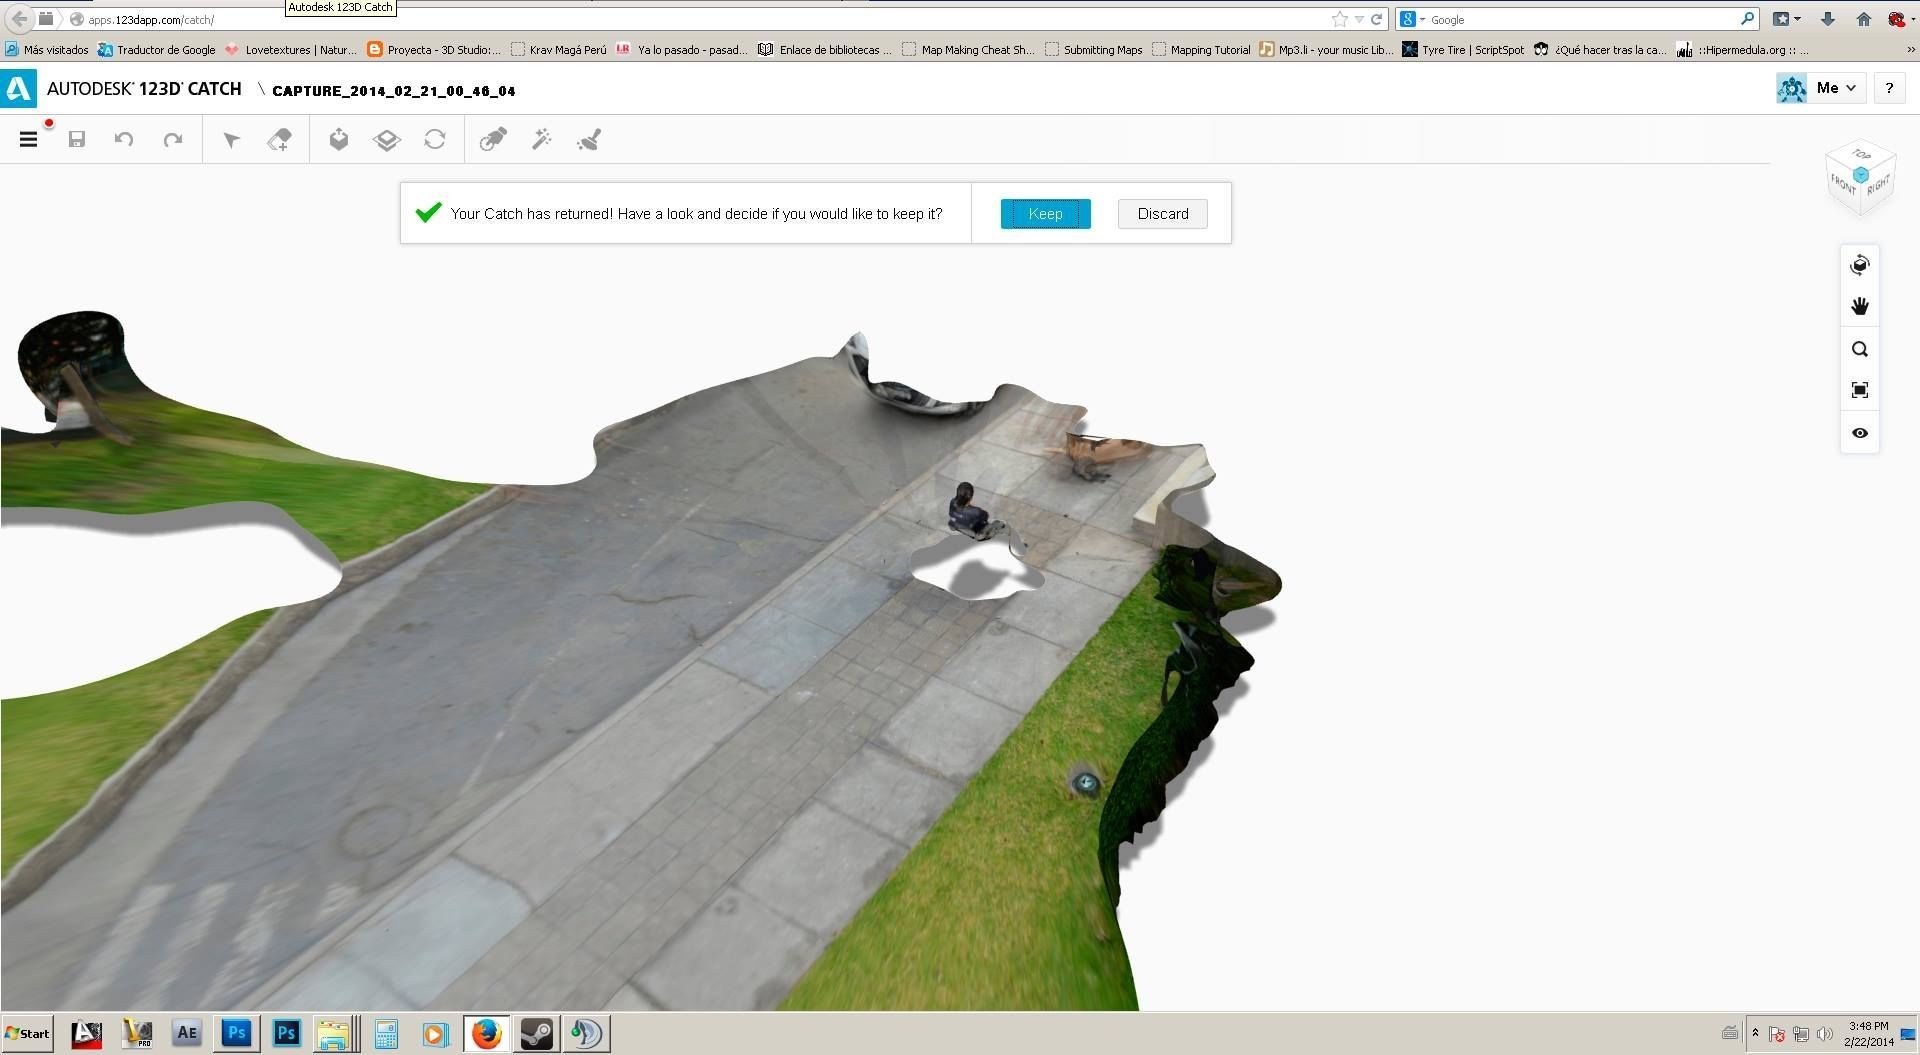
123d cutch
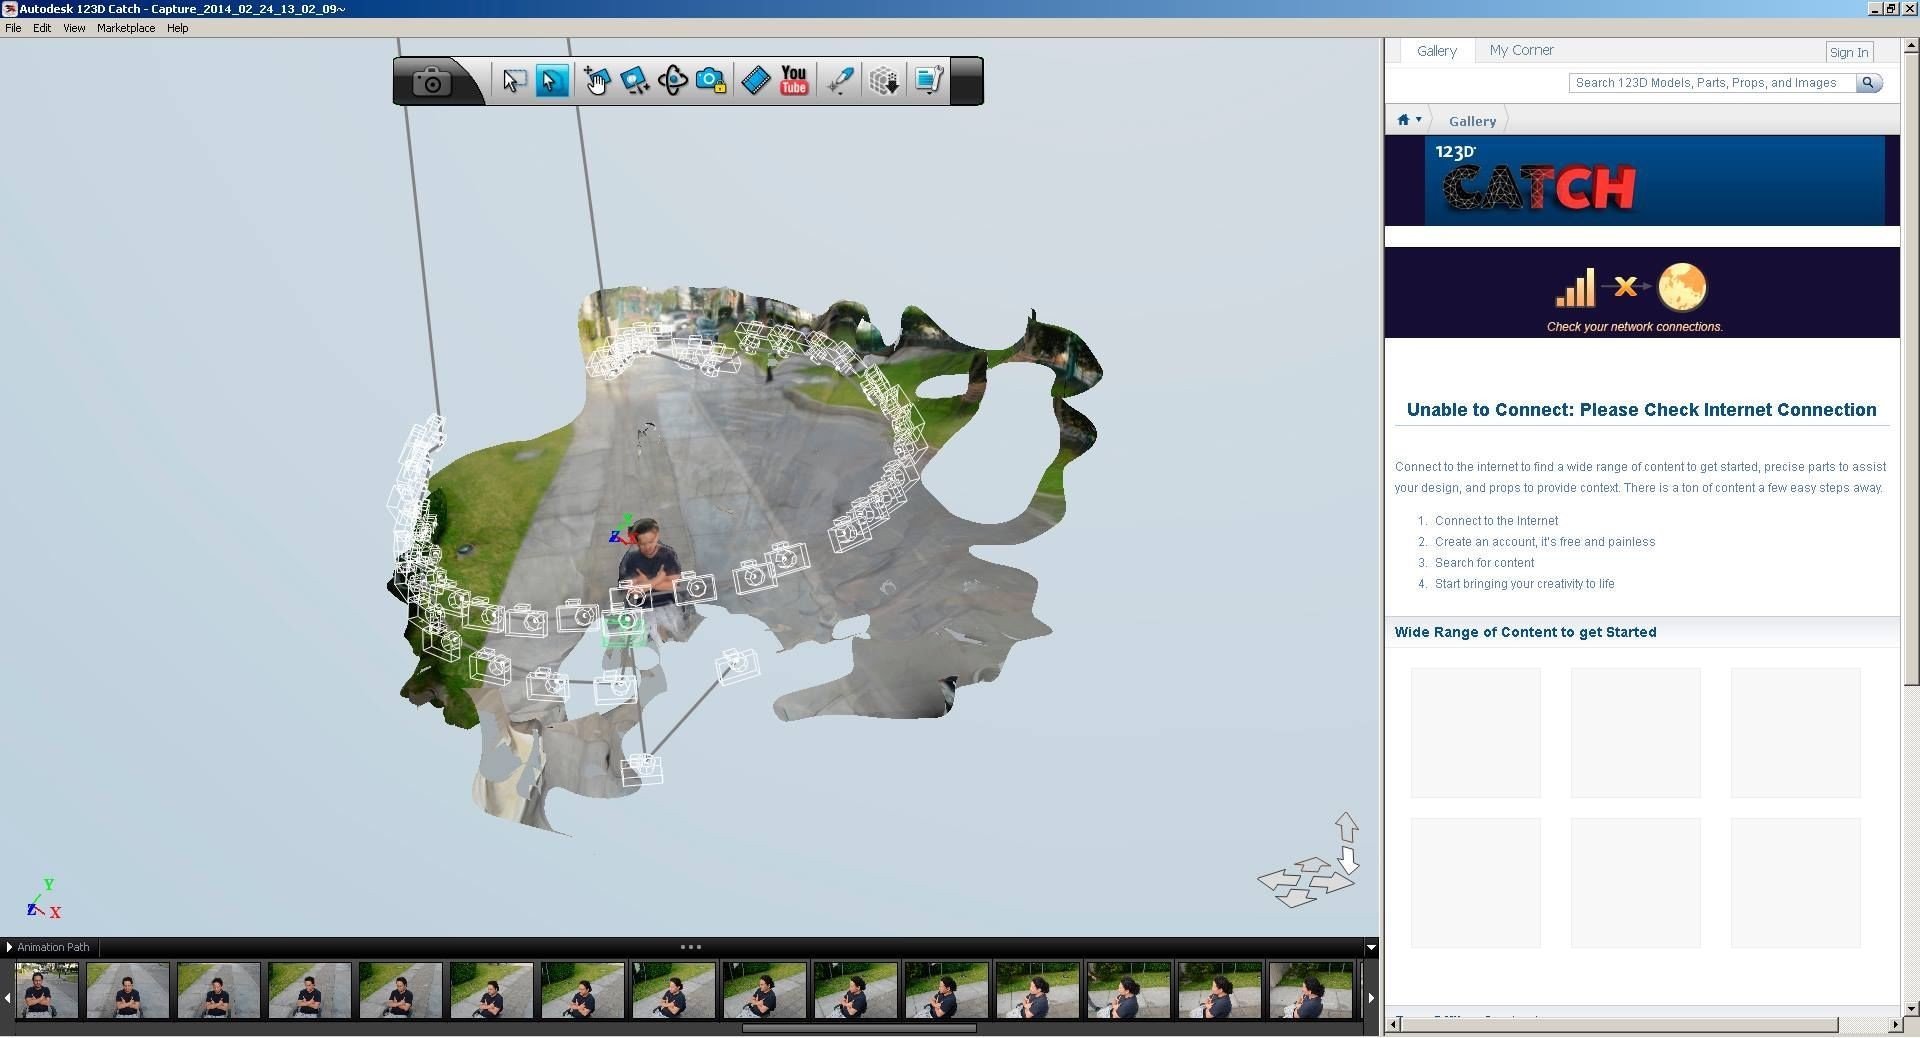
Scaning myself with 123d cutch 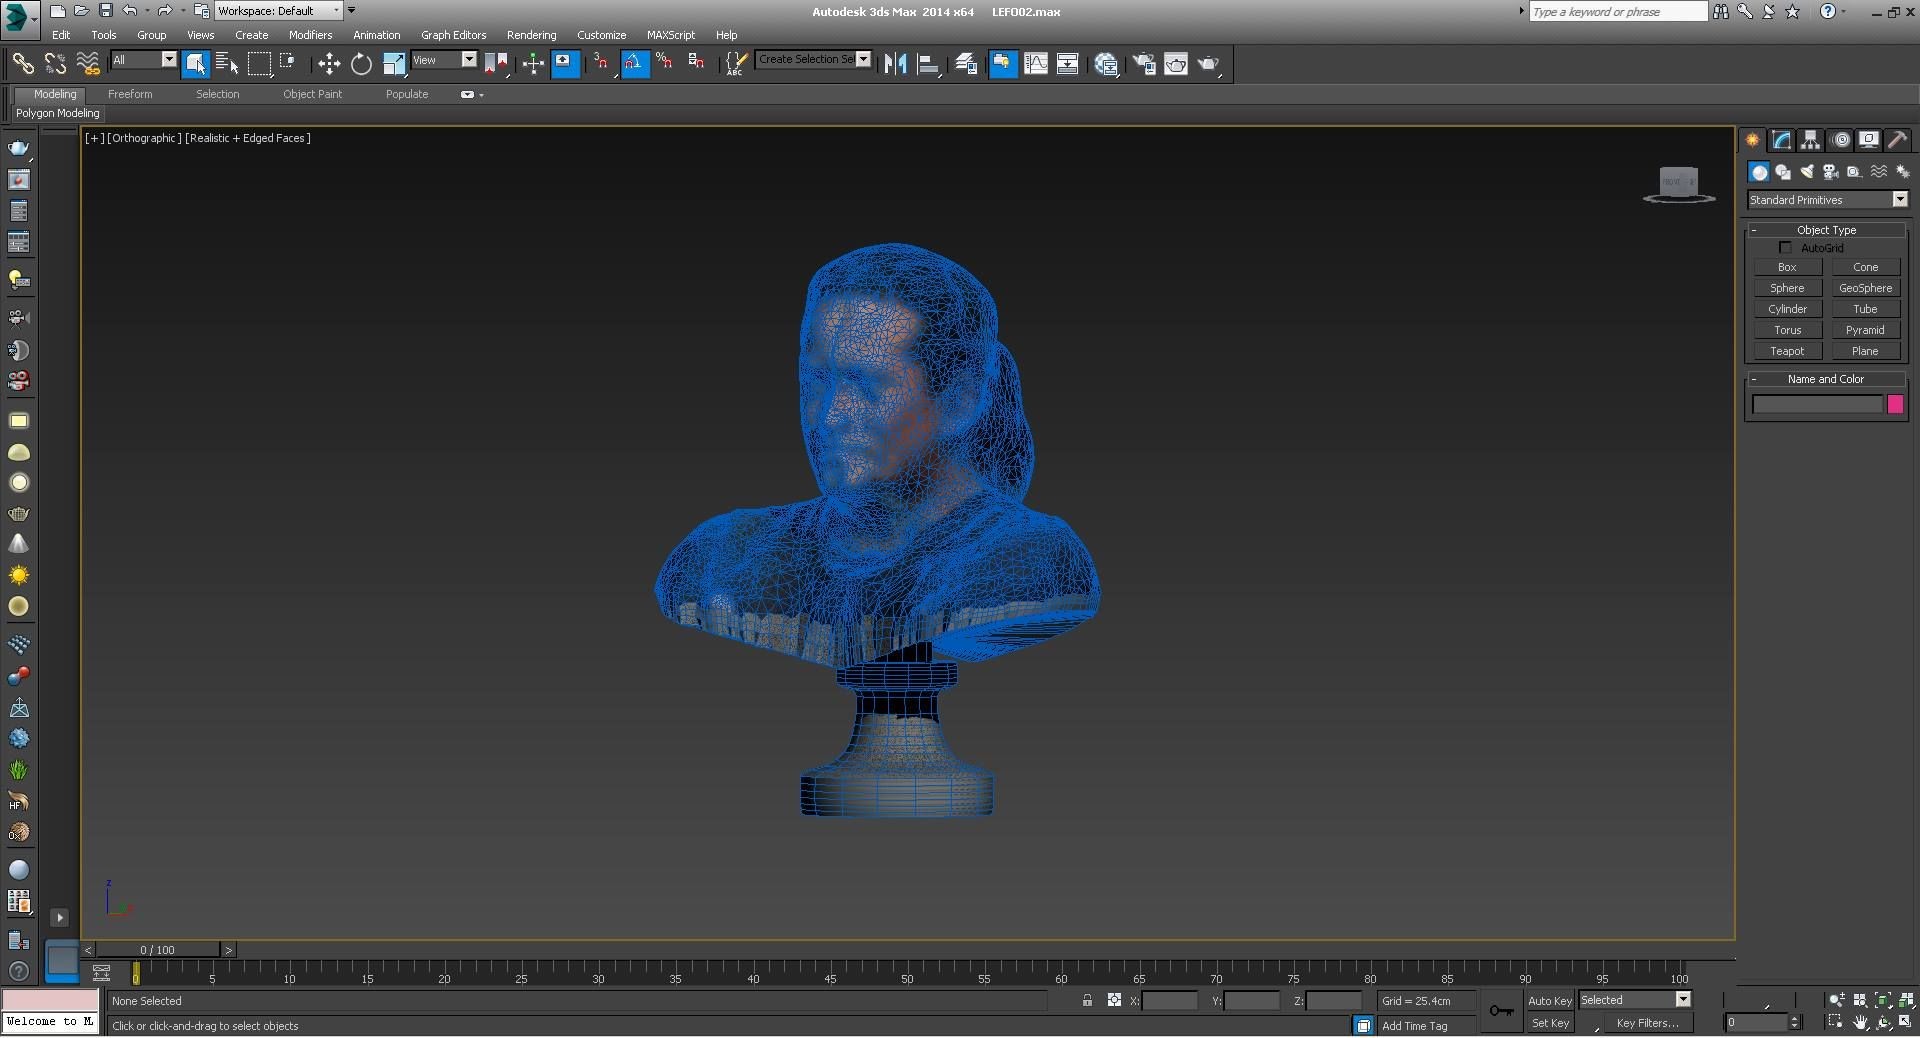
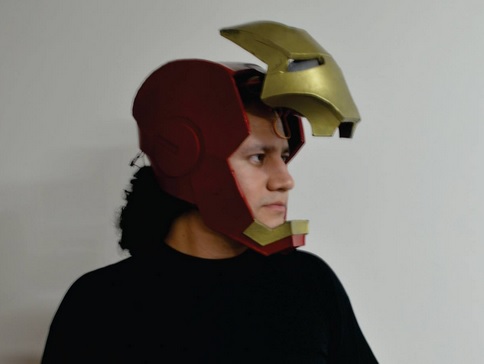
A monument of myself Then, following the same process described above we can 3D-print. This time I selected the "2.4 normal quality full suport+raft" profile because the 3D-model needs supports for a well print and a raft to avoid the takeoff from the hot bed. 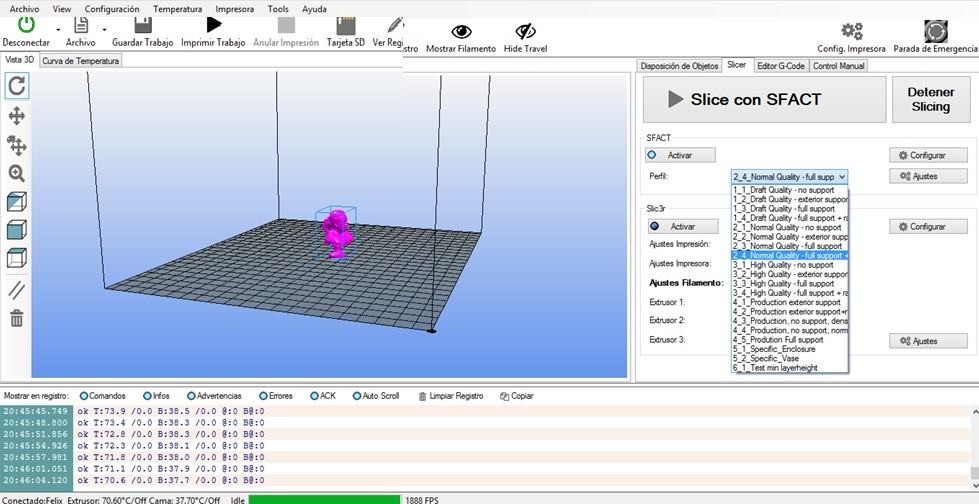
Repetier interface ...And after slice: 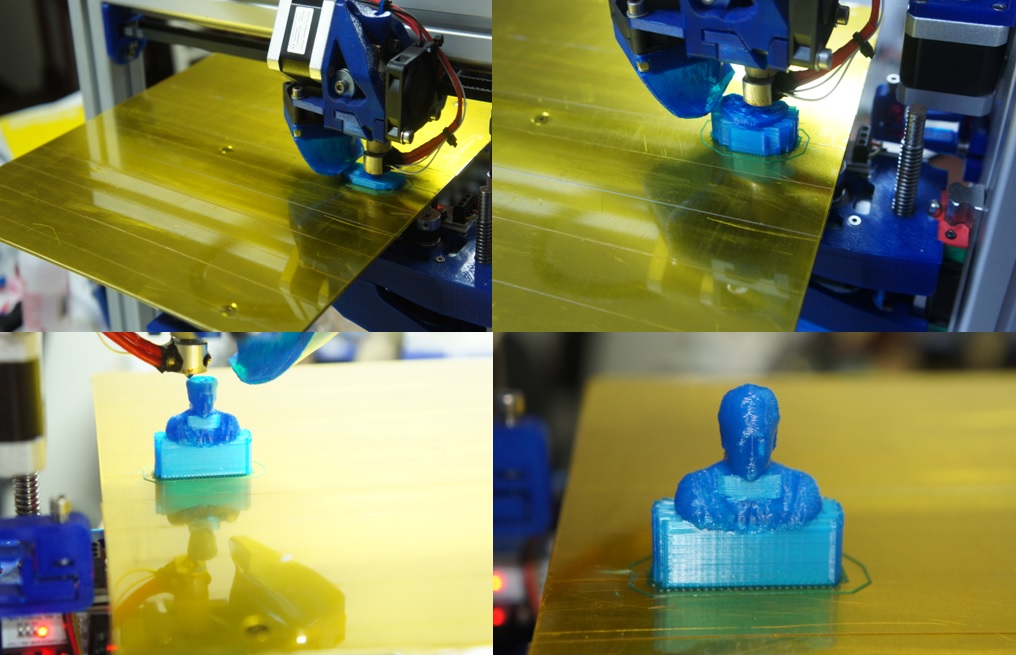
3D Printing myself ...Finally after remove the supports: 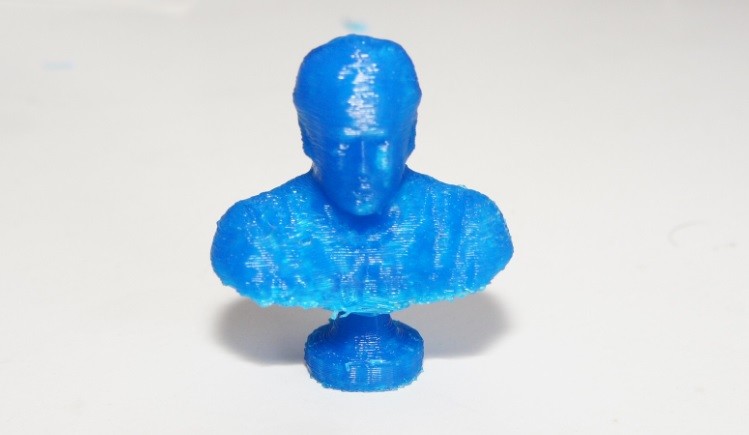
final product Files: Mediafire https://www.mediafire.com/folder/e9x7v9ax7458a/3DscanandPrintGithub https://github.com/lefolindo/3DprintingAndScaning |