Week 9: Molding and Casting
For this week assignment, I decided to make the "body" of the soft robot for my final project. The materials that were used for this task were:
Roofmate (blue foam)
Silicone and Hardener
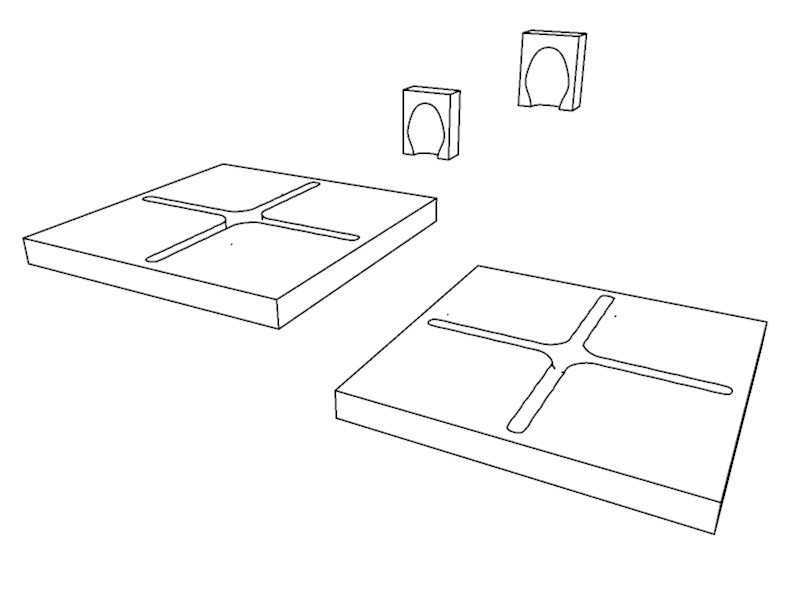
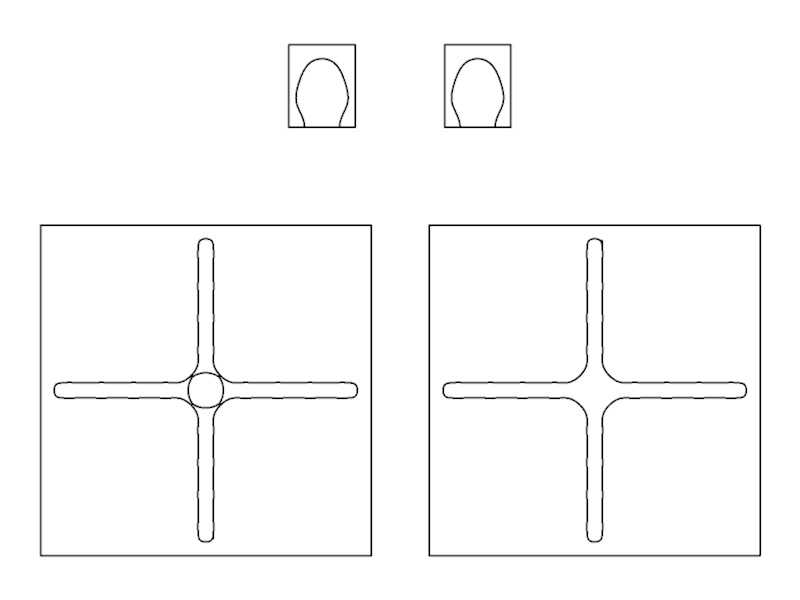
I started to design the 3D molds in Cinema 4D so that I could then mill the foam on the OUPLAN. After a couple of hours around the software, I came up with this design:
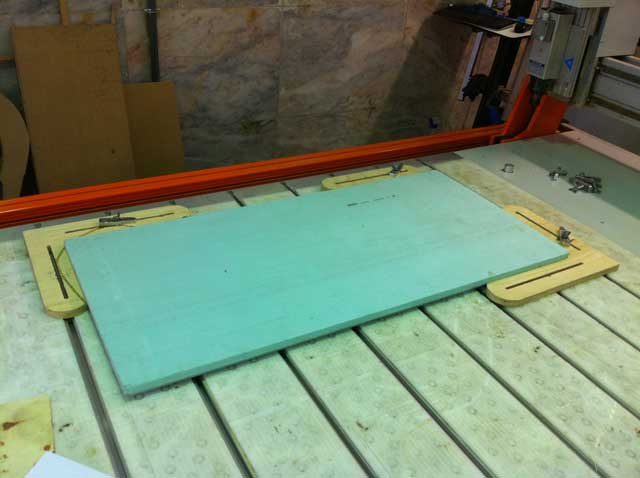
After designing the 3D molds, it was time to prepare the files for the BIG milling machine. First of all I needed to secure the Roofmate to the table very well.
For the milling process I used a 6 mm mill. I should've used a smaller diameter mill, but on that time the only mill available was the 6 mm one. After half an hour the millnig process was almost complete.
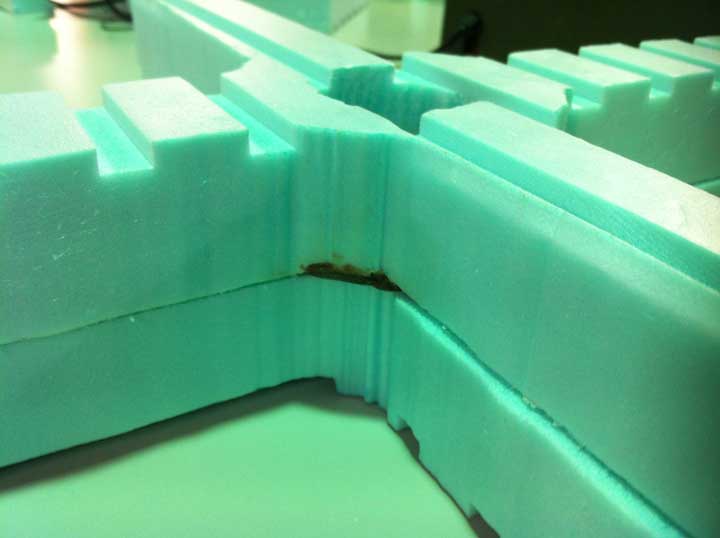
After completing the milling process, it was time to cut the parts out of the Roofmate and assemble them together. When I tryed to put them in place, I instantaneously saw that there was a huge gap from the bottom part to the top part. To solve that I used some wax I found in the Lab and it was perfect for the job. Besides the outside I had to cover some gaps on the inside as well.
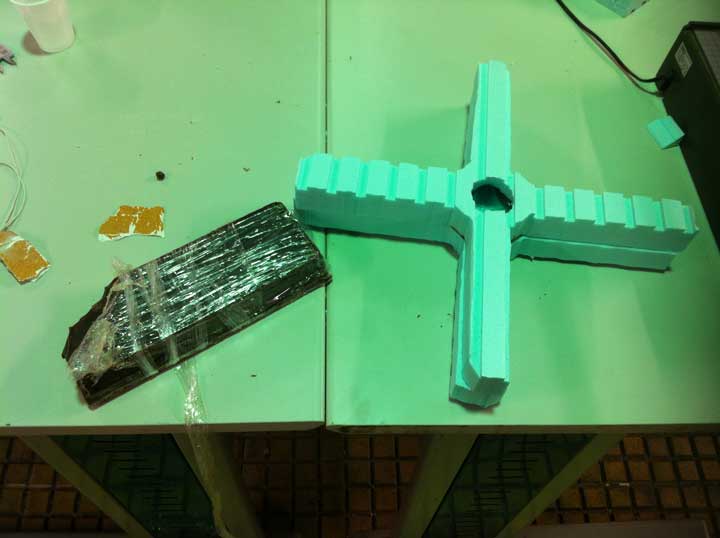
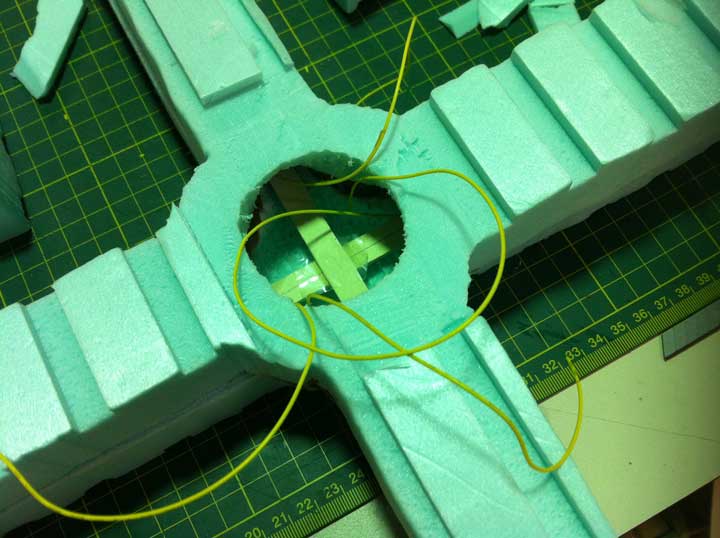
After this it was time to test how my final project components would be placed and look like inside the mold. The structure is composed by two slabs of wood broken with the shape memory wire on the bottom part and then there are some jumper wires that are connected to the SMWs and come out of the mold.
Ok! Now it is time to mix the silicone with the hardener and keep stiring until you have a homogeneous mixture, but REMEMBER whenever you think the mix is ready, double that time. Don't mix the silicone with the hardener in circular movements, do it it in L shapes to prevent bubbles from appearing.
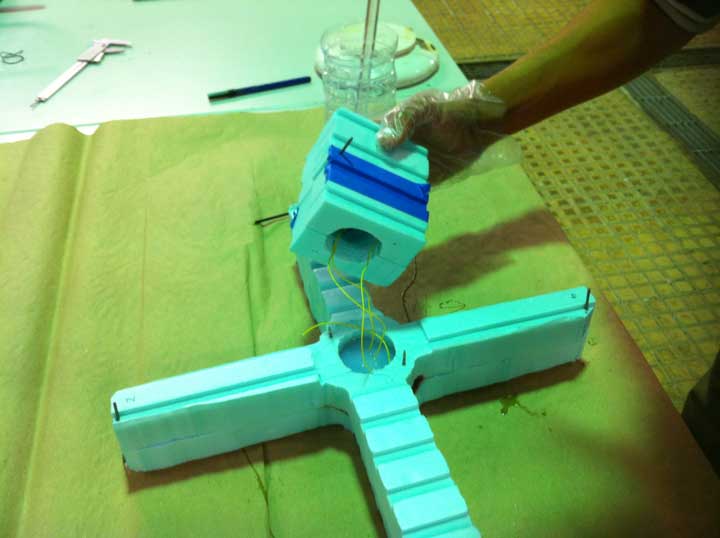
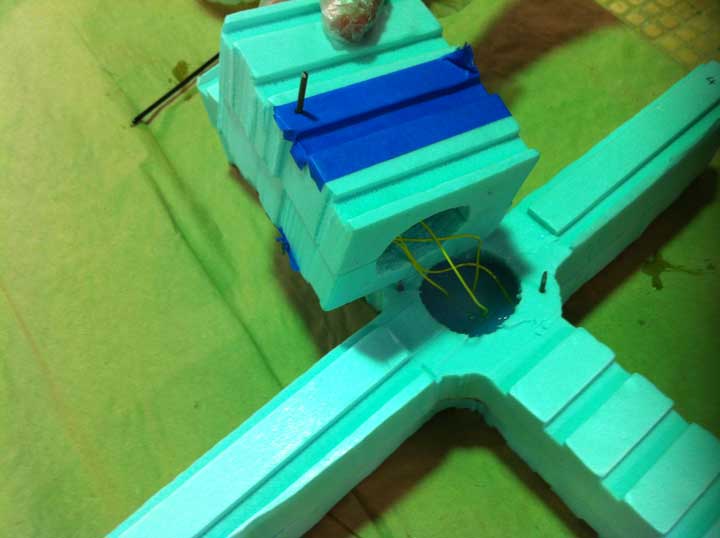
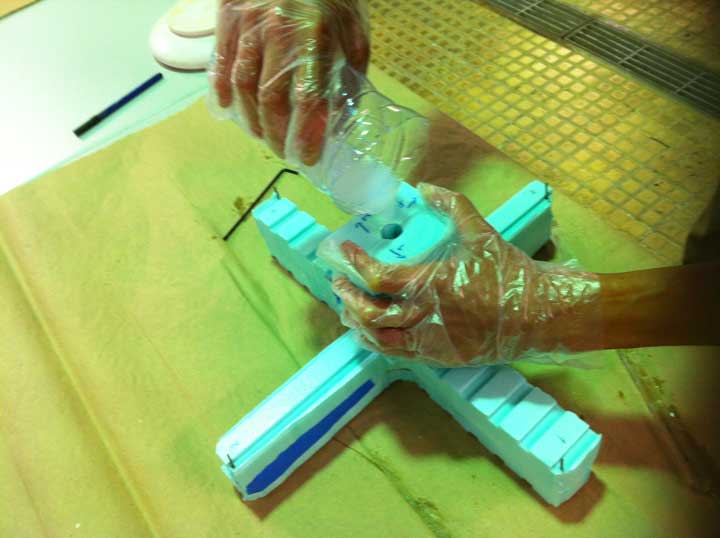
Now it's time to pour the silicone in the mold. I poured into the first part of the mold with no problem at all, as you can see in the images:
After this first part the problems came. While I was pouring the silicone into the second part of the mold, I was sure that the two parts fitted perfectly, but to my unhappines, I discovered that there was a huge leak between thjose two parts.
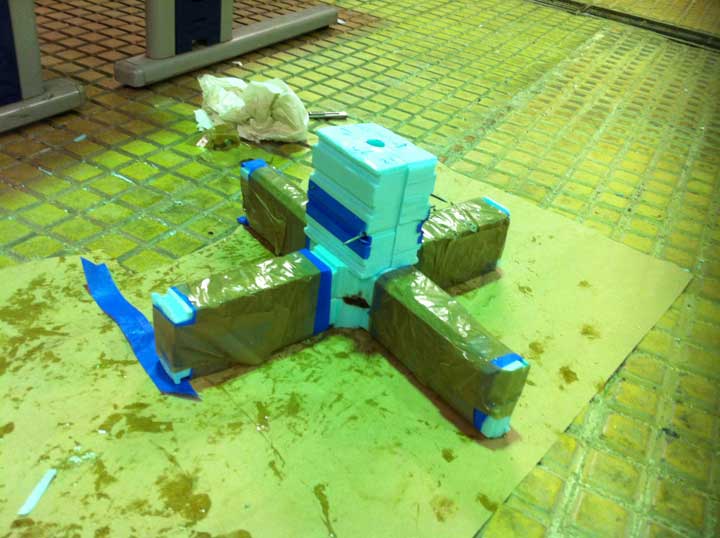
And what was the result? The silicone just vanished away from the second part of the mold and that is way you can see the mess in the next image. And it was not finished, with the pressure of the silicone from the seond part of the mold crushing the undried silicone of the first part, it started pouring from the sides as well. The solution was to tape it all around and pray that the silicone stayed there.
After a day (about 24 hours) to completely dry the silicone, it was time to take the part out of the mold and see the results. I made some extraordinary findings because I didn't know the detail I'm about to tell you.
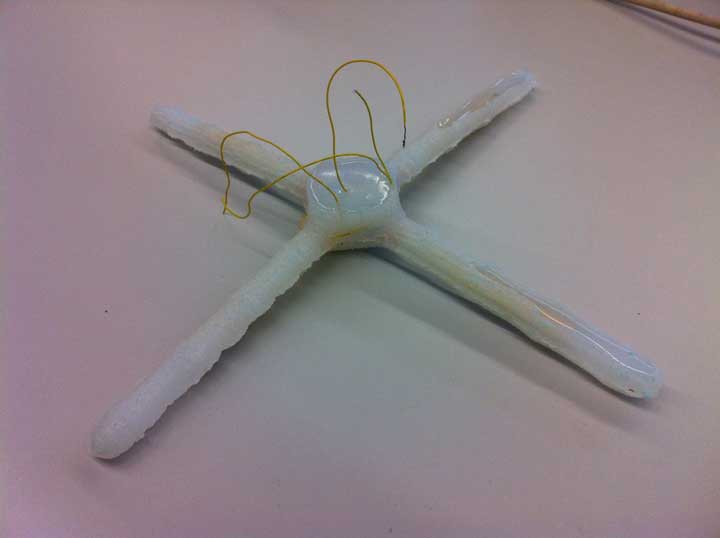
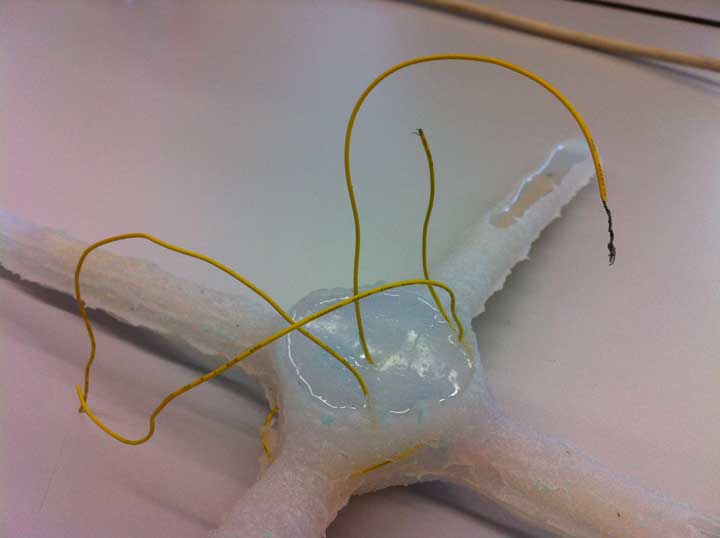
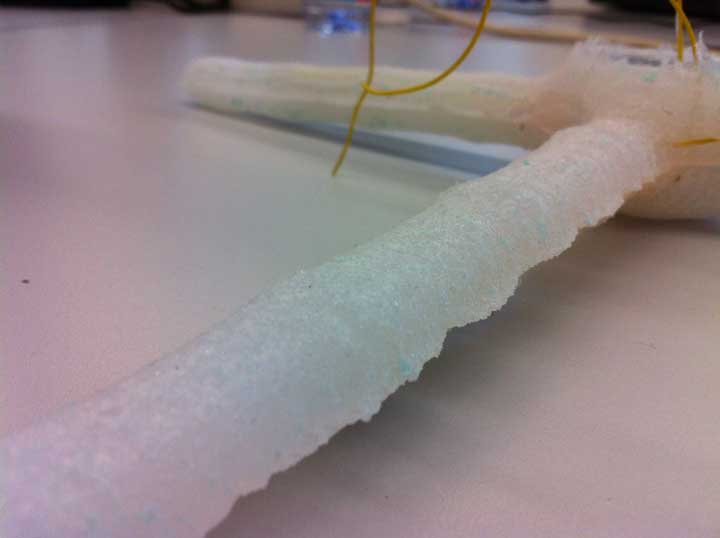
As you can see, it seems that the silicone is rotten or something else (laughs), but in fact the silicone takes the texture of the mold where he is pured in. This is an extraordinary finding, because this way it is possible to think about the mold as a texture giving for the silicone in future projects. The parts where you see the silicone shining, are the parts where it didn't touch the mold. I believe that using a 3 mm mill for the milling process would have reduced by half, this texture and maybe give it a completely different look. The next picture shows more detail on the apperance.
I plan on repeating this process with a different type of material for the mold until I have a perfectly shining jelly like body.
Project Files
Here you can download the 3D model and the ARTCAM files of preparation for the illing machine:
Thank you for watching!