Week 10: Input Devices
For this week's assignment (another one of my favourites) we had to design a board in which there had to be at least one of the different sensors in the list provided. Besides that, the real challenge was to program it to measure something. Since my final project is a jellyfish robot with the intention of gathering data underwater, the temperature sensor would be the correct field of study and start to get a hang of how tempreature sensors work.
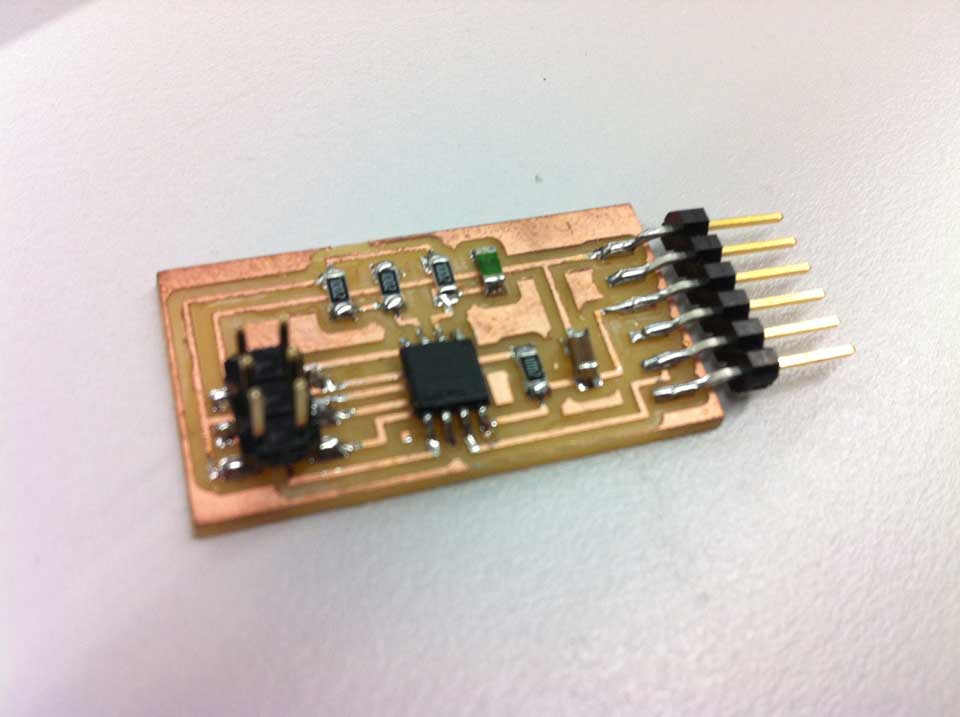
After playing with Eagle for another great time, I finally got the board designed and ready for the Modela. Mill here and there, cut out board and there you go. You have another board. Solder here and there and here is the final result:
Project Files
Here you can download the Eagle files, Schematics and Board Layout. And you have the final output traces and interior ready for Modela. Hope that you can take advantage of these documents.
Measure Something
This week there was a new software we had to install and that was Python. First thing to do is identify the OS you are using and which version. In my case, I used Windows 64bit version. So, if you are using the same OS and version of mine go to this link and download the software:
64 bit windows: Windows X86-64 MSI Installer (2.7.3)
Next thing on the list is to add Python to your Path:
- This text (or something like it) will already be in the box: C:\Tcl\bin;%PATH%
- Just add to whatever you have already...
- Add a semicolon directly after the next (NO SPACES).
- Then add the following: C:\Python27
The final result should look like this:
C:\Tclbin;%PATH%;C:\Python27
Now is time to restart our computer for the installation changes to make effect on the system and after you can open the Windows command line and type "python" in order to het a python version number.
Download and install the dependencies you'll need for python that are:
PySerial - Donwload pyserial-2.6.win-amd64-py2.7.exe
Tkinter - Get Tkinter here, choose your Windows OS version
Flash the Microcontroller and Visualize Python's Output
Time to "flash" ou microcontroller. This step I've done it in Ubuntu, because I used the ".make" file for it, so if you are following the same steps as me, don't forget to install Python and all it's dependecies in Ubuntu as well. After these downloads and installations are complete, open your terminal windows and type the following:
sudo make -f hello.temp.45.make program-usbtiny
You can go back to Windows and do the final step there since we've started there. I just needed to to the microcontroller flash in Ubuntu in order to be easier.
Open Windows command line and type the following:
python hello.temp.45.py COM6
Maybe the COM you are using it's not number 6 but go to the devide manager and identify which port you are using for the sensor board.
After writting that line of code and clik "Enter" button, you should get a small window with a blue and red bar showing some percentage. Touch the sensor and watch the temperature go up and then release it to watch it go down.
Project Files
Here you can download the files to fabricate your board:
You're done! Thank you for watching everyone.