A LIST OF TUTORIALS

1) HOW TO MAKE A CHAISE LONGUE

2) HOW TO CUT THE CIRCUITS WITH THE LASER MACHINE?

3) HOW TO MAKE A MOULD FOR TRADITIONAL BOW

4) LEARN TO WORK WITH EAGLE

5) HOW TO MAKE AN ELECTRONIC BOARD?

6) CNC SHOPBOT TUTORIAL IN SPANISH


ADOBE ILLUSTRATOR CS5.1

illustrator To draw a T-shirt I selected this picture on the internet and opened it in the Illustrator. Then I will be drawing on the picture using anothe layer.
illustrator To create a new layer, I go to the layers menu on the right and click this icon that is marked with a blue circle.
illustrator After that I have two layers. One is the picture that I downloaded and another is my drawing.
illustrator Here is an option "to hide" or "to show" the layer. Click an eye on the right of the screen as you can see it on the picture. The first layer (downloaded picture) will disappear.
illustrator Make another click on the "eye" to come back the layer.
illustrator When drawing, choose the feather instrument on the left. This will permite you to draw with vectors. Then, you can export everything that you drew to Rhinoceros for example to convert all your 2D pictures in 3D.
illustrator

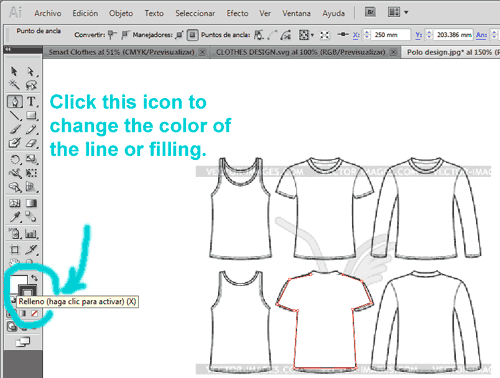
To choose the line and background colour, press the indicated icon on the left:

1) to change the line: rectangular with empty centre; 2) to change the background: full rectangular.

When you push that colour icon, on the right appear a menu. The rectangular with red line inside means that your background or line will not have any colour.
 
I drew this T-shirt following the lines of picture I downloaded. The background of the T-Shirt is white.
Now I selected "no colour" option.

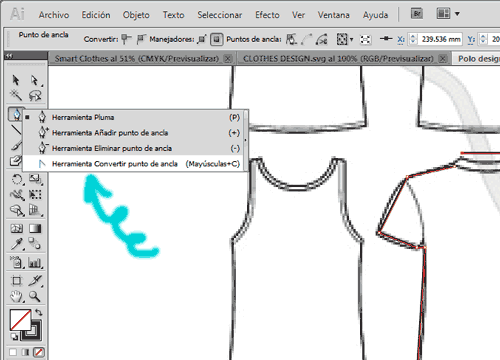
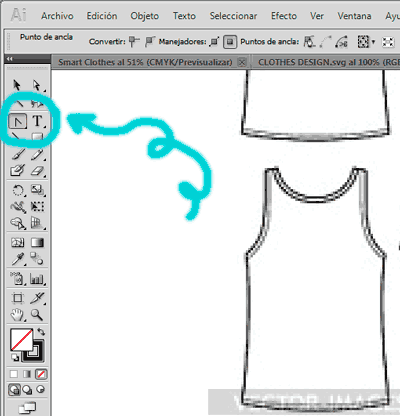
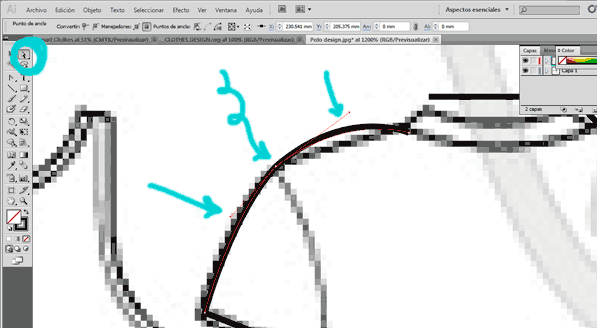
The feather has different options:

1) "Feather instrument" that allows you to draw any line with points.

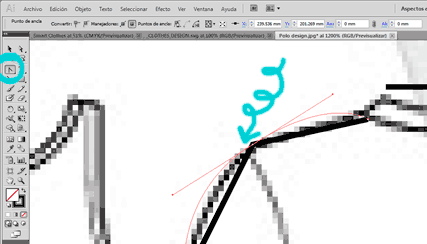
2) "Add the point of connection" adds more points to the line.

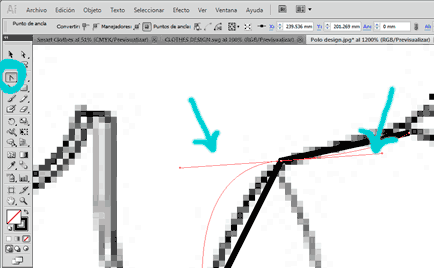
3) "Delete the point of connection"

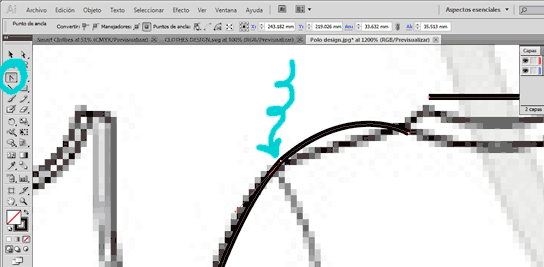
4) "Convert the point of connection" means that you can make curvy a straight line.

The icon of "convert the point of connection" is activated.
Then choose the point you want to convert in a curvy line and press it. The two straight lines-regulators will appear. You can change the line by moving these regulators.
Here you can see how to do it. Click on one of these lines and move it. This will change the curve of line you are working with.
This is the result we obtained by using the "convert the point of connection" option.
 
Well, I drew some simple T-shirts and now it´s neccessary to change their´s scale. That´s why I made a click with the right button of the mouse and selected "Transform" option, then "Scale" option.
Here we go!