Fab Academy 2014
This week was a little more disjointed (no pun intended later on) for me. I was traveling from Friday to Monday, and knew that time on the shopbot would be a concern as
everyone had projects and machine time was a real bottleneck. However, given the limited time, I am very happy with the results I got from the CNC
machining exercise.
We started our class with a lecture from James about VCarve and shopbot tooling. He gave a great introduction to the software, and showed us how to convert Inkscape .svg files to .pdfs, import them into VCarve, and then create toolpaths from them. A few useful tips included checking vectors to make sure they are closed (using 'join' with correct tolerances resolves this), setting stepover and tooling options, and most importantly previewing toolpaths. The ability to preview tool paths probably saved me 3 or 4 iterations of bad cutting as I was able to see where sharp corners would be rounded and realize that my pocketed cuts were reversed.
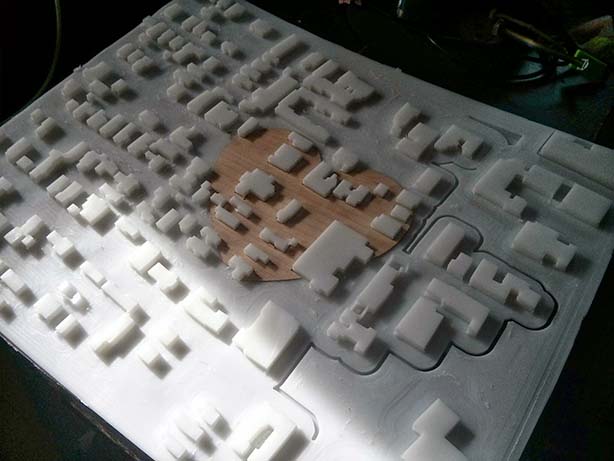
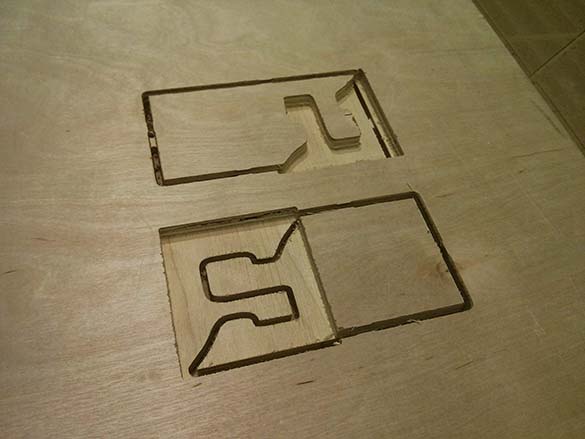
I started my first design on Inkscape with a couple of links from John in our class: CNC Joinery Notebook and 50 Digital Wood Joints. Since I've been considering the option of making a bed for our new home, I decided to try the 90 degree joint listed at the top of the page. After playing with Inkscape for a little bit, I came up with this approximation (I was going to try and make the reflected puzzle pieces face profiles or something, but decided just to try it out first):

I wasn't able to get on the ShopBot the first day, but the second day I managed to get in and try my design on VCarve. I found the software to be intuitive and easy to use with a wonderful preview feature. I don't have screenshots here (it's on a separate computer in the lab) but I will try and get some to add in the future. I noticed that my pockets were actually flipped, so I had to go back and correct my Inkscape pdf. Then I set my toolpaths using an eighth inch down cut bit. The default speeds seemed OK, and I set the cuts to climb. I did change the step over to 50% per Neil's recommendation for improved pocketing. I also added tabs for stability to the profile toolpaths.
The Shopbot settings were fairly easy to get going. Key points to remember:
- The screw for adjusting the dust skirt is hard to reach (it's a thumbscrew on the back side) and seems to come loose a lot
- When changing the bits, remember to snap the collett in first, then adjust to appropriate tightness with the two wrenches.
- Setting the x and y home is easily done with the keyboard movement commands. The z zeroing was a little more tricky because we had some trouble with the alligator clip. Connecting it to the collett of the bit seemed to cause it to fly off, and some points on the gantry weren't grounded.
- When the machine is running you can always hit space to pause (some big chunks came off in my second job and this was useful. Soft stops won't lose the position of the tool.
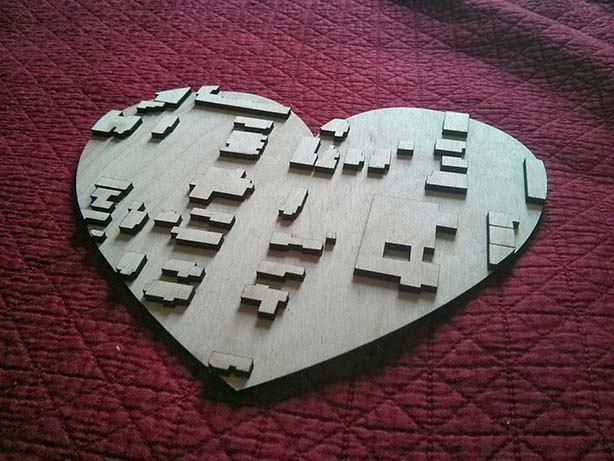
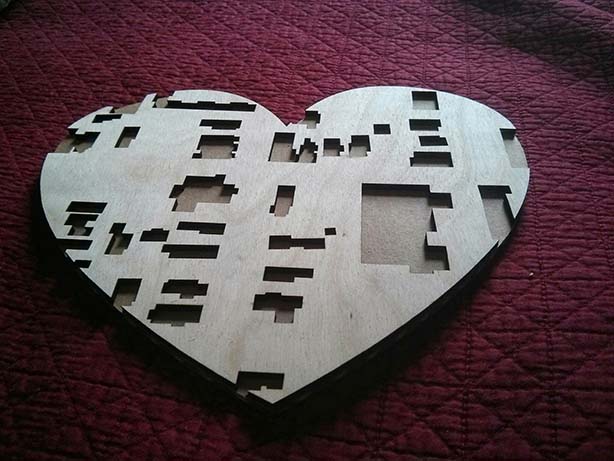
When it came time to put the pieces together, not surprisingly they wouldn't fit (the tolerance wasn't right). I think this was exacerbated by the plywood, as middle layers splintered and made the edges a bit tougher. After sanding for a while, I opted for a more brute force approach and gave a few whacks with a hammer. This worked surprisingly well! However, the top layer of one of the pieces did break a bit as you can see below. I think this would work better with a solid piece of wood instead of plywood.
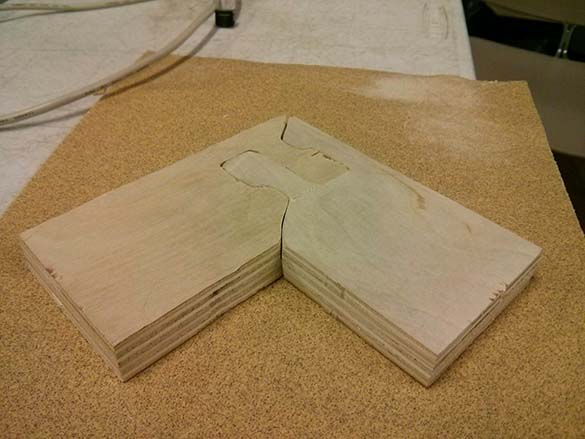
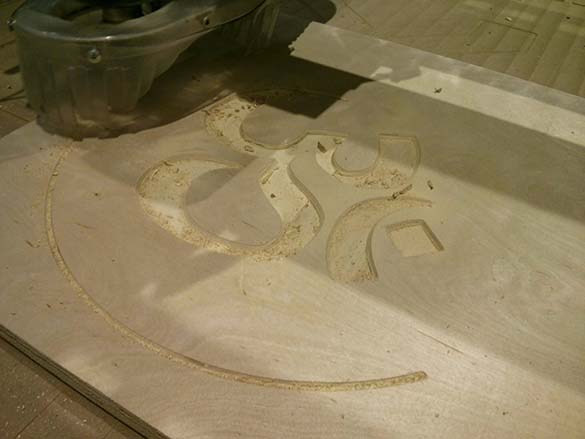
The joint was actually quite strong, and has been holding up well. Next I had a little more time, so I decided to do a quick experiment with the V Cut tool. My wife is studying to become a yoga instructor, so I decided to cut a quick plaque for her. I grabbed an Om svg file, passed it through Inkscape (to convert it to paths), got a pdf, and sent that to VCarve. All told, I was able to go from idea to cutting on the ShopBot in about 20 minutes (it was the end of class), and things went very smoothly. One point I had wanted to test in particular was tabs with the V cut bit. Rob had made a plaque earlier in the night, and the tabs from the V Cut bit were applied throughout the piece, leaving these extra large lumps on the side. Shawn had suggested making two toolpaths, the first one would be 75% pocket and then the final profile cut would include tabs but they would only hit the bottom 25% of the wood.
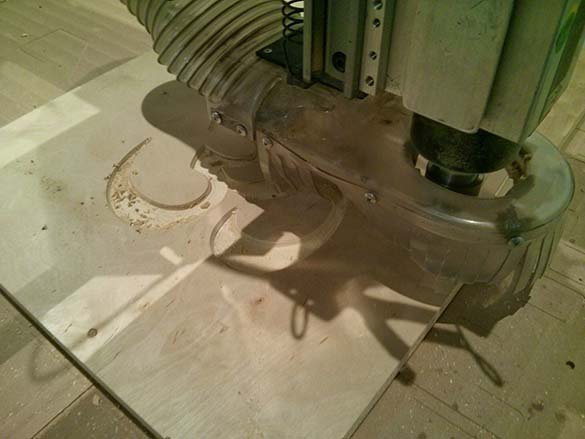
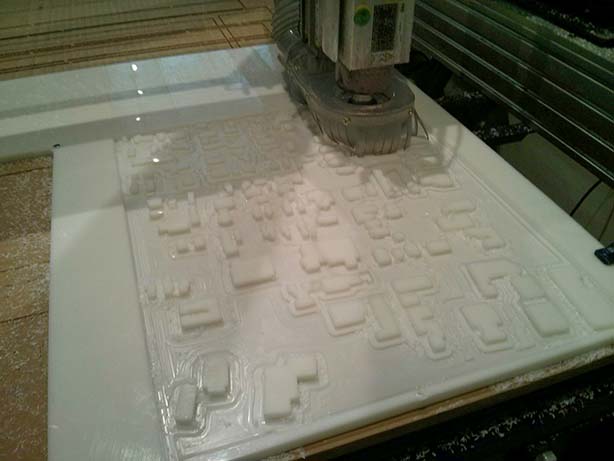
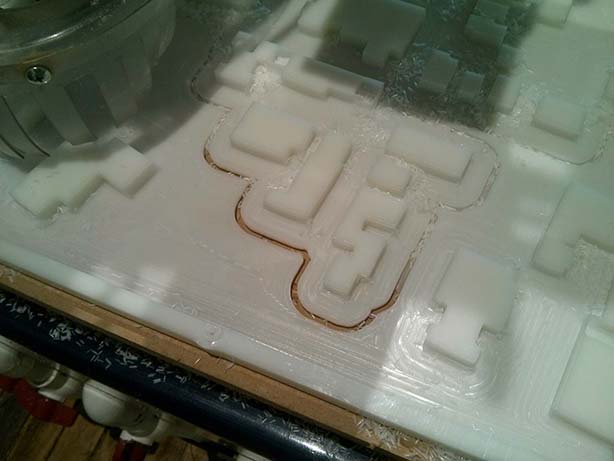
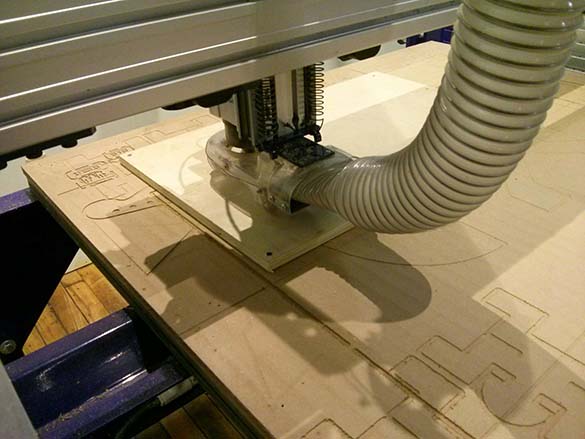
large chunks came out in the pocketing here, so I paused to remove them
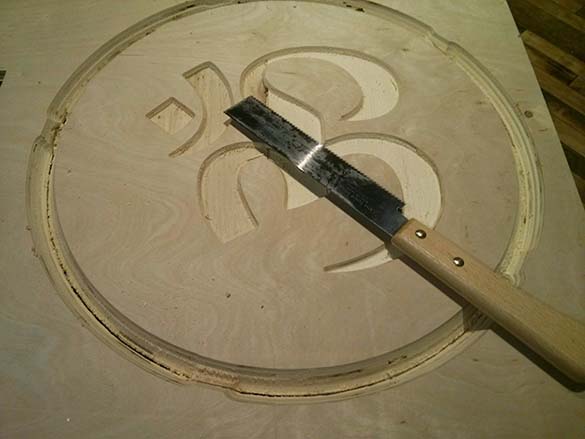
Japanese flush saw was perfect for cutting this out