<<<
FabISP
abstract
This week assignement is to make a fabisp choosen from several designs.
Many variations exist. I have chosen Andy's FabISPKey which has the distinction of being in USB format.
Bill of materials
- 1 microcontroller ATTiNY44A-SSU
- 1 Crystal 20Mhz
- 1 0 Ohms resistance
- 2 49.9 Ohms resistance
- 1 499 Ohms resistance
- 1 1 Ohms resistance
- 1 resistor 10 Ohms
- 2 pF capacitors 8
- 1 uF capacitor 0.1
- 1 uF capacitor 1
- 2 diodes zenner 3.3V
- 1 connector sheet
- 1 USB connector (depending on the chosen design)
Initial tests vinyl cutting circuit
I chose to try experience in realization of the circuit with vinyl cutter and adhesive copper.
At this occasion, I set the roland CAM1 reactive to software controled force, with the tuning indicated in fablab.is.
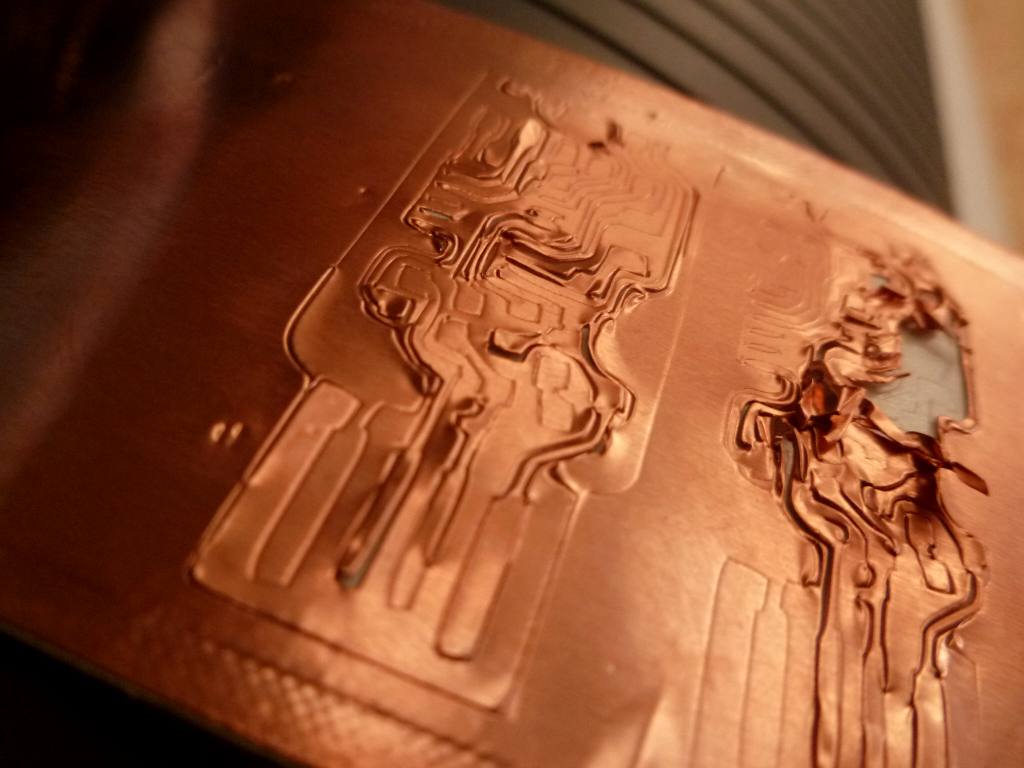
initial tests are not too conclusive: too detailed trace is difficult to cut cleanly.
So I try to modify the circuit to make it more suitable for this type of manufacturing.
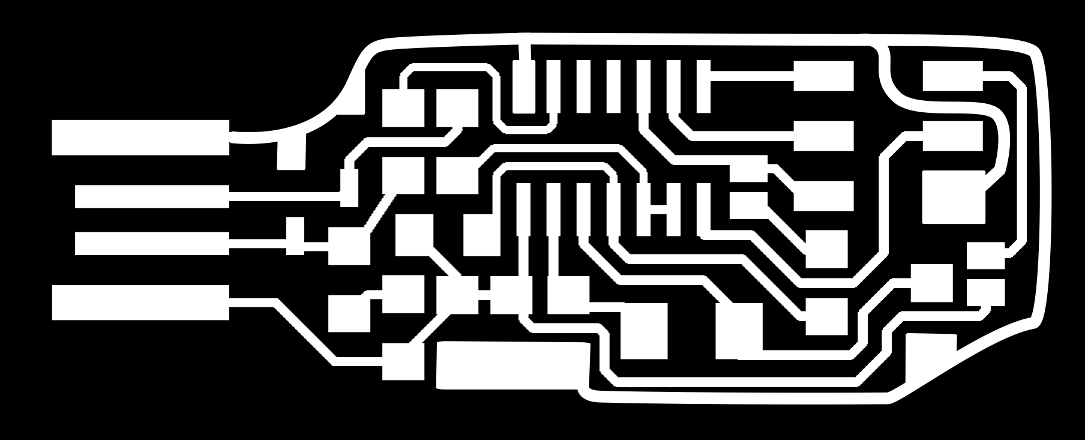
compared to the version of Andy, this version contains less tracks, and especially small waterfalls.
Alas, I have not had more success with this version ... so I decided to mill the circuit with the modela.
milling with the modela and fabmodules
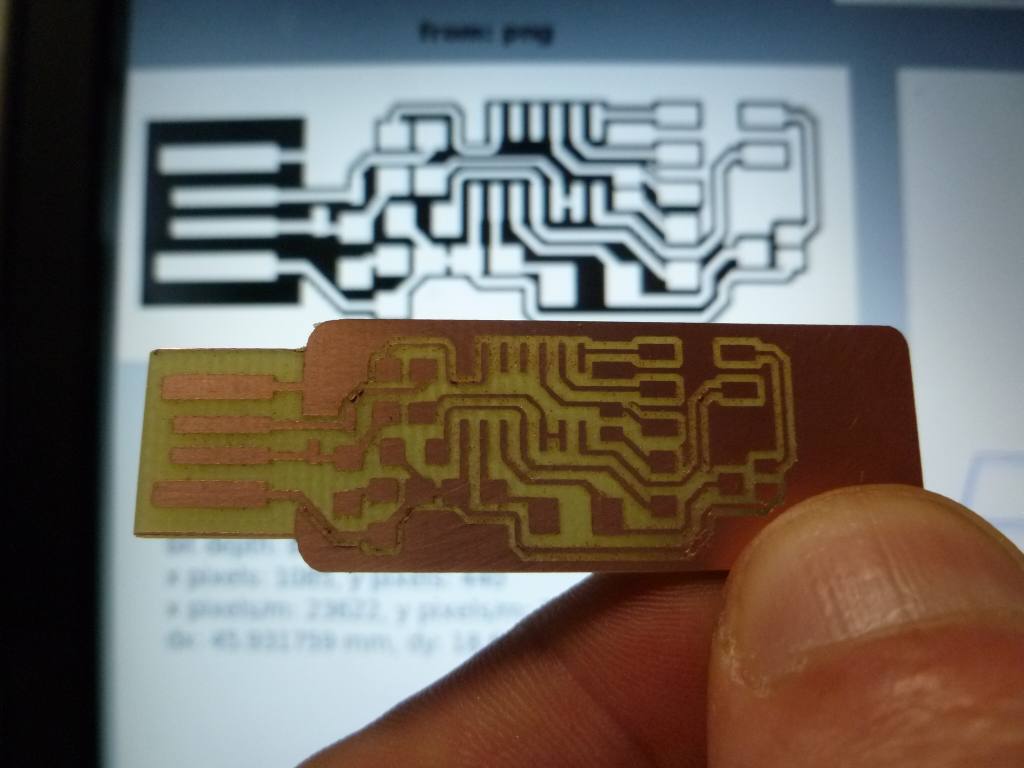
I our lab, we have a Modela MDX20.
I was apprehensive because for several months we struggled to operate
this machine with fabmodules, we never succeeded, mainly because of the
USB connection cable owner-series, which required a flow control.
Our member Guillaume had worked for days to understand how to operate
the machine with the owner on Windows software much less efficient than
fabmodules (several hours of computation each time) and repulsive
(under Windows): I pay tribute to his commitment and perseverance which
allowed him to develop a working method that works.
BUT Finally, for fabacademy 2014 Neil gershenfield rewrote the driver
of the modela in fabmodules, and now it works! thank you Neil!
So, after all these incredible struggles, use fabmodules seems to be very simple and easy to learn.
As milling tools, I used a "javelo tip " 0.25mm at 0.4mm deep.
I take the preset "mill traces 1/64" I adjusted to match this format.
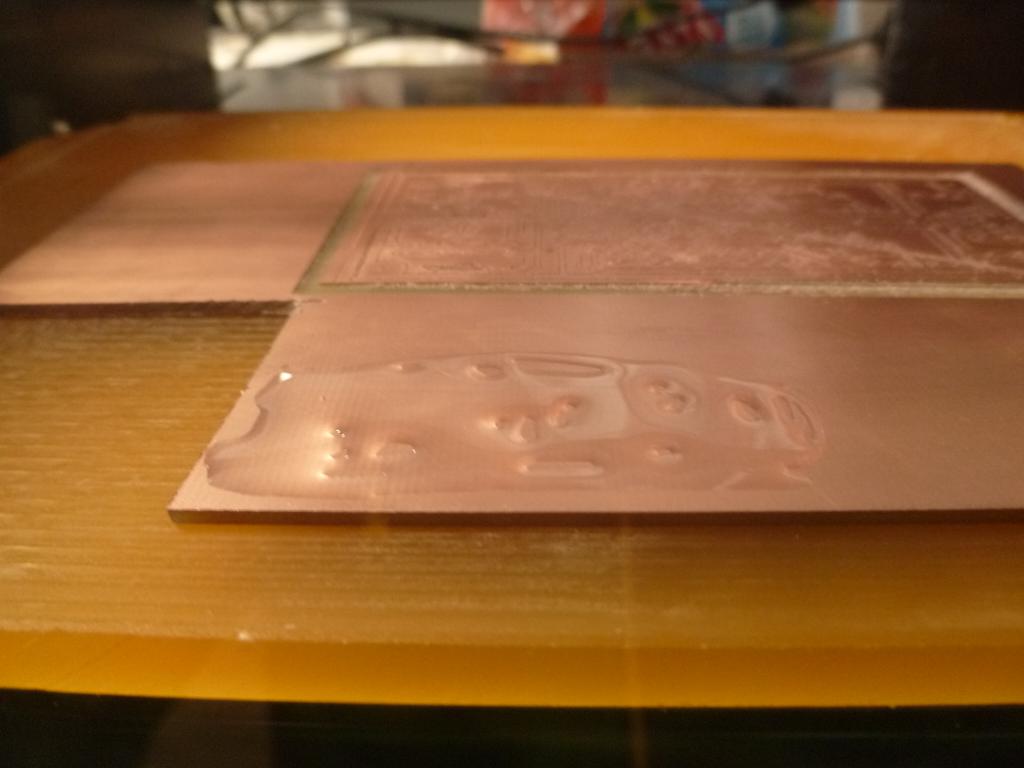

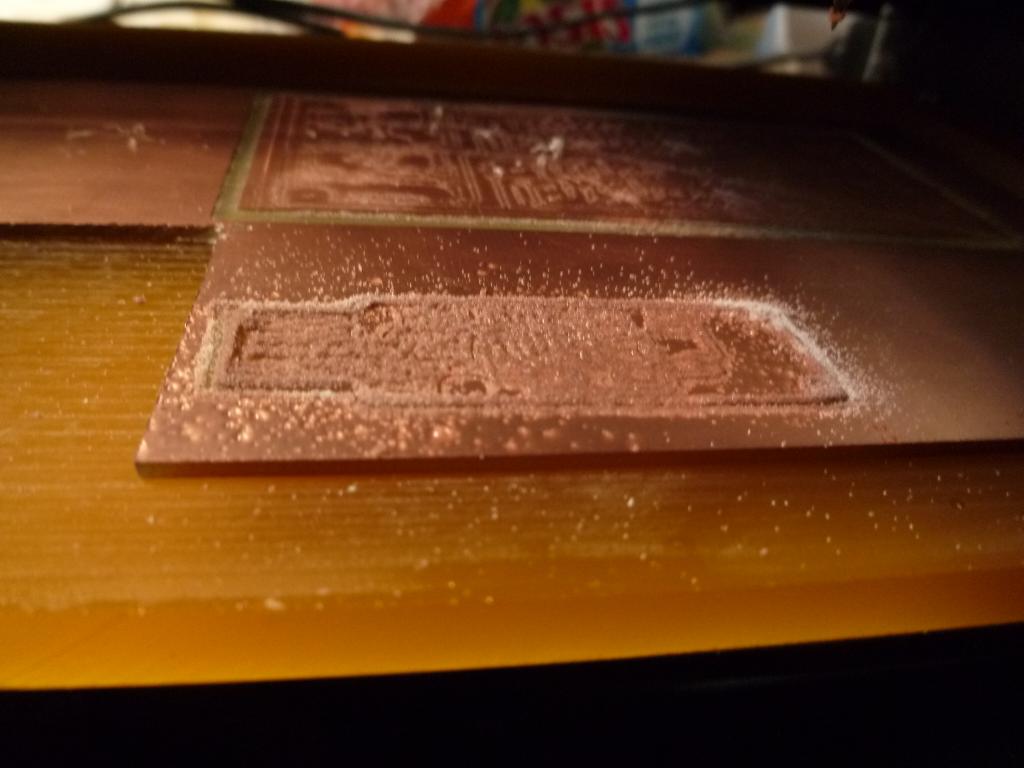
I oiled a bit the board before milling

and within 20 minutes I had my circuit (cut with a cutting 1/32 ").
somme sourcing problems
Actually, our fablab is still under construction, we have not yet fully stocked the all fab inventory.
for electronics components, it is not as obvious in France to find
references in human quantities (<5000) and a reasonable time.
Although I have found almost everything, I'm still missing capacitors
that are offered at Farnell me within a period of several weeks.
I am stuck at this point, so to be continued ...
Soldering
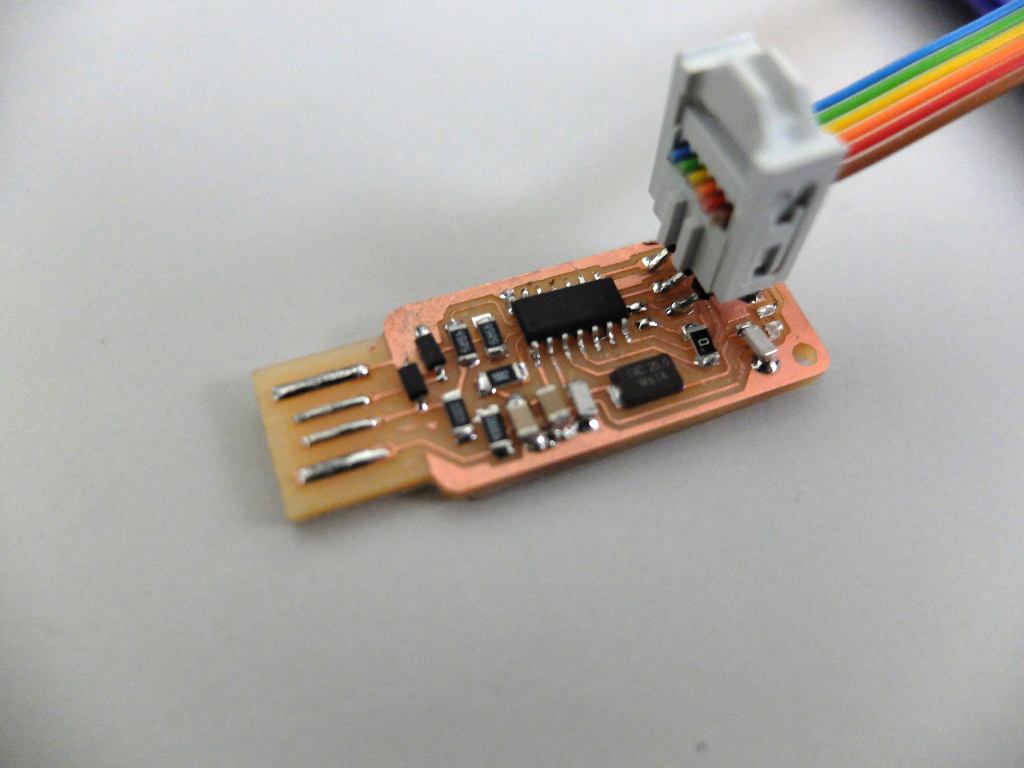
Now I have the components. I can solder the ISP. Instead 8pF capacitors indicated on the schema, I use 10pF from the inventory.
Programming
For programming the board, I used AVRISP.
AVRISP configuration
To make it usable under Linux, it's necessary to made a small configuration :
1- create a udev rule
$ sudo gedit /etc/udev/rules.d/20-avrisp.rules
containing :
# Atmel Corp. AVRISP mkII
SUBSYSTEM=="usb", ACTION=="add", ATTR{idVendor}=="03eb", ATTR{idProduct}=="2104", MODE="660", GROUP="uucp",SYMLINK+="avrdev"
2- becoming member of the group "uucp"
$ sudo adduser <nom d'utilisateur> uucp
and logout to made the change take effect.
Programming the board
when we plug the fabisp (powered and both jumpers soldered), it is a
good sign if the AVRISP's led lights green (if not, there is a problem)
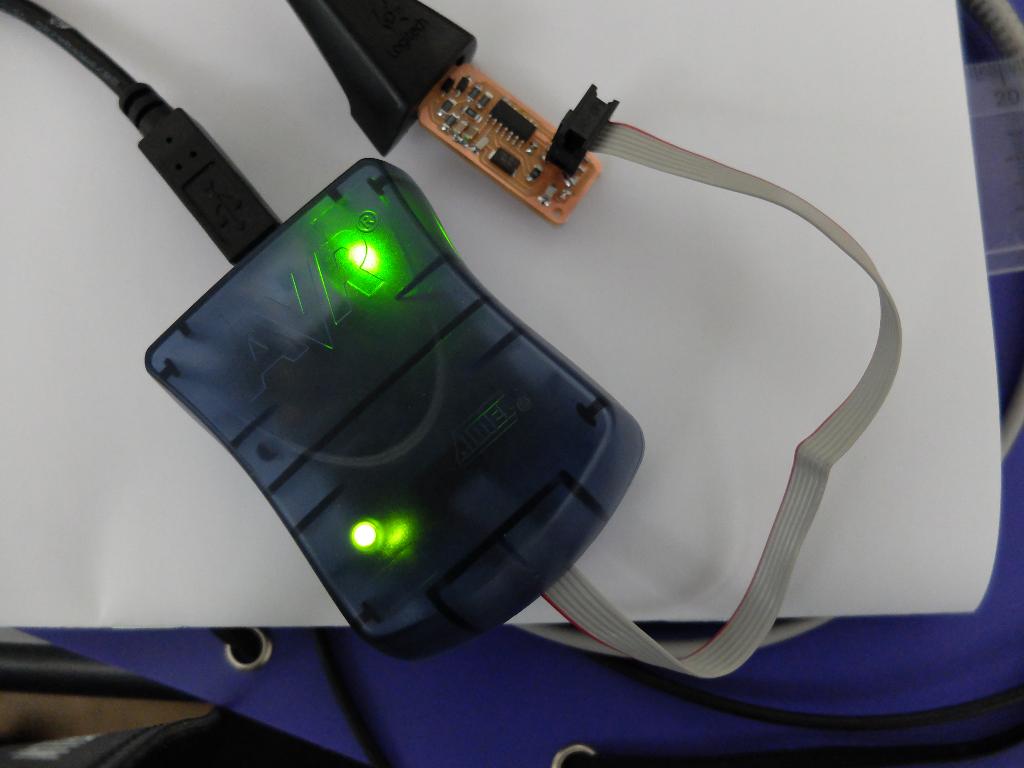
After inflating the firmware.zip, edit the makefile to make programmation via avrisp :
AVRDUDE = avrdude -c avrisp2 -P usb -p $(DEVICE)
then compile :
make hex
result :
avr-gcc -Wall -Os -DF_CPU=20000000 -Iusbdrv -I. -DDEBUG_LEVEL=0 -mmcu=attiny44 -c usbdrv/usbdrv.c -o usbdrv/usbdrv.o
avr-gcc -Wall -Os -DF_CPU=20000000 -Iusbdrv -I. -DDEBUG_LEVEL=0 -mmcu=attiny44 -x assembler-with-cpp -c usbdrv/usbdrvasm.S -o usbdrv/usbdrvasm.o
avr-gcc -Wall -Os -DF_CPU=20000000 -Iusbdrv -I. -DDEBUG_LEVEL=0 -mmcu=attiny44 -c usbdrv/oddebug.c -o usbdrv/oddebug.o
avr-gcc -Wall -Os -DF_CPU=20000000 -Iusbdrv -I. -DDEBUG_LEVEL=0 -mmcu=attiny44 -c main.c -o main.o
avr-gcc -Wall -Os -DF_CPU=20000000 -Iusbdrv -I. -DDEBUG_LEVEL=0 -mmcu=attiny44 -o main.elf usbdrv/usbdrv.o usbdrv/usbdrvasm.o usbdrv/oddebug.o main.o
rm -f main.hex main.eep.hex
avr-objcopy -j .text -j .data -O ihex main.elf main.hex
avr-size main.hex
text data bss dec hex filename
0 2020 0 2020 7e4 main.hex
and flash the fuses
make fuse
result :
avrdude -c avrisp2 -P usb -p attiny44 -U hfuse:w:0xDF:m -U lfuse:w:0xFF:m
avrdude: AVR device initialized and ready to accept instructions
Reading | ################################################## | 100% 0.11s
avrdude: Device signature = 0x1e9207
avrdude: reading input file "0xDF"
avrdude: writing hfuse (1 bytes):
Writing | ################################################## | 100% 0.04s
avrdude: 1 bytes of hfuse written
avrdude: verifying hfuse memory against 0xDF:
avrdude: load data hfuse data from input file 0xDF:
avrdude: input file 0xDF contains 1 bytes
avrdude: reading on-chip hfuse data:
Reading | ################################################## | 100% 0.04s
avrdude: verifying ...
avrdude: 1 bytes of hfuse verified
avrdude: reading input file "0xFF"
avrdude: writing lfuse (1 bytes):
Writing | ################################################## | 100% 0.11s
avrdude: 1 bytes of lfuse written
avrdude: verifying lfuse memory against 0xFF:
avrdude: load data lfuse data from input file 0xFF:
avrdude: input file 0xFF contains 1 bytes
avrdude: reading on-chip lfuse data:
Reading | ################################################## | 100% 0.04s
avrdude: verifying ...
avrdude: 1 bytes of lfuse verified
avrdude: safemode: Fuses OK
avrdude done. Thank you.
finaly upload program
make program
result :
avrdude -c avrisp2 -P usb -p attiny44 -U flash:w:main.hex:i
avrdude: AVR device initialized and ready to accept instructions
Reading | ################################################## | 100% 0.11s
avrdude: Device signature = 0x1e9207
avrdude: NOTE: FLASH memory has been specified, an erase cycle will be performed
To disable this feature, specify the -D option.
avrdude: erasing chip
avrdude: reading input file "main.hex"
avrdude: writing flash (2020 bytes):
Writing | ################################################## | 100% 73.70s
avrdude: 2020 bytes of flash written
avrdude: verifying flash memory against main.hex:
avrdude: load data flash data from input file main.hex:
avrdude: input file main.hex contains 2020 bytes
avrdude: reading on-chip flash data:
Reading | ################################################## | 100% 71.44s
avrdude: verifying ...
avrdude: 2020 bytes of flash verified
avrdude: safemode: Fuses OK
avrdude done. Thank you.
avrdude -c avrisp2 -P usb -p attiny44 -U hfuse:w:0xDF:m -U lfuse:w:0xFF:m
avrdude: AVR device initialized and ready to accept instructions
Reading | ################################################## | 100% 0.11s
avrdude: Device signature = 0x1e9207
avrdude: reading input file "0xDF"
avrdude: writing hfuse (1 bytes):
Writing | ################################################## | 100% 0.04s
avrdude: 1 bytes of hfuse written
avrdude: verifying hfuse memory against 0xDF:
avrdude: load data hfuse data from input file 0xDF:
avrdude: input file 0xDF contains 1 bytes
avrdude: reading on-chip hfuse data:
Reading | ################################################## | 100% 0.04s
avrdude: verifying ...
avrdude: 1 bytes of hfuse verified
avrdude: reading input file "0xFF"
avrdude: writing lfuse (1 bytes):
Writing | ################################################## | 100% 0.04s
avrdude: 1 bytes of lfuse written
avrdude: verifying lfuse memory against 0xFF:
avrdude: load data lfuse data from input file 0xFF:
avrdude: input file 0xFF contains 1 bytes
avrdude: reading on-chip lfuse data:
Reading | ################################################## | 100% 0.04s
avrdude: verifying ...
avrdude: 1 bytes of lfuse verified
avrdude: safemode: Fuses OK
avrdude done. Thank you.
To verify that the programmer is working well (after desoldering the jumpers)
Plug it and type :
lsusb
The programmer will appears in the list as :
Bus 003 Device 013: ID 1781:0c9f Multiple Vendors USBtiny
Done ! I have a fabisp programmer !


