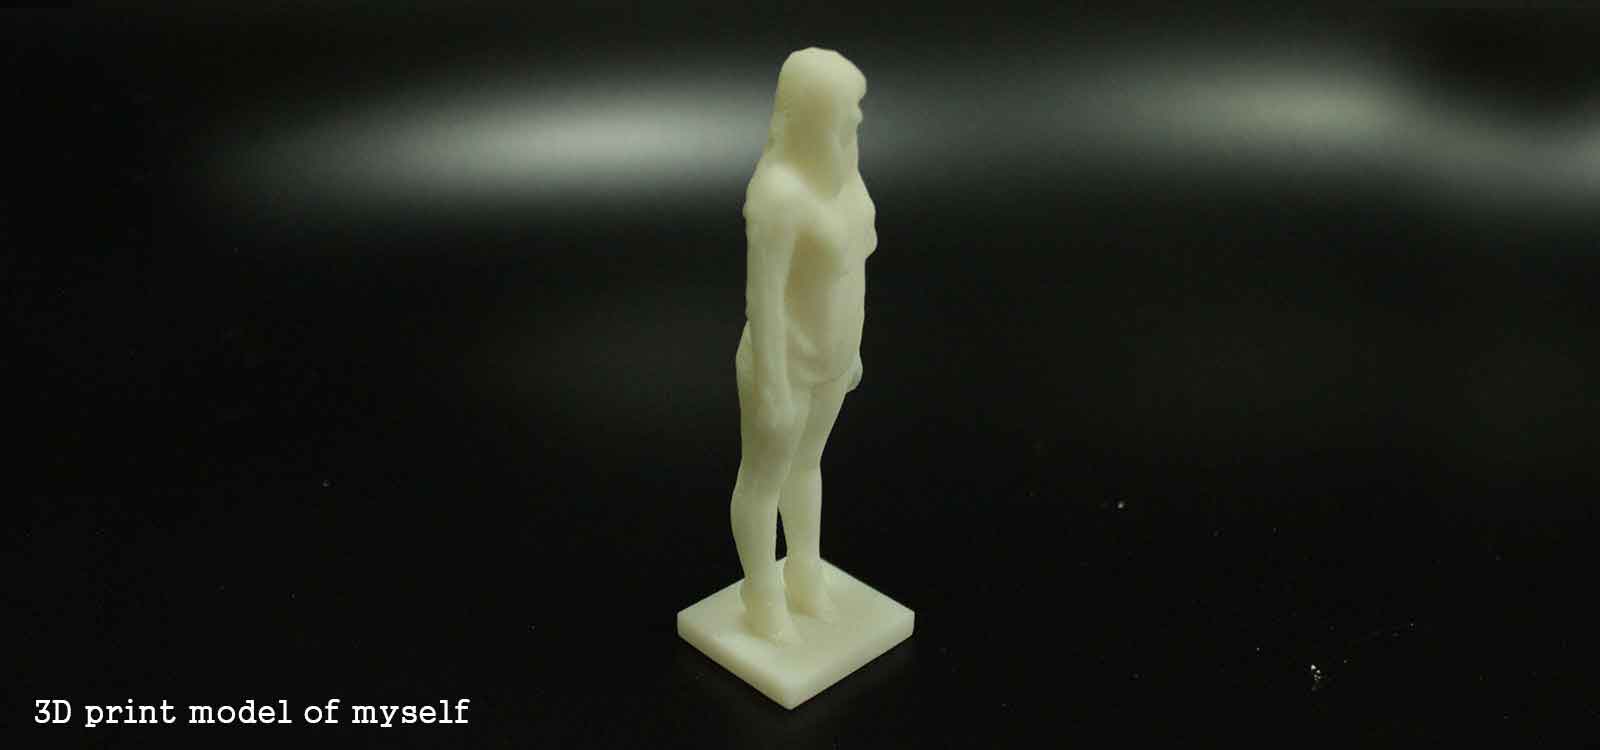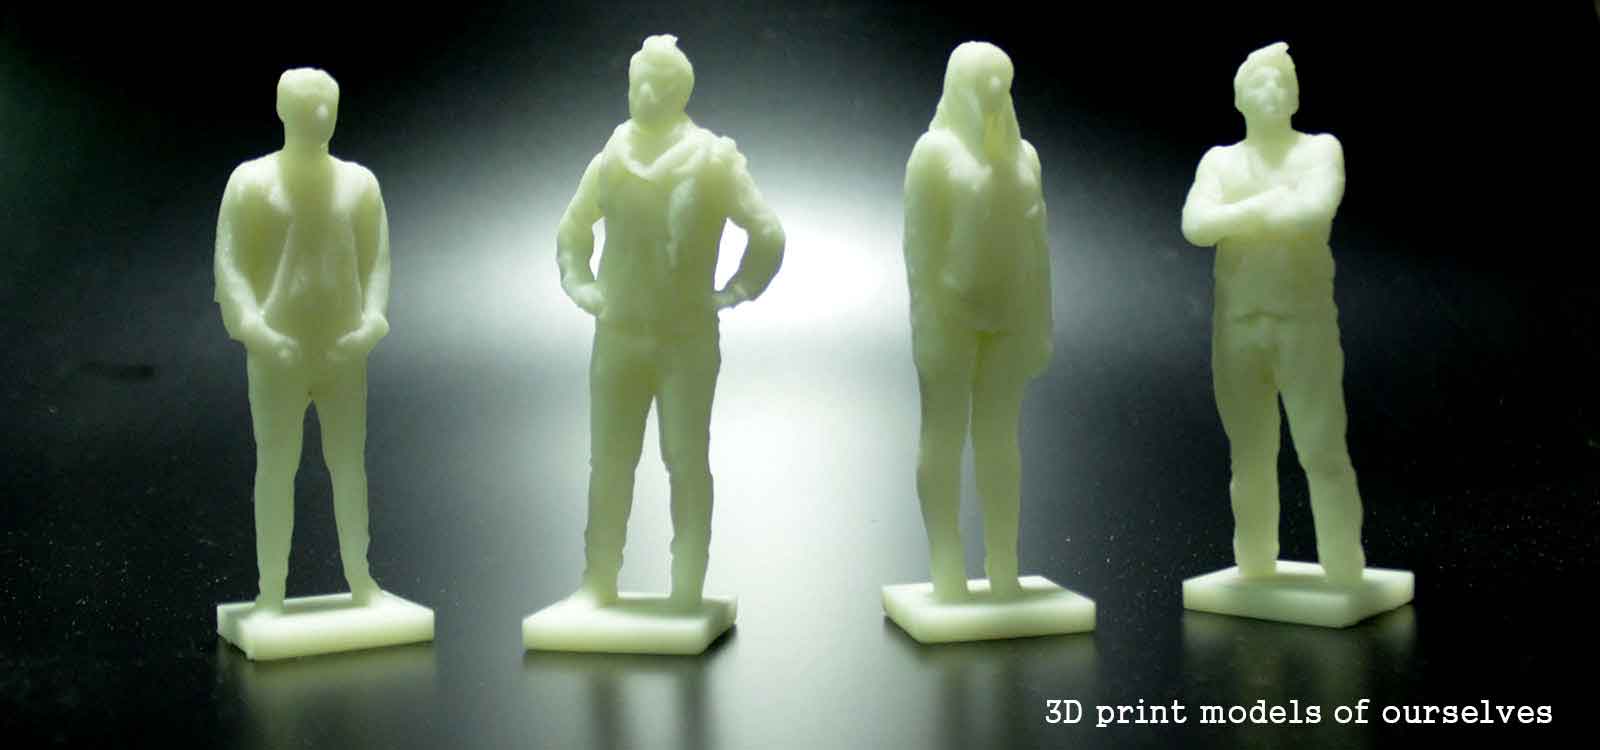
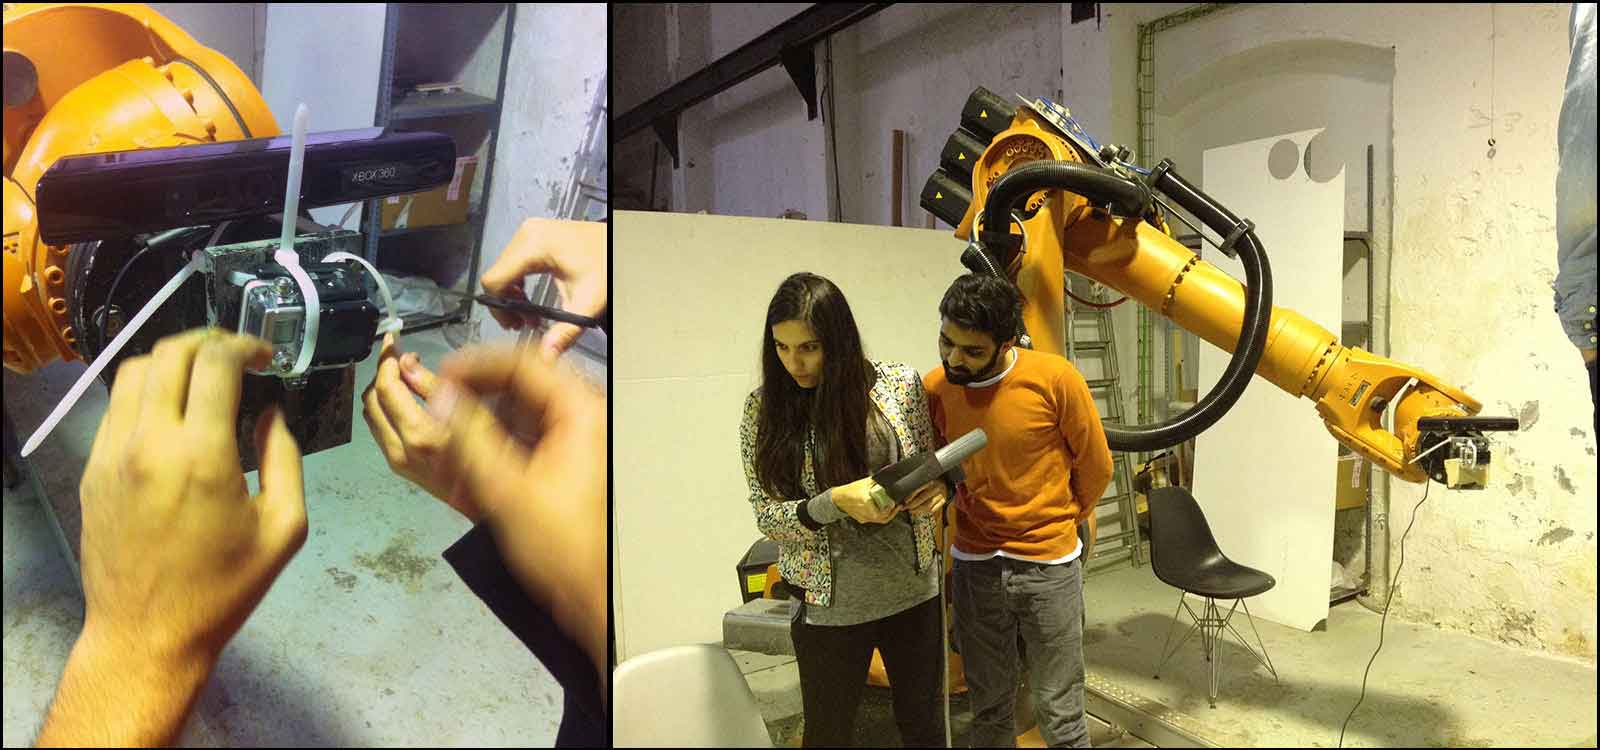
This week I worked on a team. We wanted to 3D scan ourselves and decided to use the Kuka to obtain a very precise scan. We used a regular Kinect attached to the robotic arm. Each one of us stood on a platform that rotates 360 degrees while the kinect, moved by the kuka, would get a full 'top to bottom' scan of us. Later on we fixed the meshes on Rhinoceros using Grasshopper and 3D print them on the ProJet for a better resolution. We also set different cameras to record the process and made a video. Check it out!
FabAcademy2014: 3D scanning & printing [kuka & kinect] from Alejandra Diaz de Leon on Vimeo.
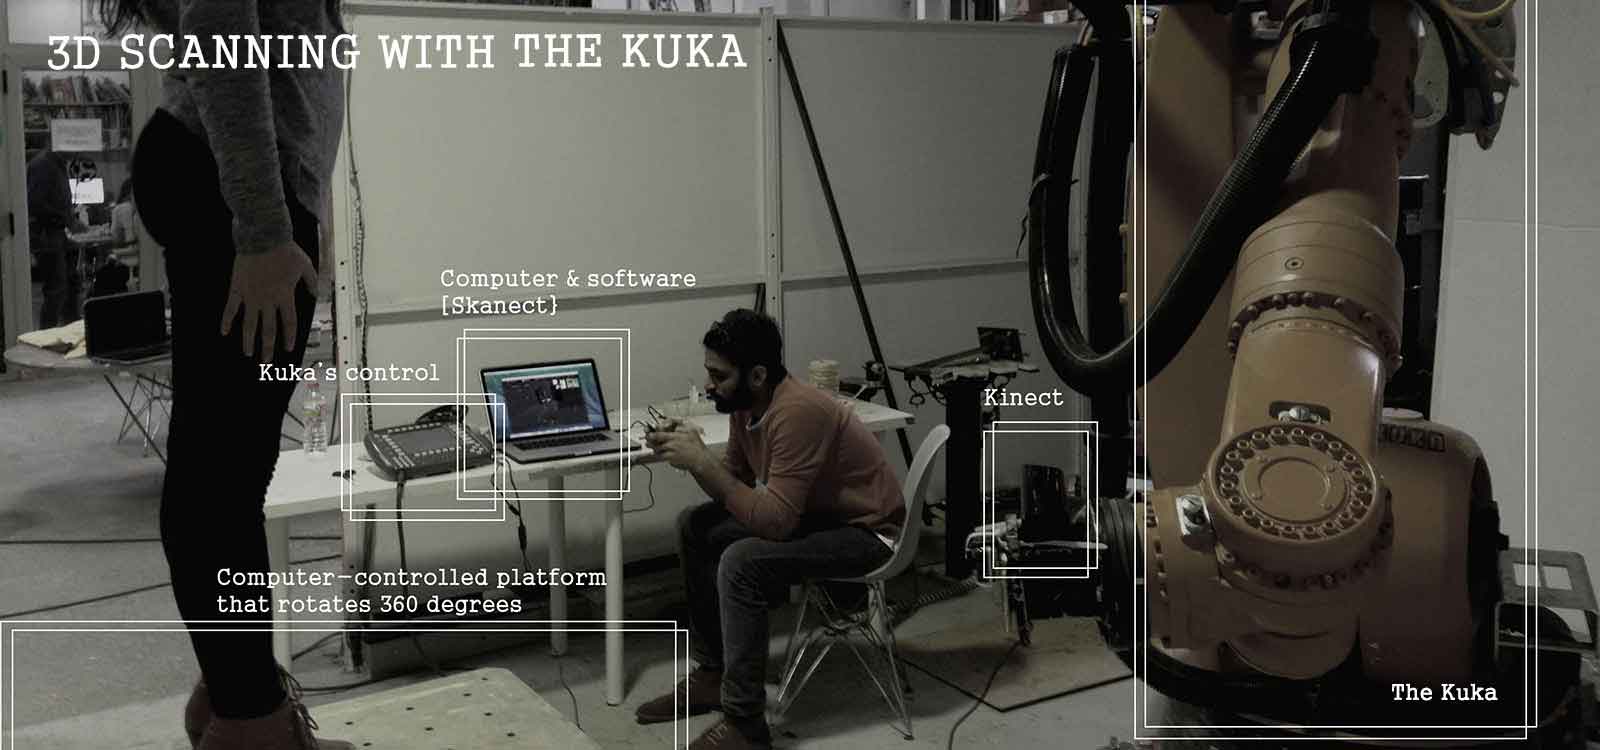
In order to have a very well defined 3D scan, we attached the Kinect to the Kuka. The software used was Skanect. The dynamic was like this: one person stood on the platform, while another one controlled the Kuka and the software. That way we all got the chance to participate in the process
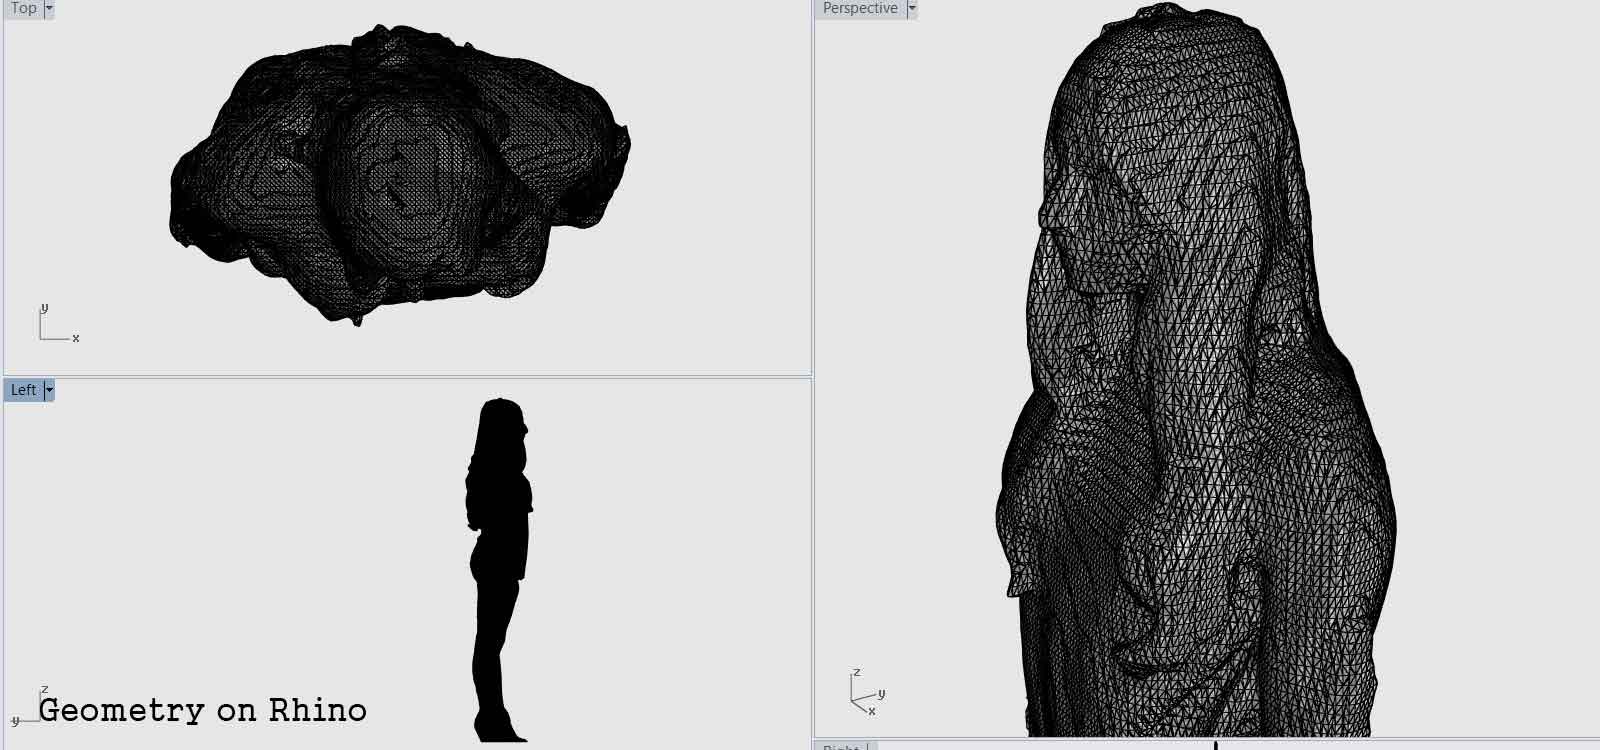
Skanect gives us .stl files that can be modified on Rhino. In my case, the geometry had a lot of "holes" that the printer would not recognize (open meshes). The best way to fill the holes, or to close the mesh, was using Grasshopper. At the end, xe managed to have good meshes ready to 3D print in the ProJet.
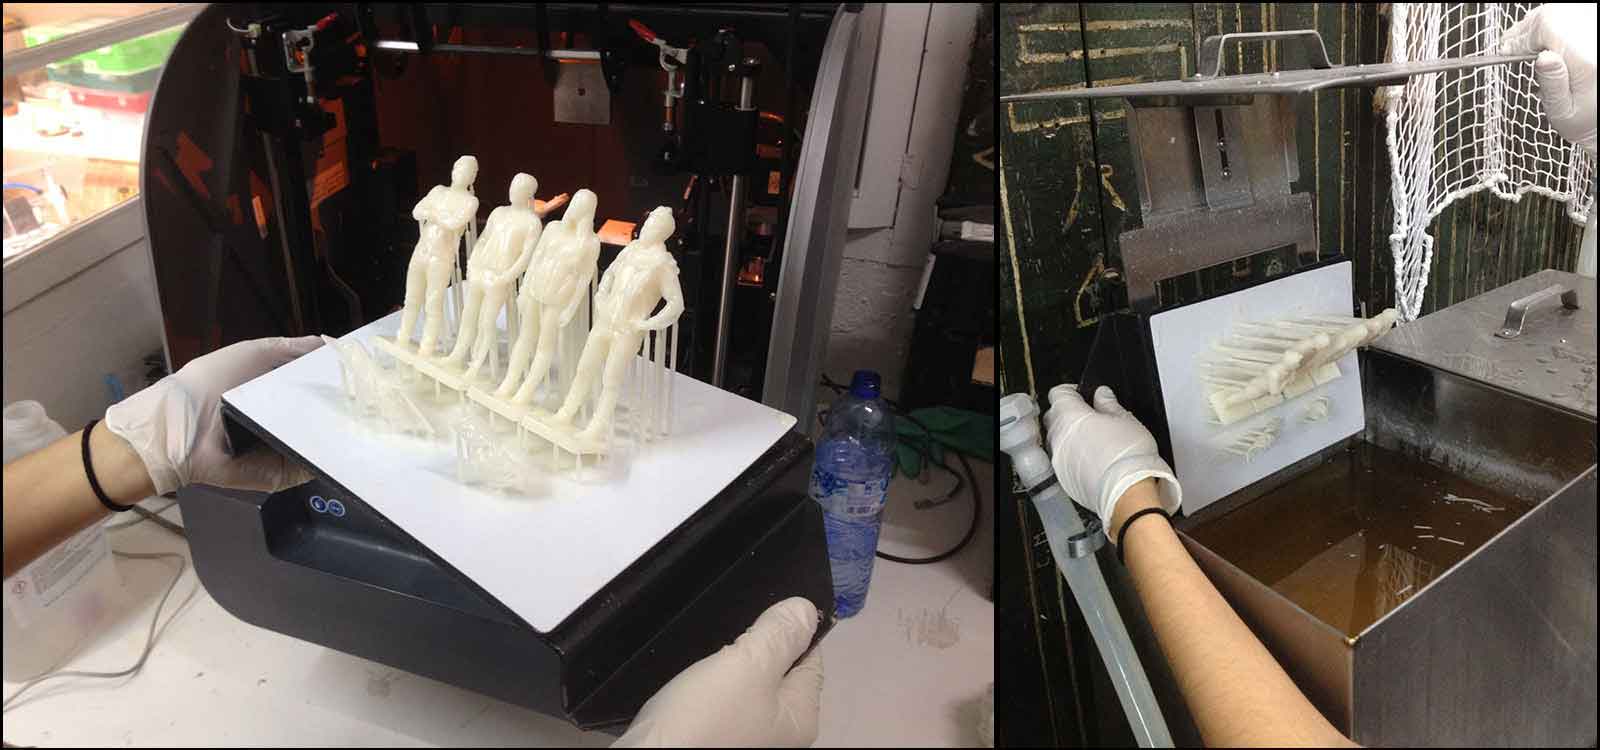
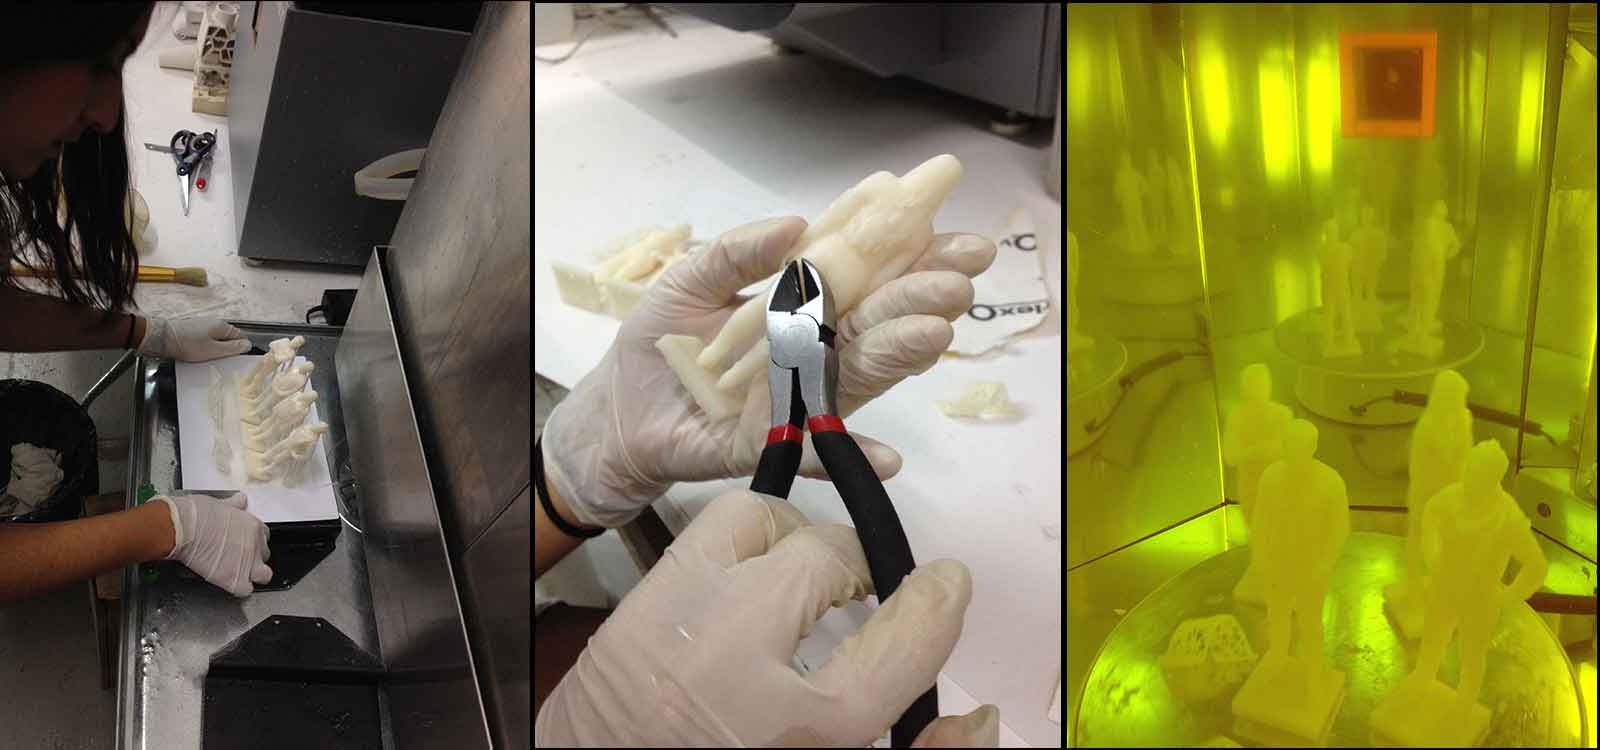
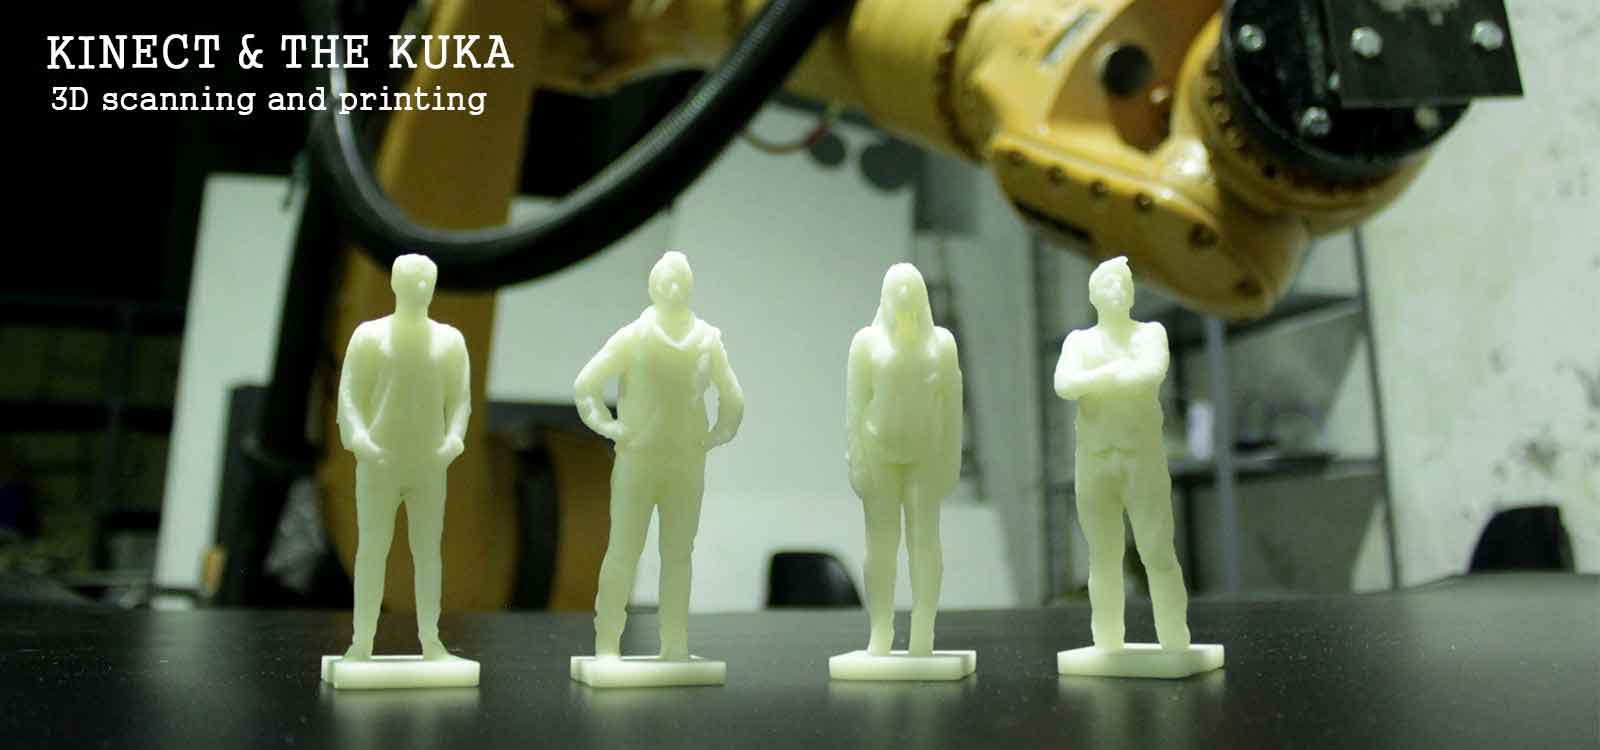
It took around 10 hours for the 4 models to be 3D printed on the ProJet 3D printer, which works on a stereolithography process and gave us resin objects with an amazing resoution and resistance.