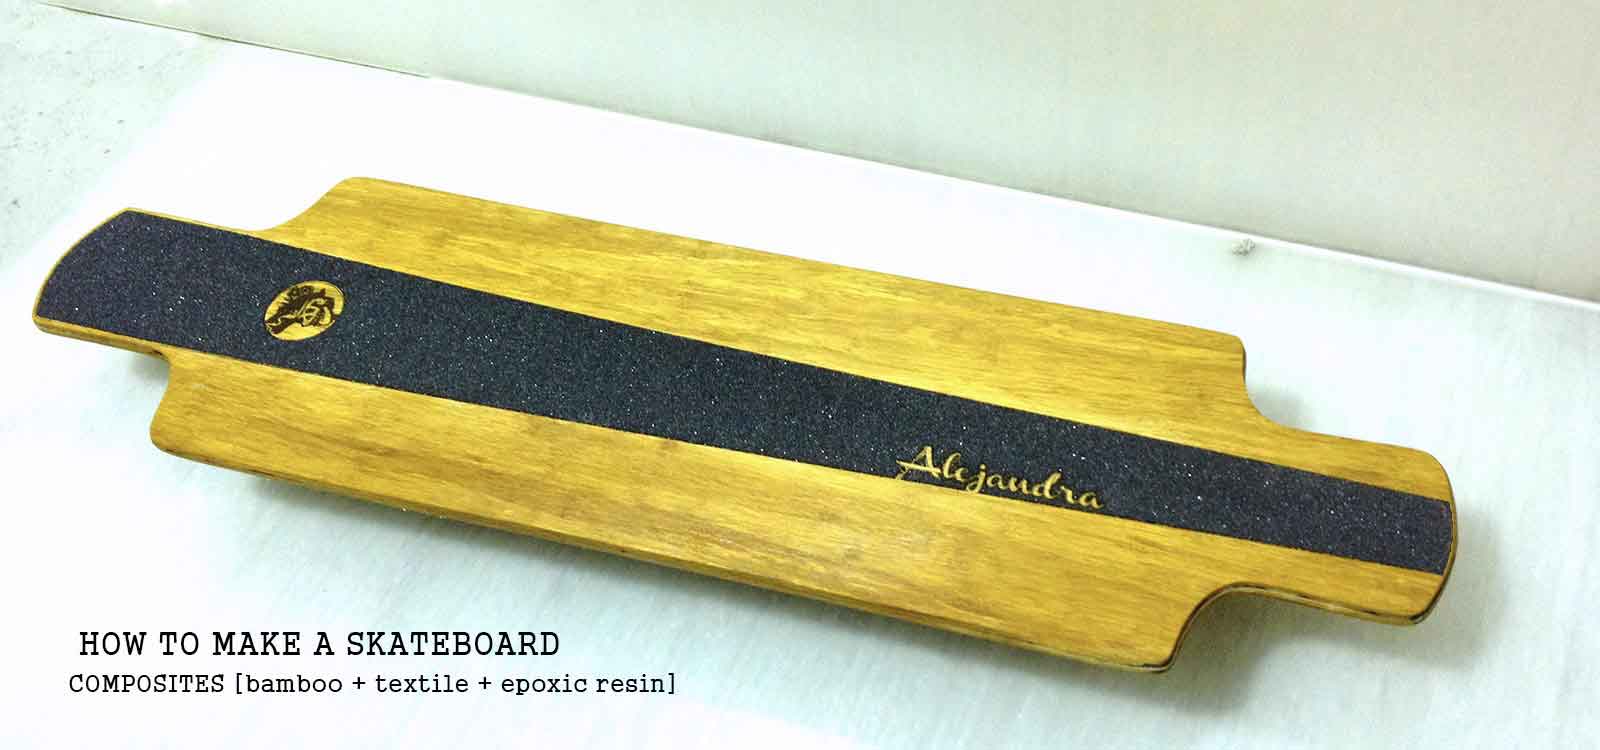

Last year, Luciano (our tutor) won the MakerFair Rome for his project FabSkate. Taking advantage of having him in the Fab Lab, we asked him to teach us how to make our own skateboards. This composite object is made of 2 layers of bamboo, 1 layer of textile and 1 layer of resin in the middle. For shaping the skateboard we milled a surface in the Shotbot Milling Machine and used the vacuum bagging process for consolidating the plies of material. I also personalized my board; I engraved my name and design on it using the Epilog Laser Cutting .
In process...
The first step for making the skateboard is to design its form and curvature. I used Rhinoceros to 3D model the curves and make a 7cm thick mold for milling. The best way to make the mold is by putting the highest point of the mold on top, so the surface bends easier while you put it in the vacum bag. This means that the mold has to be the positive part of the curvature. My skateboard was just a little concave in the middle and and flat in the sides.


Next, we milled the curvature of the skateboard in the Shotbot Milling Machine on a High Density Foam board that was 7cm thick.


The second step is to cut the shape of the skateboard. The top layer of the skateboard is made of bamboo and I made it 3mm smaller than the bottom layer. In the middle there is a layer of textile that should also be cut in the same shape.
After cutting the layers of the skateboard, I personalized it. I took an image of a painting by the mexican artist Jose Guadalupe Posada and converted it into vectors using Grasshopper to be able to engrave it in the board.


Once I cut and engraved the boards, I proceeded to prepare all the layers for the vacuum bag technique. The Vacuum Bagging Process is a composite manufacturing technique in which vacuum pressure is used during the resin cure cycle. For the skateboard we need to put several layers that I show in the following image:

The High Sensity Foam is shaped with the final curvature and it is strong enough to compress; the Peel Ply is strong enough to pull out so we can remove the skateboard that is going to be stick to the foam mold with the resin; the Breather allows all the air to be absorbed by the compressor, avoiding air bubbles and finalle the Epoxic Resin strenghen the skateboard and keeps the two bamboo layers together.
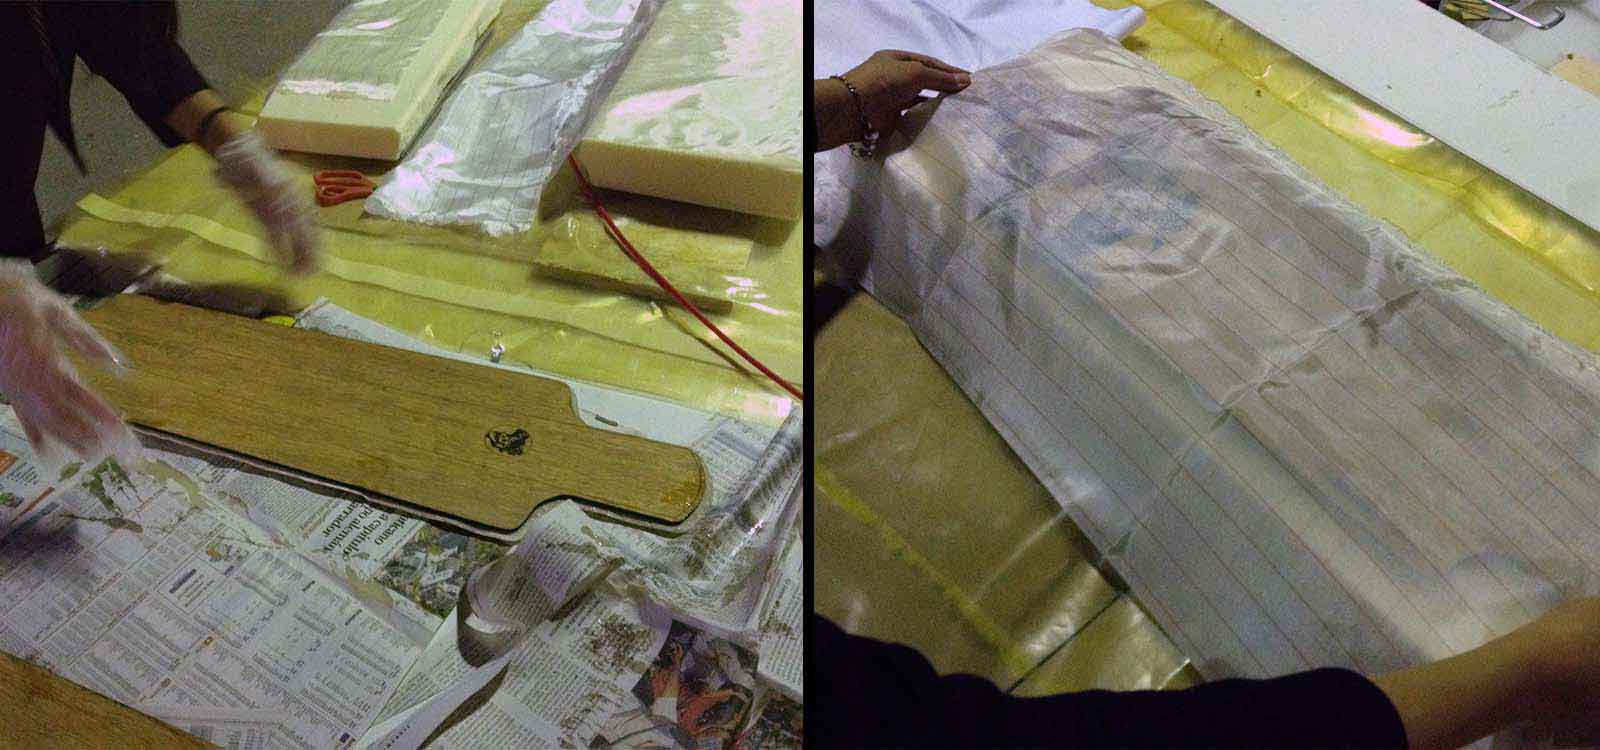
Once you have all the materials cut and ready, it is time to make the mix for the epoxin resin. The proportion is 2:1 that in our case corresponds to 100 ml Part A and 50ml Part B . You mix it for 3 minutes and spread it on the textile making sure it covers the entire surface.


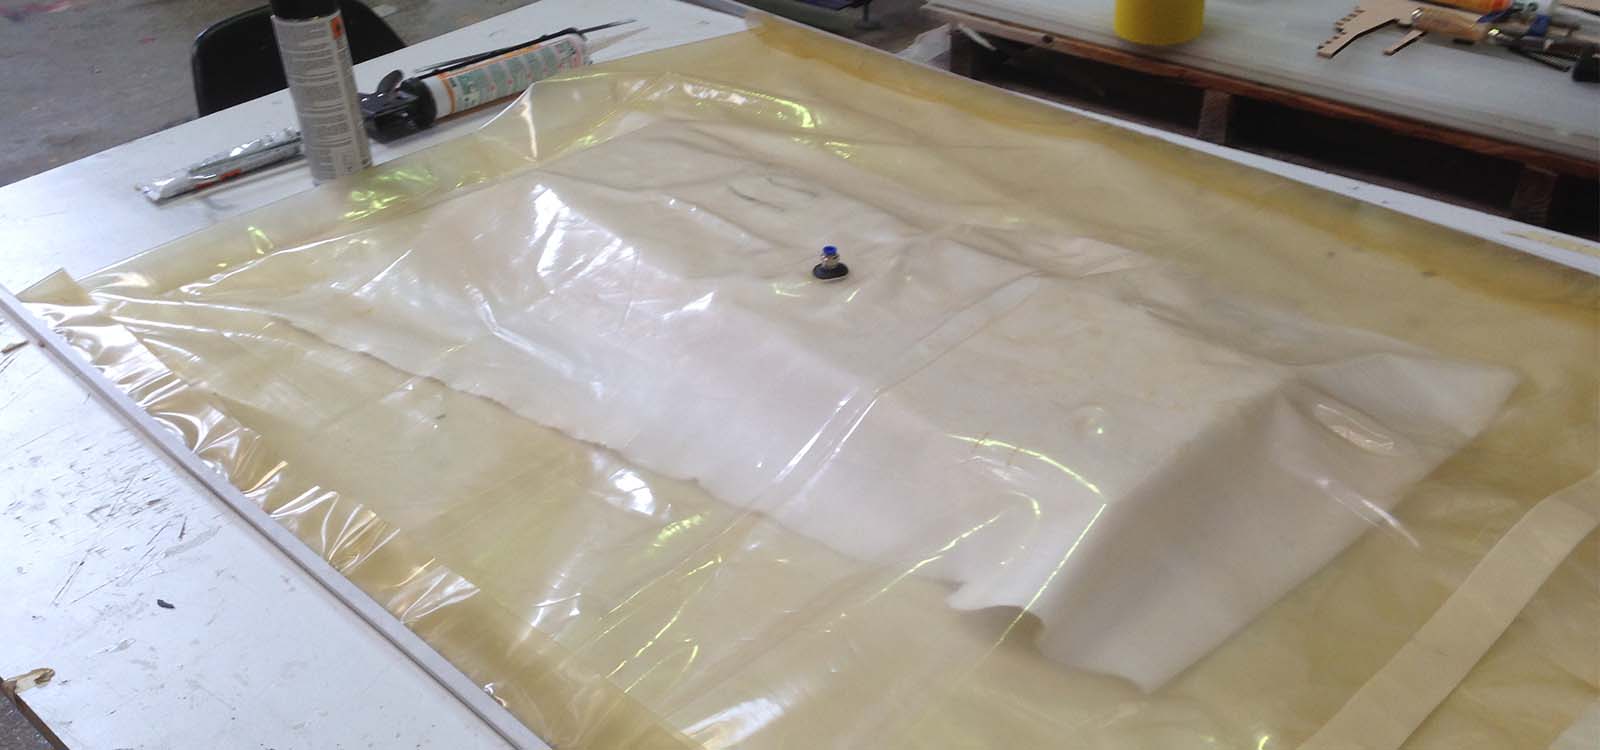
The following step is to put all the layers together and place them inside the bag. You have to make sure that the breather is not under the mold and it covers the whole surface . You also need to be careful so the layers don't move while putting them inside. Also, I need to place a piece of thick wood under the mold so it didn't bend during the compressing process. After this, you close the bag and turn the compressor on. The vacuum bag process for bending the bamboo takes 6 hours .


6 hours later...
The composite is ready! I took it out and struggled a little to remove it from the mold because it got a little stick to it by the resin. After, I had to sand the border because the textile and resin were sticking out. Finally, I put a sandpaper sticker on it and oil it to have a nice finishing.


This is the final result.


