This week we had to design a piece that we could replicate by making its mold. I decided to download a model from Thingiverse and personalize it in Rhinoceros. I wanted to try hard materials [like metal and plastic] for the final piece, so the mold had to be soft. We made the wax countermold in the Roland Modela Milling Machine and then we used heat resistant silicone for the mold.
Download the files here:
Rhino 3D Model Mold [.3dm]
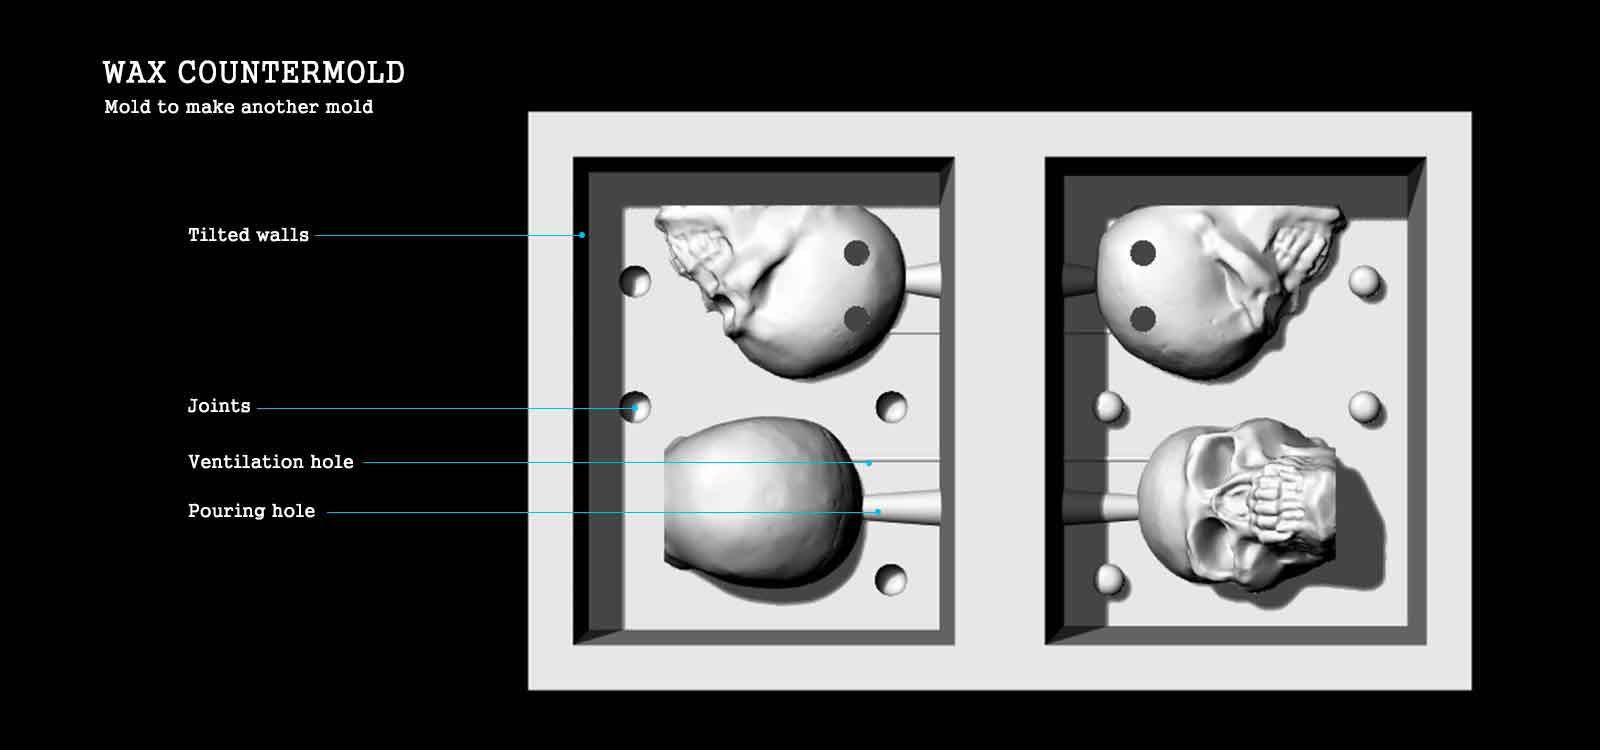
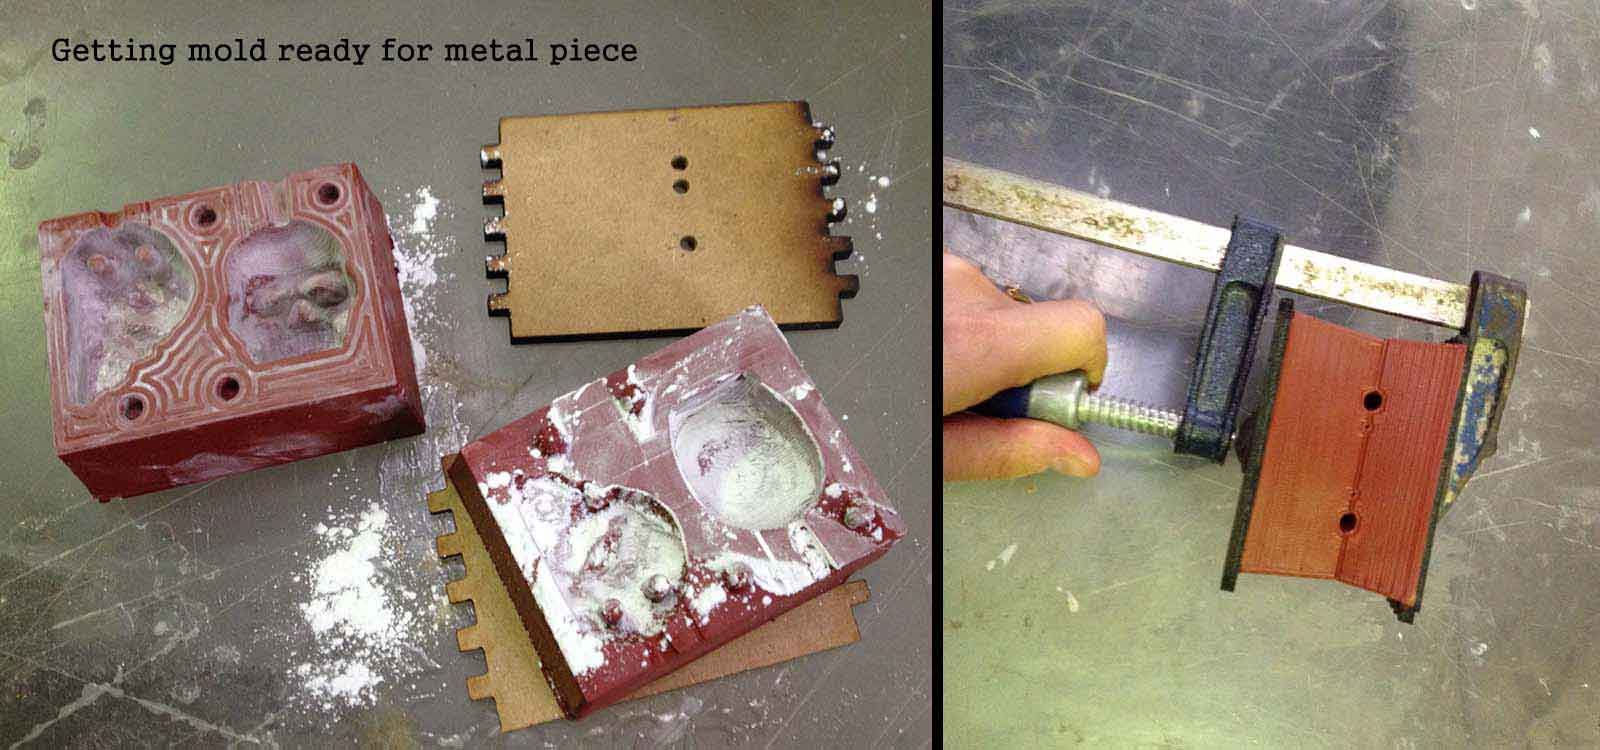
01 Consider the thickness of the drills you are going to use. Make sure you leave enough space between your object and the walls of your countermold.
02 Leave a hole for pouring the material that is big enough and a smallest one for letting the air out while pouring.
03 The walls of the countermold should be slighly tilted
04 If you are making a 2 parts mold, make joints.
05 Remember that for hard objects you need soft molds.
06 Pay attention to the mix ratio of the materials to pour.
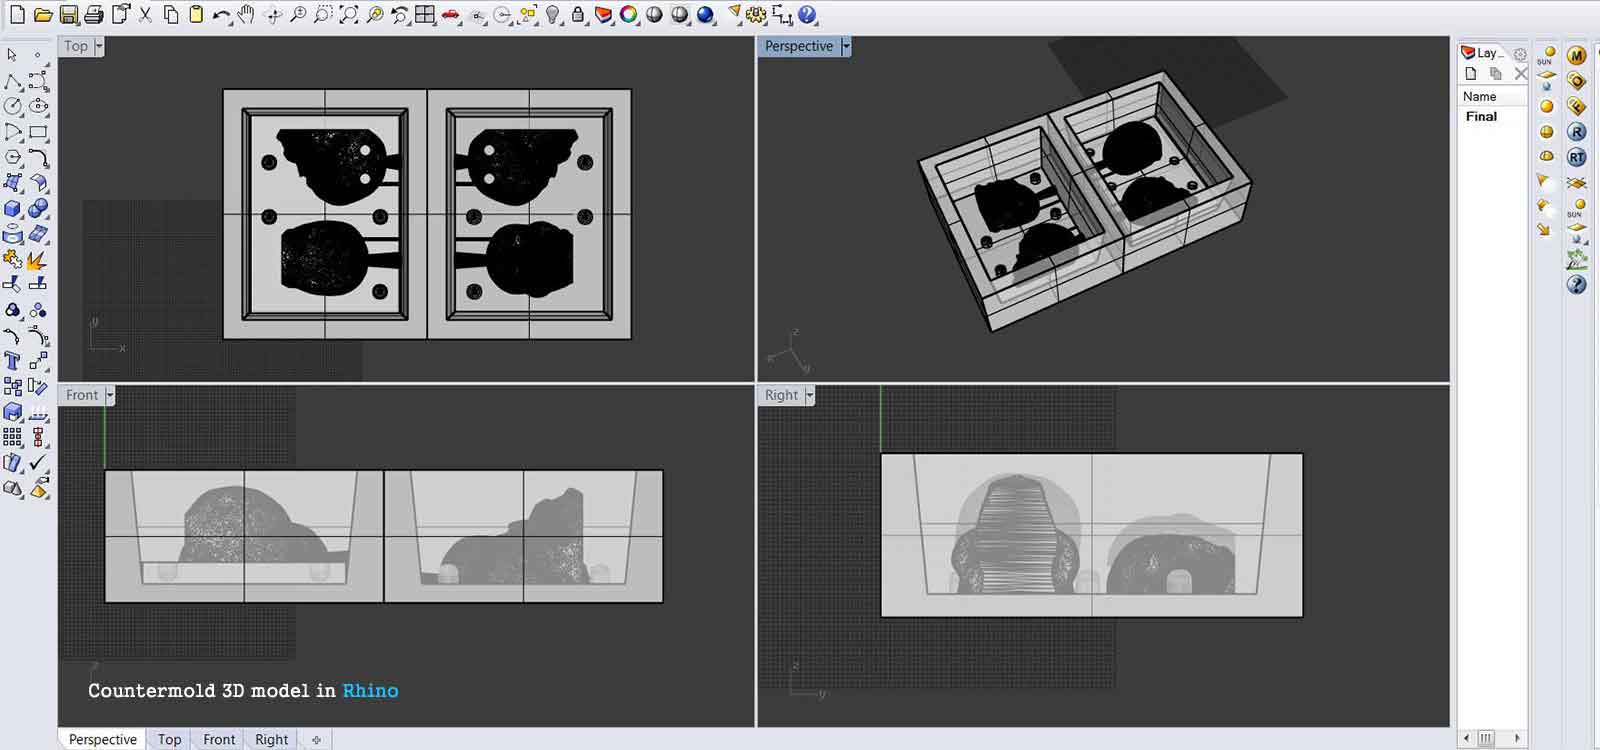
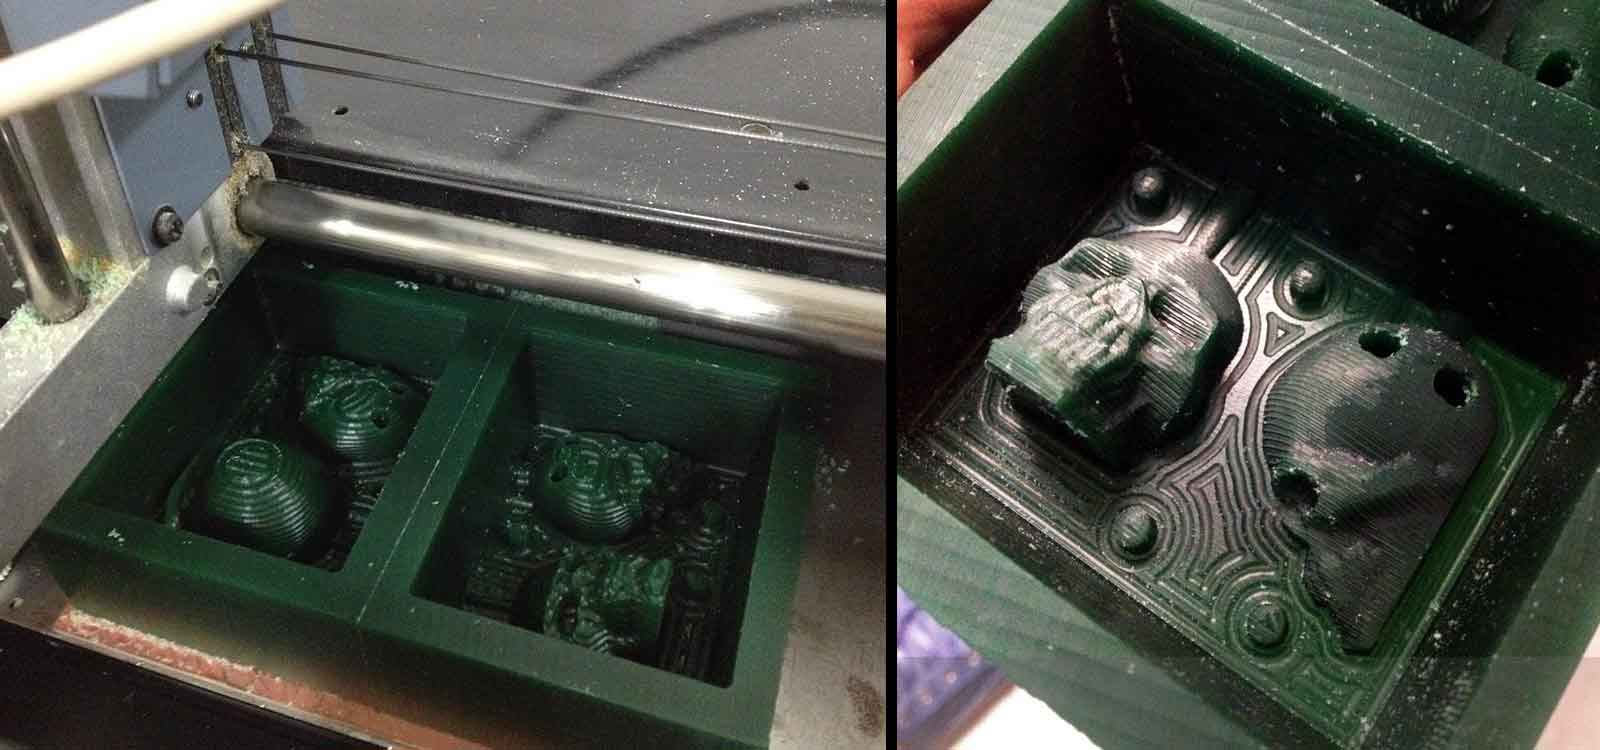
This week we had to design a piece that we could replicate by making its mold. I decided to download the 3Dmodel of a skull from Thingiverse and personalize it. I tried 2 different ways to divide the skull in the 2 sides mold. I wanted to make metal pieces, which are hard, so the mold had to be soft. I prepared the 3D model on Rhinoceros of the countermold to be milled on a 7.0 X 14.1cm X 3.5cm wax brick. I left a hole in each model to pour the metal and one smaller one for ventilation.
Once I finished the 3Dmodel, I milled the wax brick in the Roland Modela Milling Machine. For the rough milling of the wax countermold I used a 1/8 inches drill and for the finishing I used a 1/16 inches one. I only did the finishing in one direction (xy) because the definition was good enough and wanted to save time. Both the roughing and the finishing took a total of 3 hours and 20 minutes.
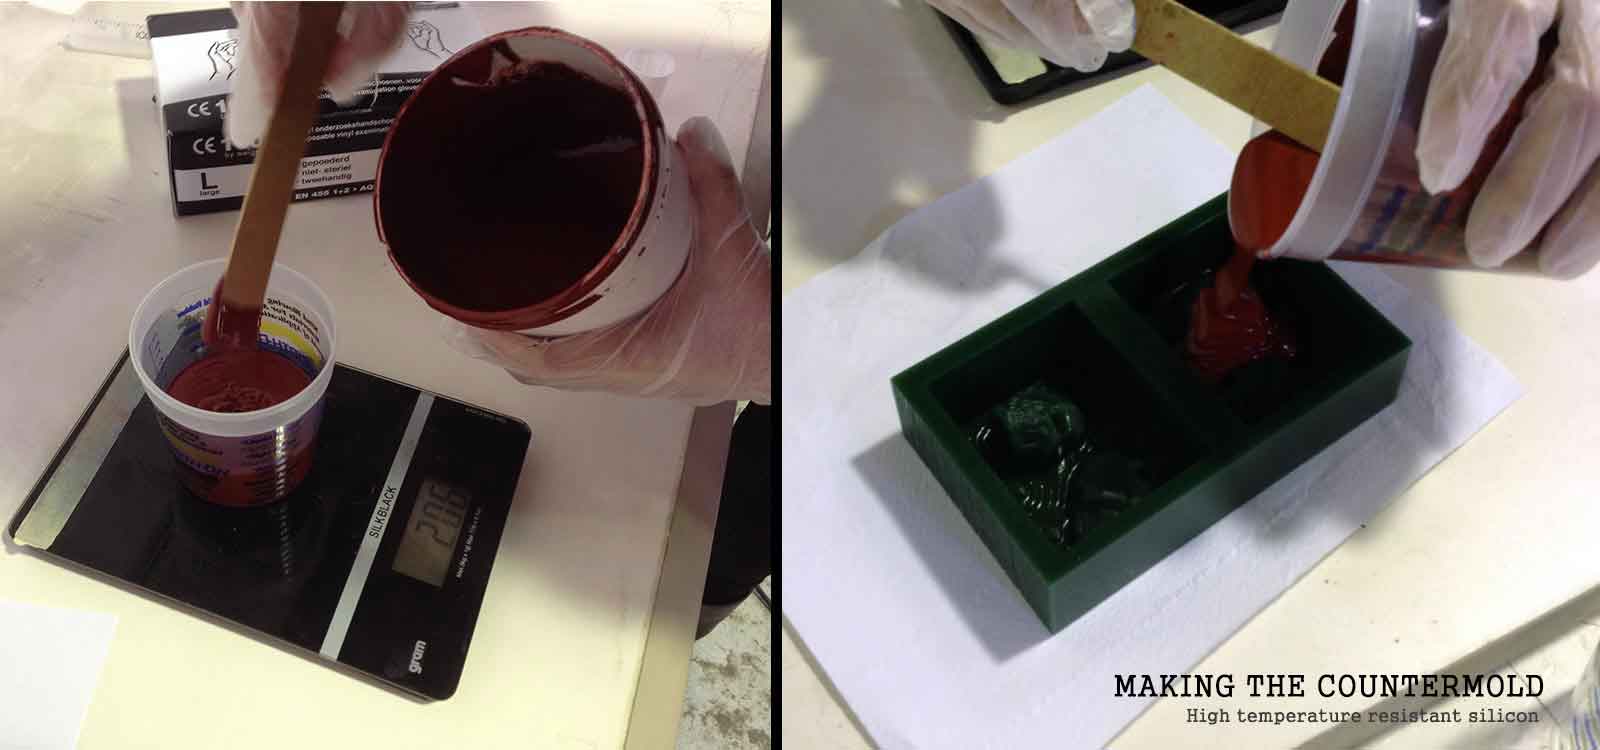
After finishing the wax countermold, I started making the silicone mold. As I mentioned before, the mold had to be soft but also high-heat resistant so we used the Mold Max® 60 Higher Heat Resistant Silicone. These are the steps I followed to fabricate the mold:
01 I sprayed some Universal Mold Release and let it dry for 3 minutes.
02 I made the mix for the silicone: Parts A & B are mixed 100A:3B by weight (the scale was not very accurate).
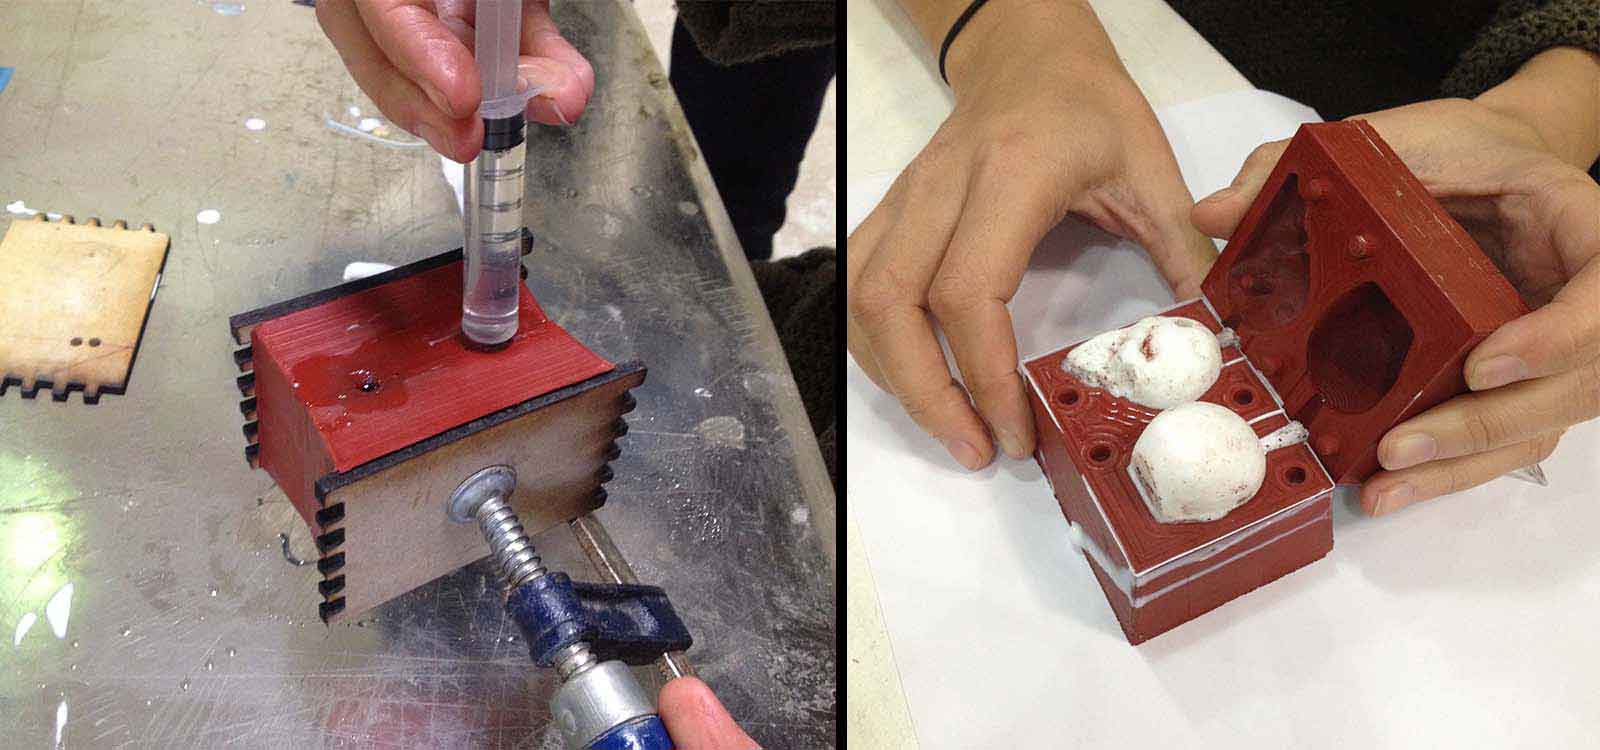
03 Pour the mix in the countermold making sure you are not leaving big air bubbles inside.
04 Carefully hit the mold until all the air bubbles are in the surface.
05 Wait 24 hours until the silicone cures.
24 hours later the silicon was still liquid! . I found out that the scale I used was not working properly so the mix I made was wrong and was never gonna get cured. I cleaned the countermold with water and soap until I removed most of the silicone and tried again.
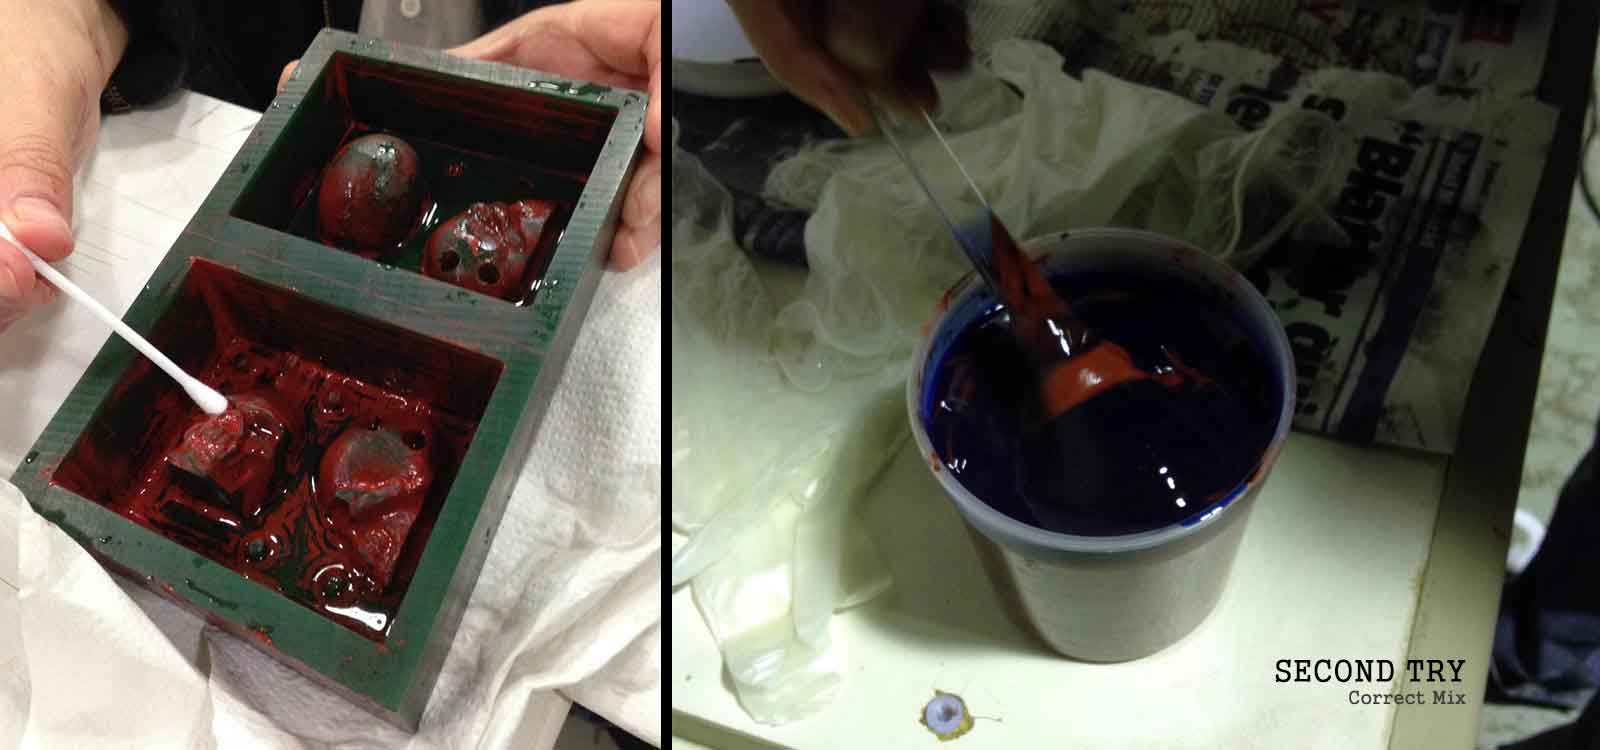
This time it worked!

I was ready for casting the final pieces. In order to pour the metal I took the following steps:
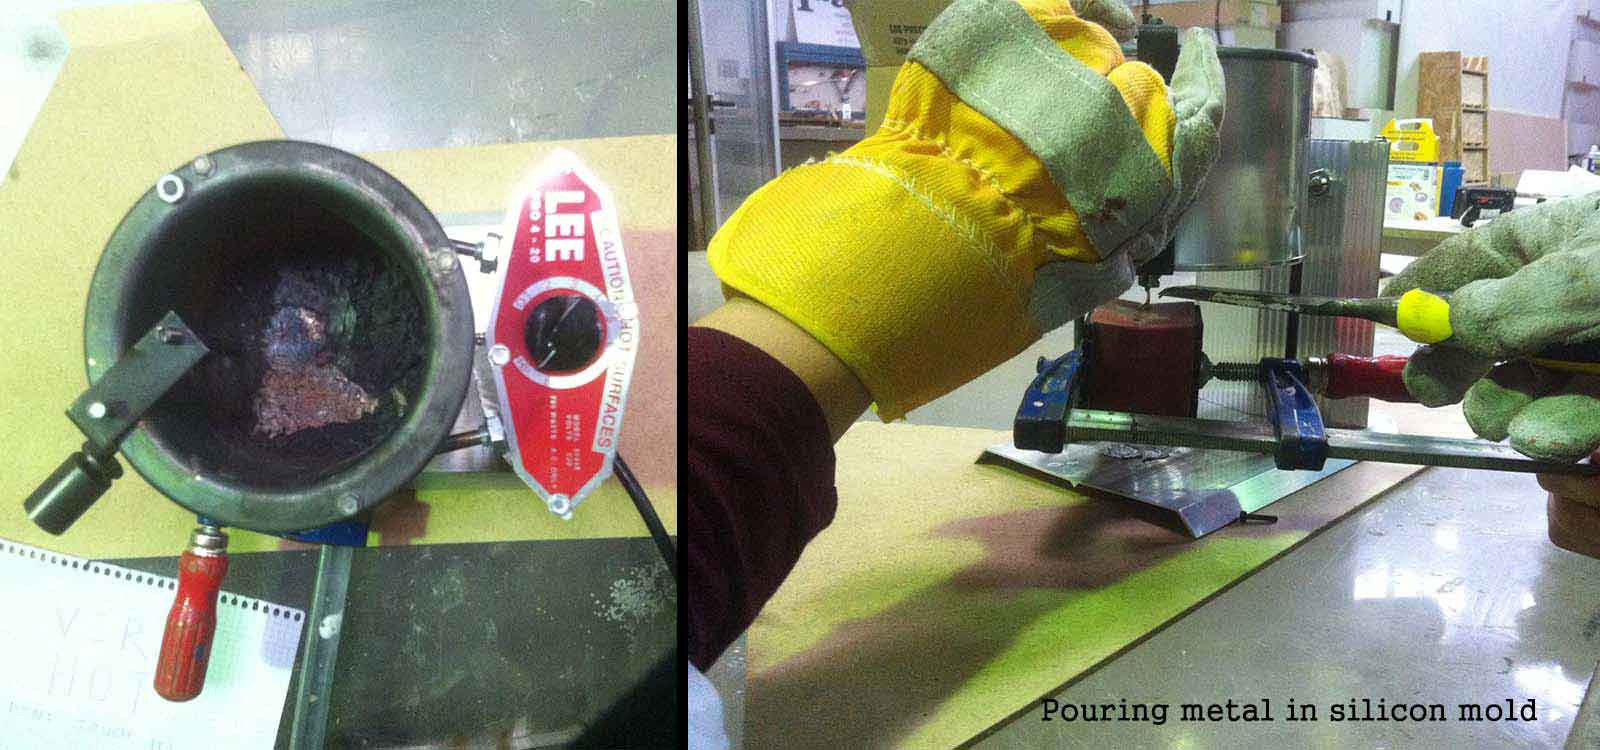
01 Add talcum powder to the mold
02 Turn the metal heater on and wait until the metal liquifies. The heater has to be in a safe place and I had to use gloves
03 Put the 2 pieces of the molds together, aligned and very tight to avoid leaks.
04 Pour the metal little by little until it fills to the top
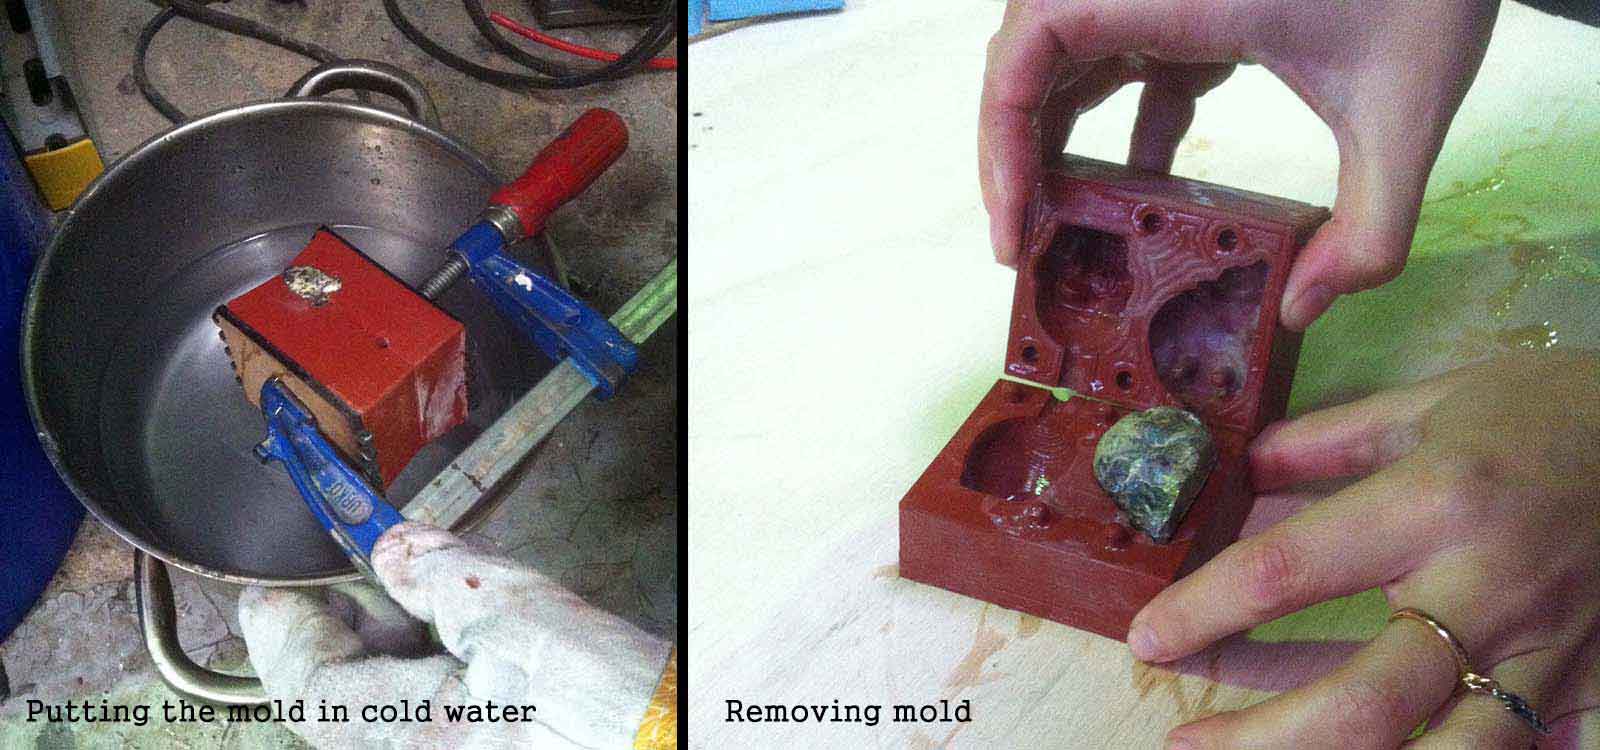
05 Immediatly after, pour cold water in the mold to cool it down.
04 Drop the mold in the water until it can be touched.
05 Remove the mold.
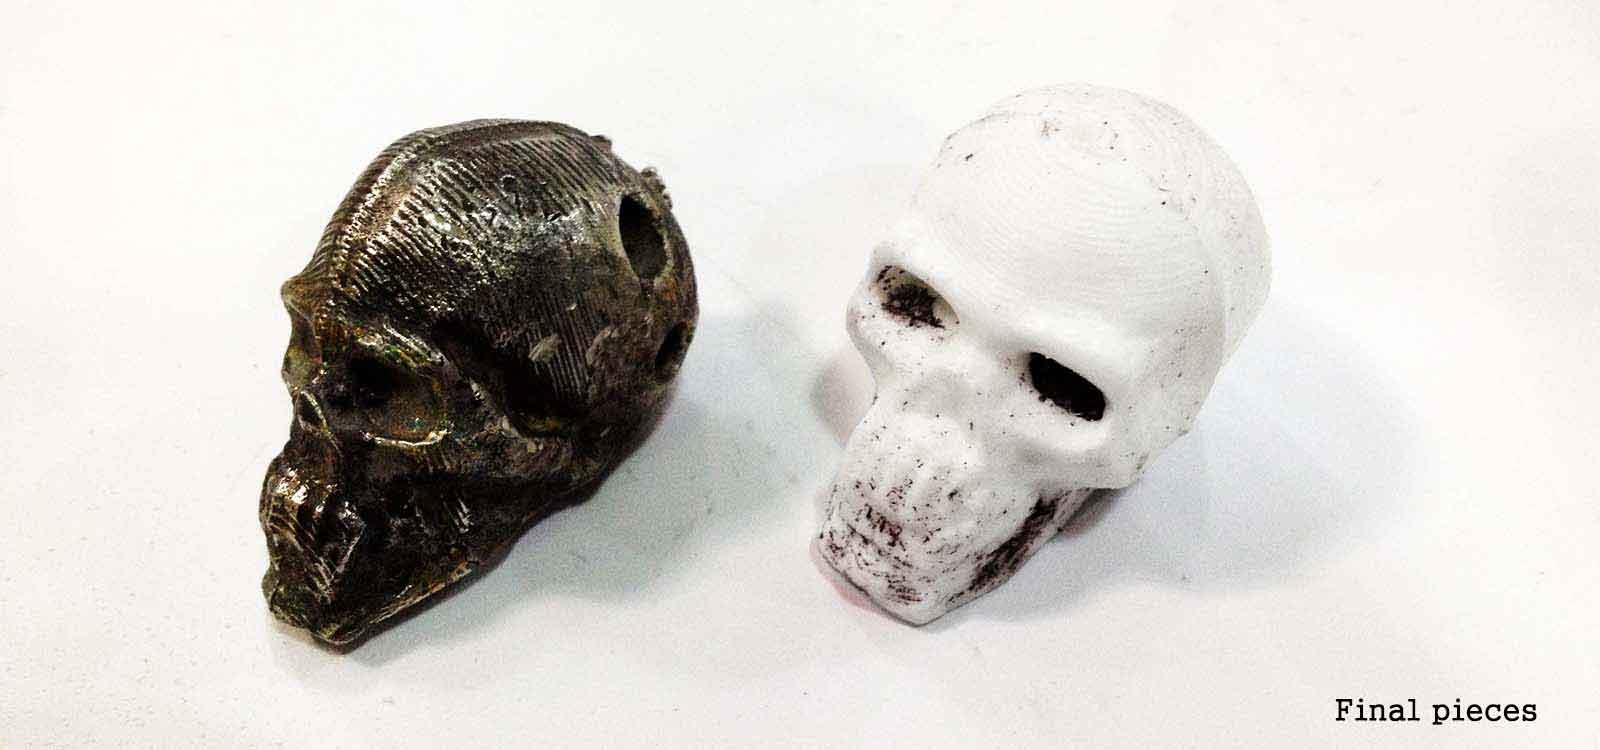
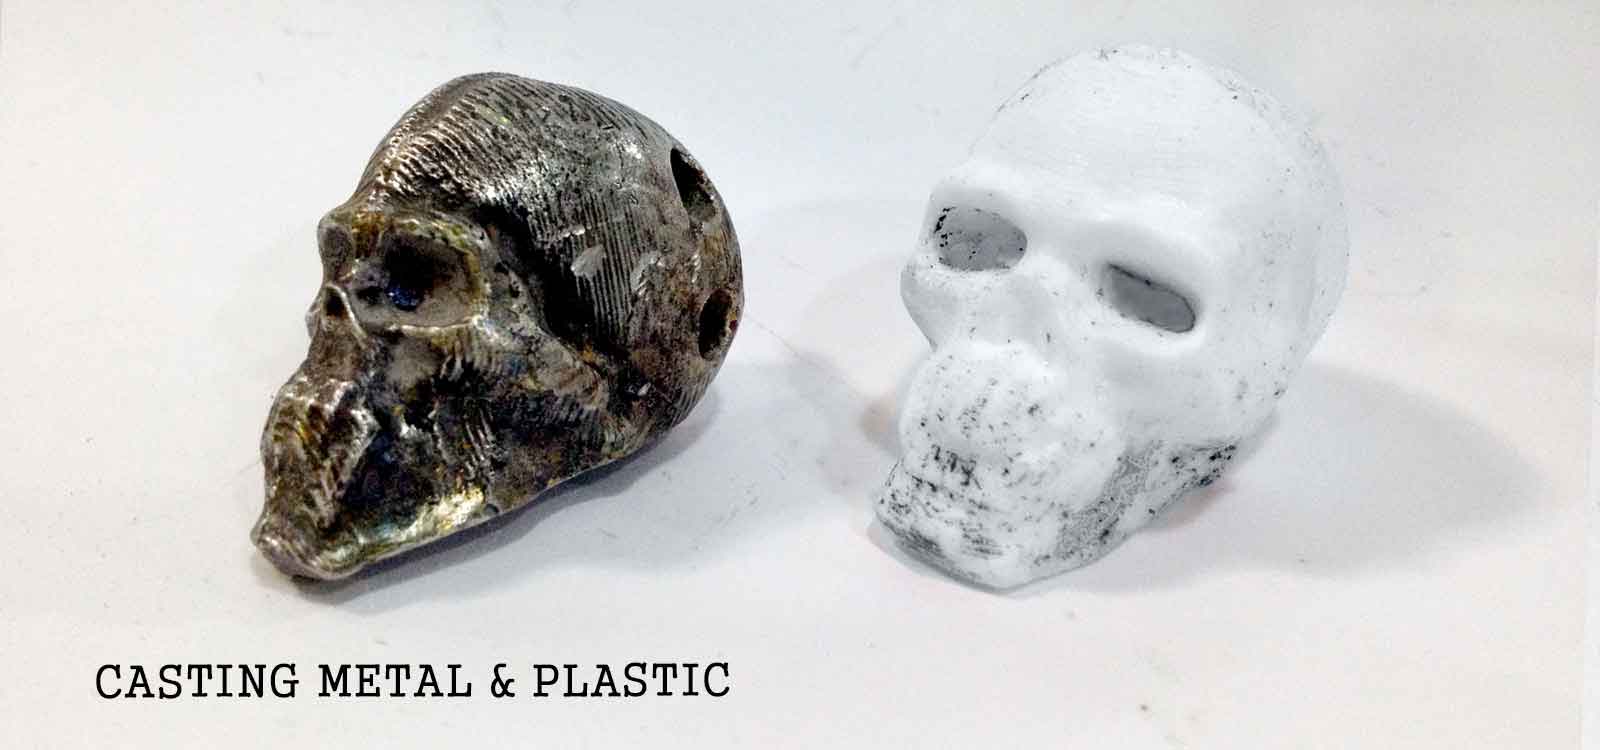
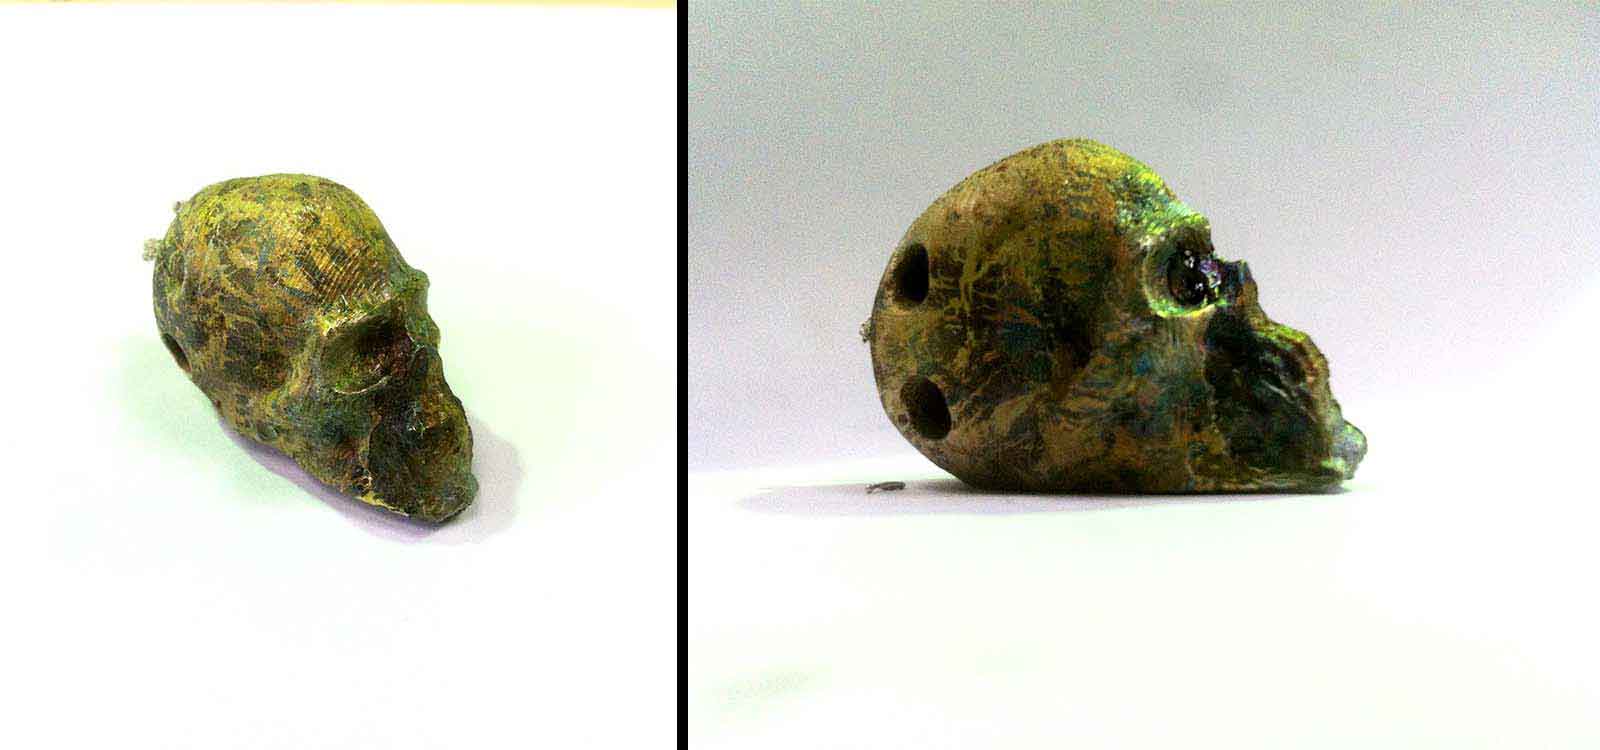
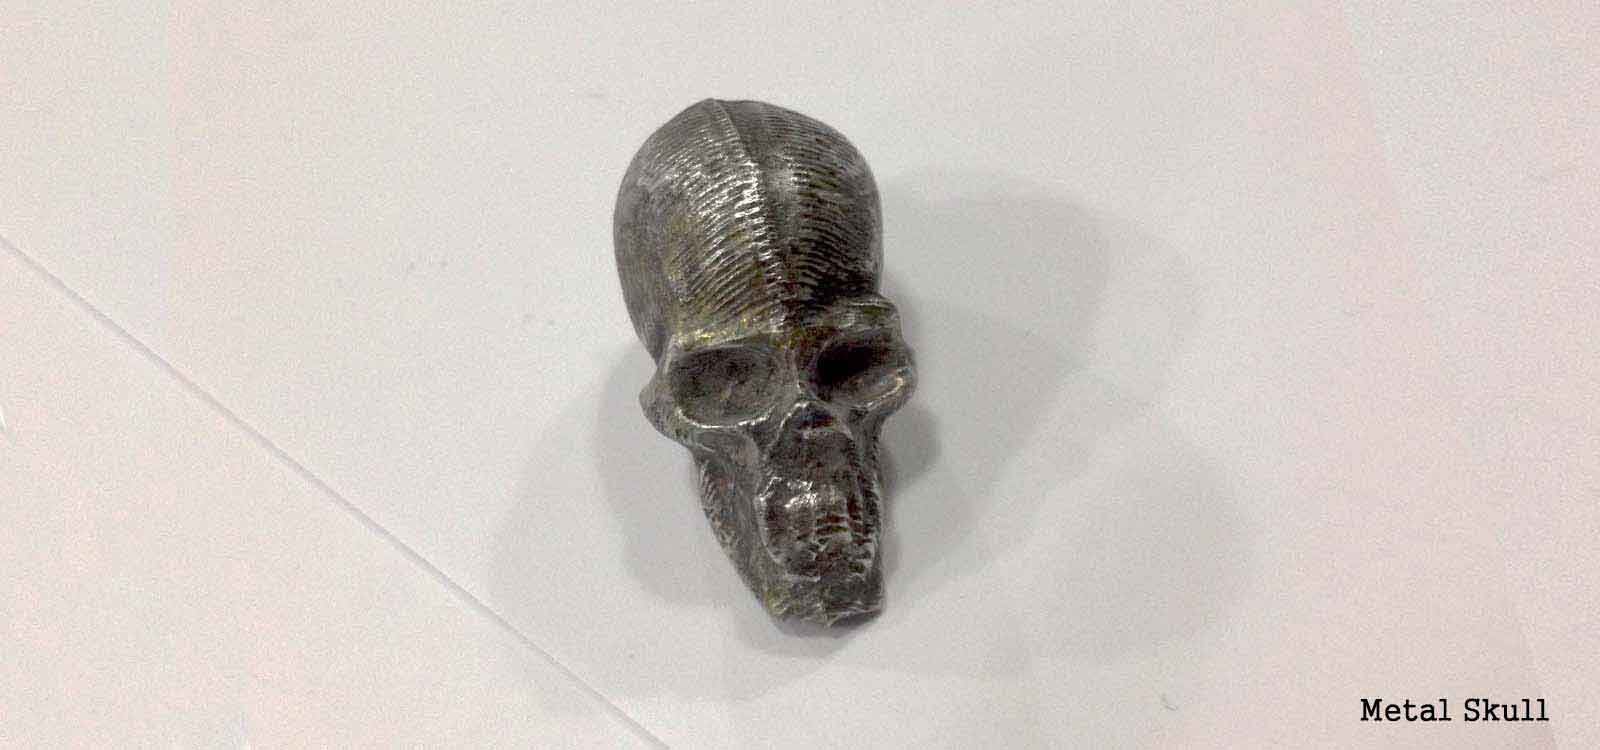
The skulls came out very well detailed and defined. At the end I polished one of them but left the other with the original finishing (as in the picture below)
After finishing with the metal, I tried plastic. The process was way simplier since the mix for the material is 1:1. It is easier to pour and I didn't have to deal with high temperatures or other risks.