IPHONE 5S CASE
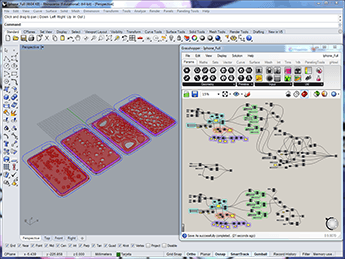
Design: Rhino and Grasshopper
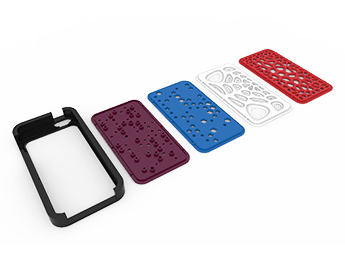
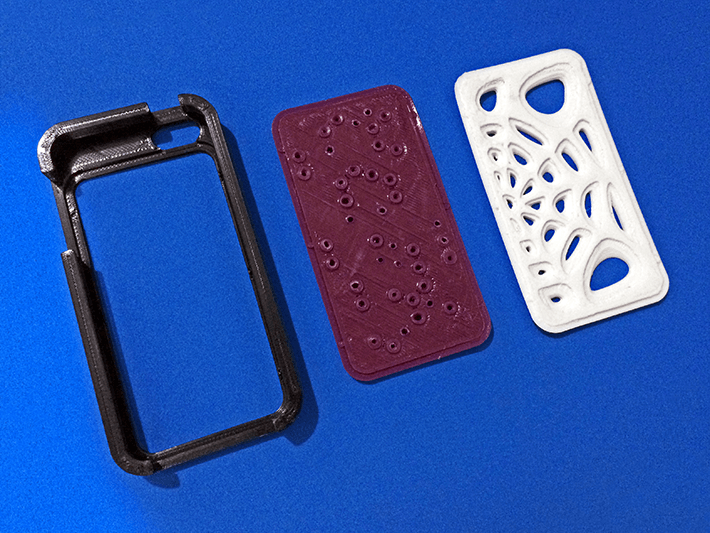
For this assignment I have designed a case for iPhone 5S using Rhino. The bumper can hold interchangeable back covers designed with different patterns in Grasshopper, so they can be customized.
*The Image on the right has been rendered using KeyShot.
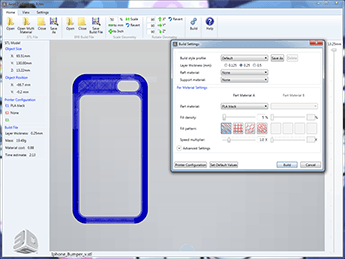
Printing: 3D Touch
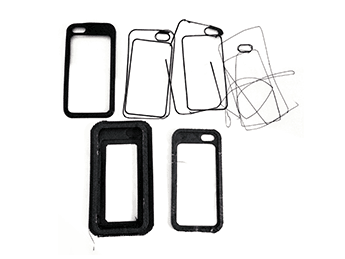
I decided to print my bumper case in the 3D Touch printer we have in the Fab Lab. At first I had some drawbacks because the ABS was detaching from the platform before the build was complete, so I decided to use a raft. It worked well; however, it was warping as the print progressed, probably because the default temperature was not appropriate. Moreover, the size of the printed bumper was much smaller than the designed 3D object.
After some unsuccessful attempts, I decided to use PLA. Although the build was not adhering properly to the platform, I refused to use a raft because it is very difficult to take it out later, so I reduce the speed, try a couple of times with the same file, and finally I had a good result without a raft.
However, there is still a problem (probably with the g-code): the top layers are not being printed; therefore, I decided to add a very small cylinder on the top of the 3D object so I could remove it easily in case it is printed. However, this idea did not work; it seems there is a lack of solidity on the external top surfaces and I am still trying to figure out how to resolve this issue.
PLA: In medium quality, the bumper takes approximately 2 hours and 30 minutes and each back cover takes between 1 to 2 hours. In both cases, raft and supports are not needed.
GUMMY BEAR
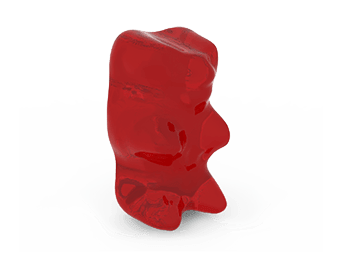
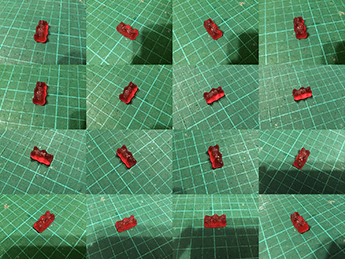
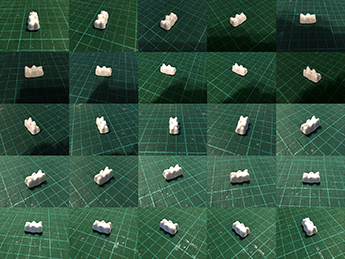
I realized that the translucency of the gummy bear could be a problem for the scanning, so I painted one of them white to try both ways.
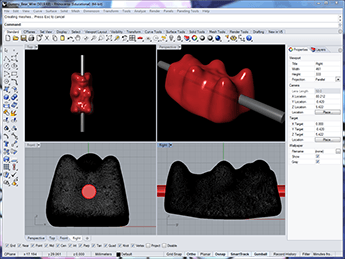
Scanning: Creaform
A scanner import firm provided some scanners to the Fab Lab for this assignment, so I scanned the gummy bear using MetraSCAN 3D and it worked perfectly. I created a hole thought the gummy bear in Rhino, in order to use them as earrings later.
*The Image on the right has been rendered using KeyShot.
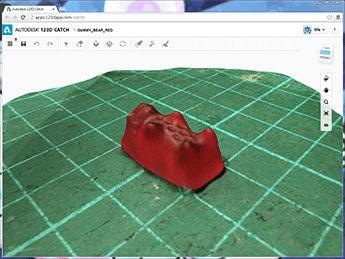
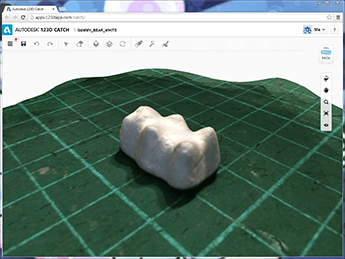
Scanning: 123D Catch
Then I decided to use 123D catch software, I was not very convinced, because I have used it before and it did not work very well. However, this time I decided to do something different: I took the pictures with a scratched cutting mat as a base and background. Surprisingly, the result was amazing. In both cases, the bear was scanned very well, specially the white one. Probably the cutting lines, as well as the scratches on the cutting mat, made the difference.
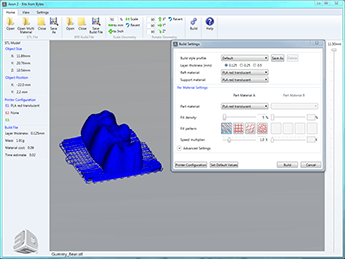
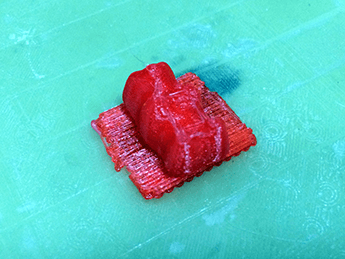
Printing: 3D Touch
Putting aside the problem with the top layers, the rest of the build was printed well.
PLA: In high quality, each gummy bear takes 35 minutes and it is necessary to use raft and supports.
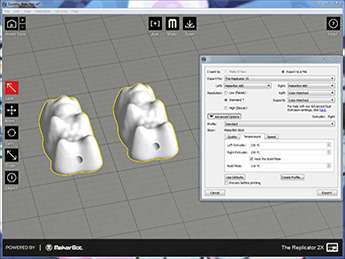
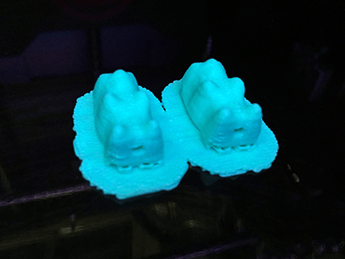
Printing: Makerbot Replicator 2X
I printed the gummy bear in a Makerbot Replicator 2X with ABS. At first, it did not worked well, but then I printed two at the same time and the result was very good. This happens because it is a very small object so it needs time to cool down between each layer.
ABS: In medium quality, each pair of gummy bears takes 16 minutes and it is necessary to use raft and supports.
Final product
I passed a wire thought them and attached them a hook, so now I have my own gummy bears earrings! I have been advised to use the molding and casting process to create this kind of products because it is more efficient.

JACKS
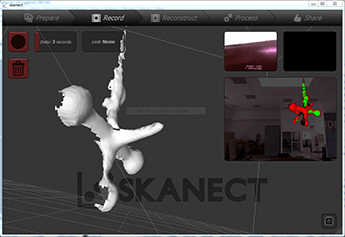
Scanning: Skanect
I tried to scan a jack shaped ornament with this method. At first, it was recognizing the table, so I suspended it from the ceiling by a rope, to see what happened, but it did not work very well either. It seems Kinect works better for scanning people than objects.
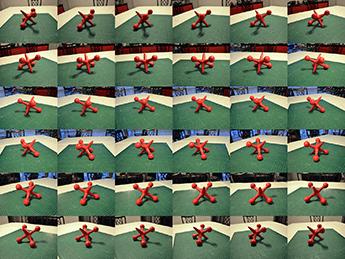
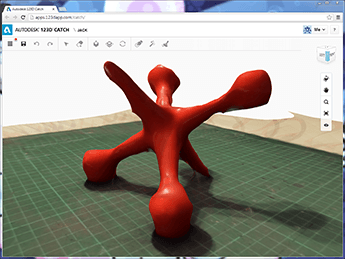
Scanning: 123D Catch
Once again, I took the pictures using a cutting mat as a base and background; however, this time the result was not very accurate.
OTHER STUFF
Cat ring
I made this ring using Rhino and Grasshopper, so the inner diameter of the ring can be customized without modifying the size of the ears and the rest of the ring. I printed it in 3D touch with PLA and it took approximately 25 minutes in medium quality. After some tests, I conclude that if you want the ring to fit in your finger, you should consider a tolerance of 1.05mm for the inner diameter.

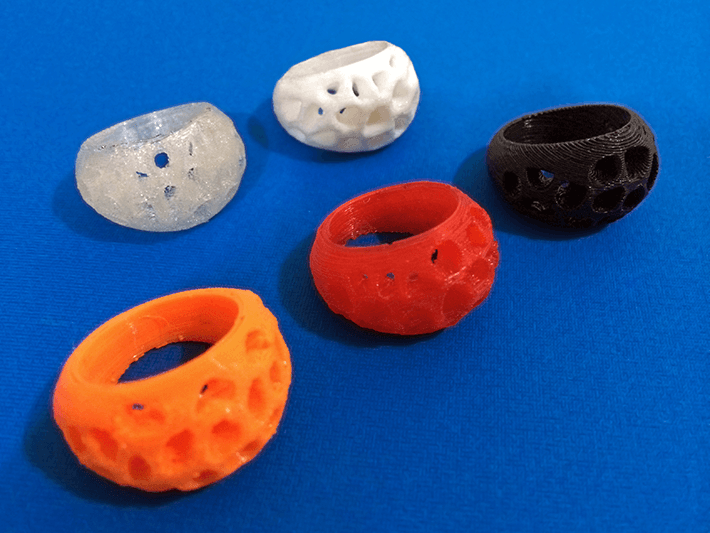
Voronoi ring
I made this definition in Grasshopper so it can be fully customized (it can even become a bracelet). It was tested it in different printers: 3D Touch, Makerbot Replicator 2X, Felix 2.0 and Ultimaker and with different colors of PLA and ABS. It takes between 25 to 35 minutes in medium quality, and in all cases, the tolerance for the inner diameter is 1.05mm.