>> Week 08, Mar 19: Embedded programming
Read a microcontroller data sheet. Program your board to do something, with as many different programming languages and programming environments as possible.
>> Something brief about Microcontrollers and Embedded system
>> Read a microcontroller data sheet
>> Program ATtiny44A with Arduino IDE and FabISP in OS X v10.9.2 (Maverick) / Sketch:Button
>> Program echo hello world with AVRdude and FabISP in OS X / Hello echo C
Something brief about microcontrollers and Embedded system:
A microcontroller (sometimes abbreviated µC, uC or MCU) is a small computer on a single integrated circuit containing a processor core, memory, and programmable input/output peripherals. Microcontrollers are designed for embedded applications, in contrast to the microprocessors used in personal computers or other general purpose applications. (Wikipedia).
Almost every electronic device these days is equipped with some computing capabilities inside. Such computers are called embedded computers, since they are “embedded” inside a larger device, making that device smarter and more capable than it would have been without this “computer.” (tinyAVR Microcontroller Projects for the Evil Genius)
Embedded systems are commonly found in consumer, cooking, industrial, automotive, medical, commercial and military applications (Wikipedia).
Read a microntroller data sheet
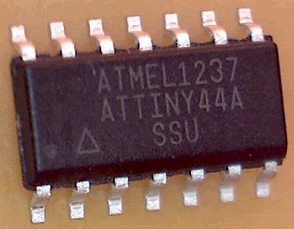
For this assignment, we are using the ATtiny44A uC / SOIC. For data sheet download, click on the following link: Rev. 8183F - Doc: 8183FS–AVR–06/12.
Major features ATtiny44A: 8 bit AVR microcontroller with Maximum 12 I/O pins, 1.8–5.5V operation, 256B SRAM and 256B EEPROM, up to 20 MIPS throughput at 20 MHz, Flash program memory 4K, ADC, on-chip temperature sensor, universal serial interface (USI).
ATtiny44A are low-power CMOS 8-bit microcontrollers based on the AVR enhanced RISC architecture. By executing powerful instructions in a single clock cycle, the ATtiny44A achieves throughputs approaching 1 MIPS per MHz allowing the system designer to optimize power consumption versus processing speed.
 |
Pinout of ATtiny44A - Small Outline Integrated Circuit - SOIC
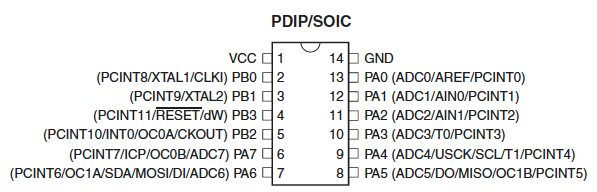 |
Pin Descriptions:
VCC: Supply voltage.
GND: Ground.
RESET (PB3): Reset input.
Ports B (PB0-PB2): Port B is a 4-bit bi-directional I/O port with internal pull-up resistors (selected for each bit).
Ports A (PA0-PA7): Port A is a 8-bit bi-directional I/O port with internal pull-up resistors (selected for each bit). Port A has alternate functions as analog inputs for the ADC, analog comparator, timer/counter, SPI and pin change interrupt
Program ATtiny44A (hello world board) with Arduino IDE and FabISP in OS X v10.9.2 (Maverick) / Sketch BUTTON
Materials:
- Arduino IDE Software
- Library of ATtiny44A (for Arduino IDE)
- FabISP - (made in Assignment 4)
- Echo hello-world board (ATtiny44A) - made in Assignment 6
- USB TTL Serial Cable (FTDI 5v / 3.3v)
- USB mini B cableProcedure:
Step 1: Download and install Arduino IDE
Getting Started w/ Arduino on Mac OS X: This document explains how to connect your Arduino board to the computer and upload your first sketch.
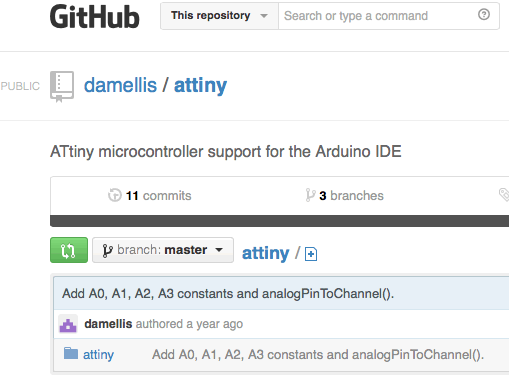
Step 02: Download and install the library: ATtiny microcontroller support for the Arduino IDE
Unzip the zip file and place the "ATtiny" folder within the "Documents / Arduino / Hardware" folder if there is no "Hardware" create folder.
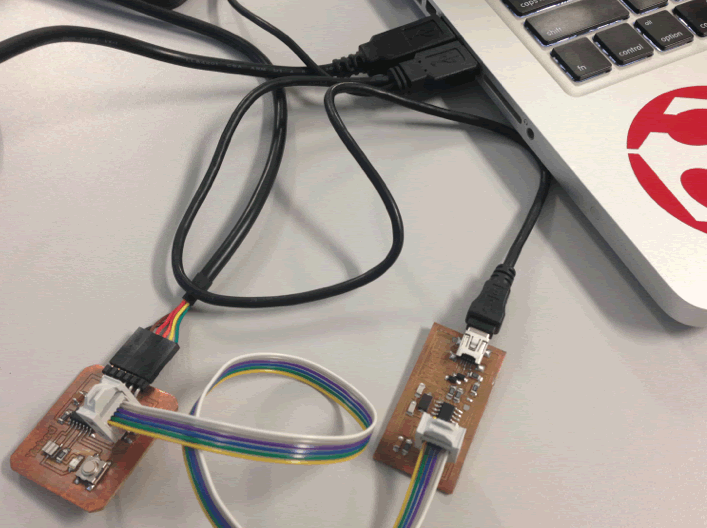
Step 3: To connect according to block's diagram
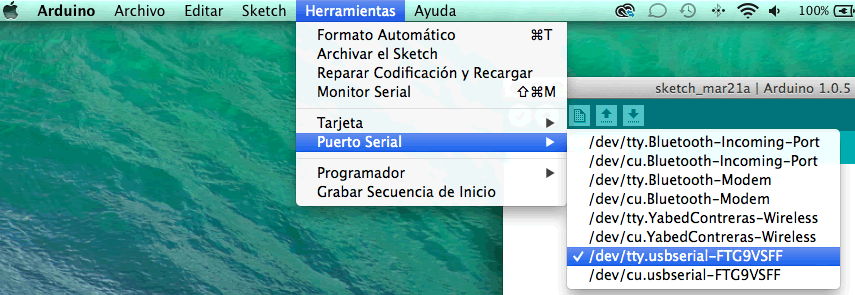
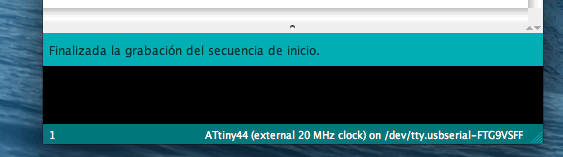
Step 4: Configure Arduino IDE: Board, Serial Port and Programmer
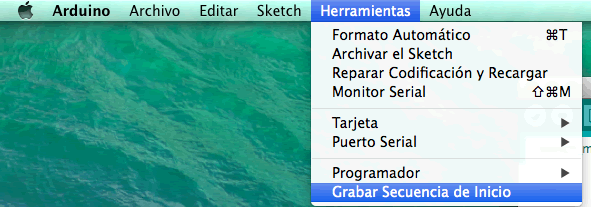
Step 5: Record boot sequence (One Time)
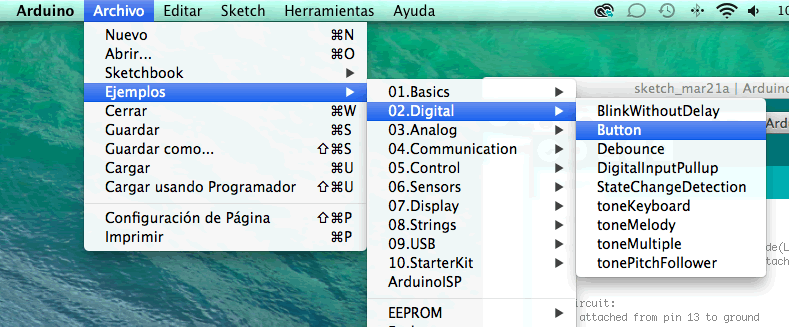
Step 6: Identify equivalence of pins among Arduino vs ATtiny. Load "Button", code sample, and customize code according to design of board.
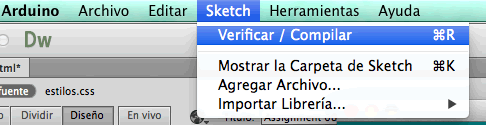
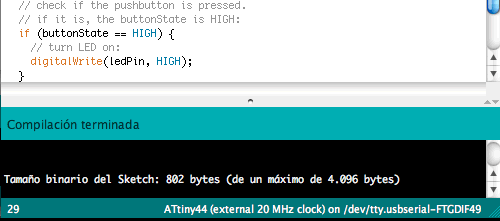
Step 7: Compiling
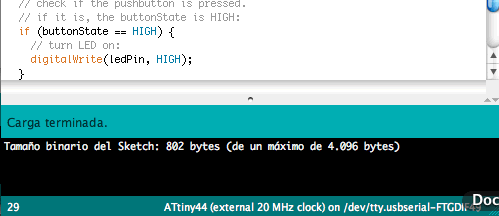
Step 8: Upload
Step 9: Conclude
Program echo hello world with AVRdude and FabISP in OS X / Hello echo C
Step 1: Download the following files:
hello.ftdi.44.echo.c
hello.ftdi.44.echo.c.make
Step 2: To connect according to block's diagram
Step 4: To program, open terminal and navigate to where saved the C code and makefile. Then type:
sudo make -f hello.ftdi.44.echo.c.make program-usbtiny -------------------------------------------------------------------------------
MacBook-de-Yabed-Contreras-2:hello ycontreras$ sudo make -f hello.ftdi.44.echo.c.make program-usbtiny
Password:
avr-objcopy -O ihex hello.ftdi.44.echo.out hello.ftdi.44.echo.c.hex;\
avr-size --mcu=attiny44 --format=avr hello.ftdi.44.echo.out
AVR Memory Usage
----------------
Device: attiny44Program: 758 bytes (18.5% Full)
(.text + .data + .bootloader)Data: 64 bytes (25.0% Full)
(.data + .bss + .noinit)
avrdude -p t44 -P usb -c usbtiny -U flash:w:hello.ftdi.44.echo.c.hex
avrdude: AVR device initialized and ready to accept instructions
Reading | ################################################## | 100% 0.00s
avrdude: Device signature = 0x1e9207
avrdude: NOTE: "flash" memory has been specified, an erase cycle will be performed
To disable this feature, specify the -D option.
avrdude: erasing chip
avrdude: reading input file "hello.ftdi.44.echo.c.hex"
avrdude: input file hello.ftdi.44.echo.c.hex auto detected as Intel Hex
avrdude: writing flash (758 bytes):Writing | ################################################## | 100% 0.71s
avrdude: 758 bytes of flash written
avrdude: verifying flash memory against hello.ftdi.44.echo.c.hex:
avrdude: load data flash data from input file hello.ftdi.44.echo.c.hex:
avrdude: input file hello.ftdi.44.echo.c.hex auto detected as Intel Hex
avrdude: input file hello.ftdi.44.echo.c.hex contains 758 bytes
avrdude: reading on-chip flash data:Reading | ################################################## | 100% 1.01s
avrdude: verifying ...
avrdude: 758 bytes of flash verifiedavrdude: safemode: Fuses OK (H:FF, E:DF, L:FE)
avrdude done. Thank you.
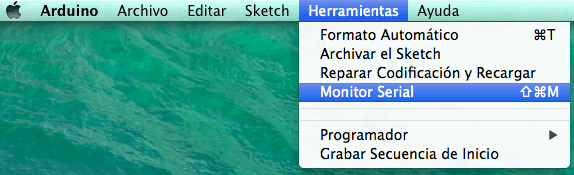
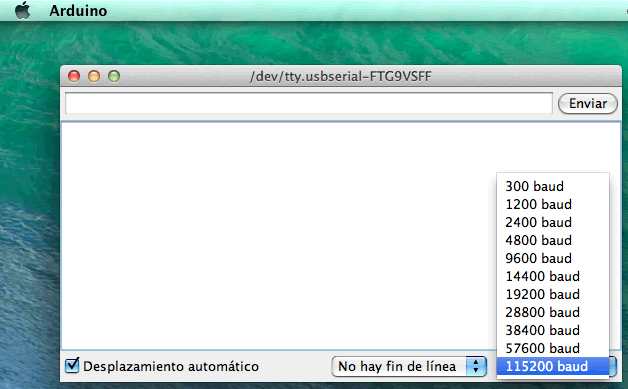
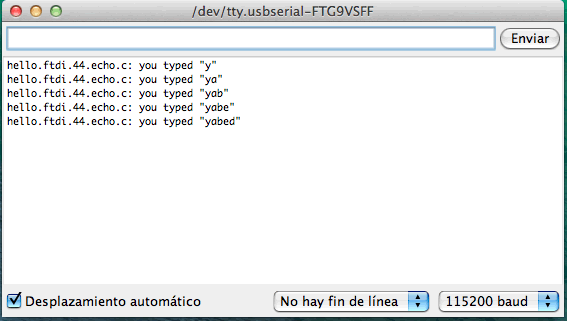
Step 5: Testing the program: Use the serial monitor in the Arduino IDE.
Type letter by letter.
Final comment
- Some links that were helpful:
--- http://academy.cba.mit.edu/content/tutorials/akf/hello_echo_c.html
--- http://fabacademy.org/archives/2013/students/giron.paul/1.8.html
--- http://fablabuni.edu.pe/?page_id=165
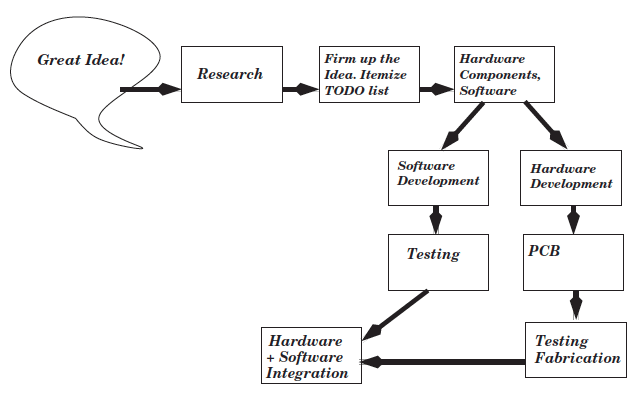
- In the review, I found a chart that helps visualize the process of work (source: tinyAVR Microcontroller Projects for the Evil Genius).