
>> Week 05, Feb 26: 3D scanning and printing
>> Design and 3D print an object (small, few cm) that could not be made subtractively
>> 3D scan an object and print
Design and 3D print an object that could not be made subtractively
For this assignment, I explored the application of 3D design and printing in areas related to creative professions different from engineering; for this purpose, I managed to design a non structured object, product of my imagination, trying to use the most simple and natural creation process.
Materials:
- OSX laptop
- Sculptris Software
- NetFabb Software
- 3D Printer: MakerBot Replicator 2x
- 1.75mm thickness ABS thread
 |
Some images of the design process are shown below:
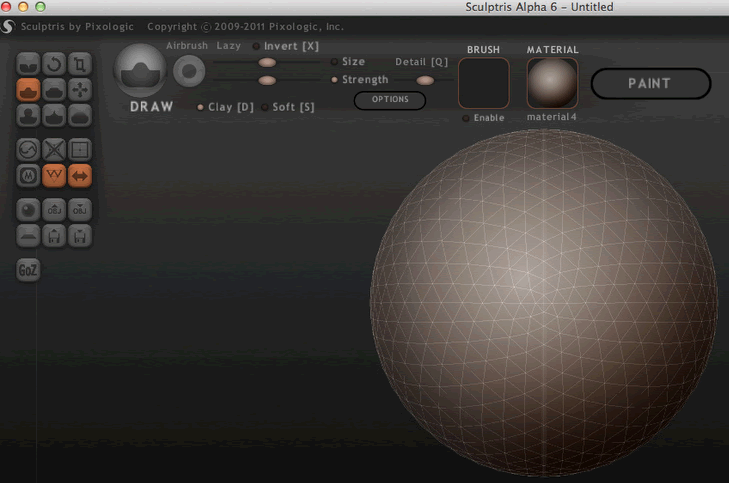 |
All begins with a sphere |
 |
The sphere is modelled |
 |
Alter some details, the design is ready, and it is exported in .OBJ format. |
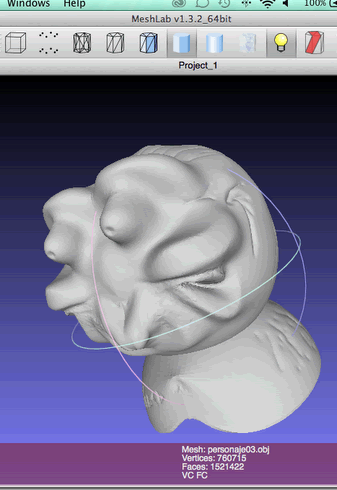 |
I tried to optimize the design with Meshlab software; however, I did not obtain good results and I used other software. |
 |
Finally, thanks to Netfabb software, I optimized my design, and I adjusted the size and reduced the faces amount considerably. This software allows exporting in format .STL and .OBJ |
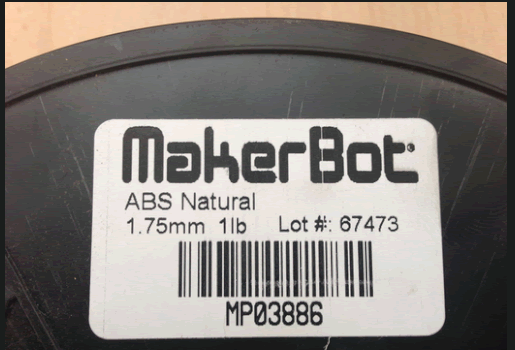 |
The printing process was performed with an ABS thread, 1.75mm thickness. |
 |
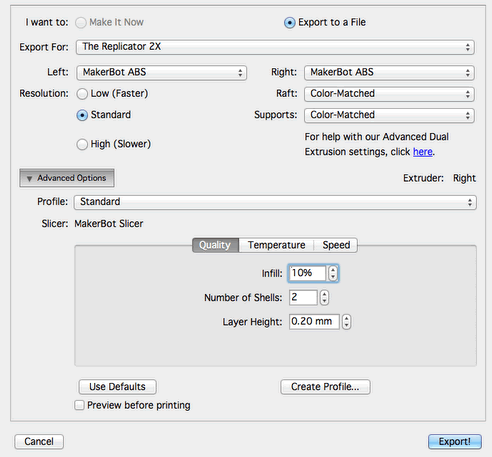
Using MakerWare software, by MakerBot, I prepared the final file for printing. The file obtained by this process has a .x3g format. |
 |
Quality parameters: |
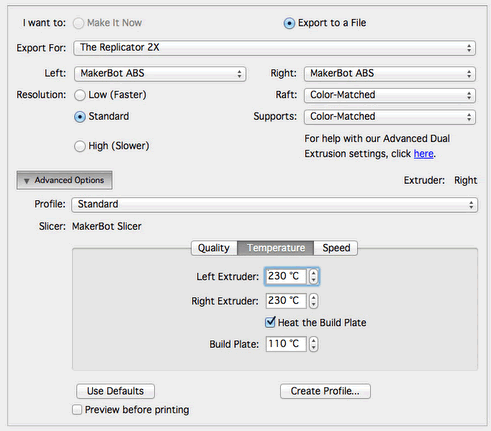 |
Temperature parameters: |
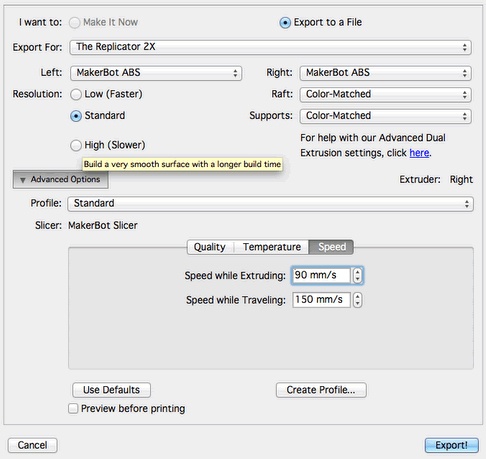 |
Speed parameters: |
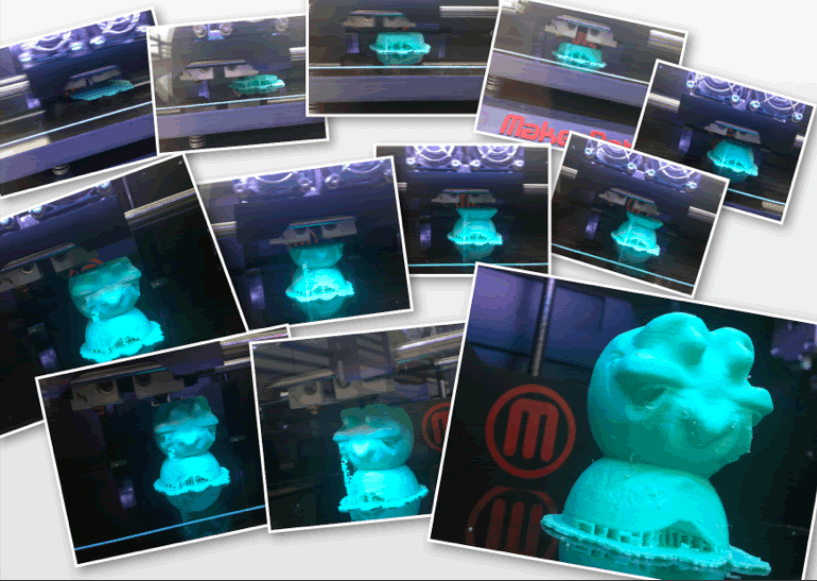 |
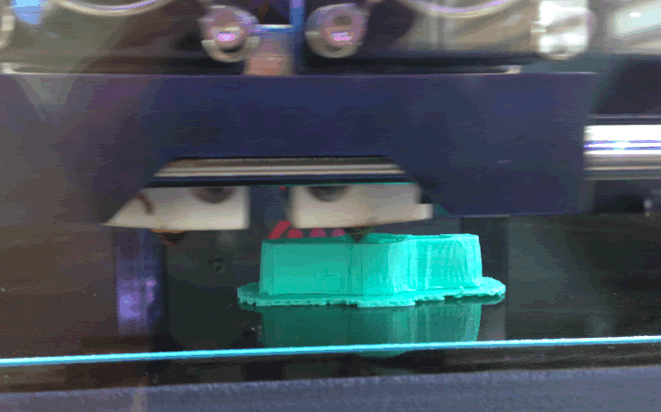
Finally, the .x3g file is sent to the 3D printer and the printing process starts. The time elapsed between the printer warming and the final print is 1:30 hours. |
See video
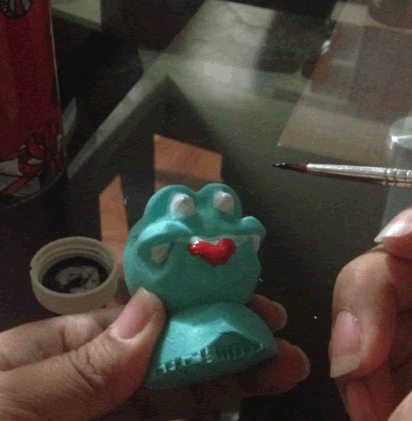
It was a great surprise when I showed my creation to my little 5 year old daughter: she adopted my creation immediately and started to customize it, she dressed it with doll clothes! Some pics here:
 |
|
 |
|
 |
3D scan an object and print
For this section, I researched 3 scanning and printing alternatives in a MakerBot Replicator 2x printer
- Scanning with Creaform EXAscan professional scanner and proprietary software
- Scanning with Xbox Kinetic and demo software: Skanec
- Scanning with Roland Modela and Dr. Picza software
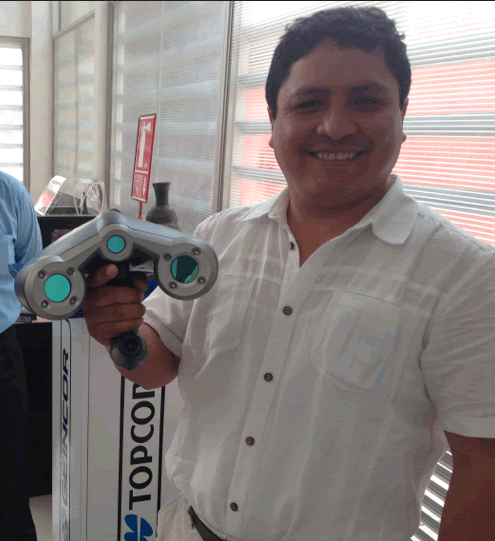 |
We obtained the samples from a professional scanner; the results were obtained very quickly. However, the high cost implies a great limitation. Therefore, I explored other alternative for scanning. |
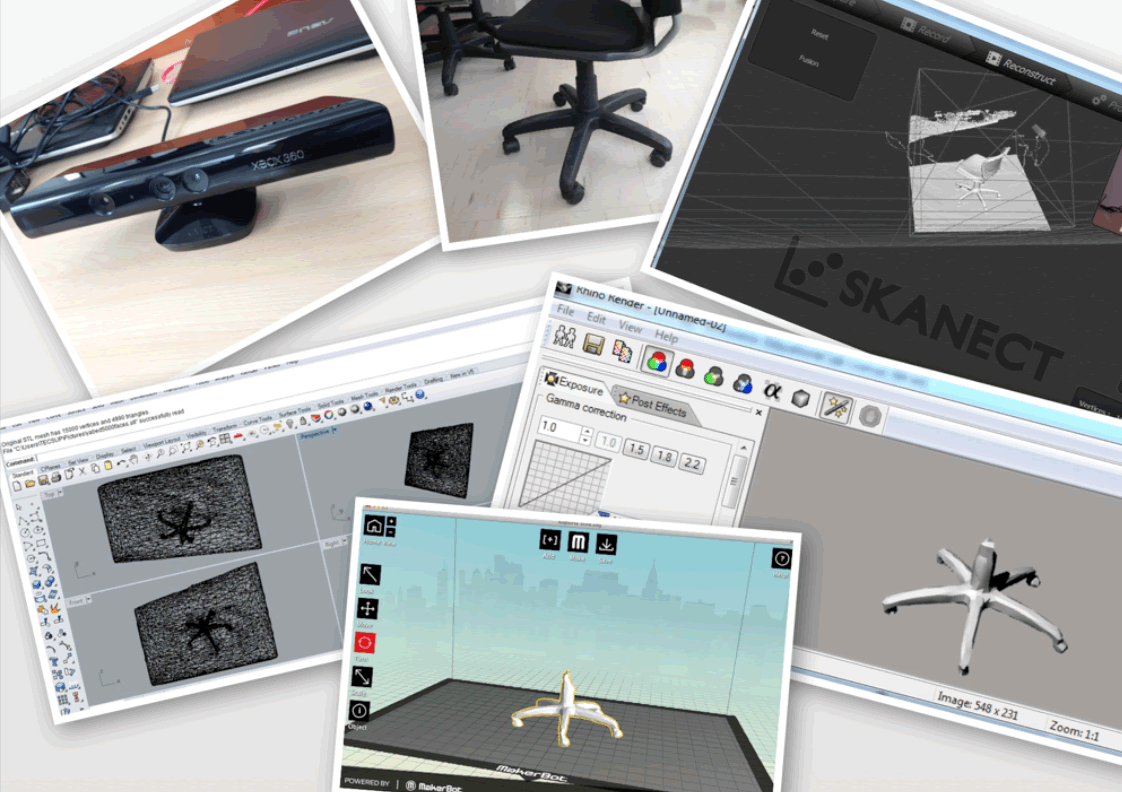 |
I also made scanning tests with Xbox Kinetic, using the demo version of Skanect software. I obtained a satisfactory result in a short time. However, the software demo version limits the scanned object to 5000 faces, which reduces the final result quality. |
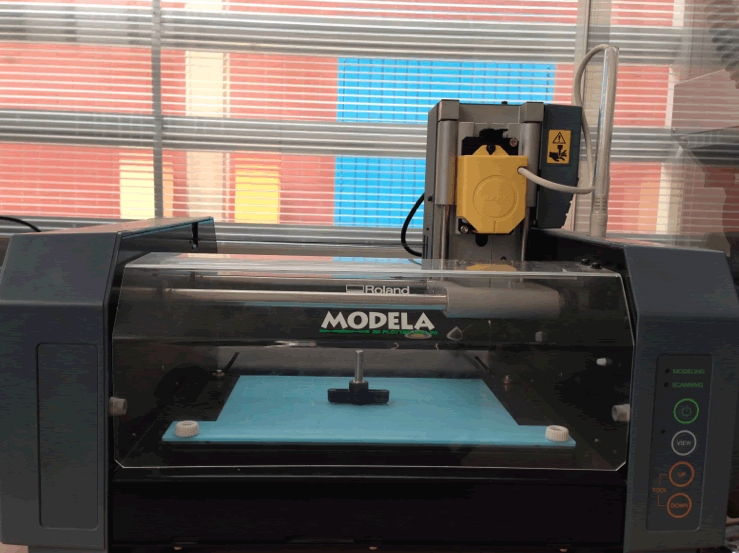 |
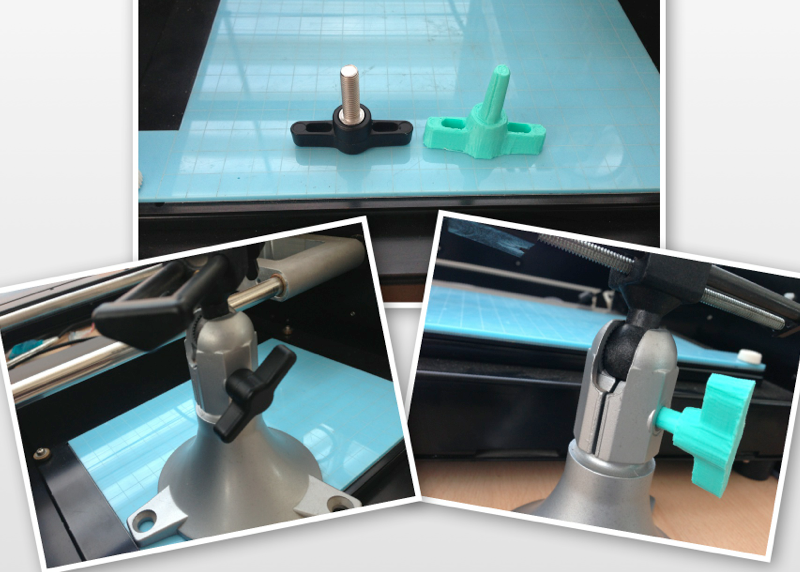
Finally, I scanned an object using Roland Modela printer and Dr. Picza software (this software only works in Windows XP) |
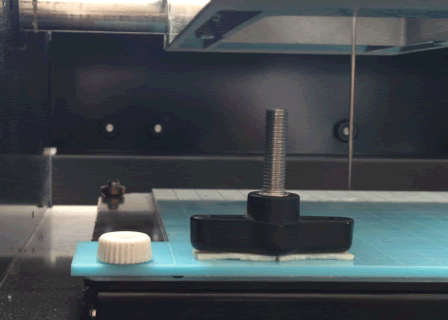 |
Fix the object tobe scanned adequately (with help from a doble contact strip). This is important, since the scanning is made by means of point scanning. |
 |
Configure the area to be scanned. This is important, since the scanning process is extremely slow. |
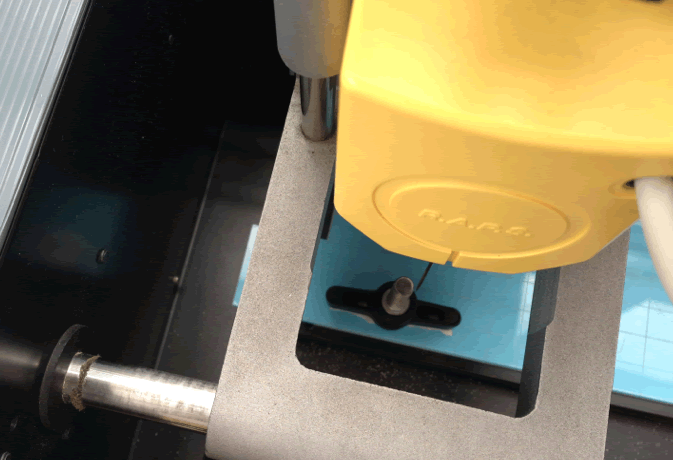 |
The scanning process of the selected piece took almost an hour. |
See video
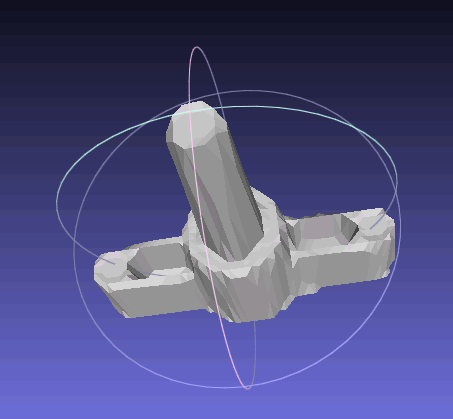 |
Dr. Picza allows exporting the model in .stl format |
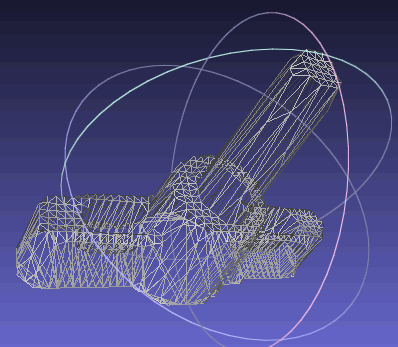 |
Using Rhinoceros, the model is reviewed and the mesh is improved. This allows the printing of the scanned object. |
 |
|
 |
|
 |