
>> Week 03, Feb 12: Computer-controlled cutting
Laser Cutter: Design, make, and document a press-fit construction kit
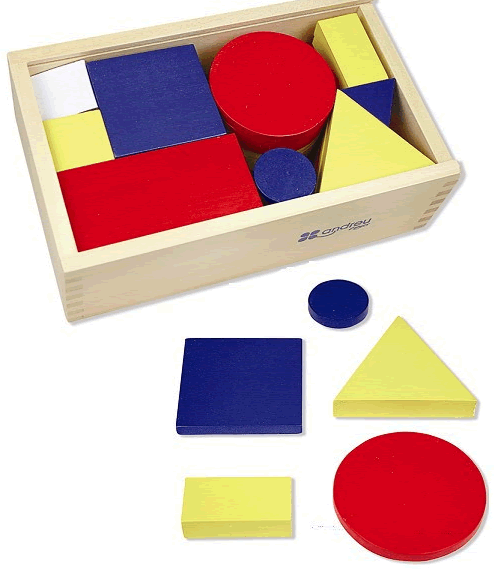
For this assignment, I based my work on the "logic blocks", which are used as education material in many infant schools. I made a research to find out if it was possible to add new pieces that may add more fun to these blocks. (For more information about these blocks, see logic blocks )
 |
 |
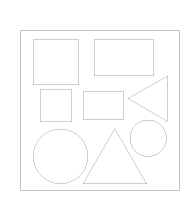
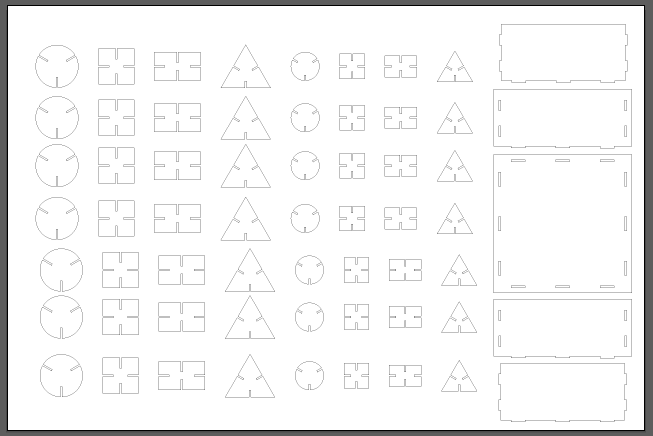
First, I draw each piece, I measured the case that will be used as container and I obtained the cutaway drawing.
 |
|
 |
|
 |
|
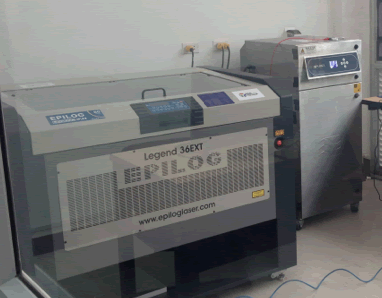 |
I used Legend 36EXT Epilog as tool. A 600 x 900mm MDF piece (2.8mm) was used as material. |
| The production steps are the following: | |
 |
Open the laser cutter and place the MDF piece within it. Take into account that it must reach the top: |
 |
Close the cutter machine; then, send the command to cut: |
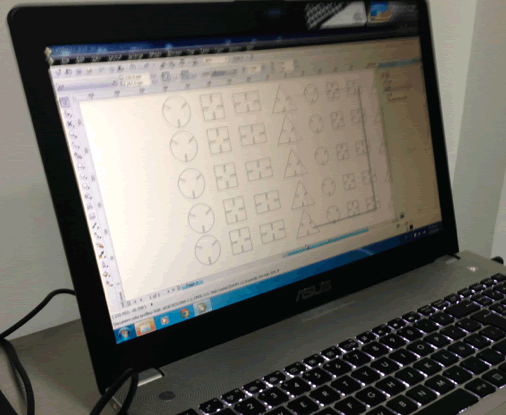 |
Import the file containing the cutaway drawing; it should have the extension .DXF, since it is the extension we will use to send the CorelDraw cutting command. |
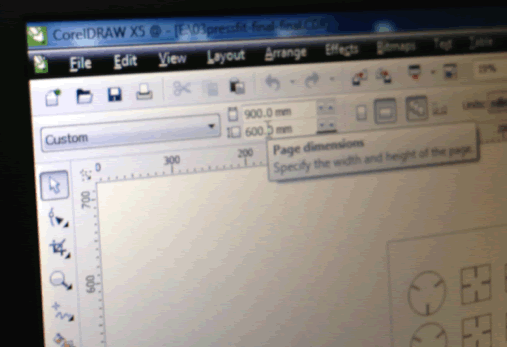 |
After import, adjust the document sheet size to the piece size (900 x 600 mm). |
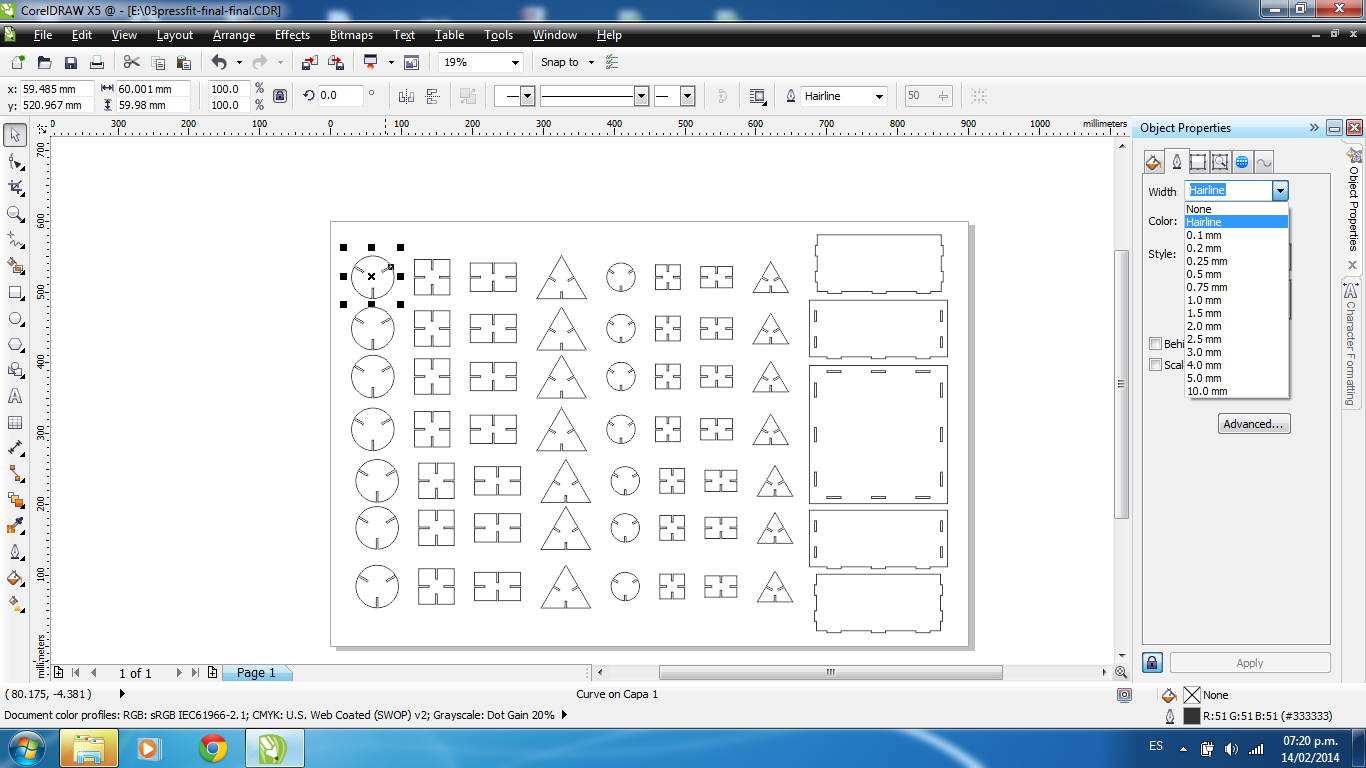 |
All the cutting plane lines should be verified; they should have the minimum thickness set: “Hairline”. |
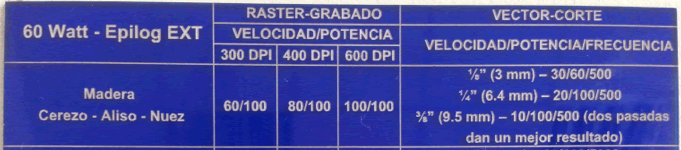 |
Input through the cutter’s parameter list the type of work and material that will be used in order to identify the speed, power and frequency of the laser cutter machine. In this case, we will use the vector cut. The MDF will be wood. |
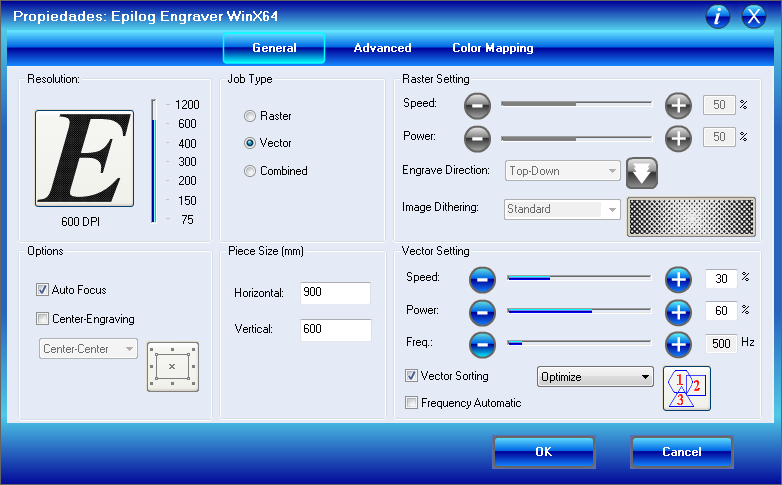 |
Open the cutter control, activate the “Auto Focus” box, input the piece size (900x600mm) and calibrate the speed, power and frequency data. Then, send the cutting command. |
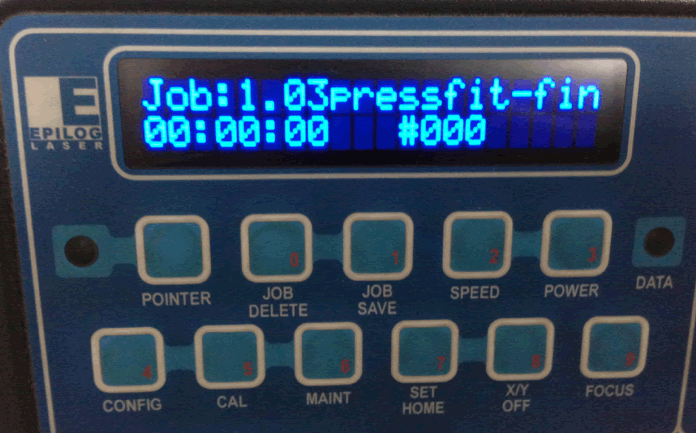 |
The name of the file will appear as queued in the cutter’s machine screen. Then, it should be activated. It will start to cut, and the air extractor will start to work. |
During the cutting process, we should stay close to the cutting machine, since it needs to be permanently supervised.
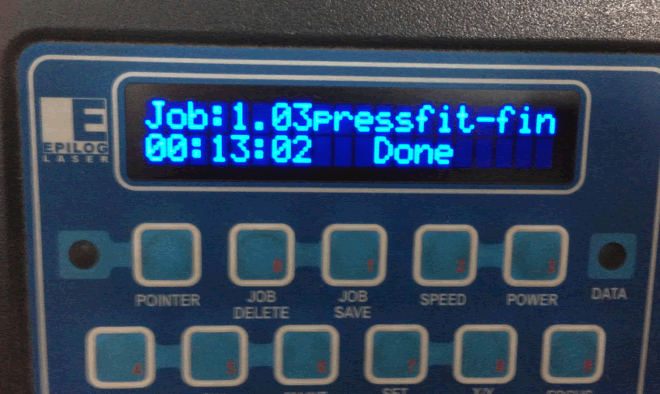 |
The cutting process took 13:02 minutes. |
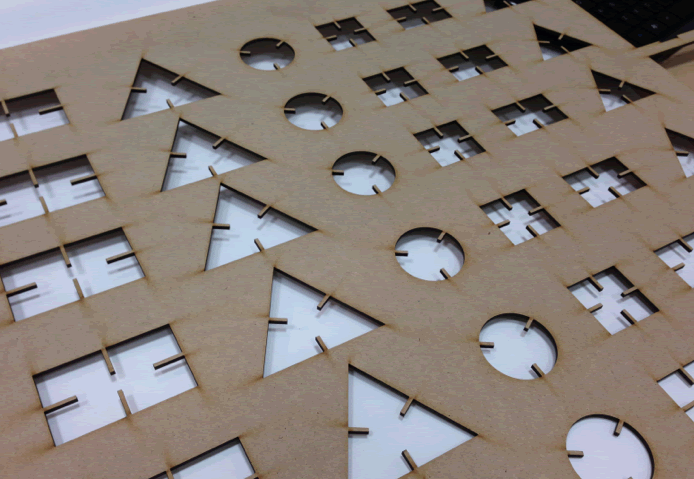 |
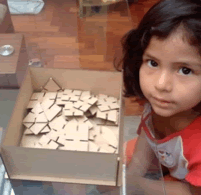
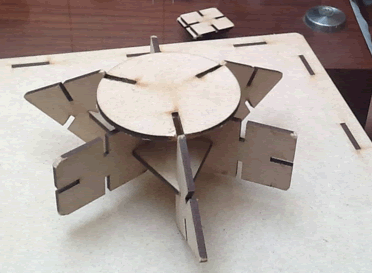
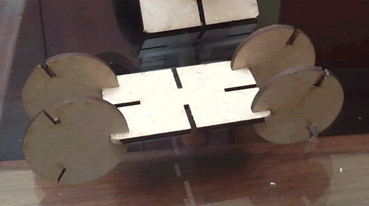
Then, the cut pieces were obtained. |
 |
The pieces’ container was assembled. |
 |
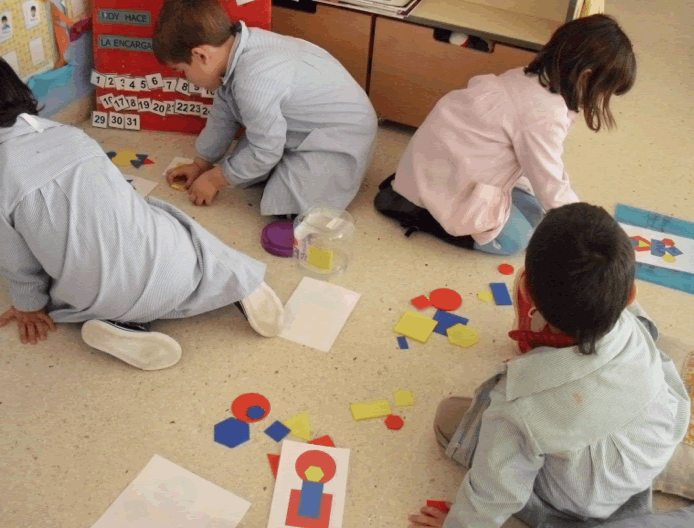
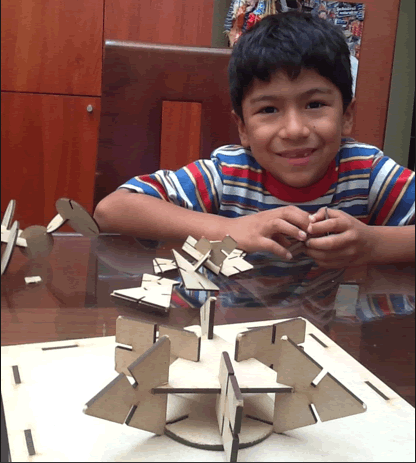
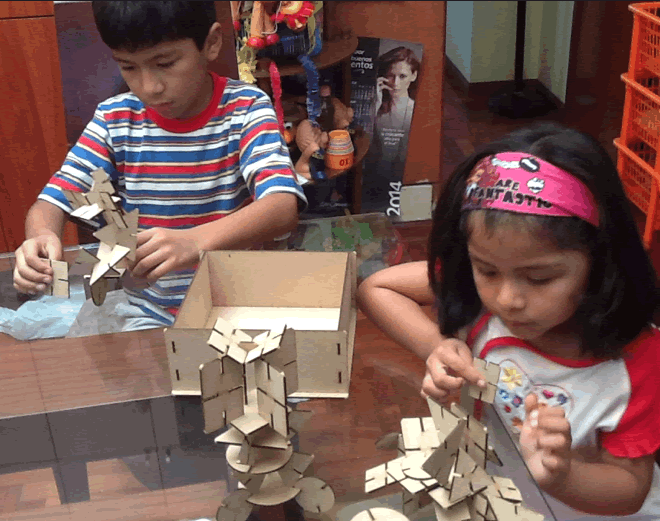
Finally, the project was tested: the block kit was given to children. It was proved that it is possible to innovate in the traditional logic blocks. After a few minutes, several figures were obtained with the new pieces. |
 |
|
 |
|
 |
|
 |
|
 |
|
Desktop Vinyl Cutter:
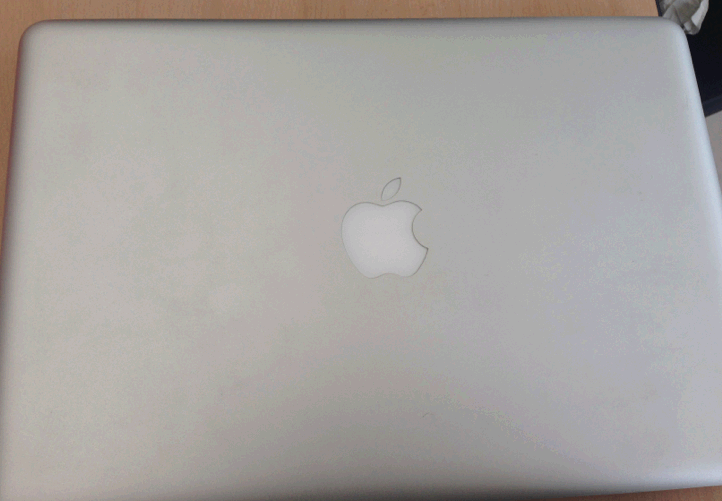 |
This was the first time I used the vinyl cutter. My objective was to customize my laptop. |
 |
I made the cutaway drawing using Illustrator: |
 |
The cutter machine was loaded with vinyl: |
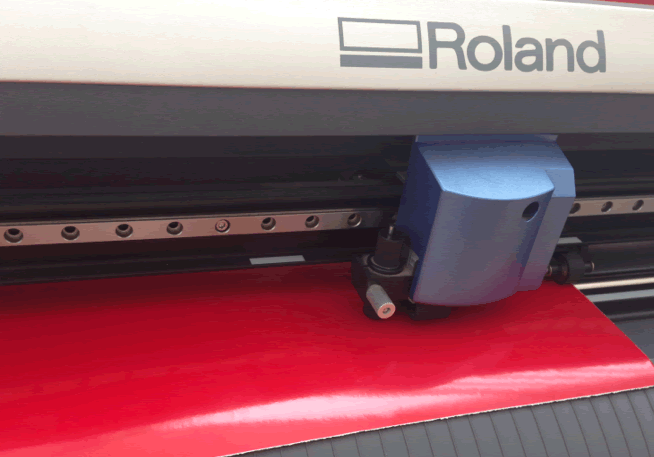 |
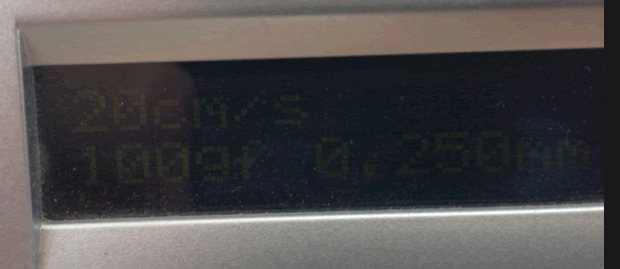
The machine was calibrated, the cutting line, speed, pressure, and offset were established as 20cm/s, 100gr, offset (default). |
 |
When the cutting process was finished, the remaining material was removed: |
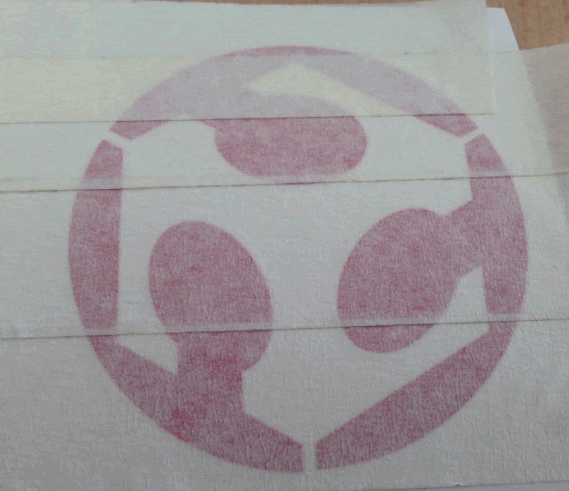 |
I used masking tape to cover the design: |
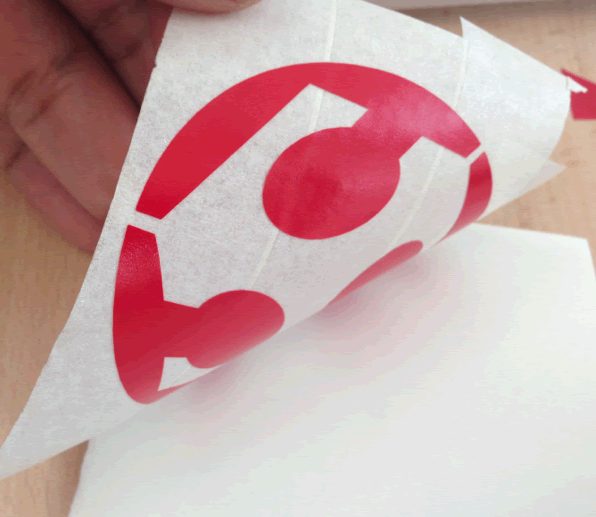 |
Then, the design (adhered to the masking tape) was removed: |
 |
I placed the design on my laptop: |
 |
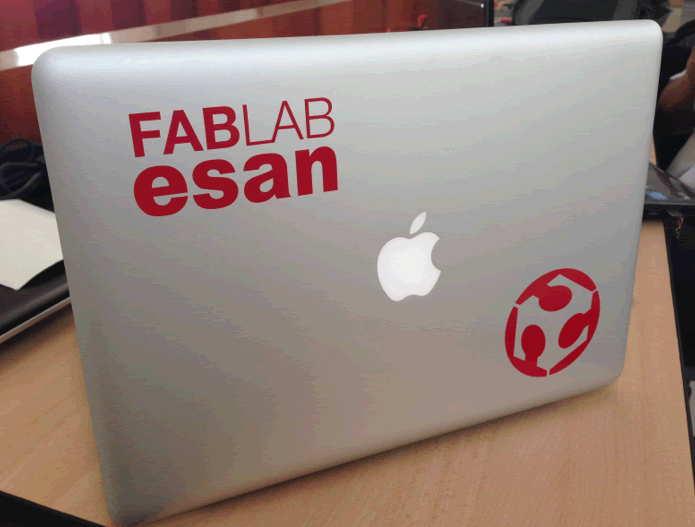
Finally, I removed the masking tape and the design was adhered to the laptop: |
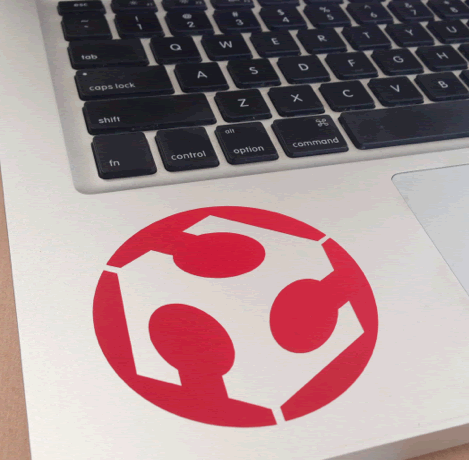 |
The process was repeated with different designs: |
| Finally, the laptop appearance is customized. | |
 |
The work files are located in the following repository:
Find folder A03, in Repository
Spanish version:
Para esta tarea me inspire en los "bloques lógicos" que se utilizan como material didáctico en varias escuelas infantiles. Busque explorar la posibilidad agregar a estos bloques el atributo te tener fichas que puedan encajar, de manera que brinden mayor diversión y entretenimiento. Mas información en logic blocks.