This week’s assignment is learning the process of molding and casting.
This assigment is divise in 4 step:
This assigment is divise in 4 step:
- first step : create the 3D object for molding
- second Step : Machine this object in millable wax (positive object)
- thirth Step : Create the Mold (negative) of the object milled.
- fourth Step : cast the object
Step 1 : create the 3D object for molding
In my case, I remember a ancien peruvian simbole (chakana) what I look in a travel to Machupichu. The design was made with Inventor. When I finished the design I export the object in STL format.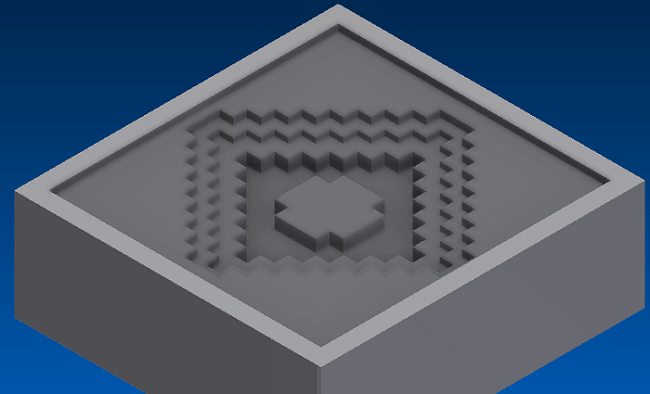
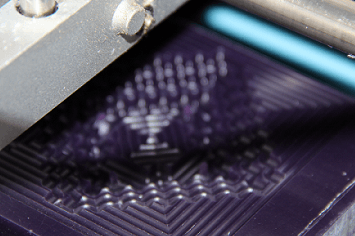
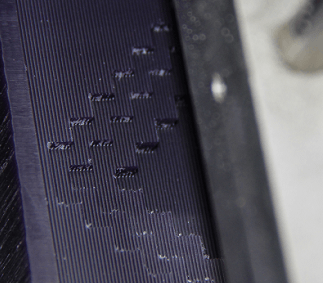
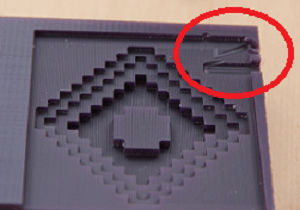
Step 2 : Machine this object in millable wax
My binary .stl file was transferred into the Roland Modela (rml).
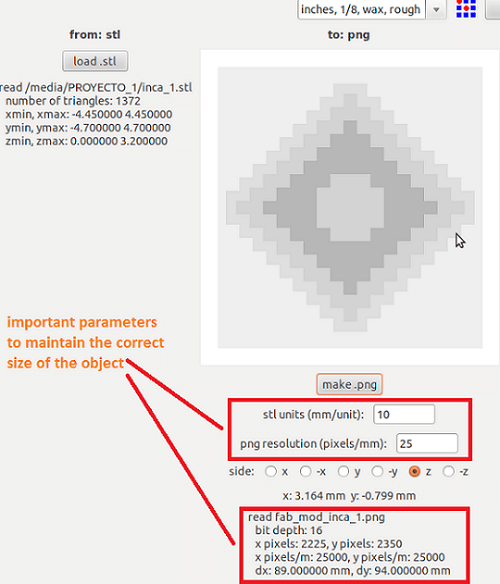
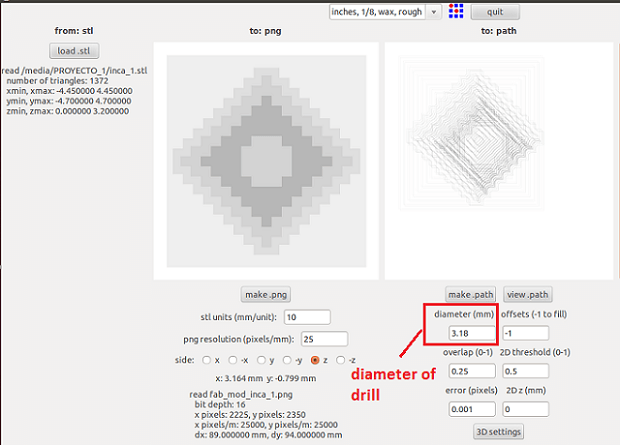
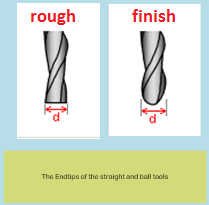
I need to choose the drill that I used for the rought pass (1/8 inch round bit) for wax milling.
After the Roland Machine finish the Rought Pass, It's necesary to do a Finish Pass (1/32 inch). But if you look the 1/32 drill you observe that its working length is 3.7 mm. Be careful that the depth of your design does not exceed that value.
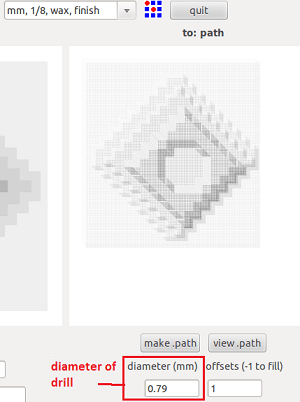

the default view in the right corner appeared when operating the program Roland Modela player 4. After that I decided use the fab modules in Ubuntu.
Step 3 : Create the Mold (negative) of the object milled
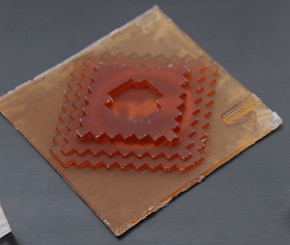
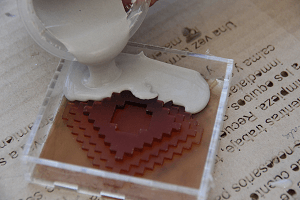
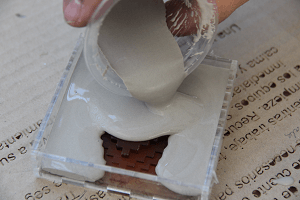
I used my machinable wax mold with Smooth-on PMC-121/30 (dry Urethane rubber) to make the flexible mold.
In the box, it was write how used the product.
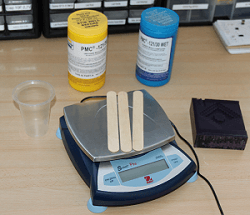
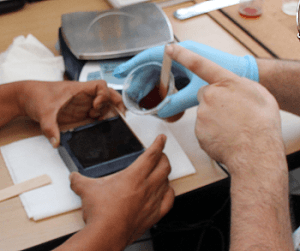
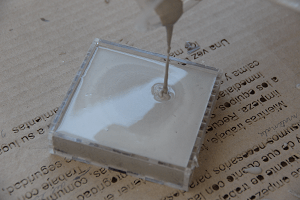
Remember to stir the material in the blue bottle before using it. Close the tops of the bottles as soon as possible so the material does not absorb moisture from the air. Being careful not to create bubbles when I mixed the two parts into a clean cup. I then tapped the cup on the table to try to encourage any bubbles to rise to the surface and pop. I used a wooden tongue depressor for mixing.
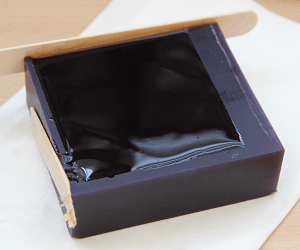
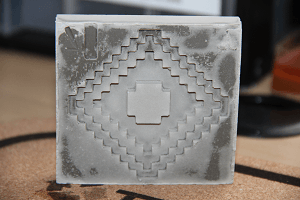
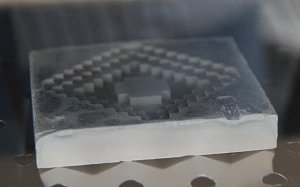
It has a pot life of 30 minutes and cures overnight. The next day, you obtain, the negative or the mold (for futur use) :
-
Step 4: cast the object
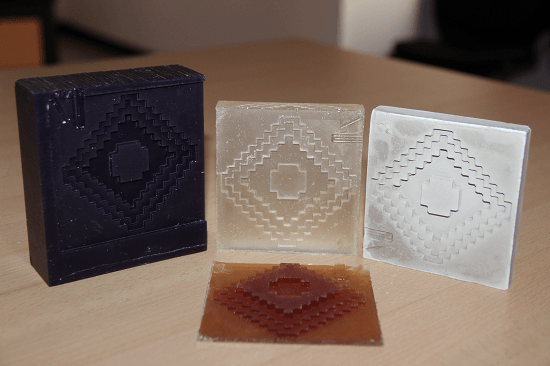
Now I have the mold, I need use them to create object with diferent materials. I decide to test 2 materials
- liquid plastic (colormatch liquid plastic)
- Cement (Hydro-stone)
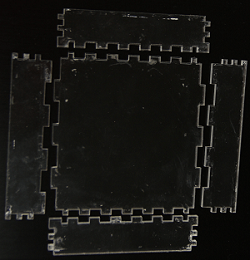
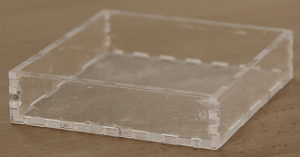
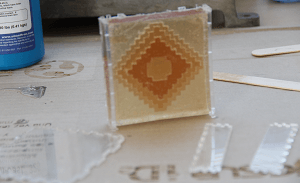
This box is make in acrylic and cut with laser machine for use for molding.
Laser settings are: 30/100/5000
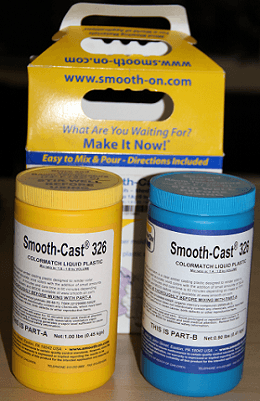
Colormatch liquid plastic
Colormatch liquid plastic is a special type of plastic. When the 2 products are mixte, a exothermic chemical reaction is created which makes it hot temperatur in the box and believes in the plastic (mix of rthe 2 products) air bubbles. To eliminate these bubbles would need to have a vacuum chamber.
The use of the colormatch is not complicate. You use one part of Yellow product with one part of Blue product.
It has a pot life of 9 minutes and cures in 1 hours, but in my case I wait to cures overnight.
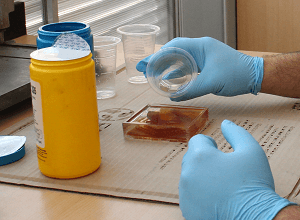
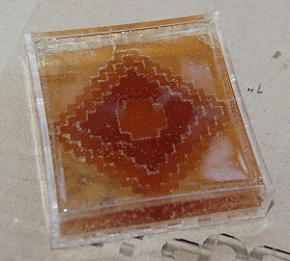
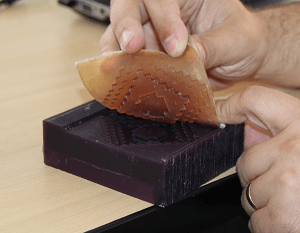
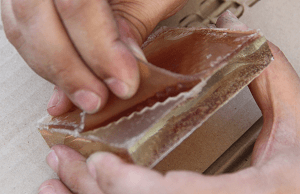
The extraction from the mold was not easy.I needed to be careful to not break the mold.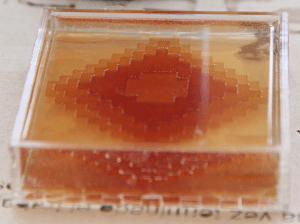

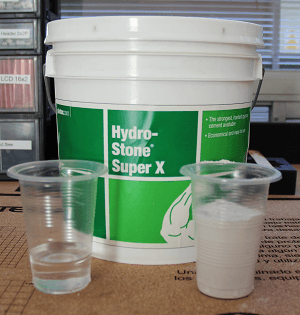
Hydro-stone cement
Hydro-stone is a special type of Gypsum cement. It is fairly easy to use. It has a pot life of 30 minutes and cures overnight.
The complicate with the use of Hydro-stone cement is determine the proper mixture ratio (Hydro-Stone - Water).After testing varios ratio , y observe for mi use the best ratio was :
- 1 part of water
- 4 parts of Hydro-Stone
And I obtain the mixing.

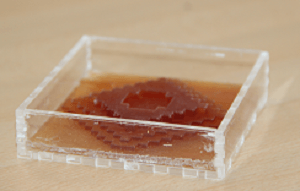
When the mixing is ready, you poured in the box with the mould.
This matrial dont need more then 30 minutes to dry and a cures overnight.
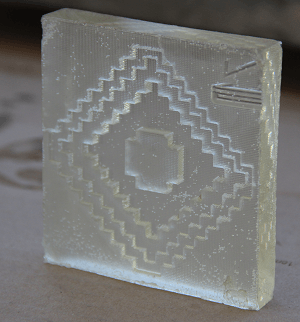
The extraction from the mold was extremly easy. If you observe the result, you would see different gray level. It's possible that the result is not completely dry.
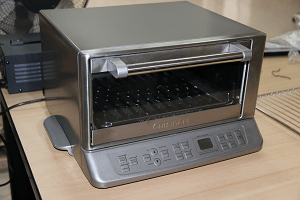

In that case I decide to put then in the oven at 150 ° C for 30 minutes. An improvement in the appearance was observed.
That's all for this assigment ....