This week’s assignment is design and make a 3D mold (~ft2), and produce a fiber composite part in it. To make this assigment I decide to make my wind Hub at a 1/4 of scale.
For me, this assignment is divide in three importants Step:
The mold are divide in 2 part :
Cut the piece.
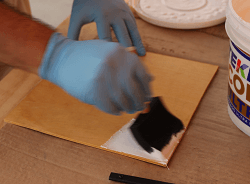
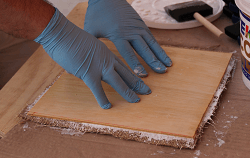
First thing is to get some protective gloves after the first table that spreads glue.
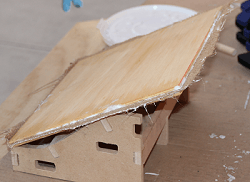
After gluing the two plates are placed in the mold having the desired shape after drying glue and press with Quick-grip. But I have problem to press the plates because the plates ran down the glue that put. In this case to solve I used more Quick-grip.
I hope after that a 18h before taking the result.
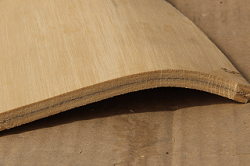
The correct form for my wind concentror(nozzle).
But 6h old, the form of my composite change. For me, it's a big problem because this change is important, so I decide to create another composite using the same material but including Natural Burlap.
First thing is to wet the 2 plates. You can said why wet the wood? Because the wood wet to be more flexible in time to put them into the mold and thus reduce the risk breakage to deform.
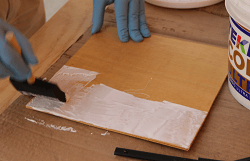
Now, spreads the glue
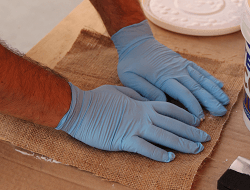
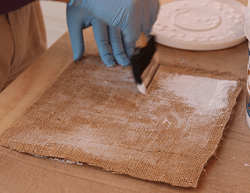
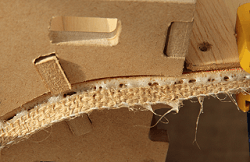
Put the Natural Burlap and spreads the glue
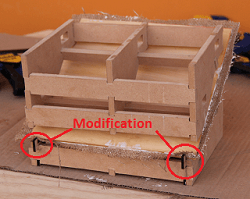
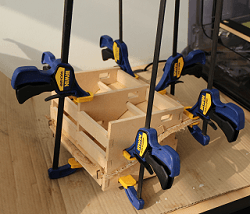
After gluing the two plates and the Natural Burlap are placed in the mold having the desired shape after drying glue and press with Quick-grip. Compared to the previous case, the mold was modified to avoid the above problem by the attachment of two pieces in a mold part.
I hope 2 days ago, before taking the result.
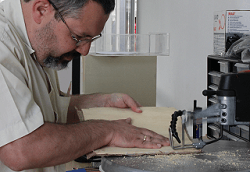
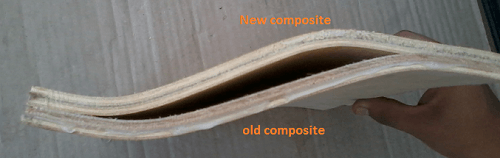
After, I cut the edge to verify and compare this new result with the old.
And now after 2 days .... the diference ....
This is one of the 4 parts that will do to mount my air hub. Once this installed, I will use an epoxy to remove porosity used plywood.
That's all ....
For me, this assignment is divide in three importants Step:
- Step one : Design my 3D mold
- Step Two : Make the mold
- Step three : Create my composite material
Step 1 : Design my 3D mold
For design the 3D mold, first I need to choose the object you want to do. I choose the first part of my wind tunnel, the nozzle, but at 1/4 of scale, to see the problems that could have. I design this part,using Autocad.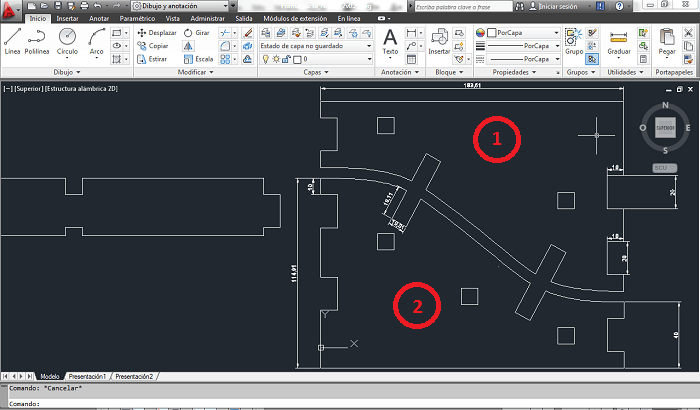
The mold are divide in 2 part :
- Part one : inferior part
- Part Two : superior part
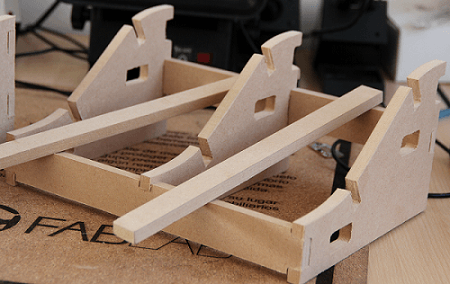
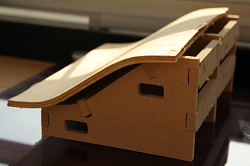
Step 2 : Make the mold
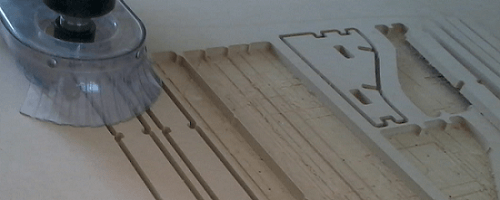
Now, the second Step of the work is create the mold using the shopbot.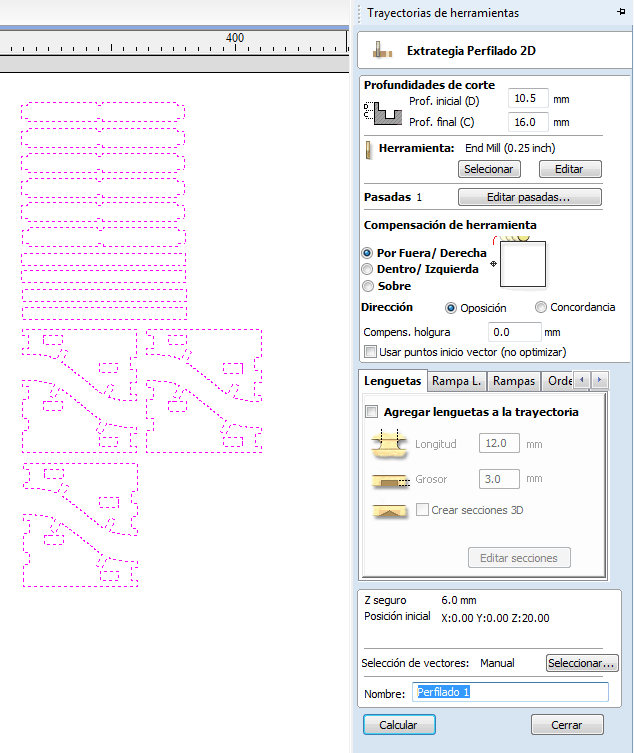
Cut the piece.
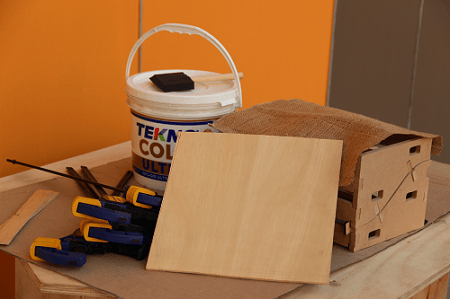
Step 3 : Create my composite material
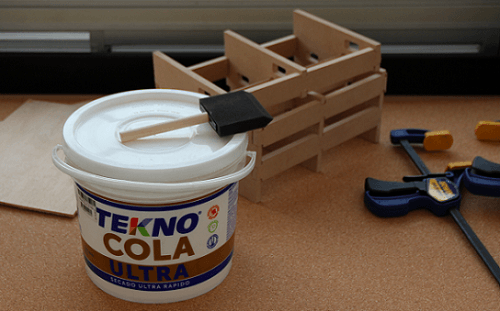
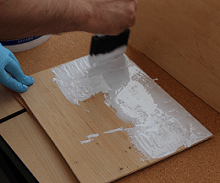
To create my composite I need two plates of 3mm thick plywood and wood glue.
First thing is to get some protective gloves after the first table that spreads glue.
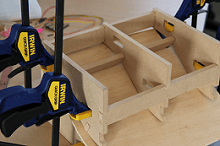
After gluing the two plates are placed in the mold having the desired shape after drying glue and press with Quick-grip. But I have problem to press the plates because the plates ran down the glue that put. In this case to solve I used more Quick-grip.

I hope after that a 18h before taking the result.
The correct form for my wind concentror(nozzle).
But 6h old, the form of my composite change. For me, it's a big problem because this change is important, so I decide to create another composite using the same material but including Natural Burlap.
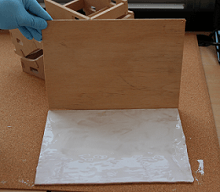
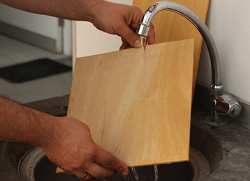
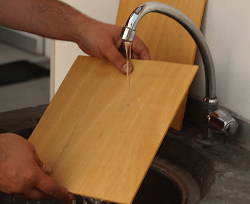
First thing is to wet the 2 plates. You can said why wet the wood? Because the wood wet to be more flexible in time to put them into the mold and thus reduce the risk breakage to deform.
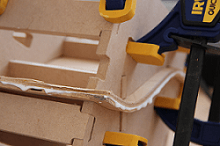
Now, spreads the glue
Put the Natural Burlap and spreads the glue
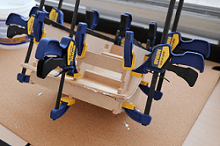
After gluing the two plates and the Natural Burlap are placed in the mold having the desired shape after drying glue and press with Quick-grip. Compared to the previous case, the mold was modified to avoid the above problem by the attachment of two pieces in a mold part.
I hope 2 days ago, before taking the result.
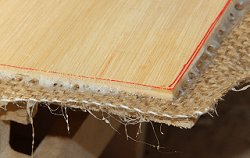
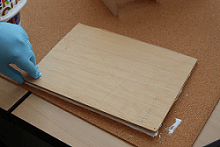
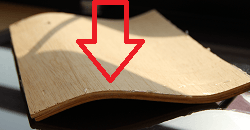
After, I cut the edge to verify and compare this new result with the old.
And now after 2 days .... the diference ....
This is one of the 4 parts that will do to mount my air hub. Once this installed, I will use an epoxy to remove porosity used plywood.
That's all ....