- Design and 3D print an object (small, few cm)
- 3D scan an object
- Print the object you scanned
- Make our own 3D scanner (if I have the time)
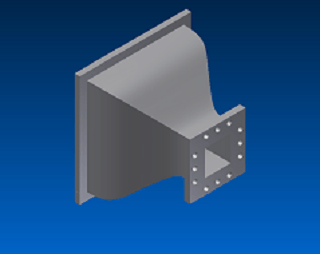
This part was designed in Inventor. And printed with the 3D touch printer. .
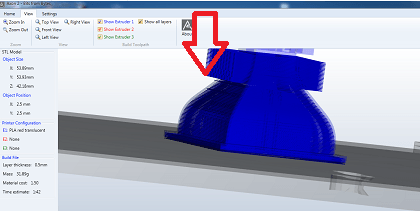
First, I took the design file and uploaded it to the Axon 2 program. In this program you transform your STL o OBJ file to a compatible file for the 3D touch printer, and choose what material you can use ( ABS or PLA) in my case I choose the PLA.
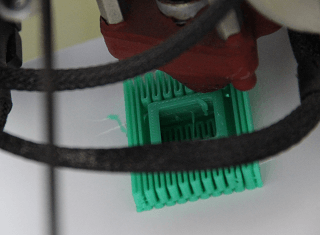
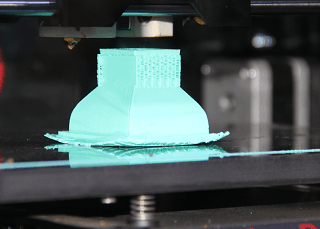
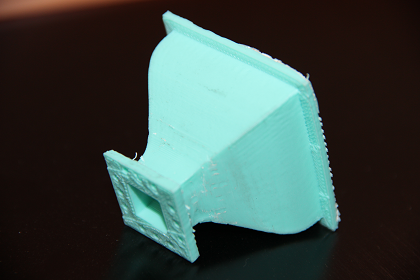
To print correctly the selected piece it's necesary to make a stand to the top of the Nozzle.
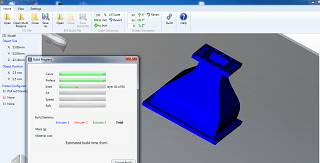
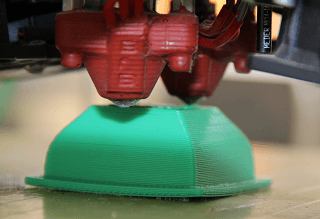
But if you observe the result, the center is made in the air and not leaning on the structure.
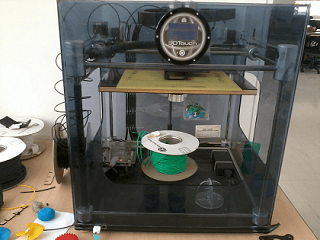
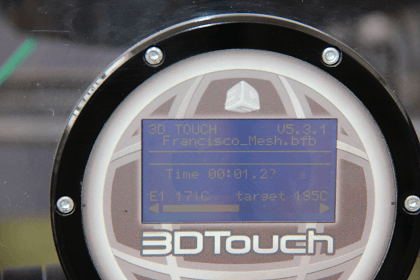
After prepare the file, you copy them in a USB (FAT format) and put them in the machine.
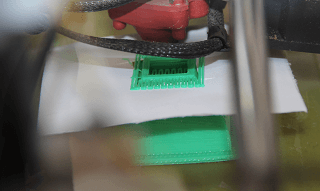
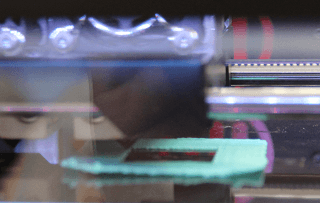
After choosing the file the printer we expect that the extruder reaches the right temperature (PLA: 230°c) to print.
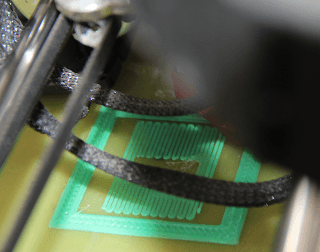
When the printer reaches this temperature, it prints. But the problem appears in the middle of the operation. To resolve that, I put the printer on pause and put a cardboard which could print the support.This allowed me to save the posters and not having to re-start.
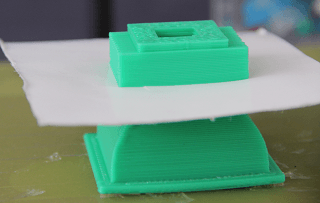
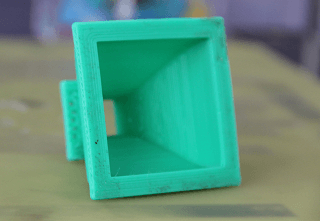
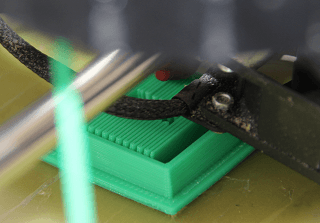
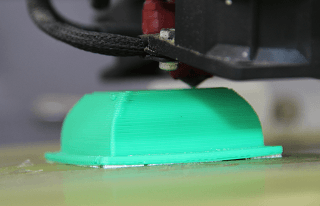
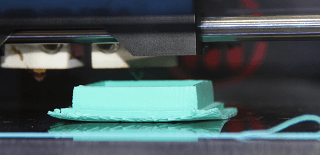
After removing the support material, you obtain the last picture.
2h needed to print on low quality 0.5mm.
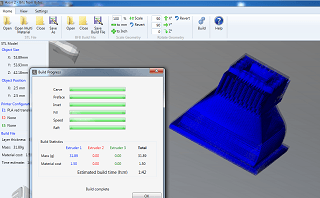
After that, I decided print the same Nozzle with the new printer "The replicator 2X". I took the design file and uploaded it to the Makeware.
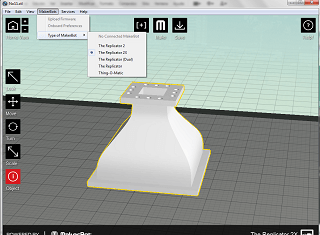
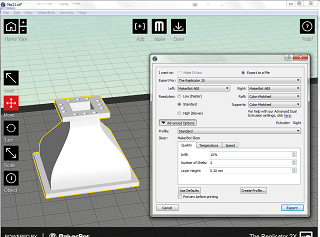
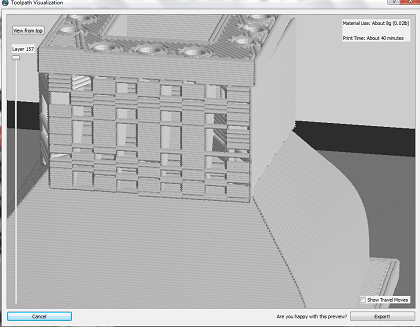
With the Makeware, you set the extruder material to PLA, print, the support . If you look this support creation, all is ok. With the preview, I can see that the head holder is well made and the total print time will be 40 min.

When I compare the result of the two printers, I observe the Replicator gives the best results, both in print quality and speed than the 3D touch.
That's all for this part....
That's all for this part....